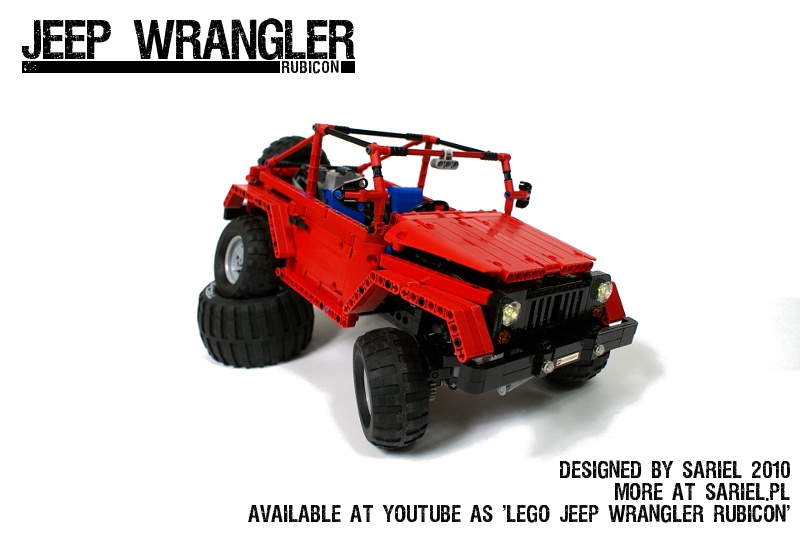
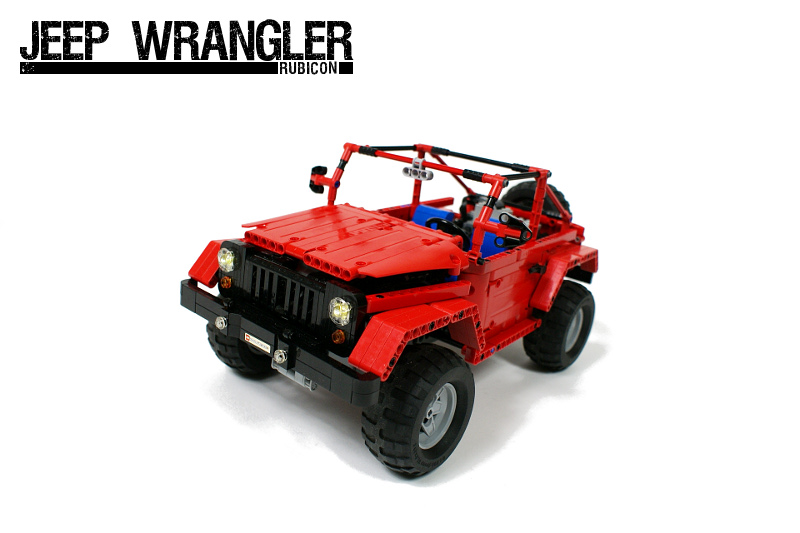
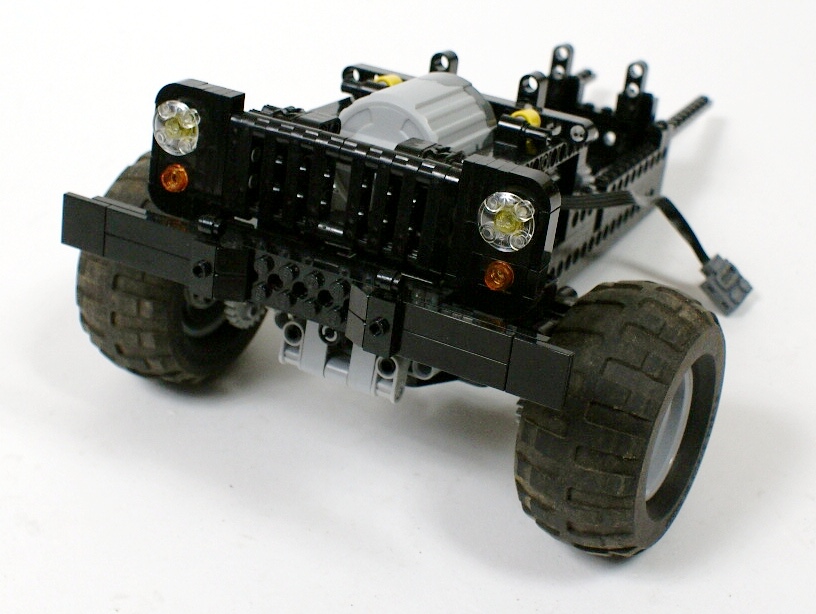
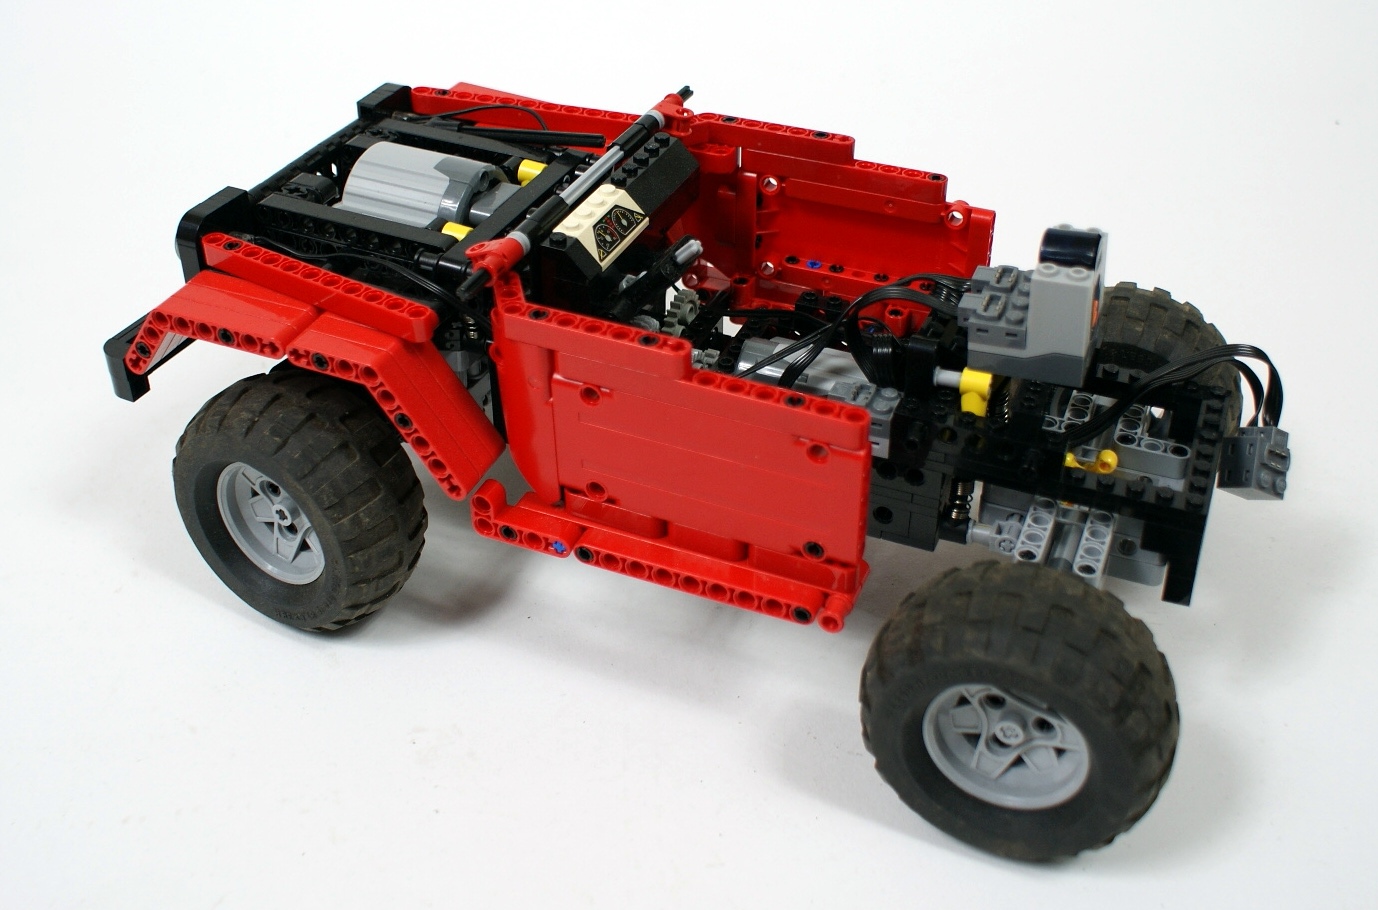
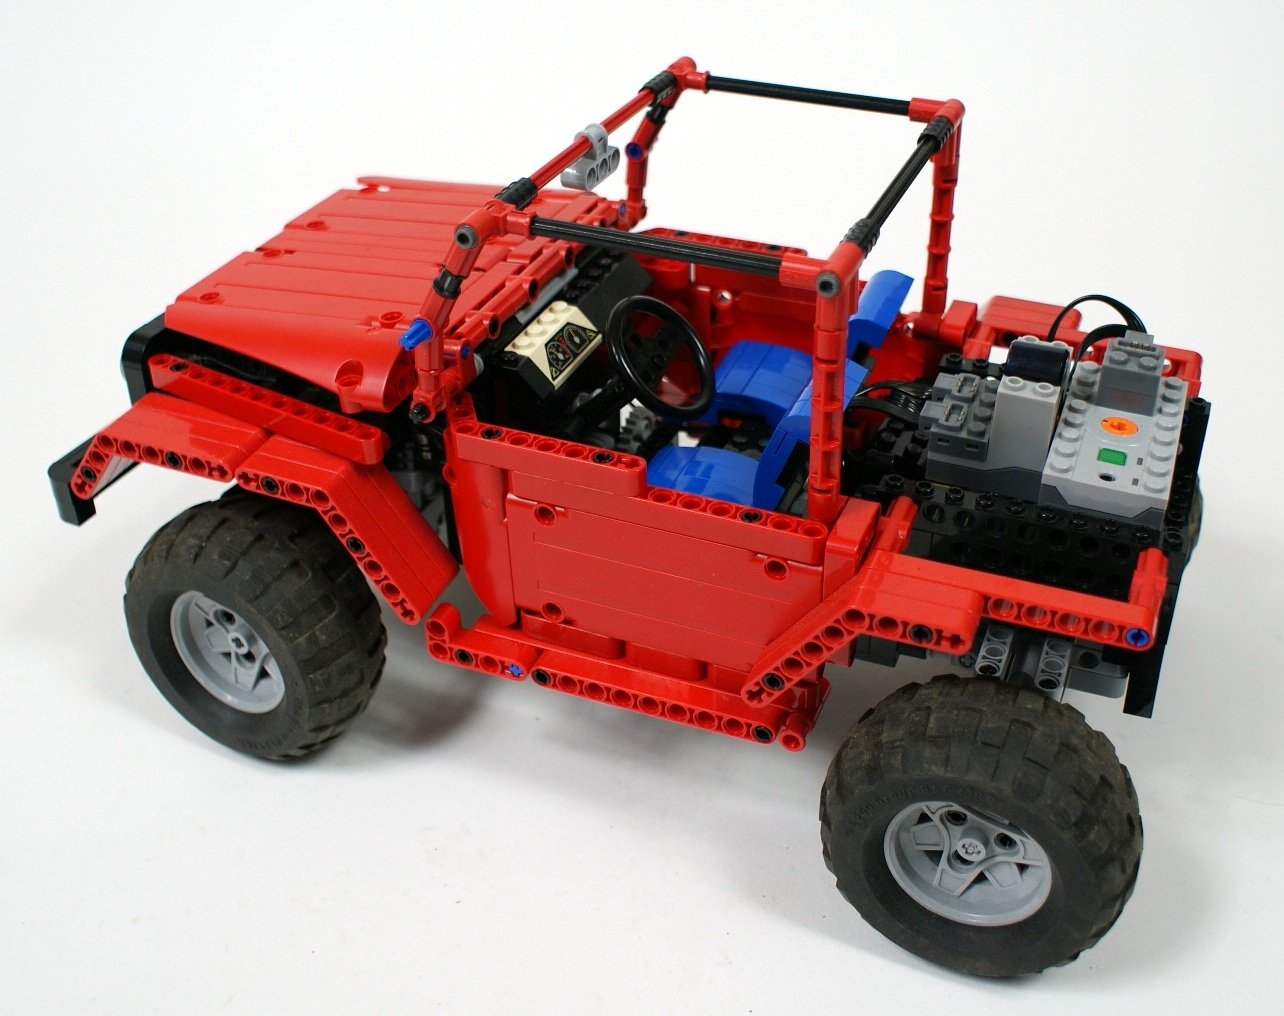
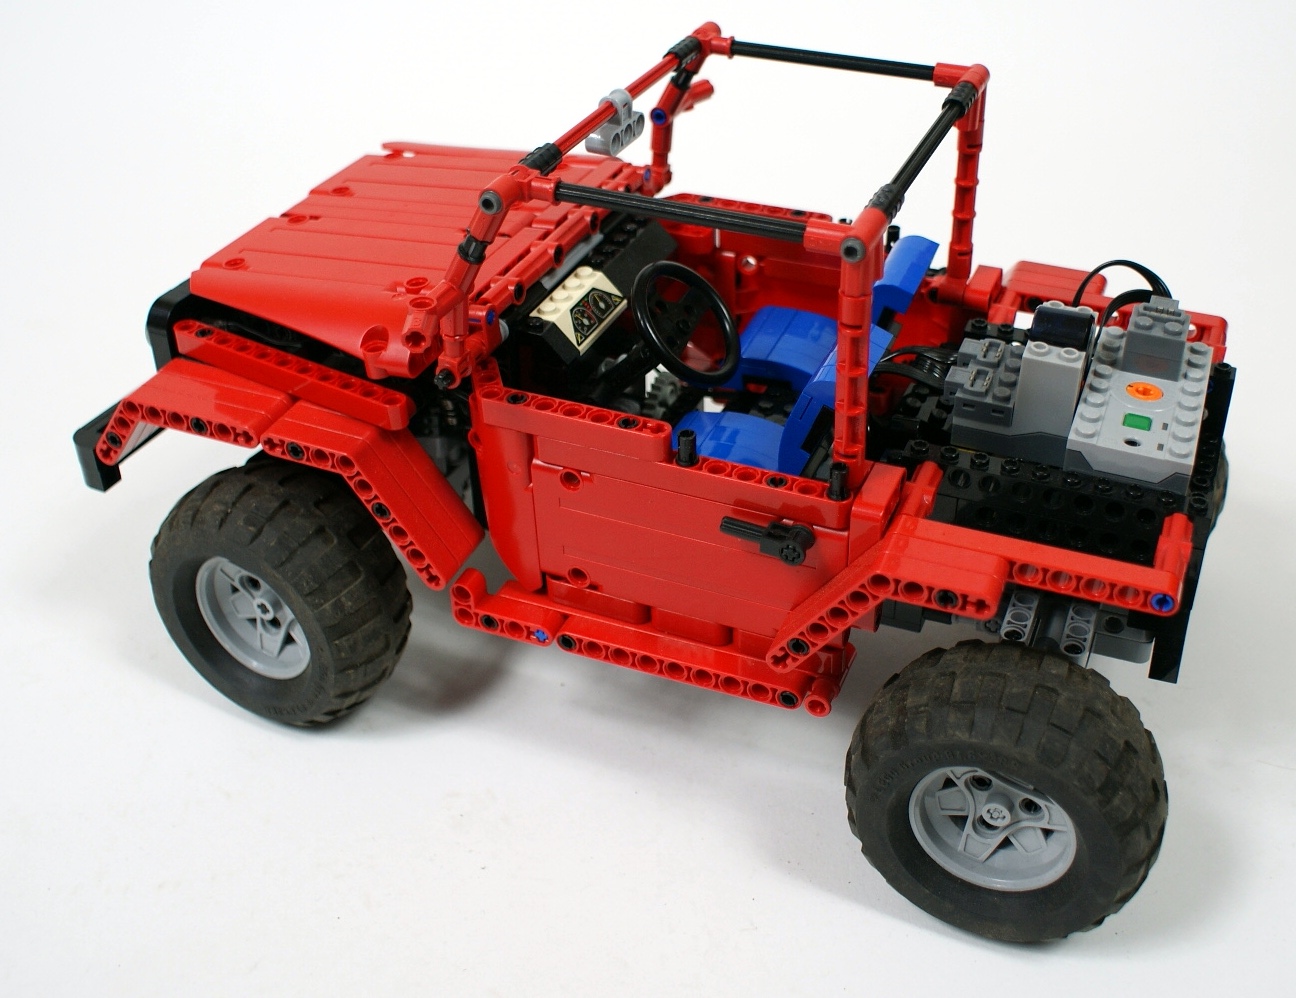
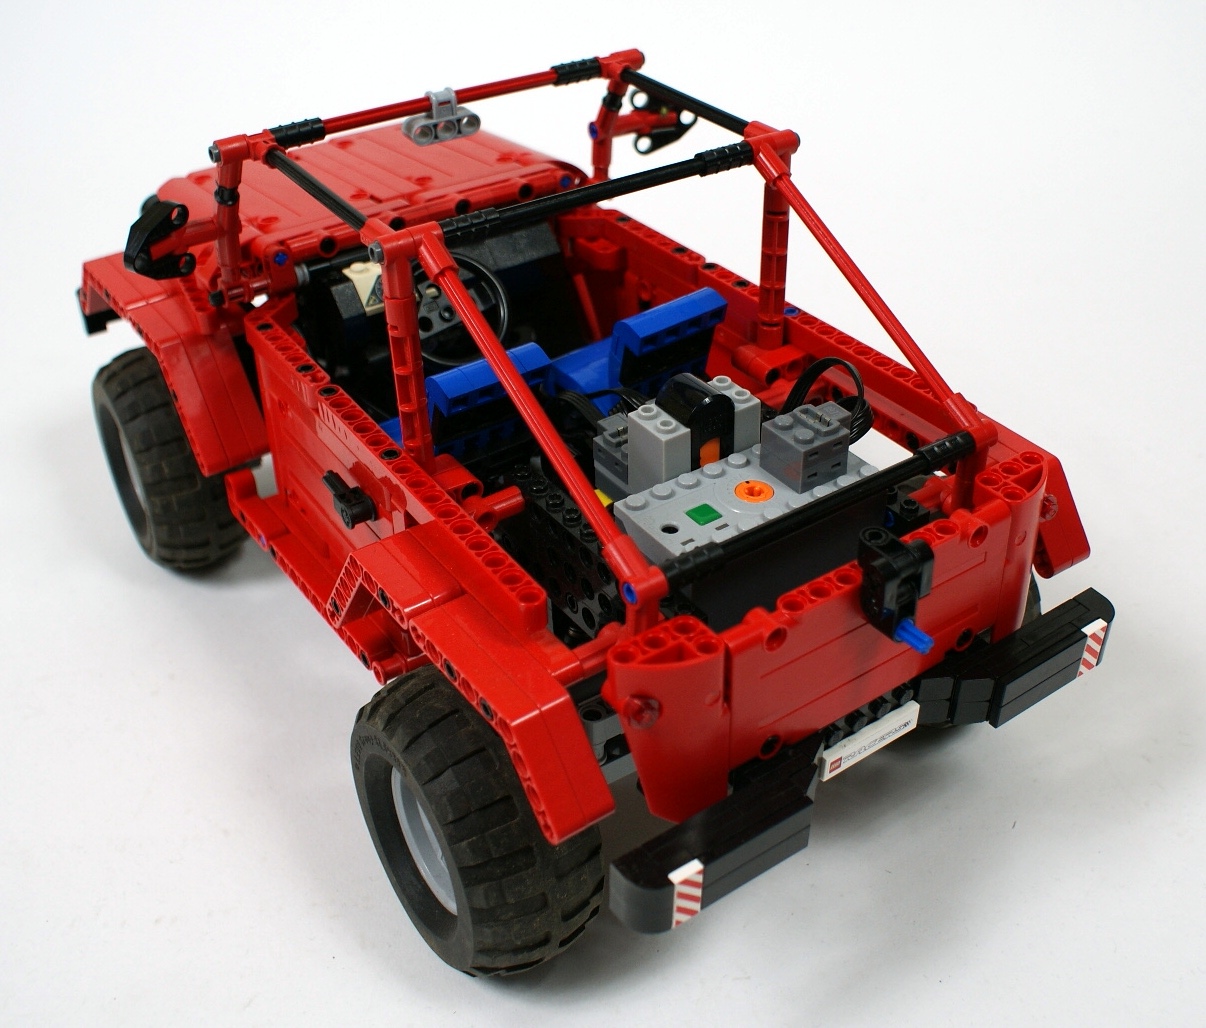
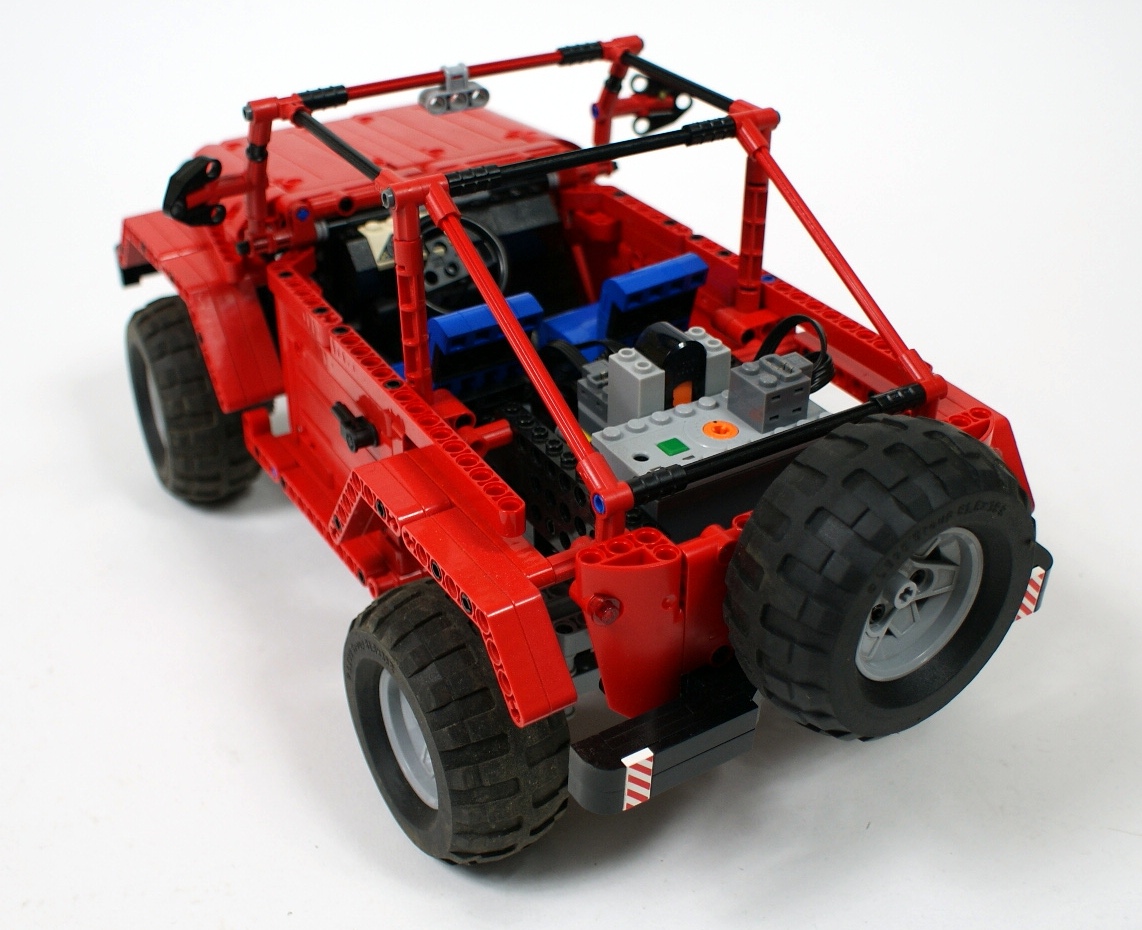
Jeep Wrangler Rubicon

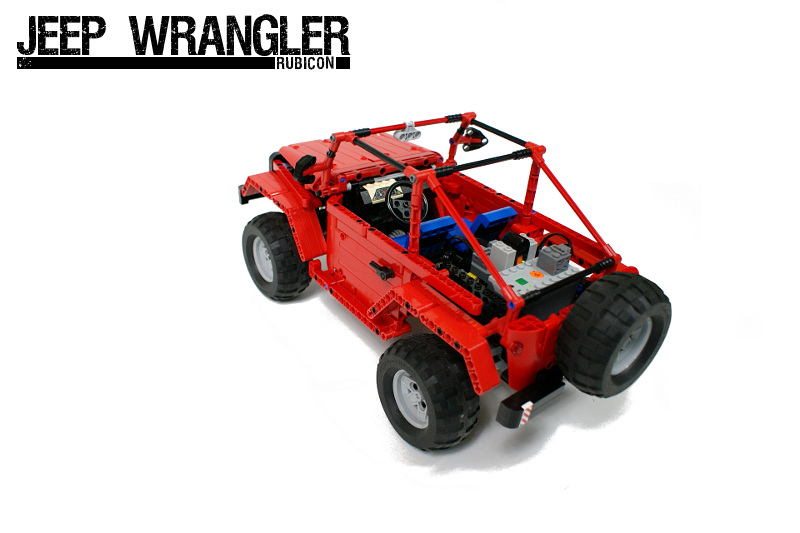
My second 2010 Truck Trial vehicle, and the first vehicle designed for this competition other than a truck. Features 4×4 drive, pendular suspension, lights, modular body design and an openable bonnet. Update: a complete set of instructions added.
Datasheet:
Completion date: 18/04/2010
Power: electric (Power Functions)
Dimensions: length 47 studs / width 24 studs / height 23 studs
Weight: 1.224 kg
Suspension: pendular, stabilized with 2 shock absorbers per axle
Motors: 1 x PF Medium, 1 x PF XL
After the disappointing failure of my Tatra T815 truck, I was left with less than two weeks time until the next race. Re-using Tatra was out of the question, so my only option was to build some simple and small 4×4 vehicle. Since our current rules allow this type of vehicle into competition, I decided to model the iconic Jeep Wrangler in the acclaimed Rubicon version. It was built in roughly 4 days.
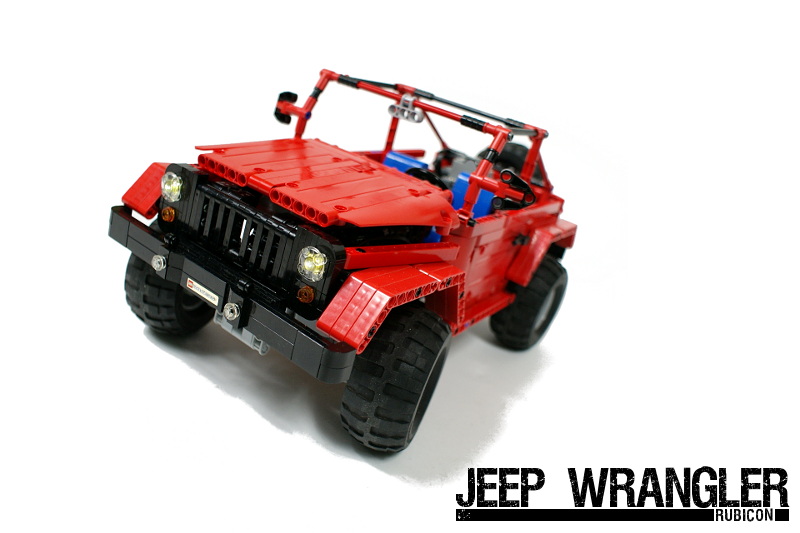
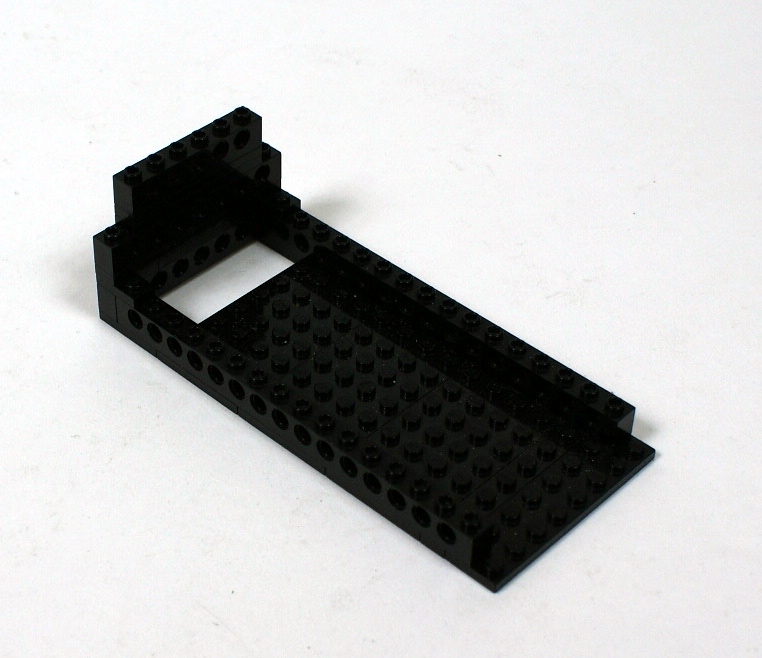
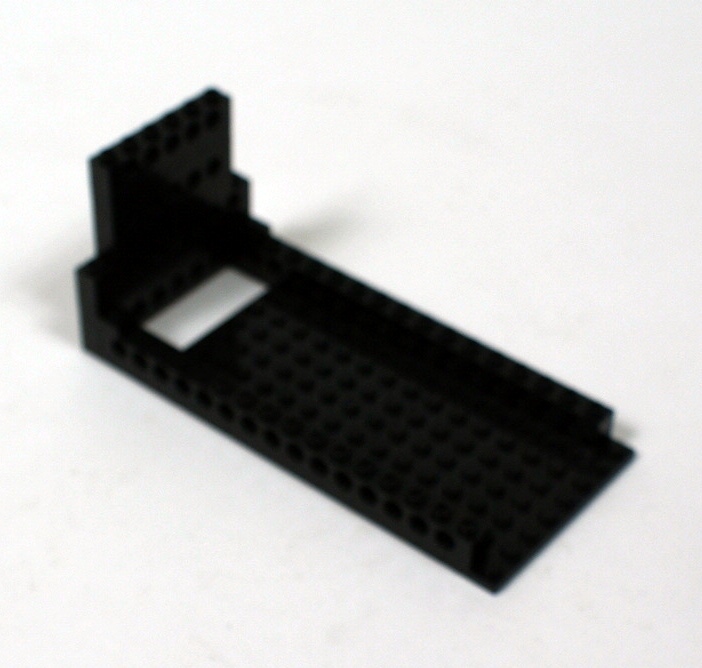
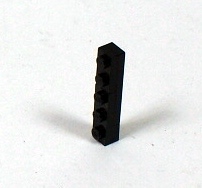
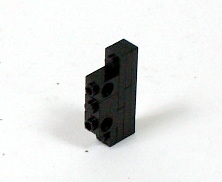
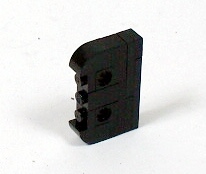
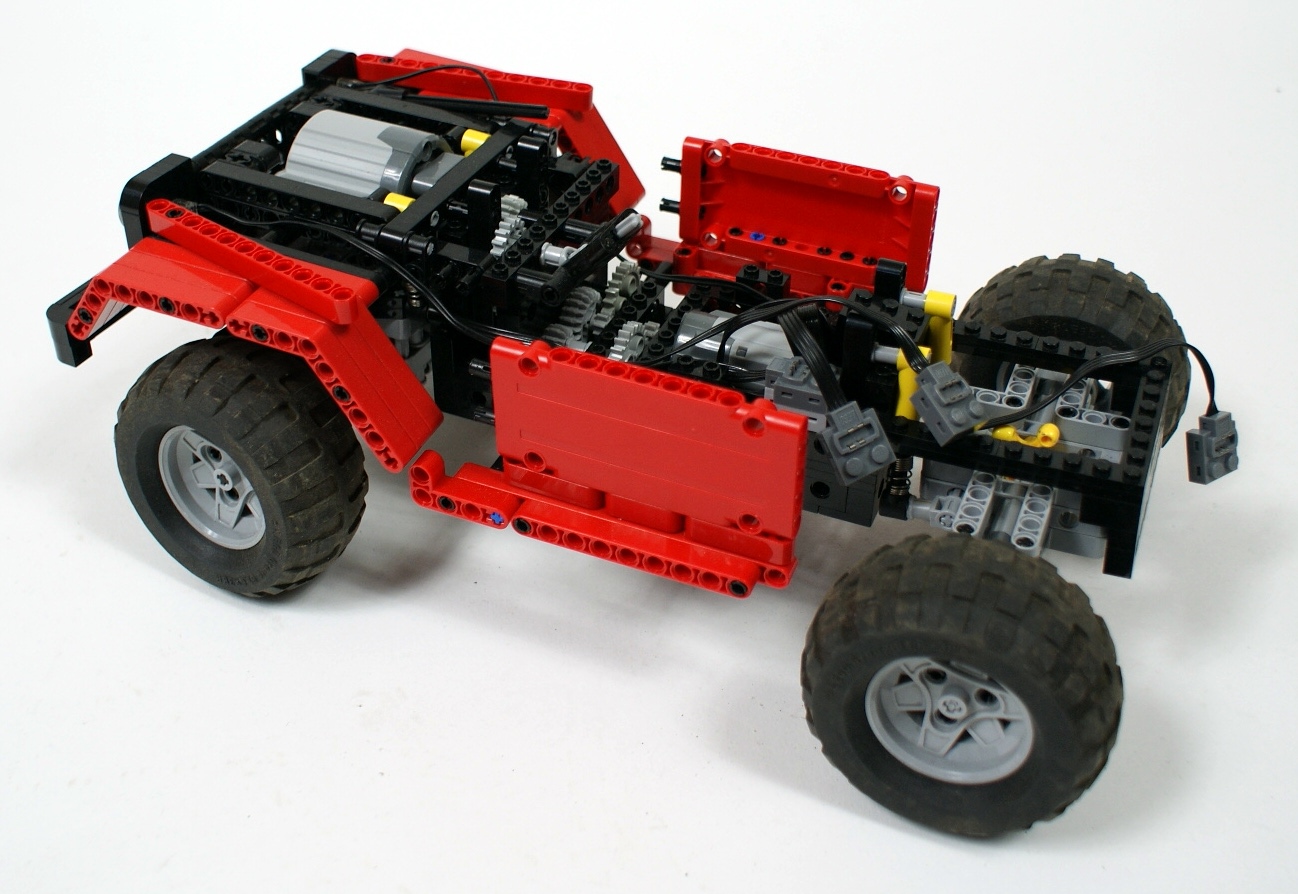
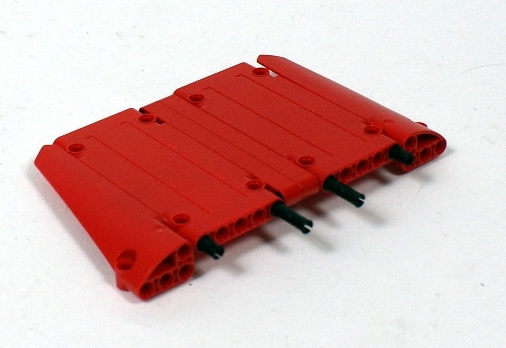
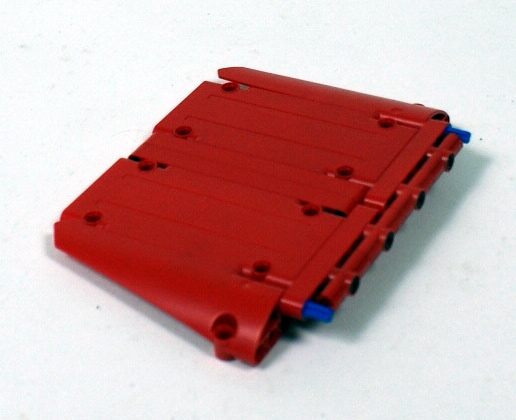
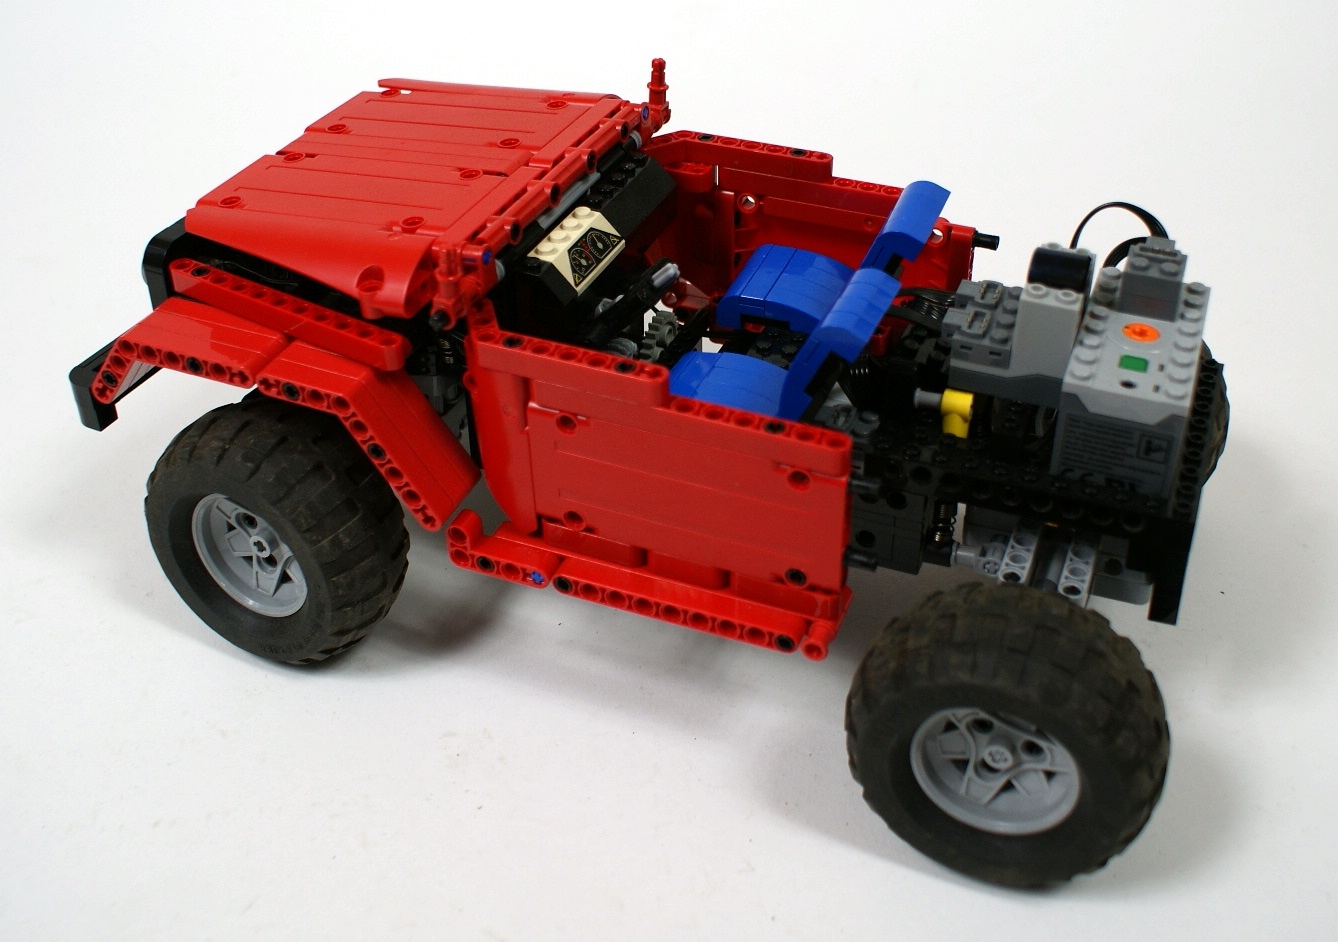
The basic rule of this construction was to keep everything as simple as possible and to reduce the weight to minimum. This is why the body was built with the new Technic panels, which provide the best combination of stiffness and lightness. Both front and rear axle are built entirely with liftarms, but the frame that connects them is built with Technic bricks. The reason to use bricks was that I wanted to build a roofless version of the Jeep in order to obtain low center of gravity, and since the sides of the cabin are made of single panels, the whole model had to be kept together by the cabin’s floor. Therefore there are bricks in the floor, that provide excellent stiffness and robustness while keeping the floor thin.
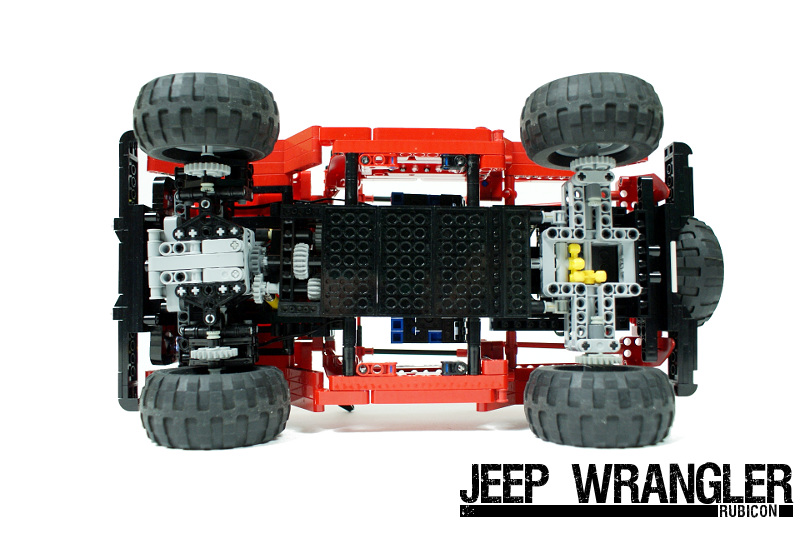
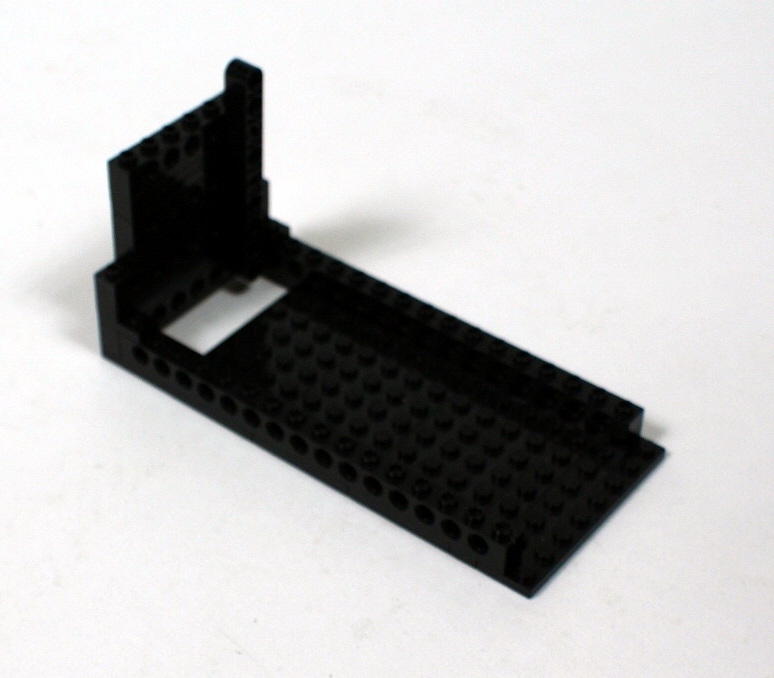
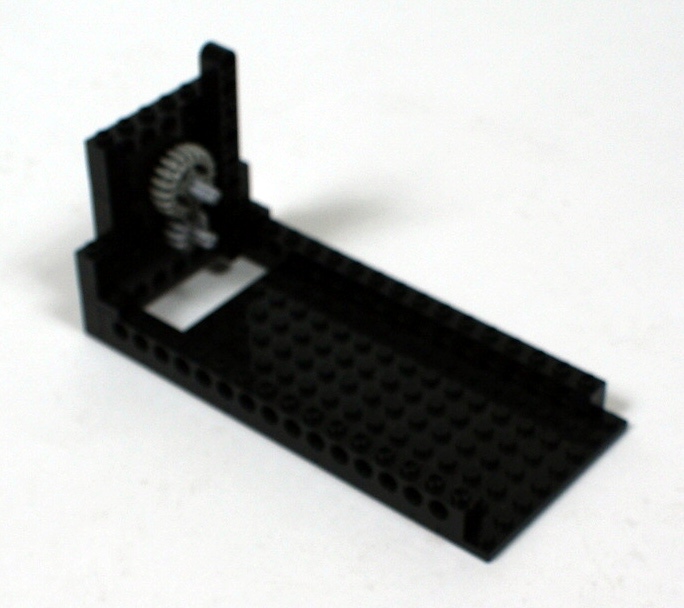
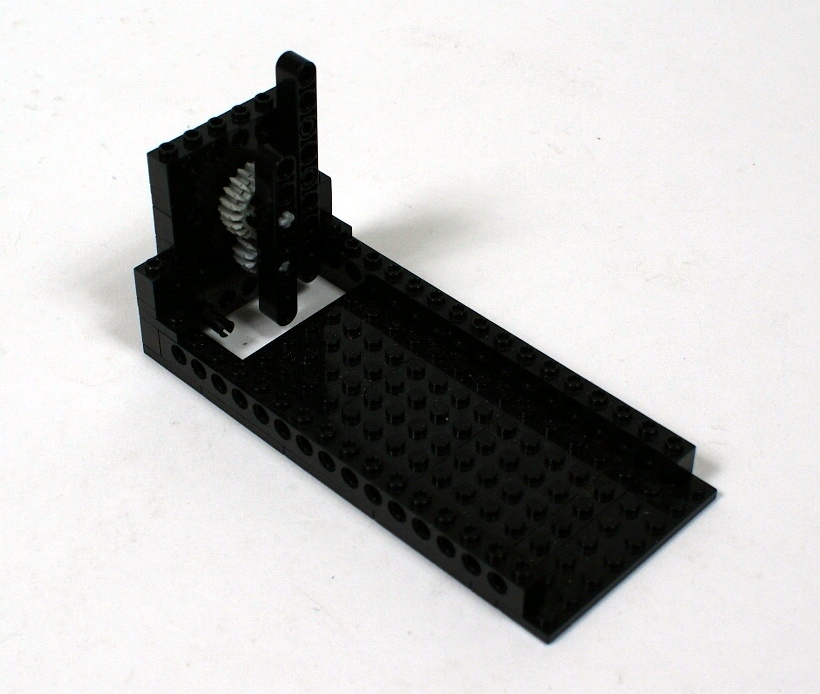
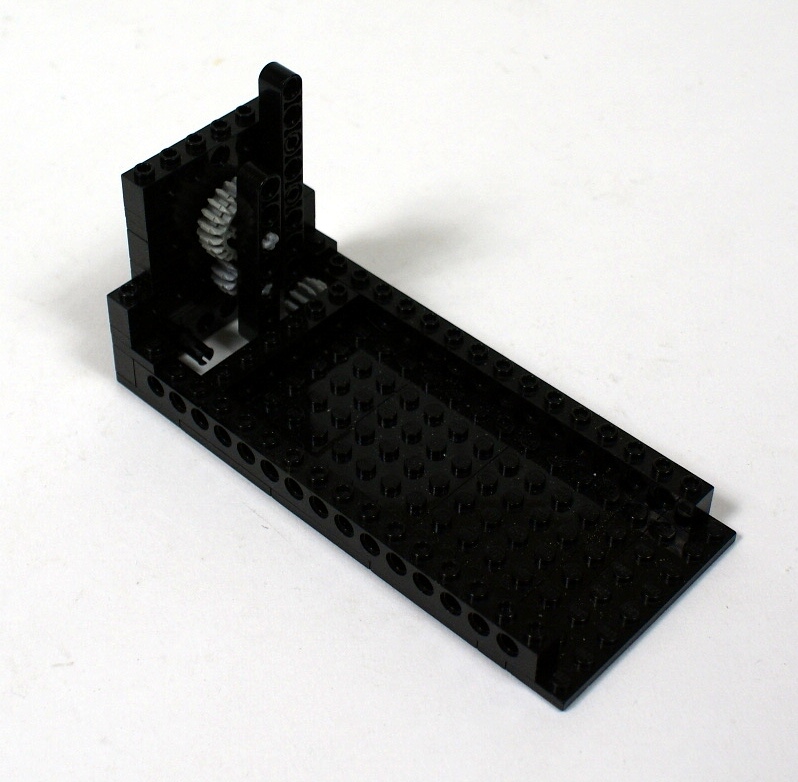
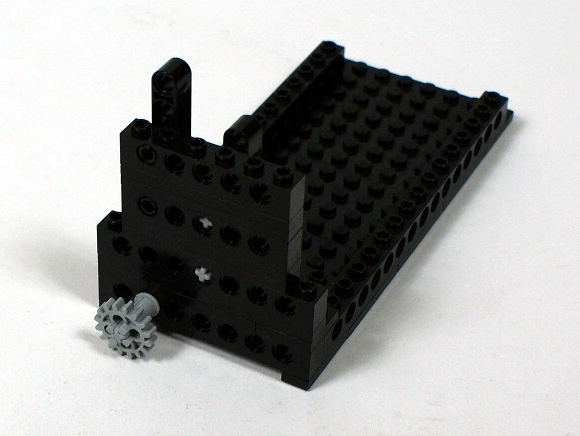
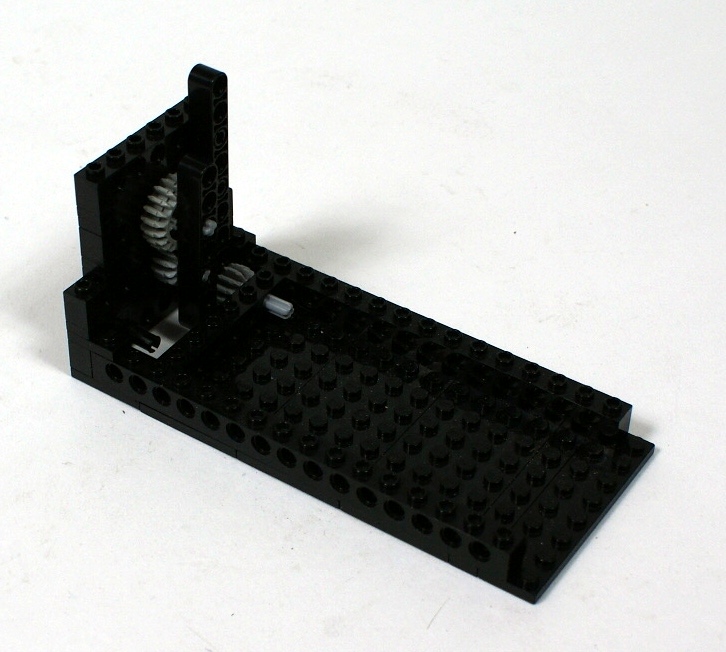
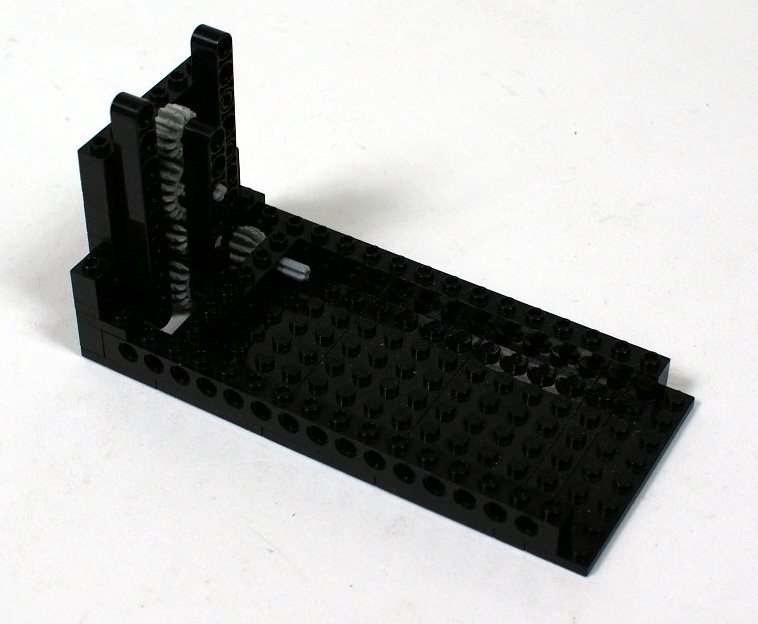
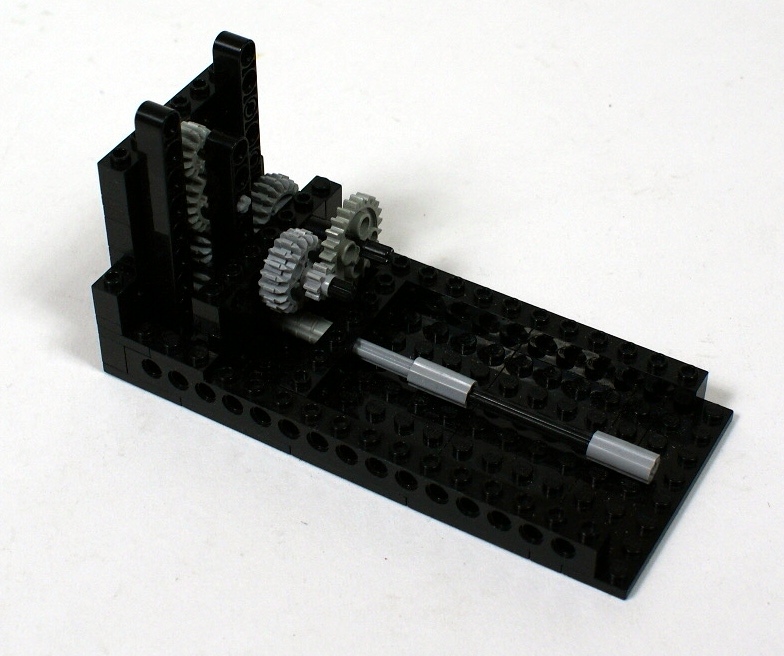
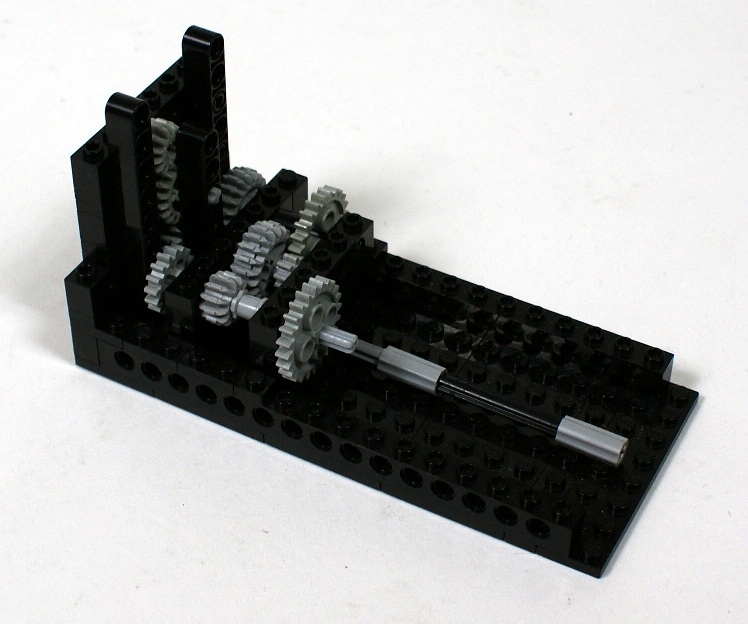
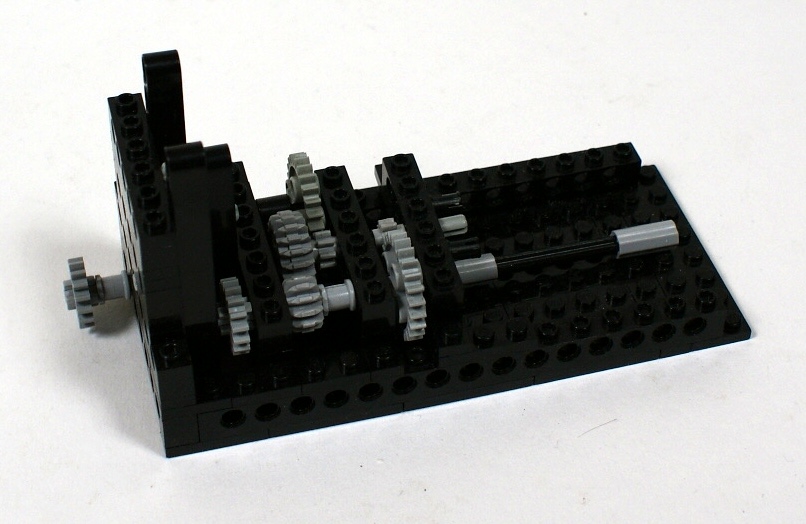
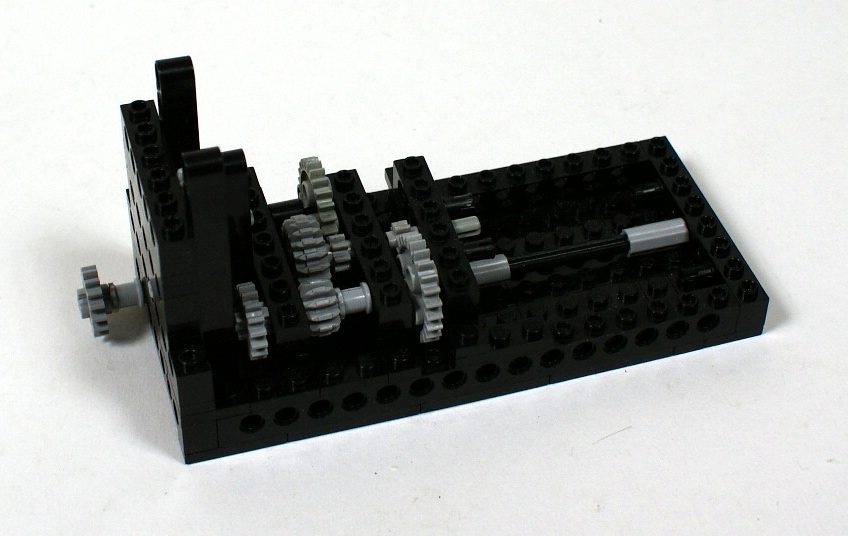
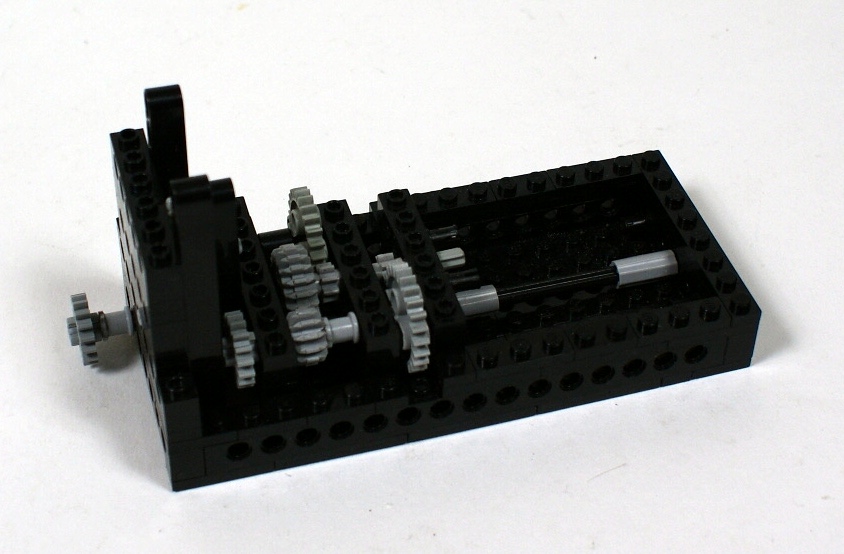
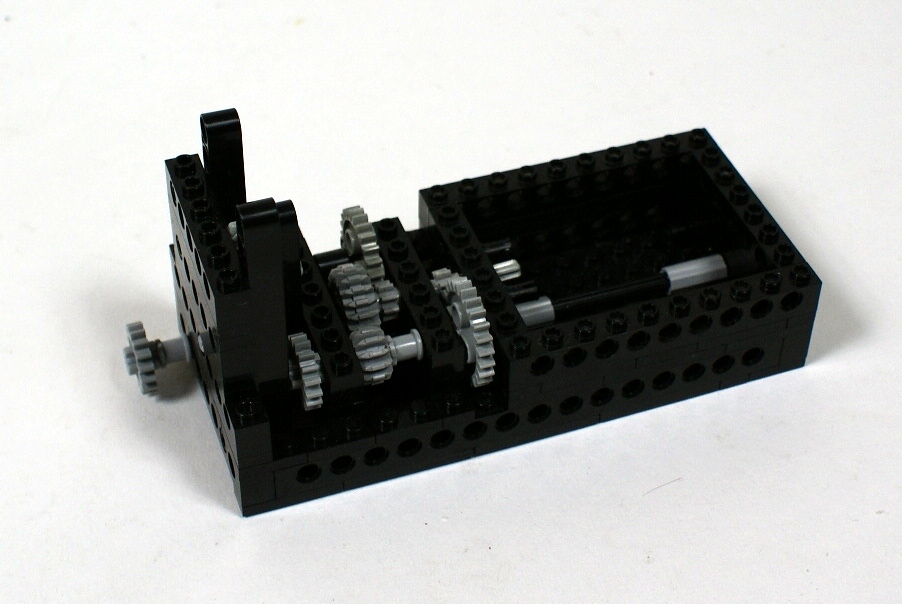
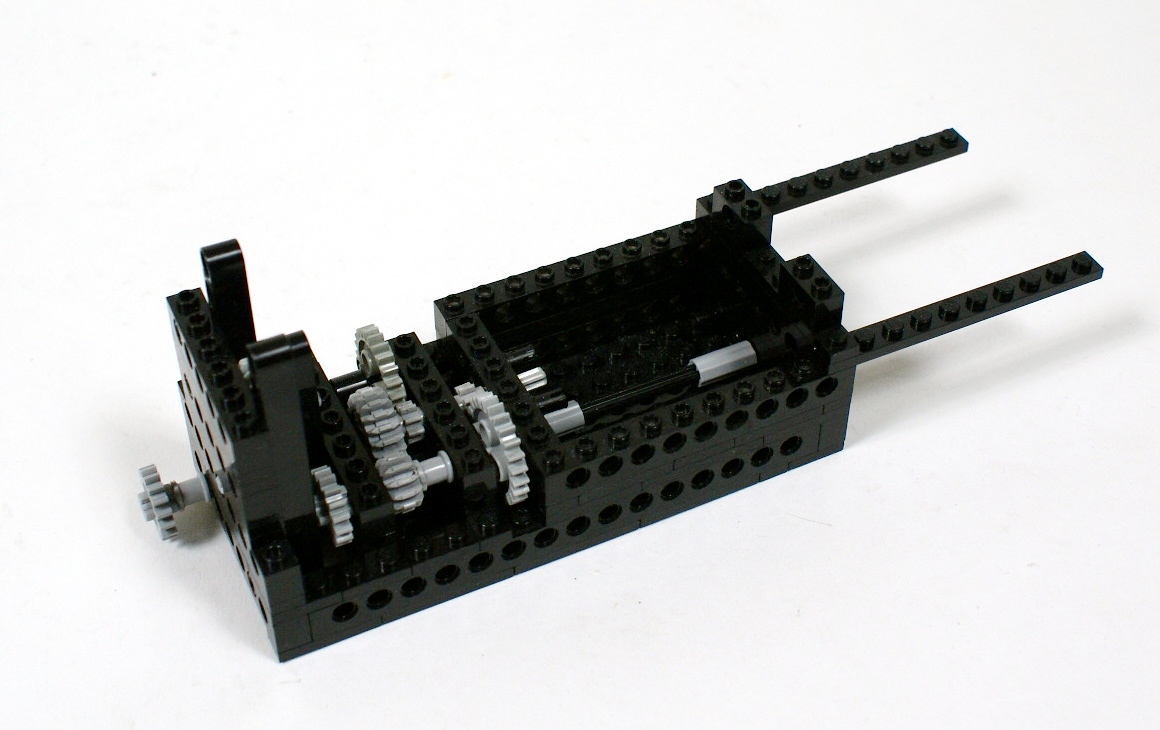
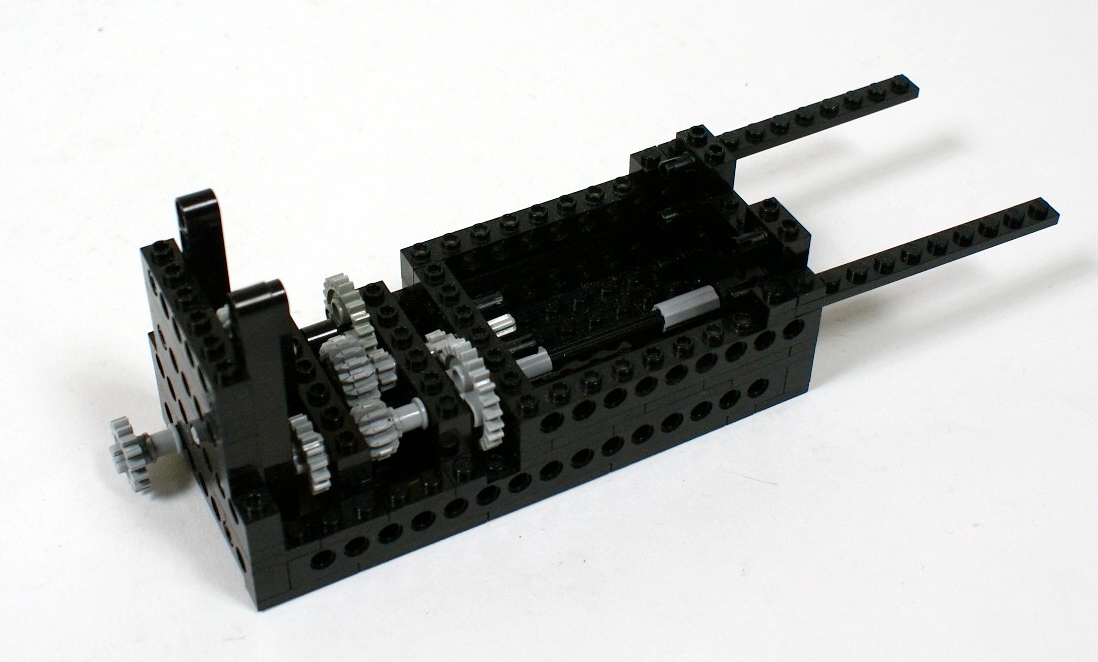
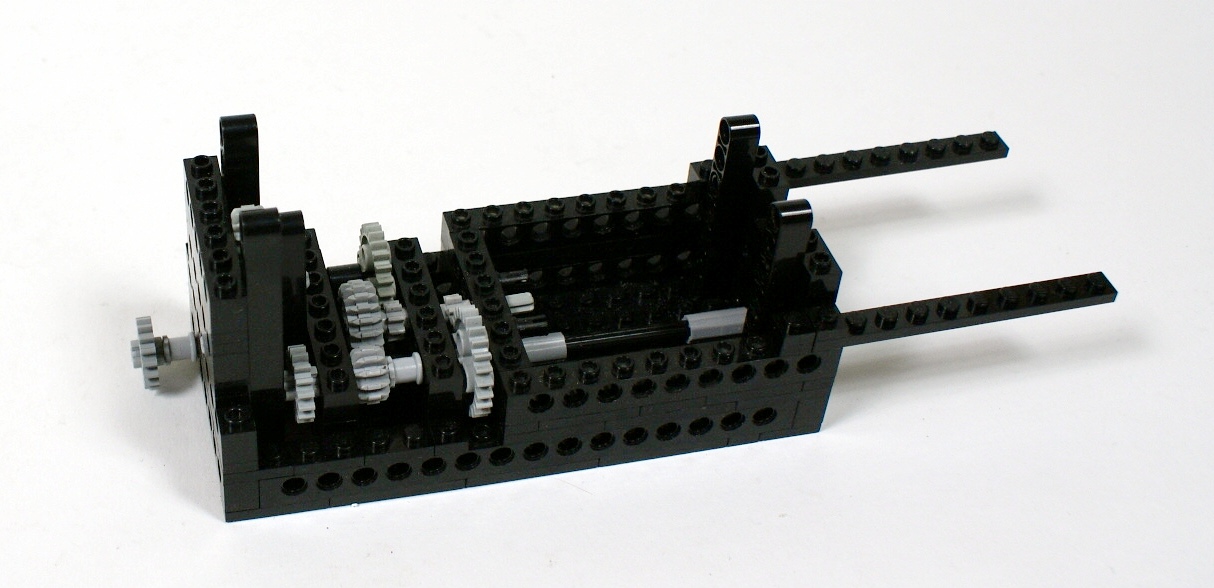
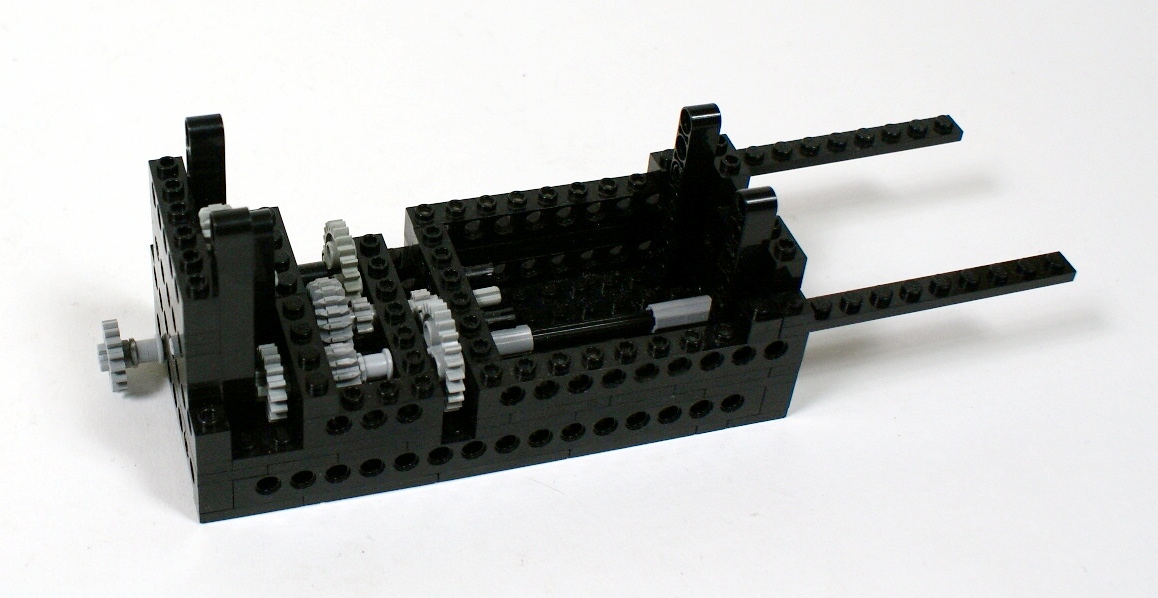
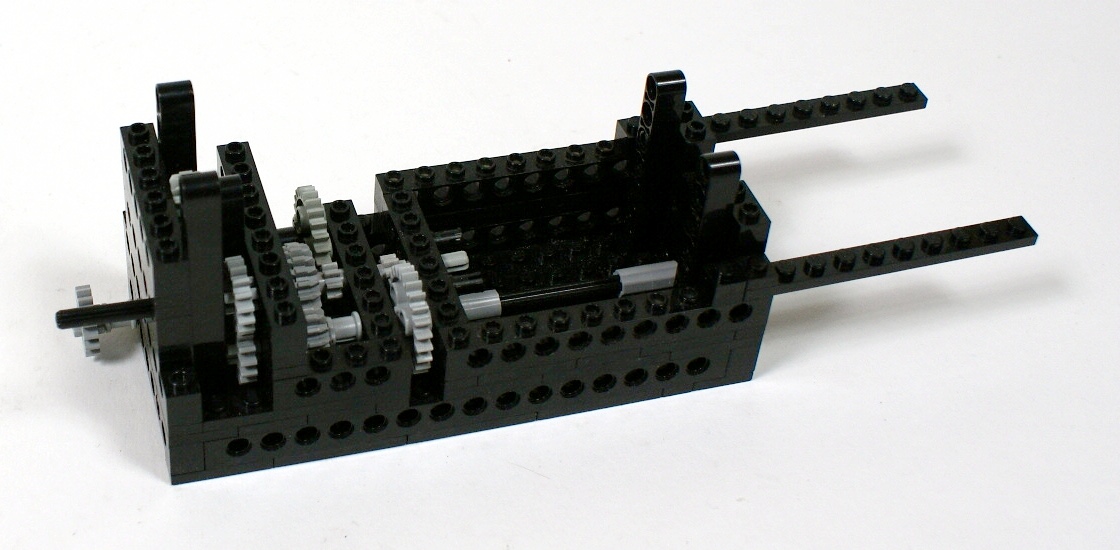
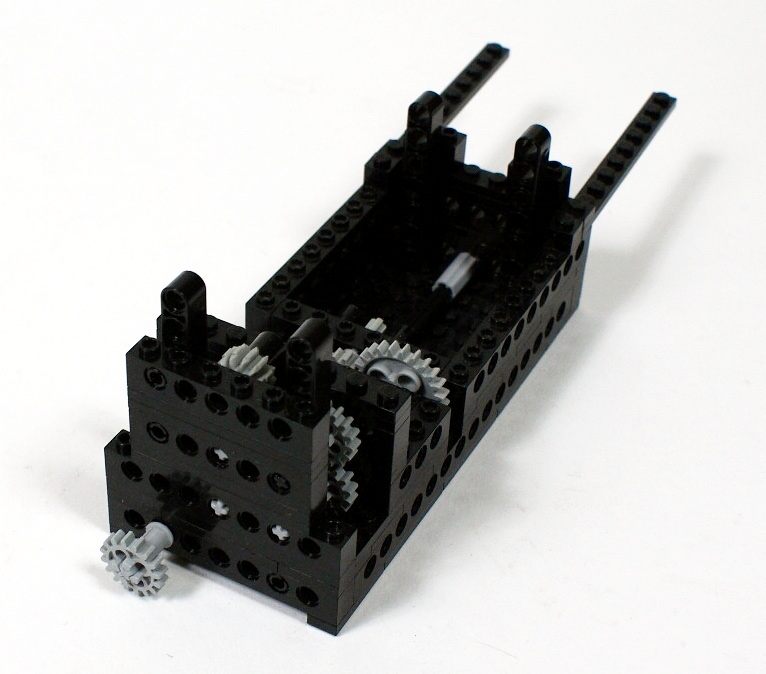
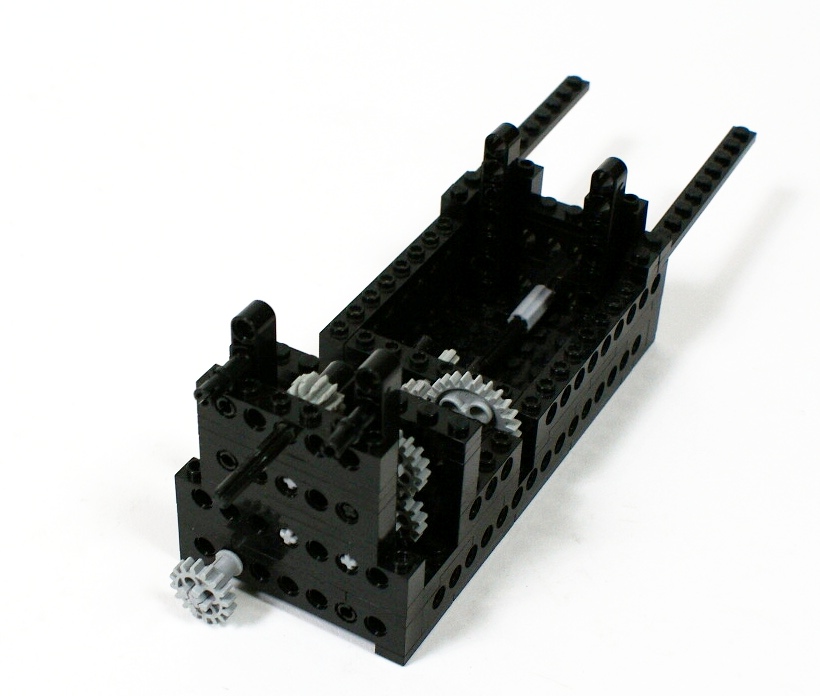
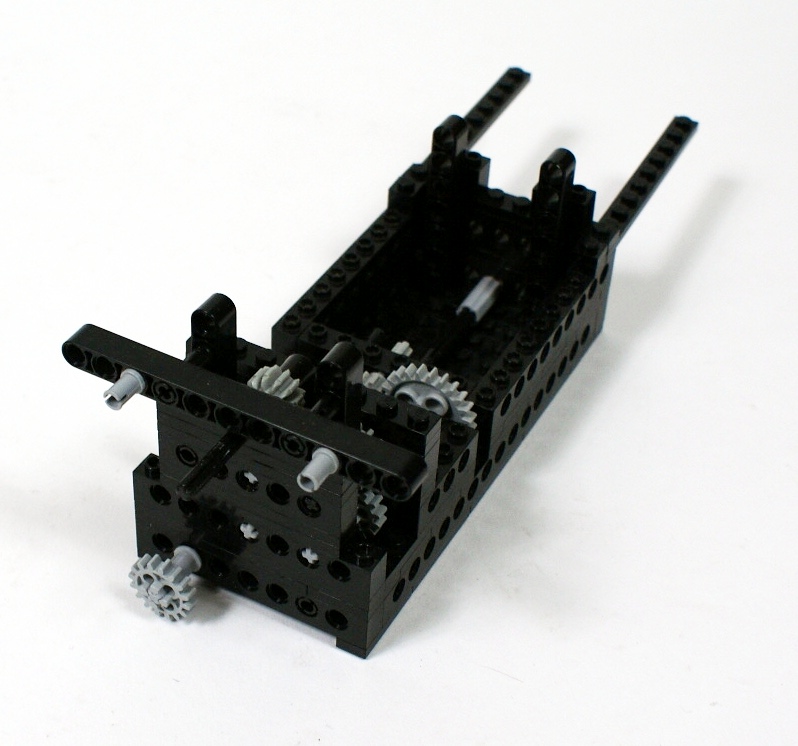
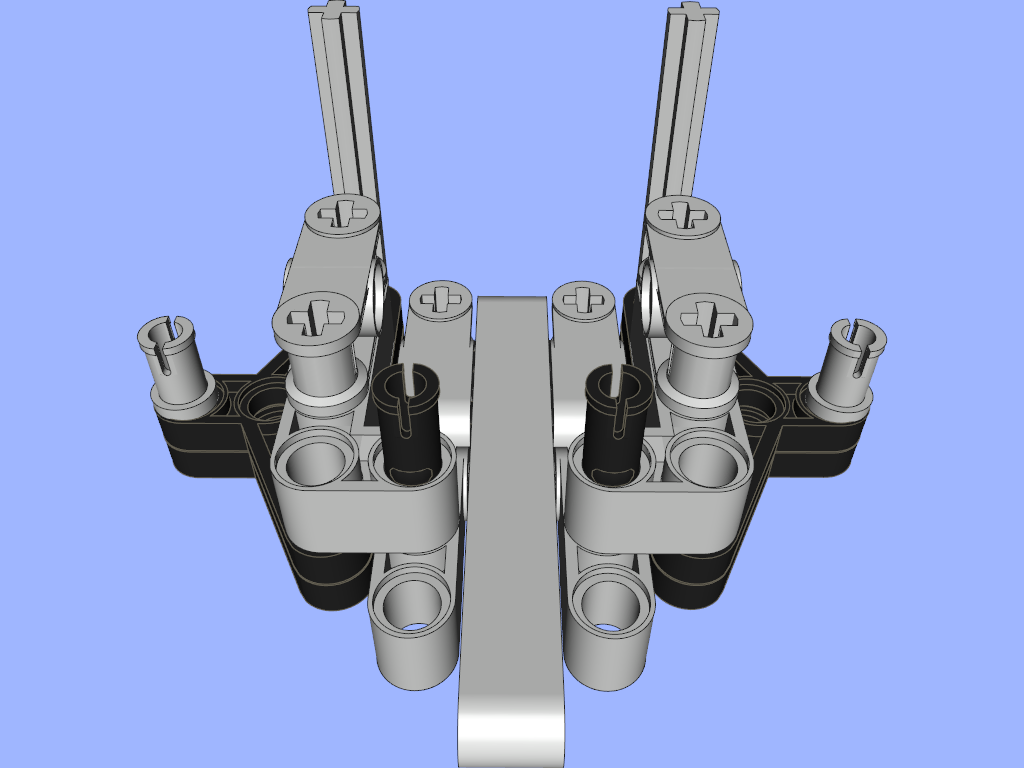
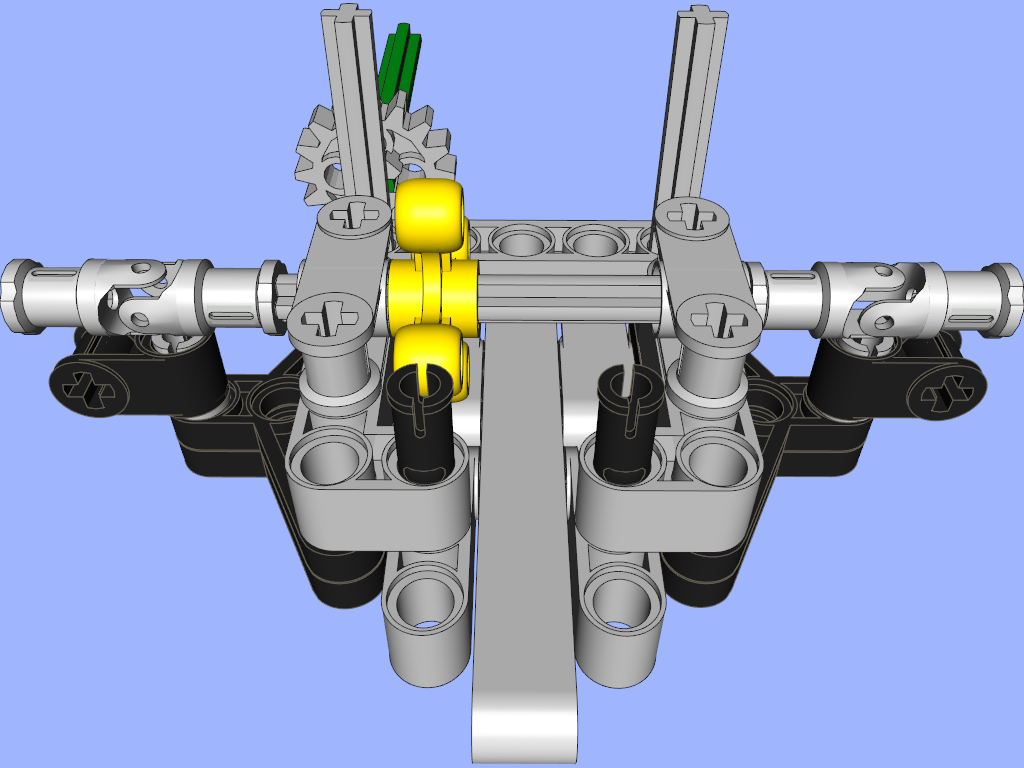
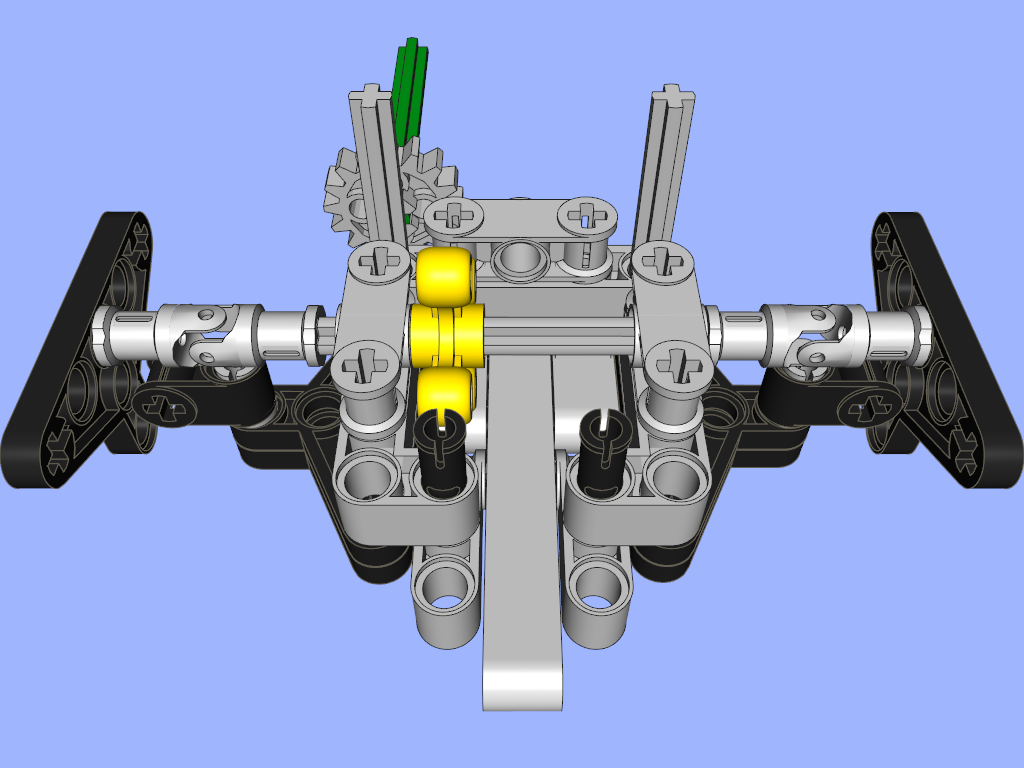
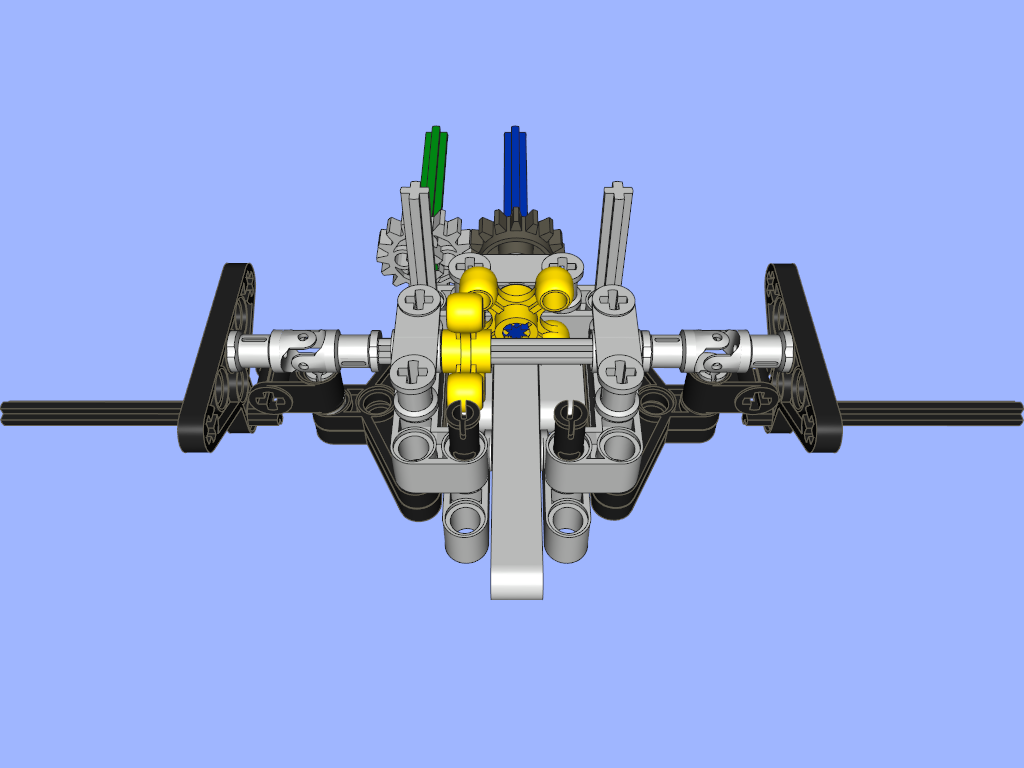
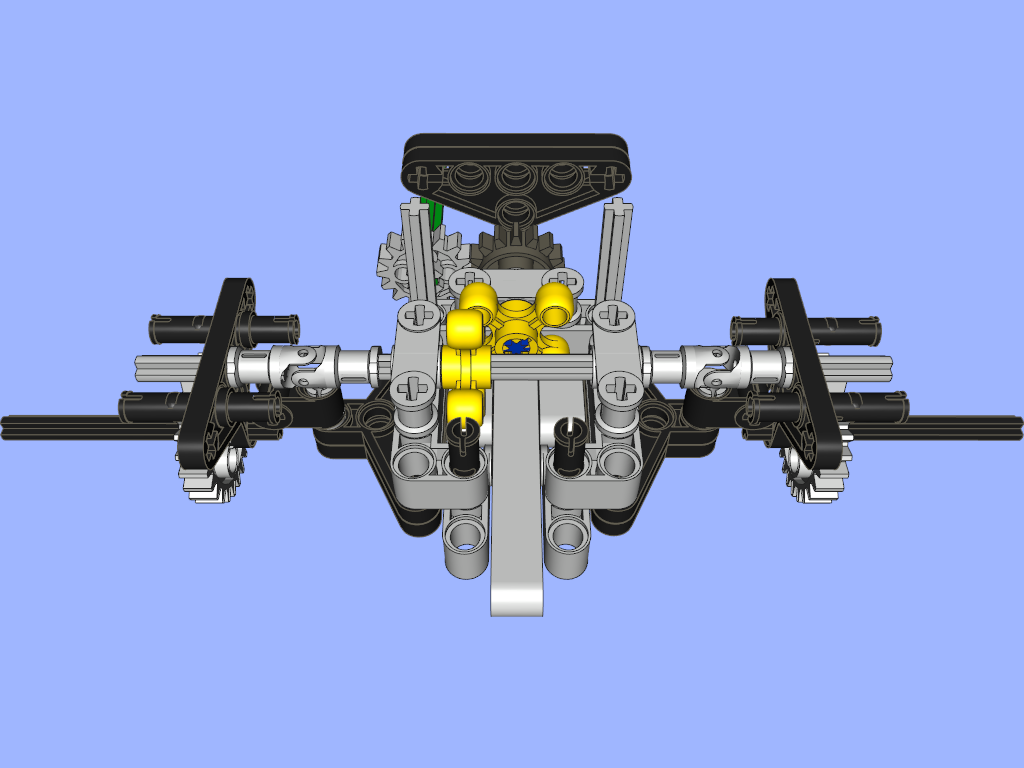
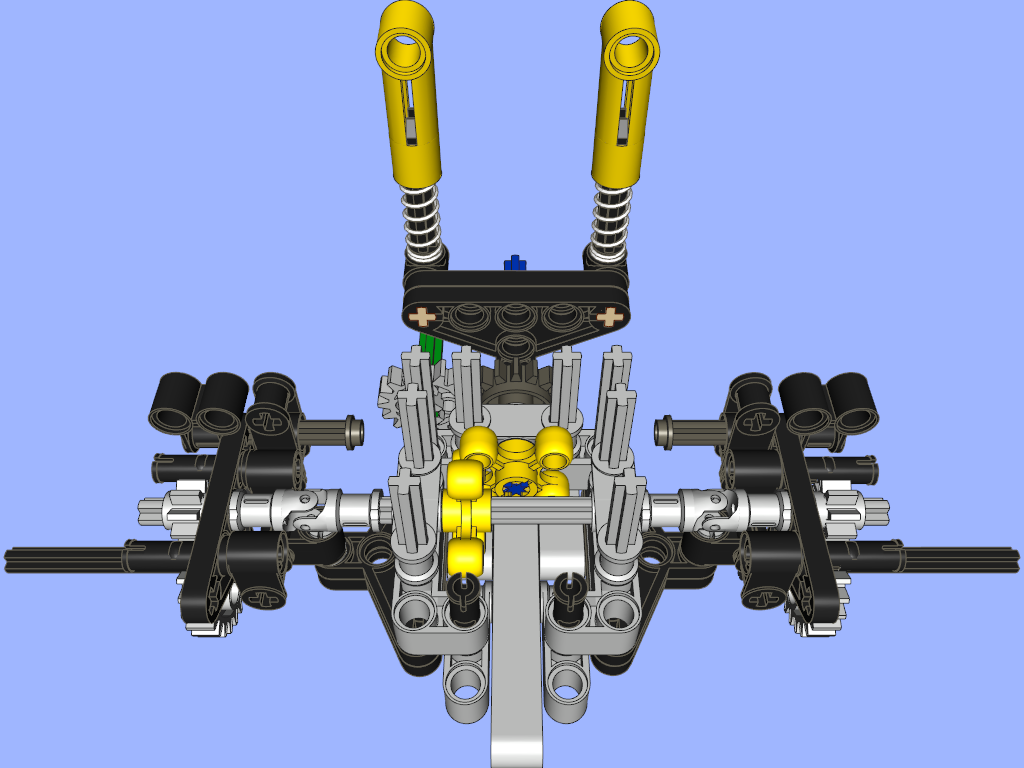
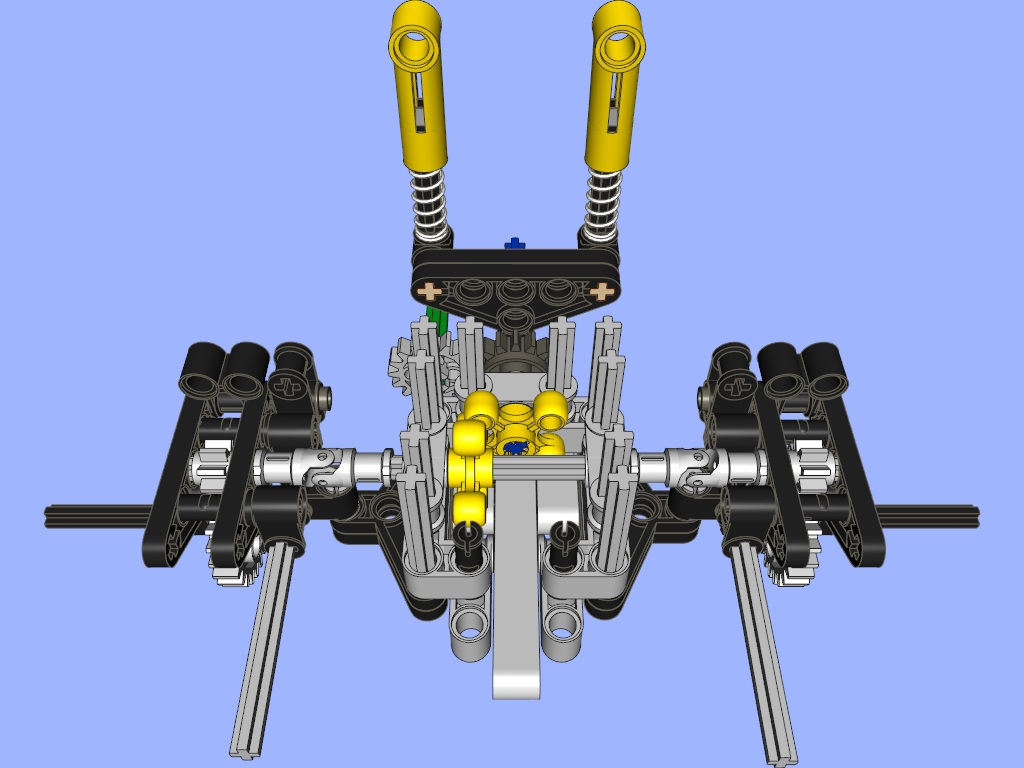
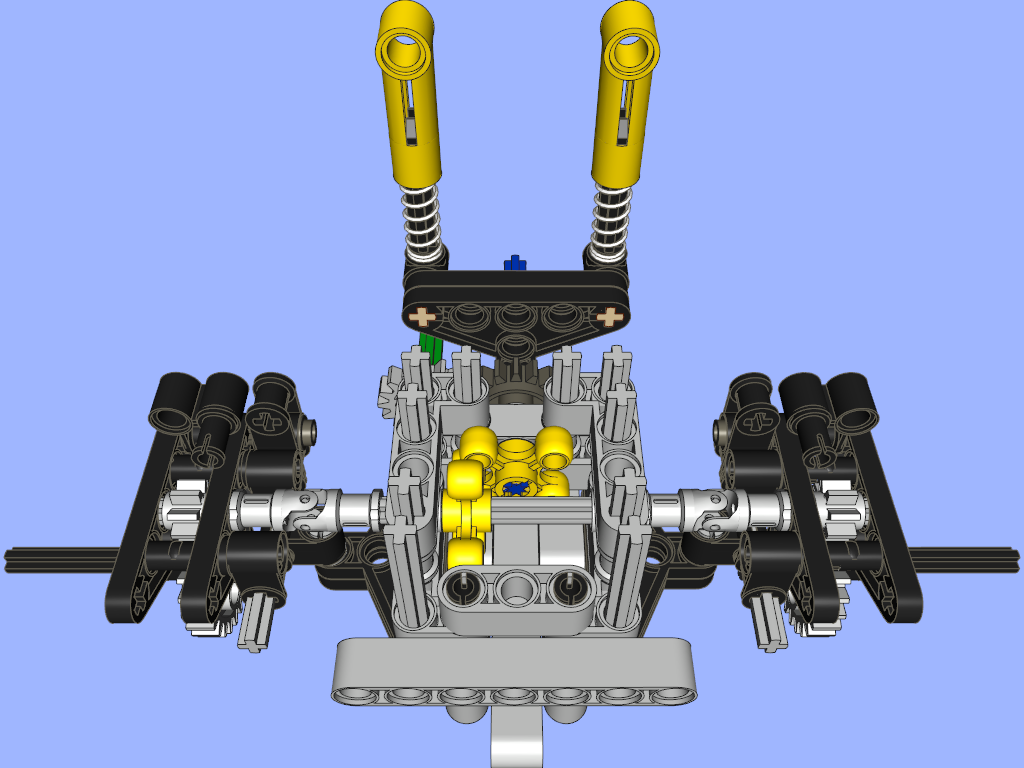
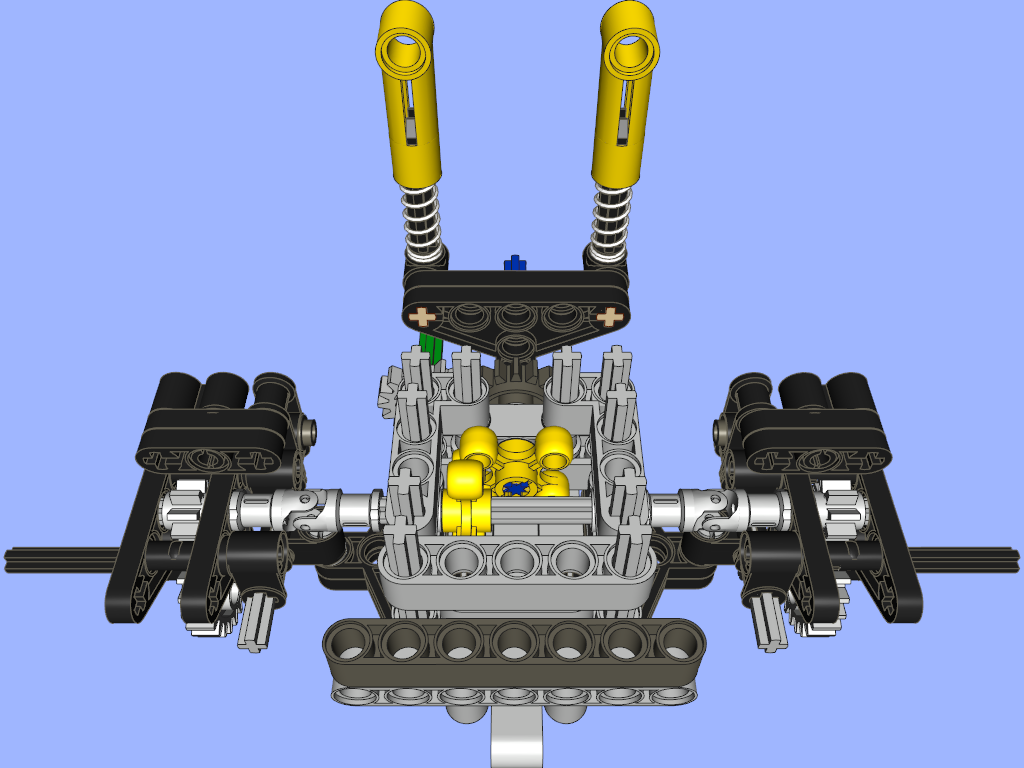
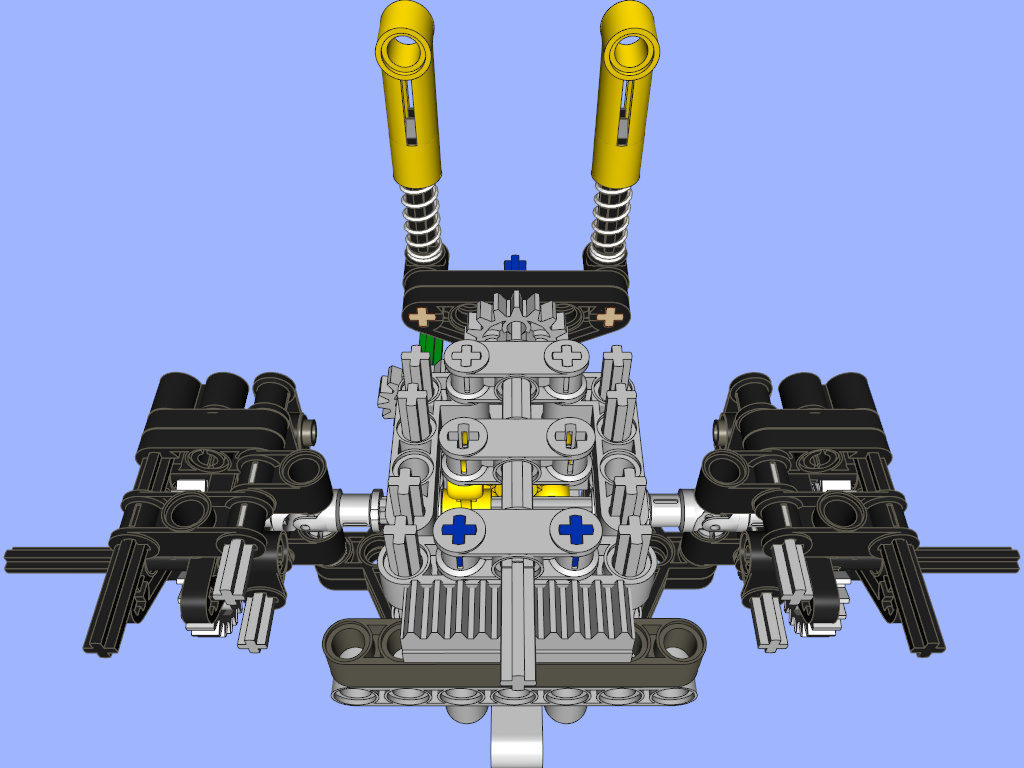
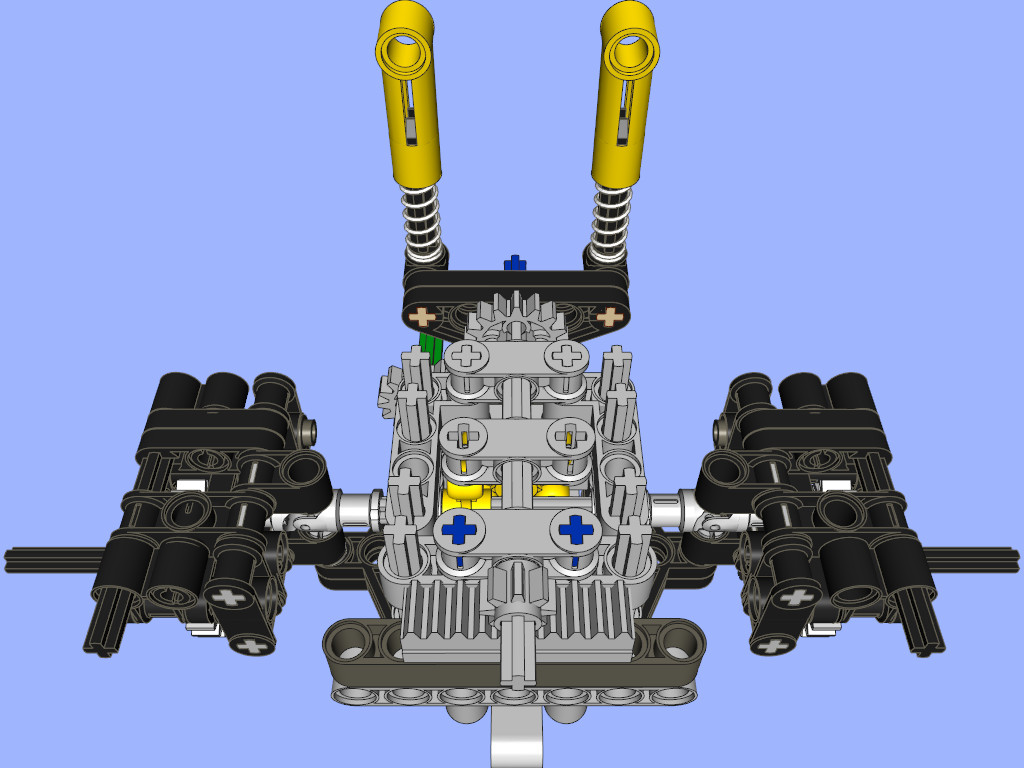
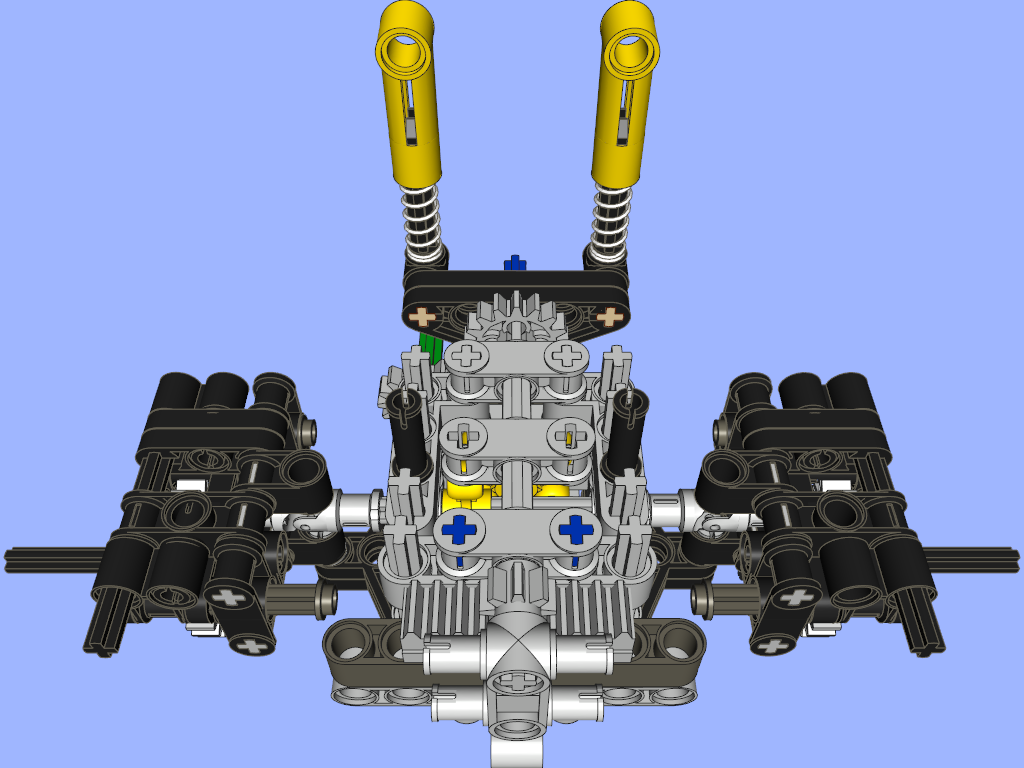
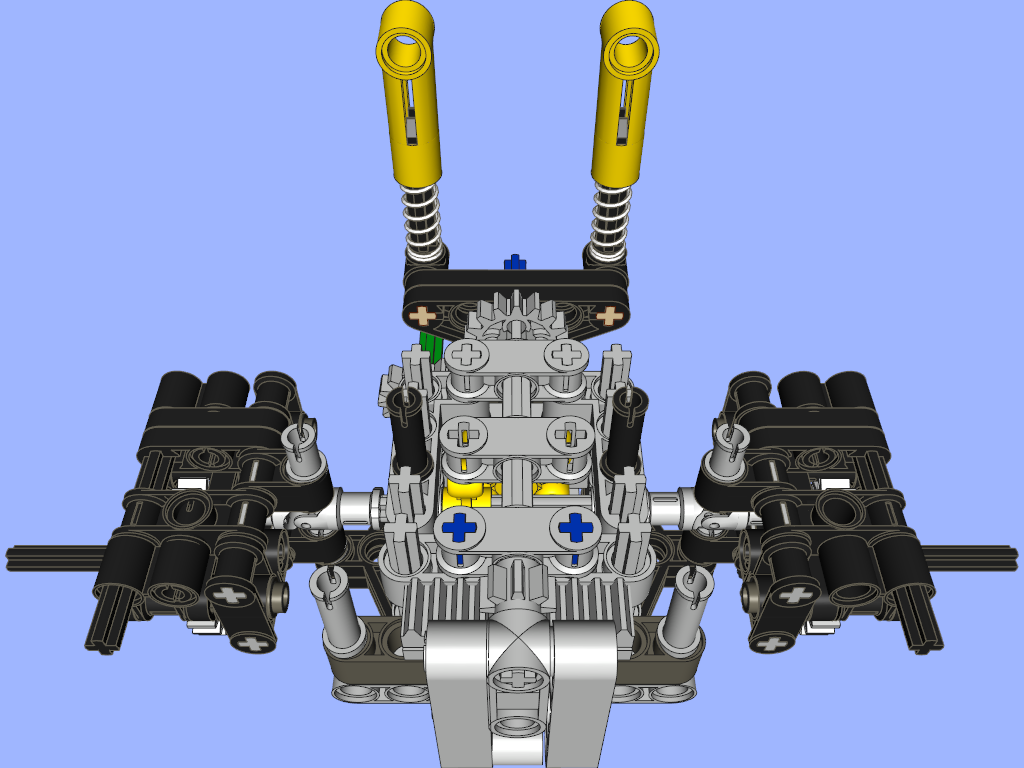
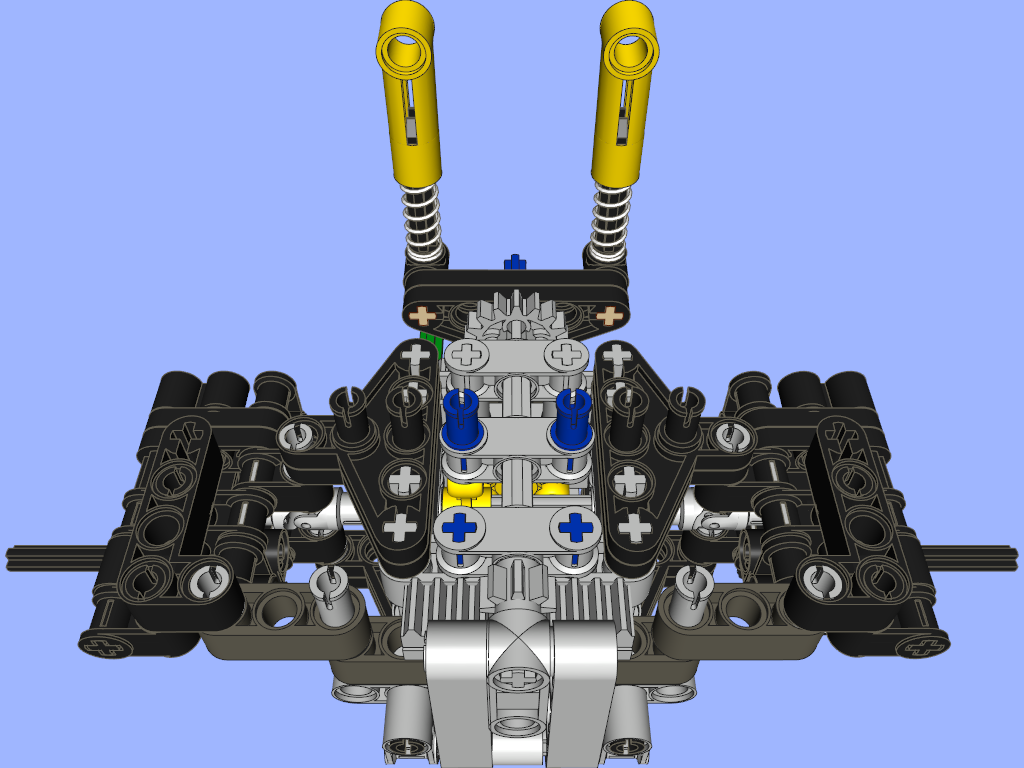
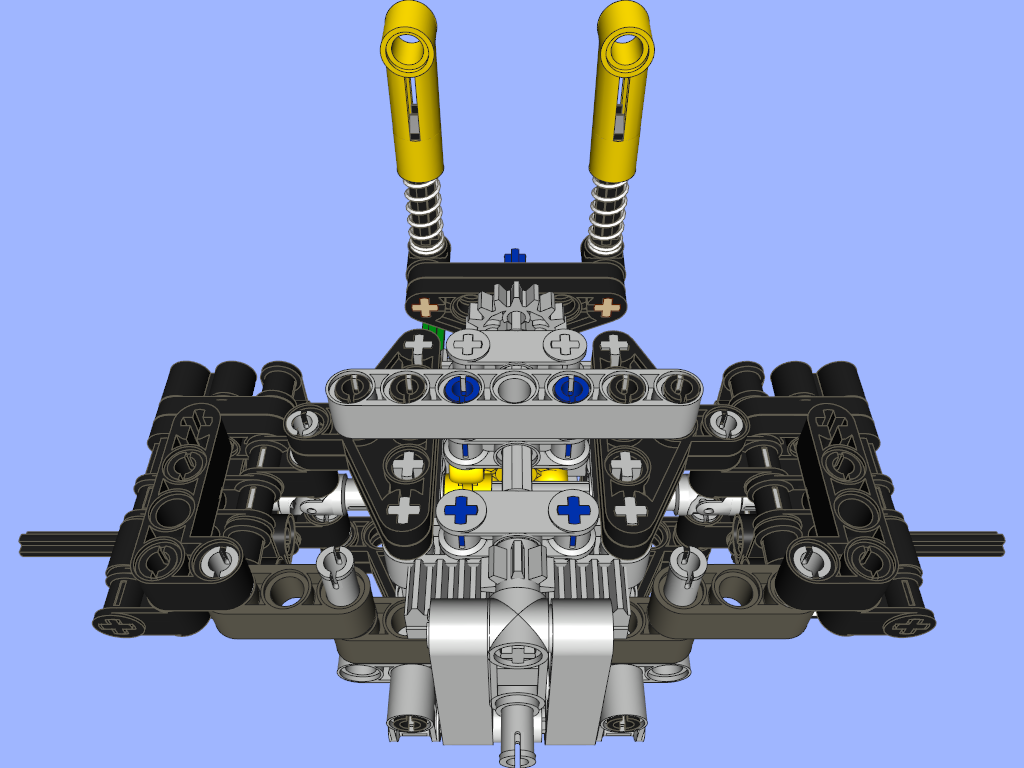
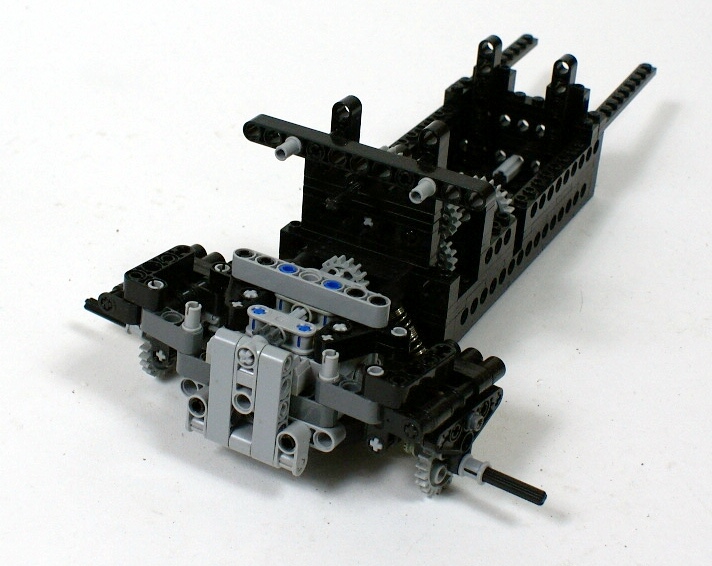
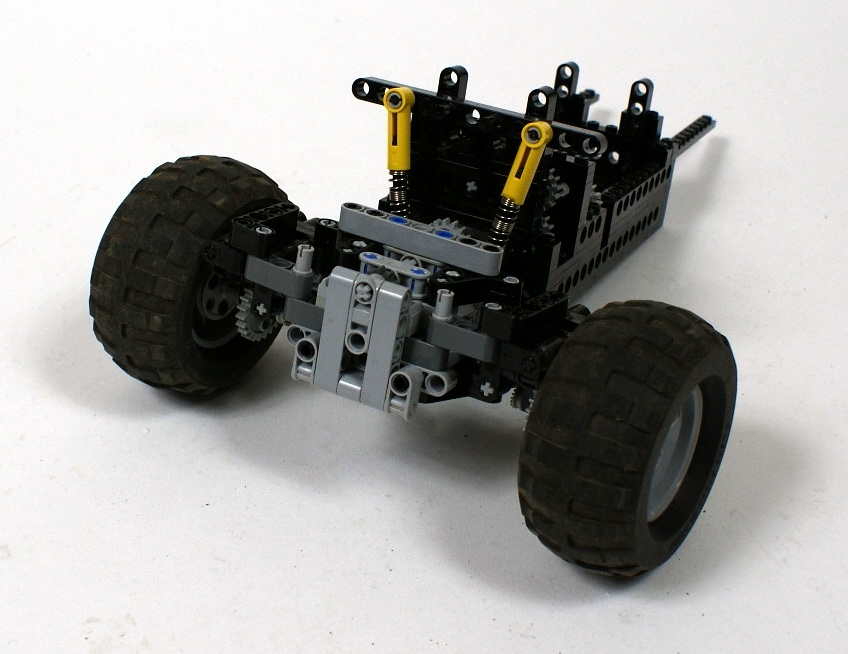
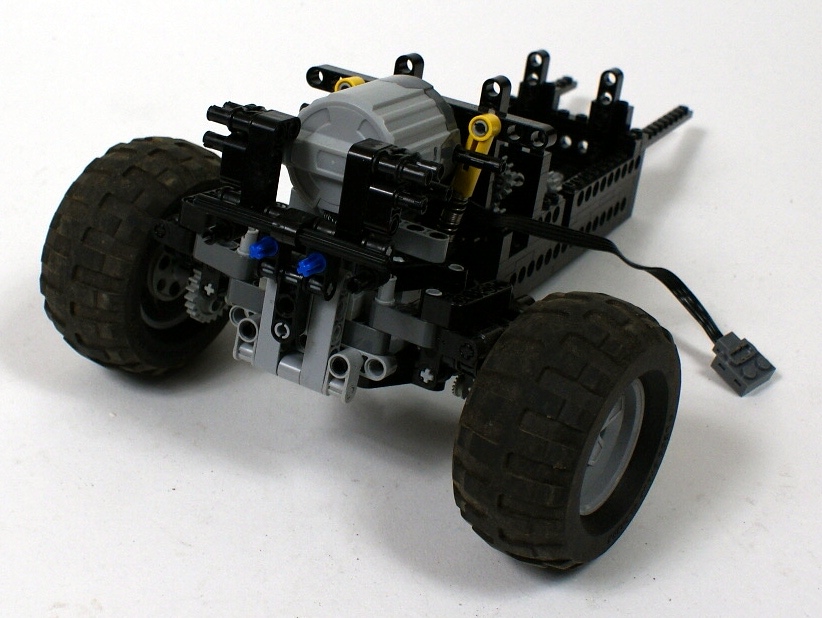
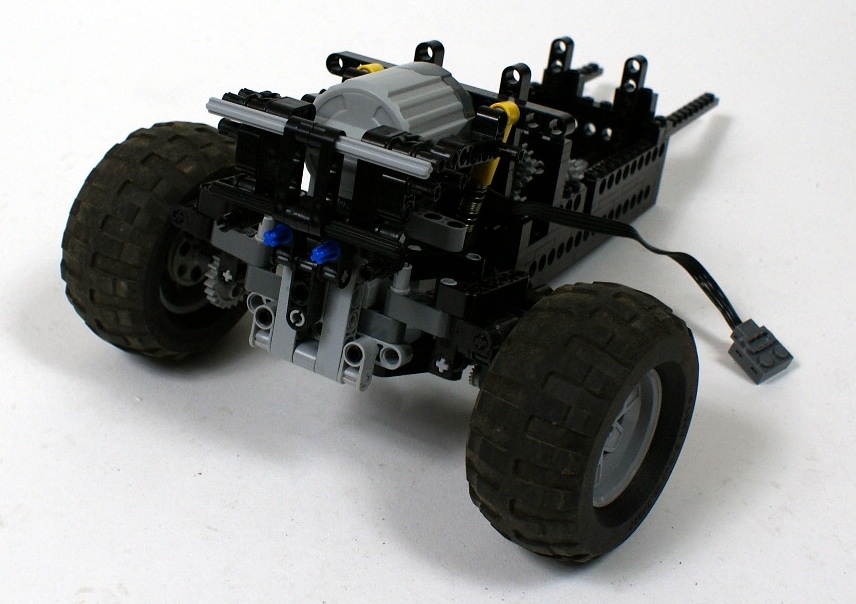
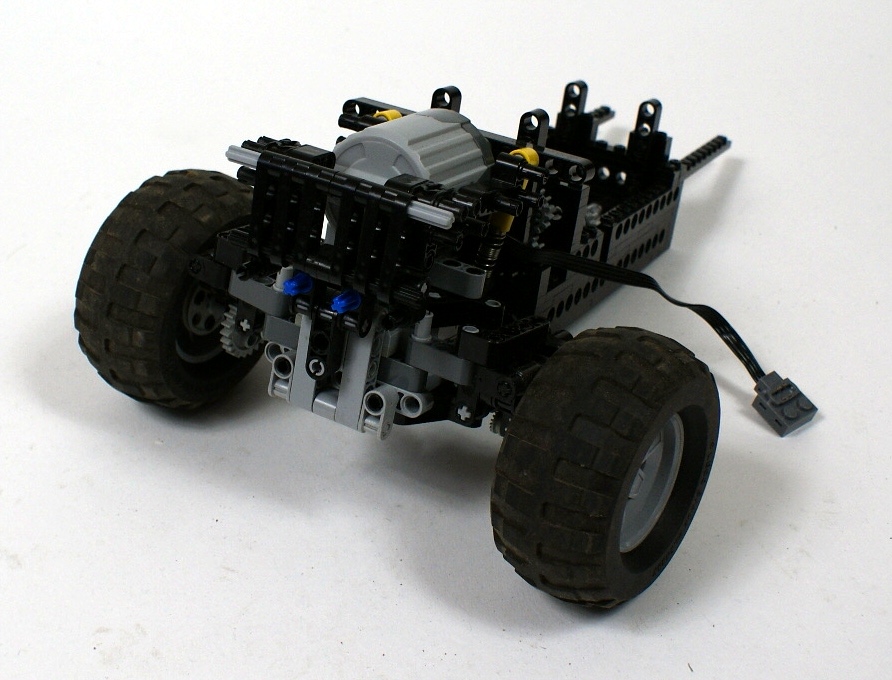
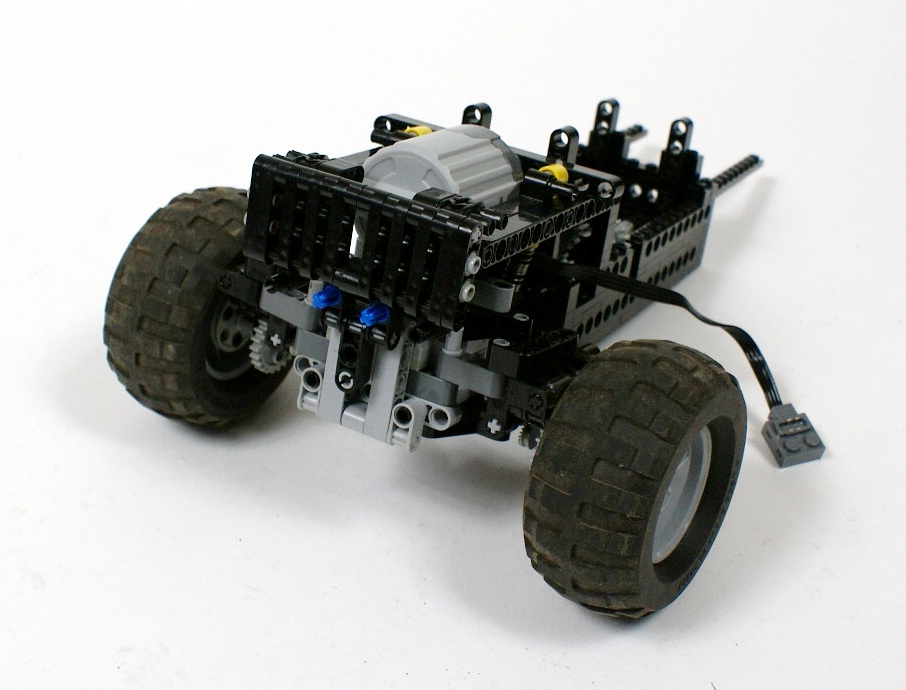
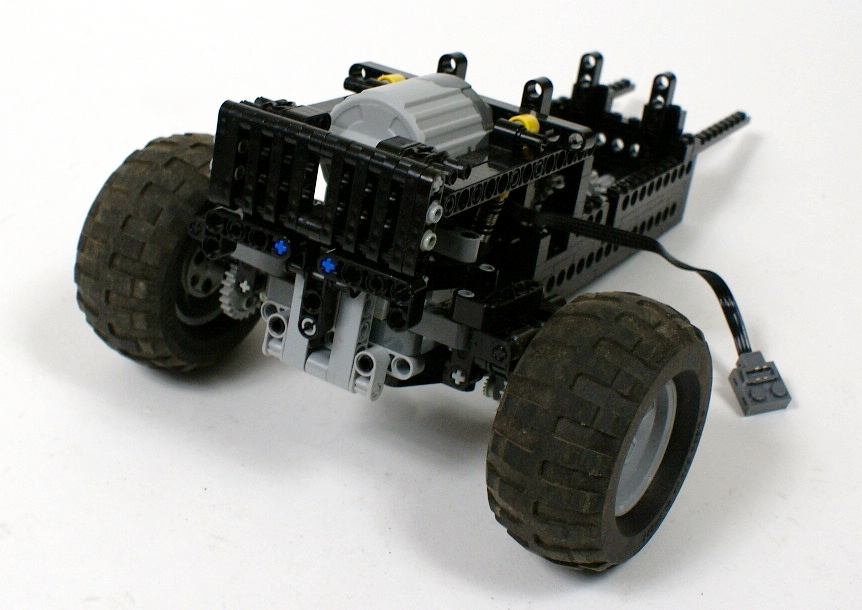
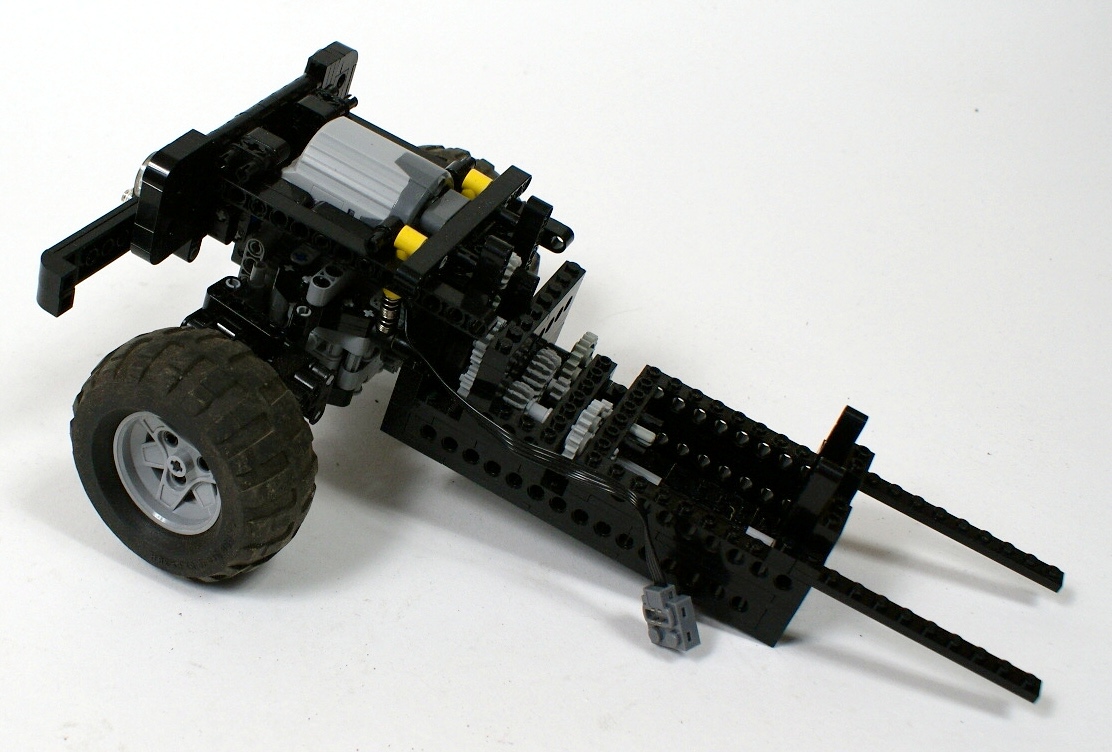
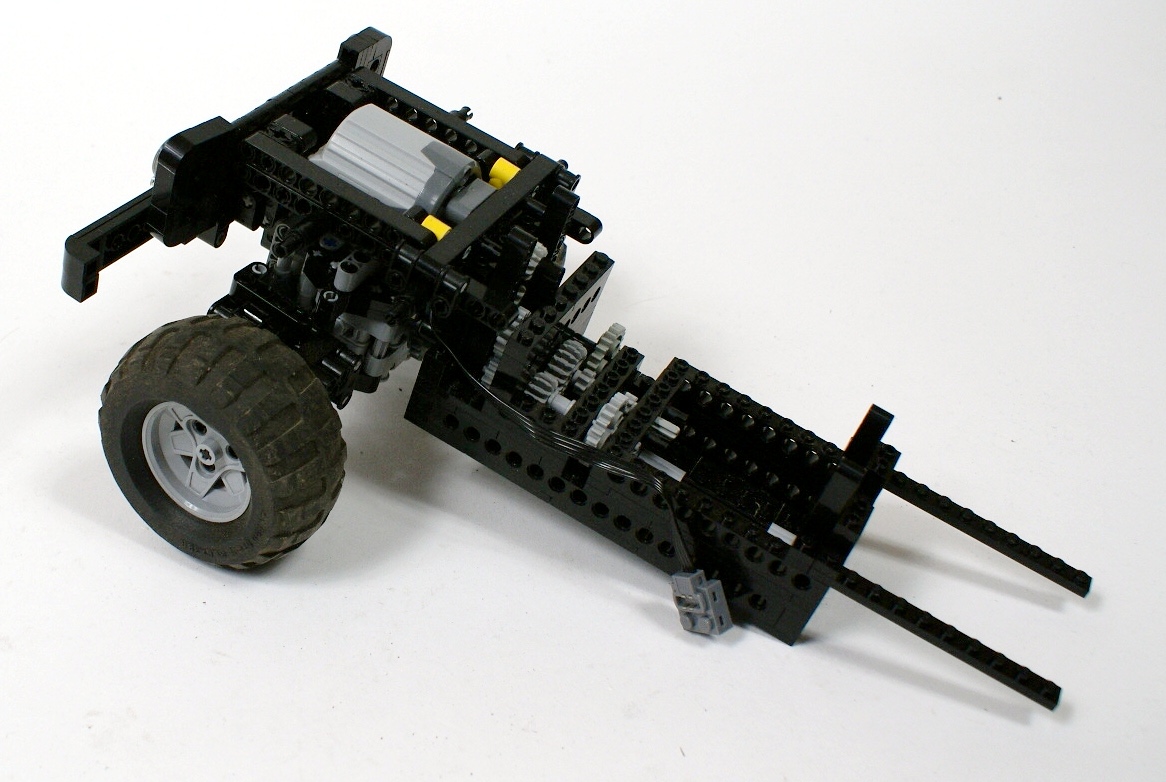
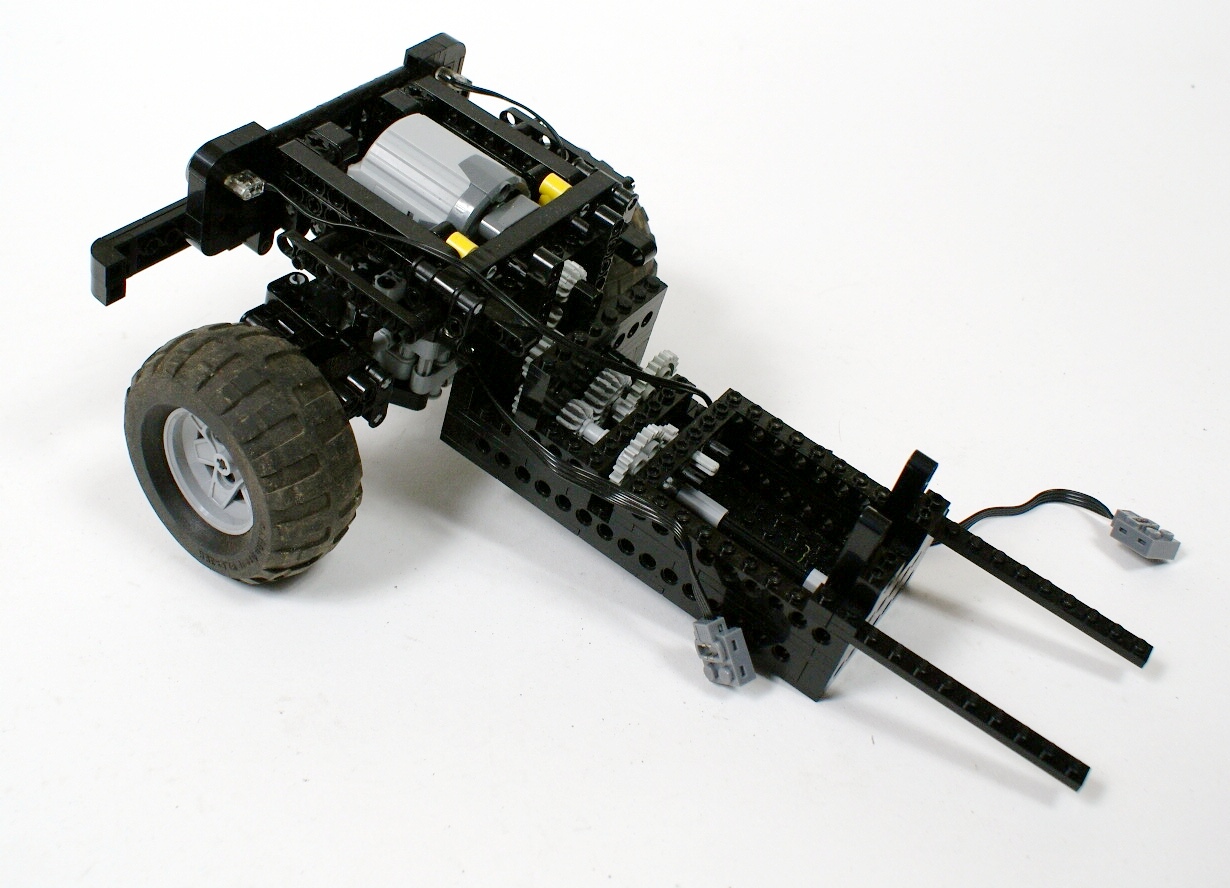
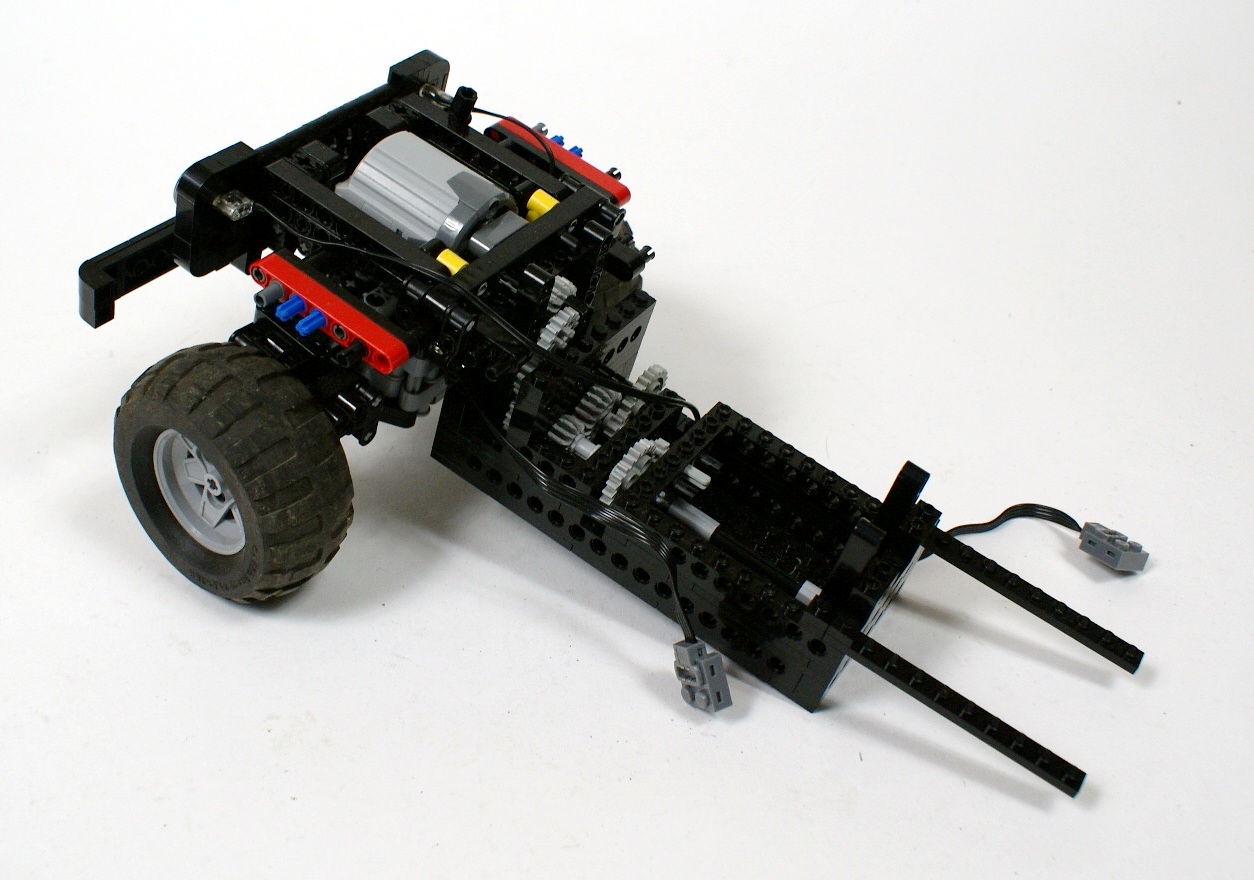
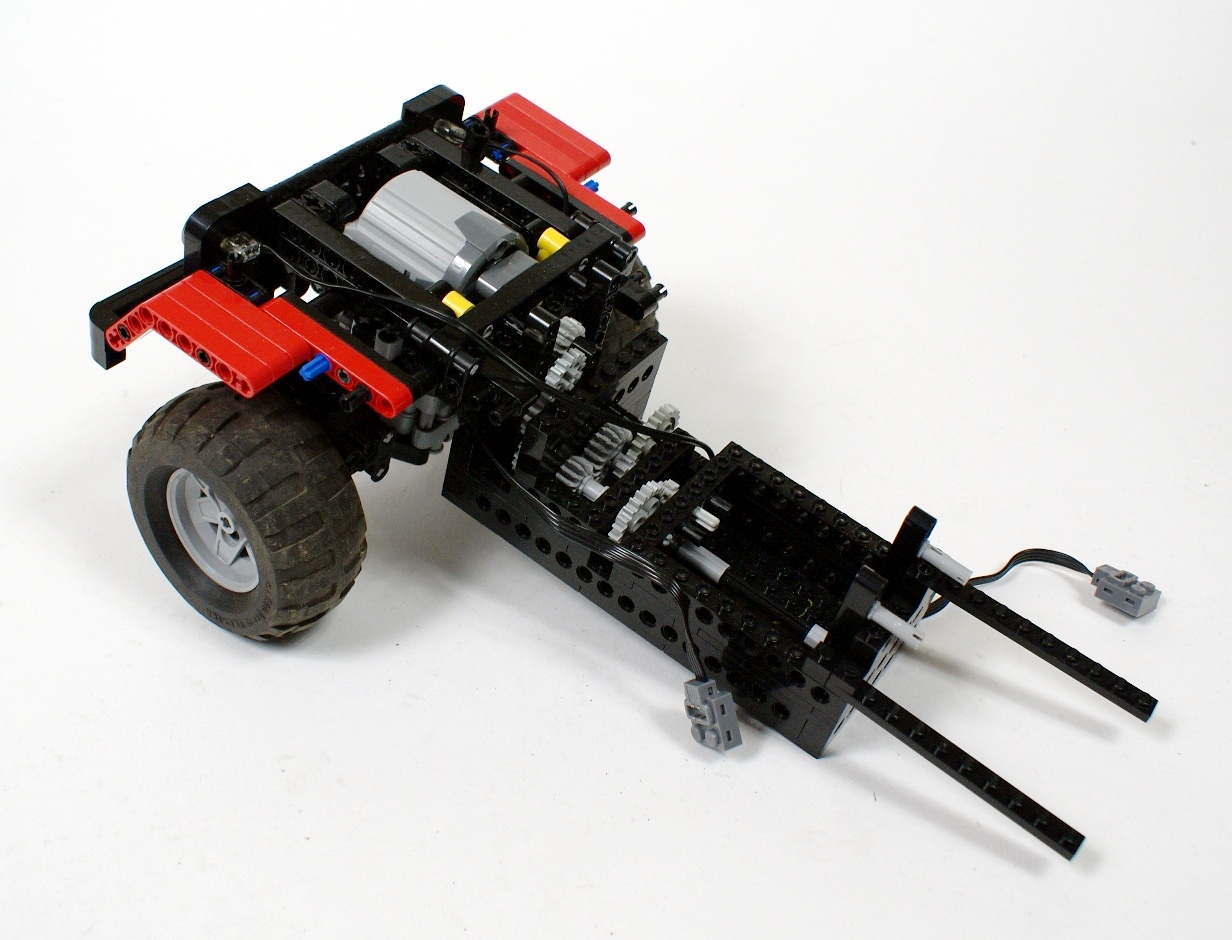
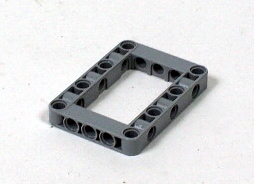
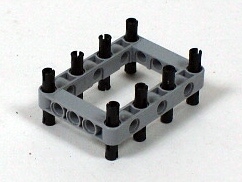
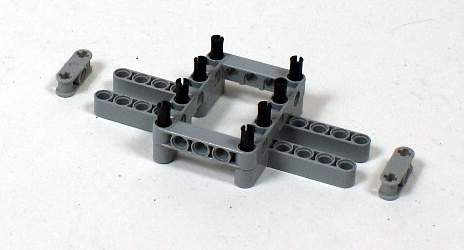
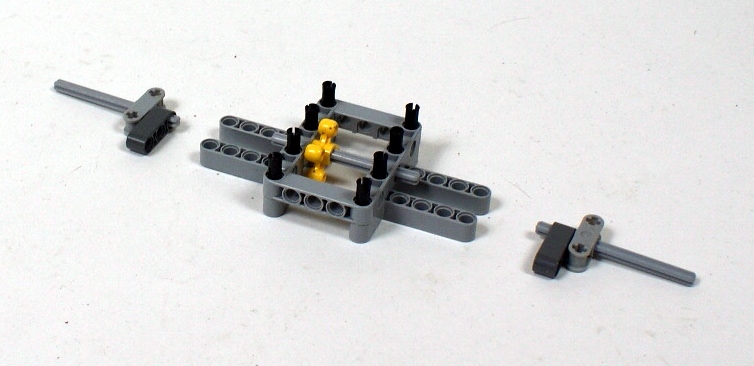
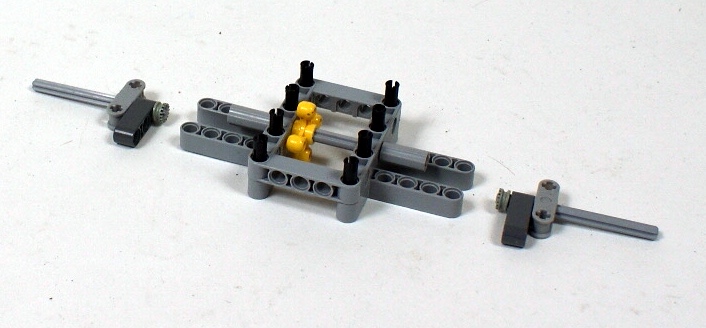
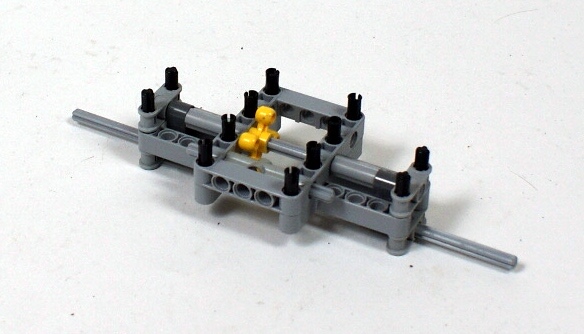
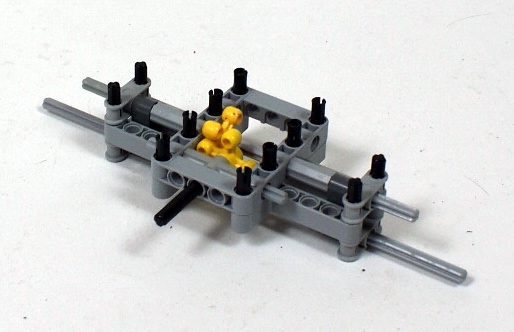
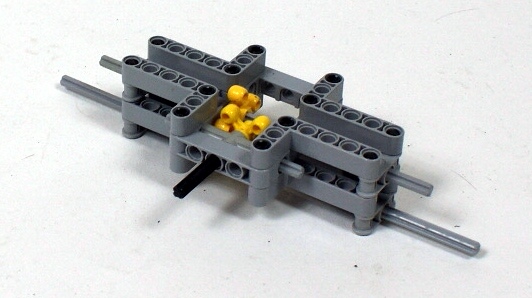
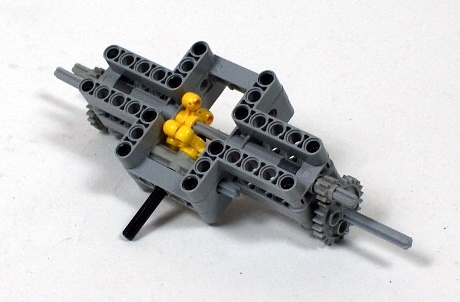
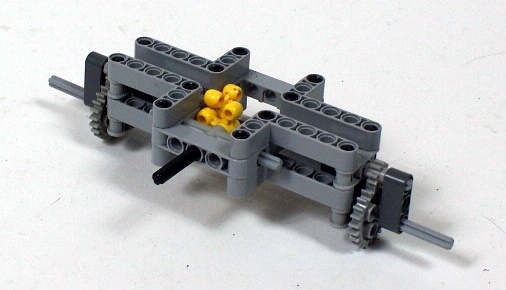
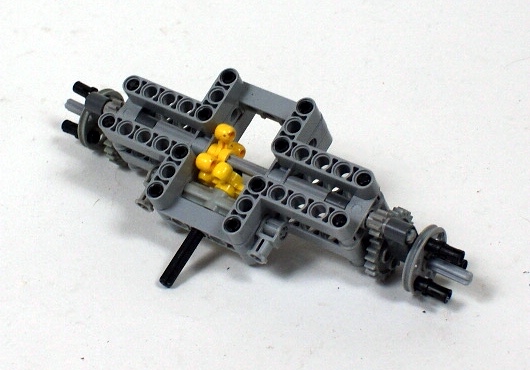
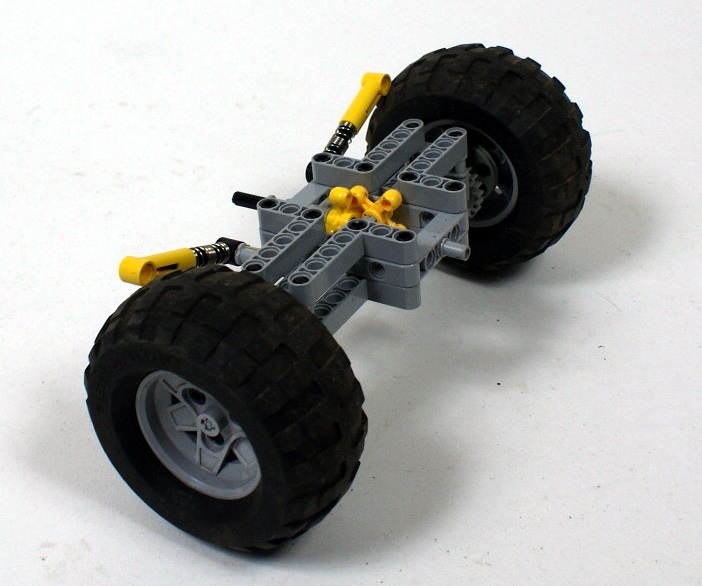
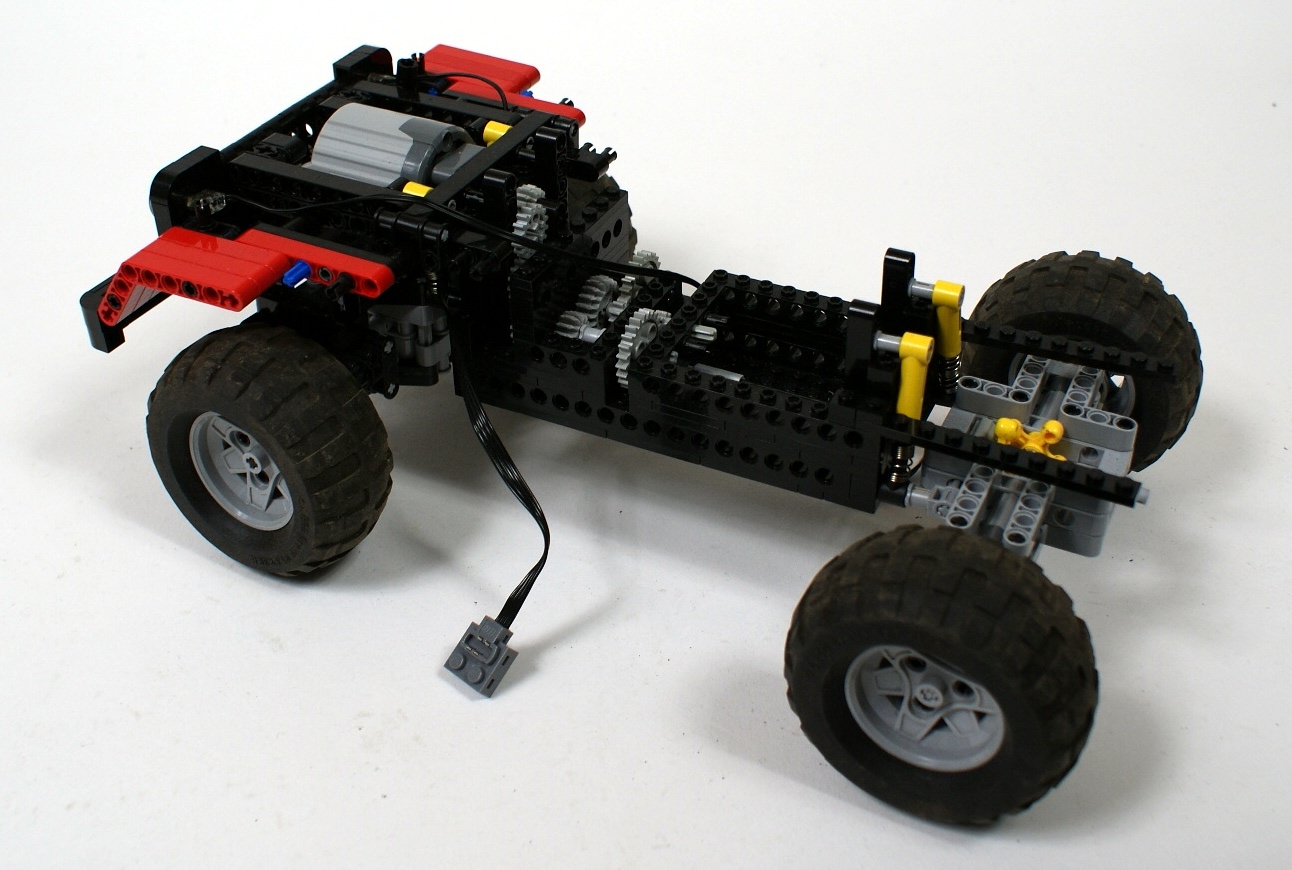
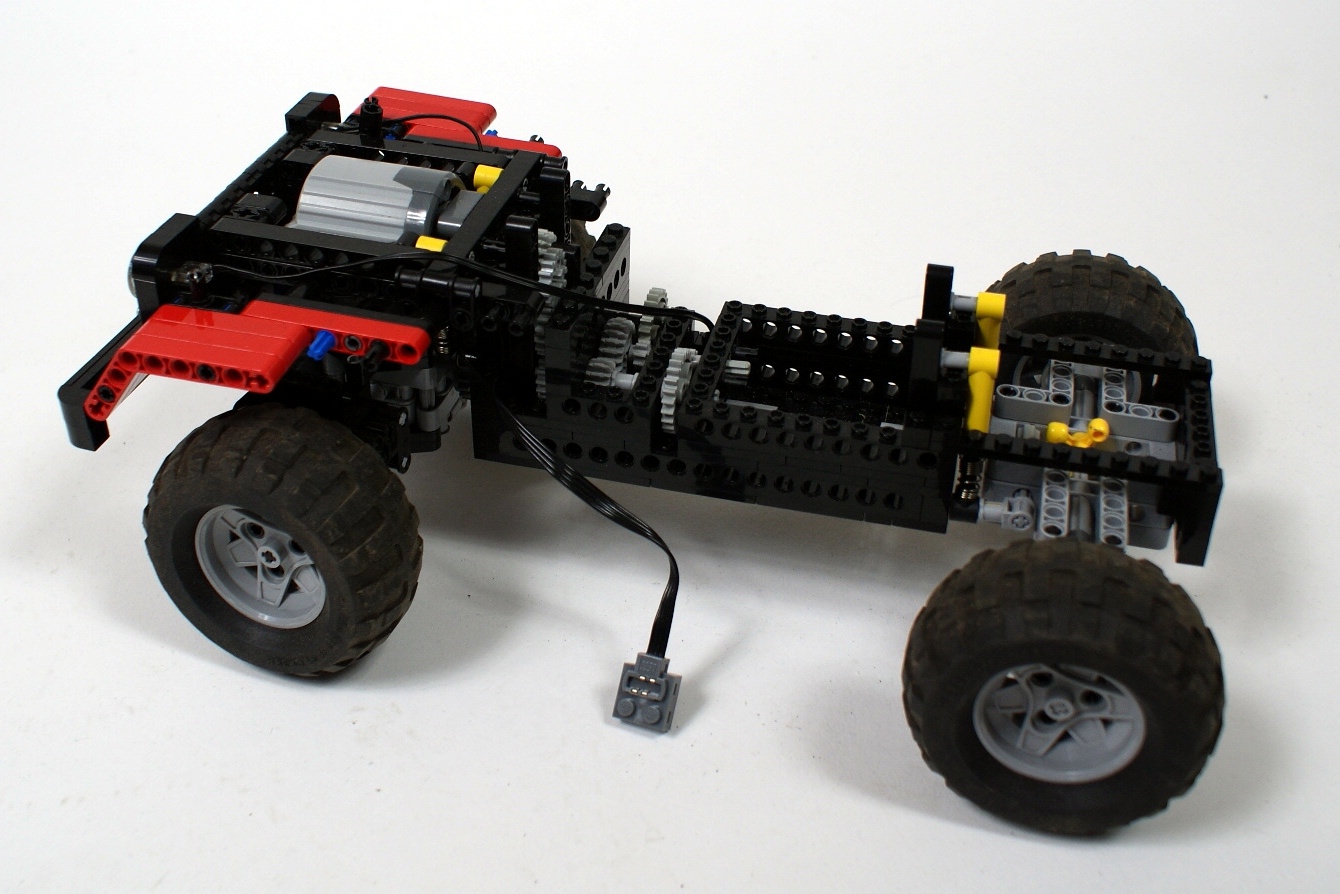
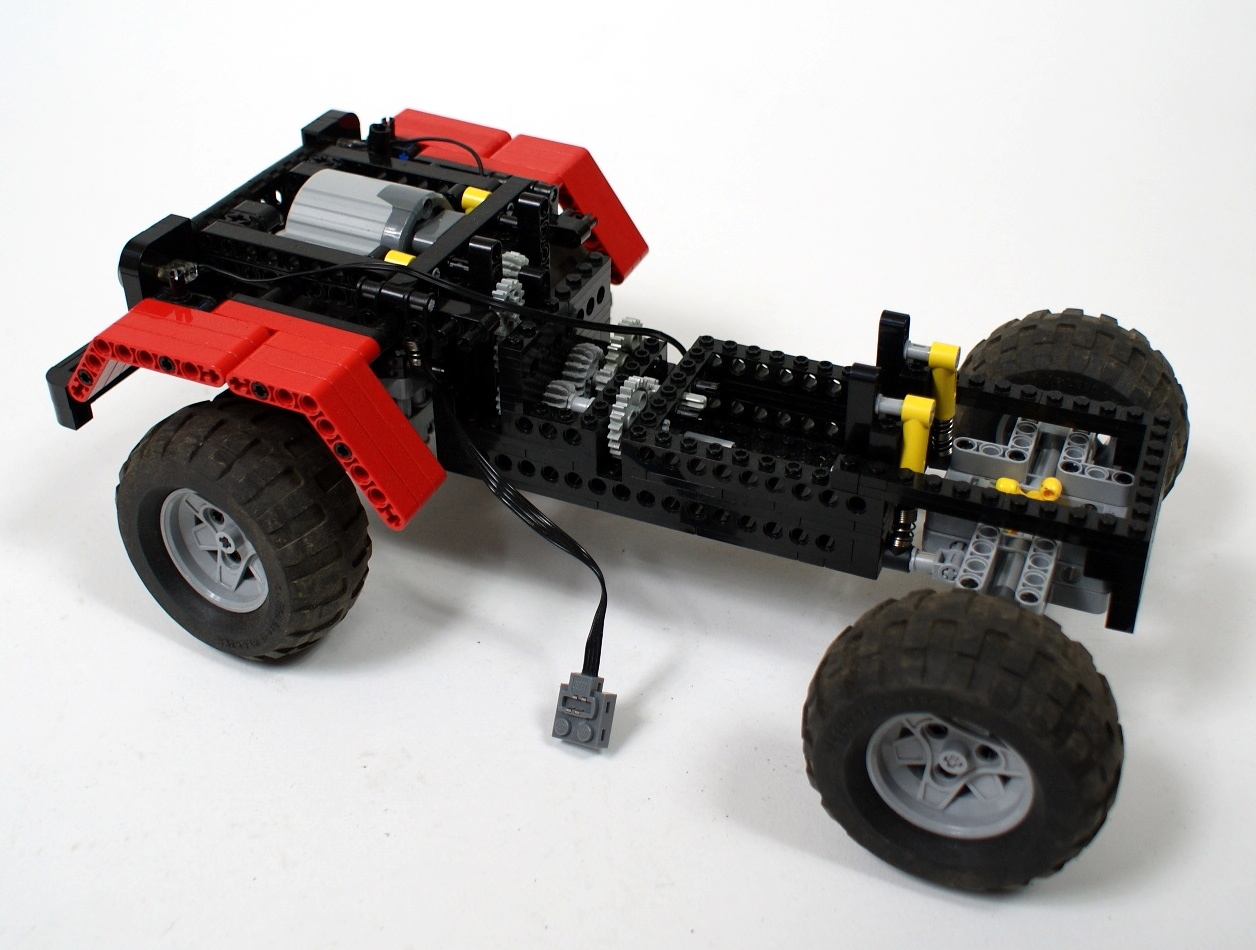
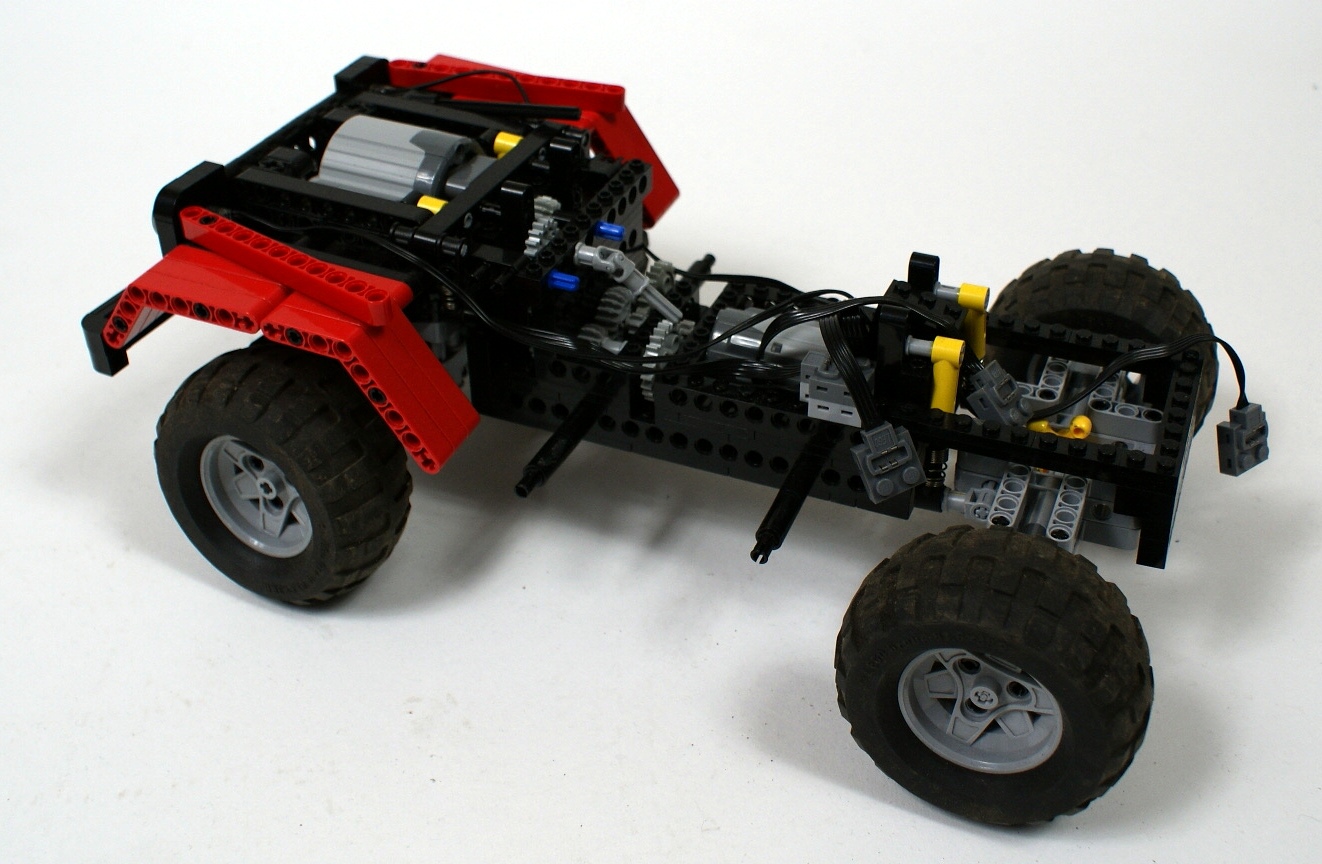
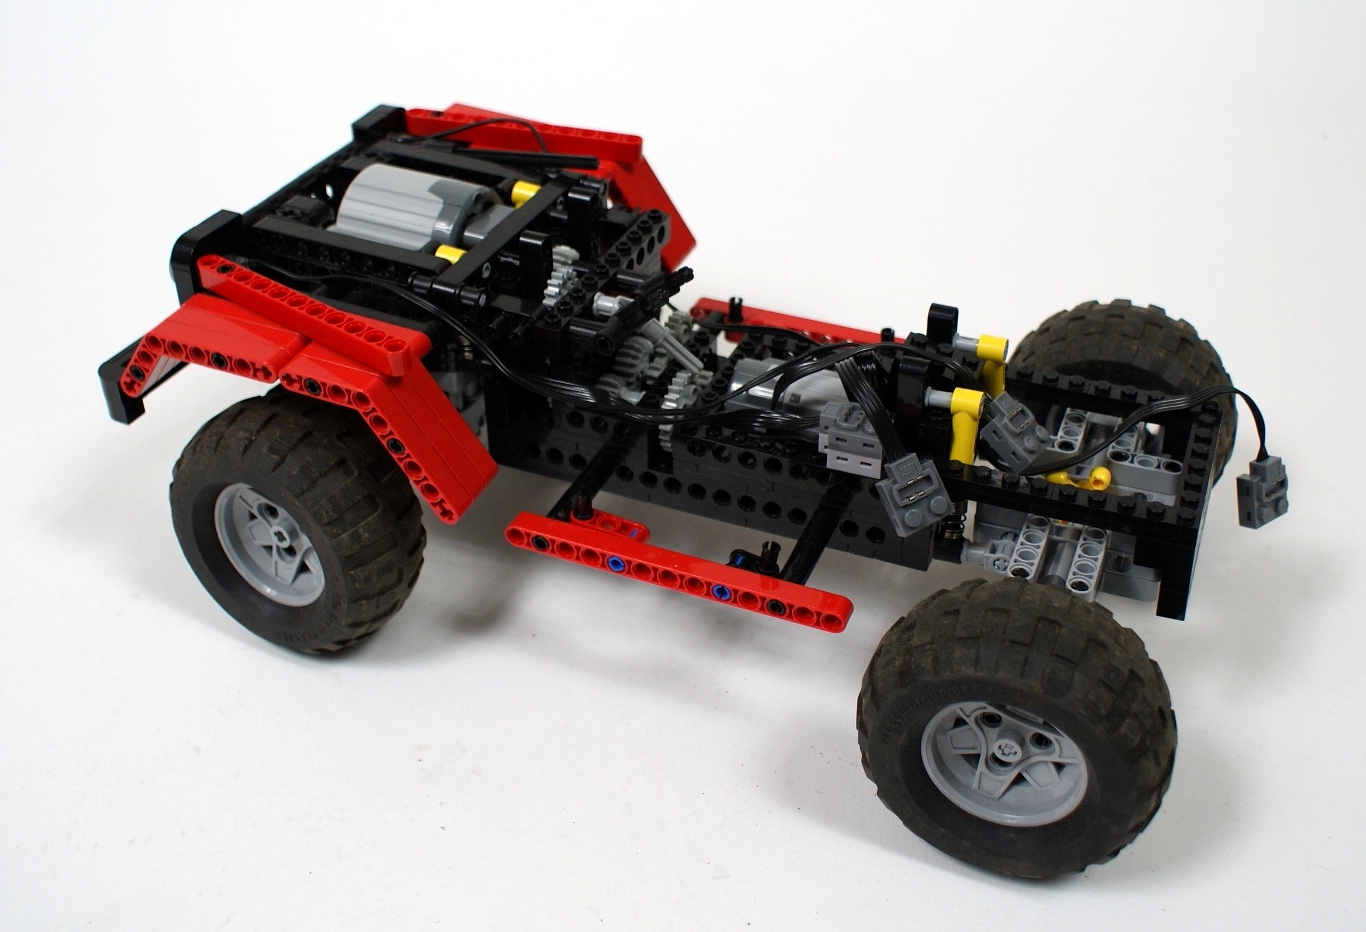
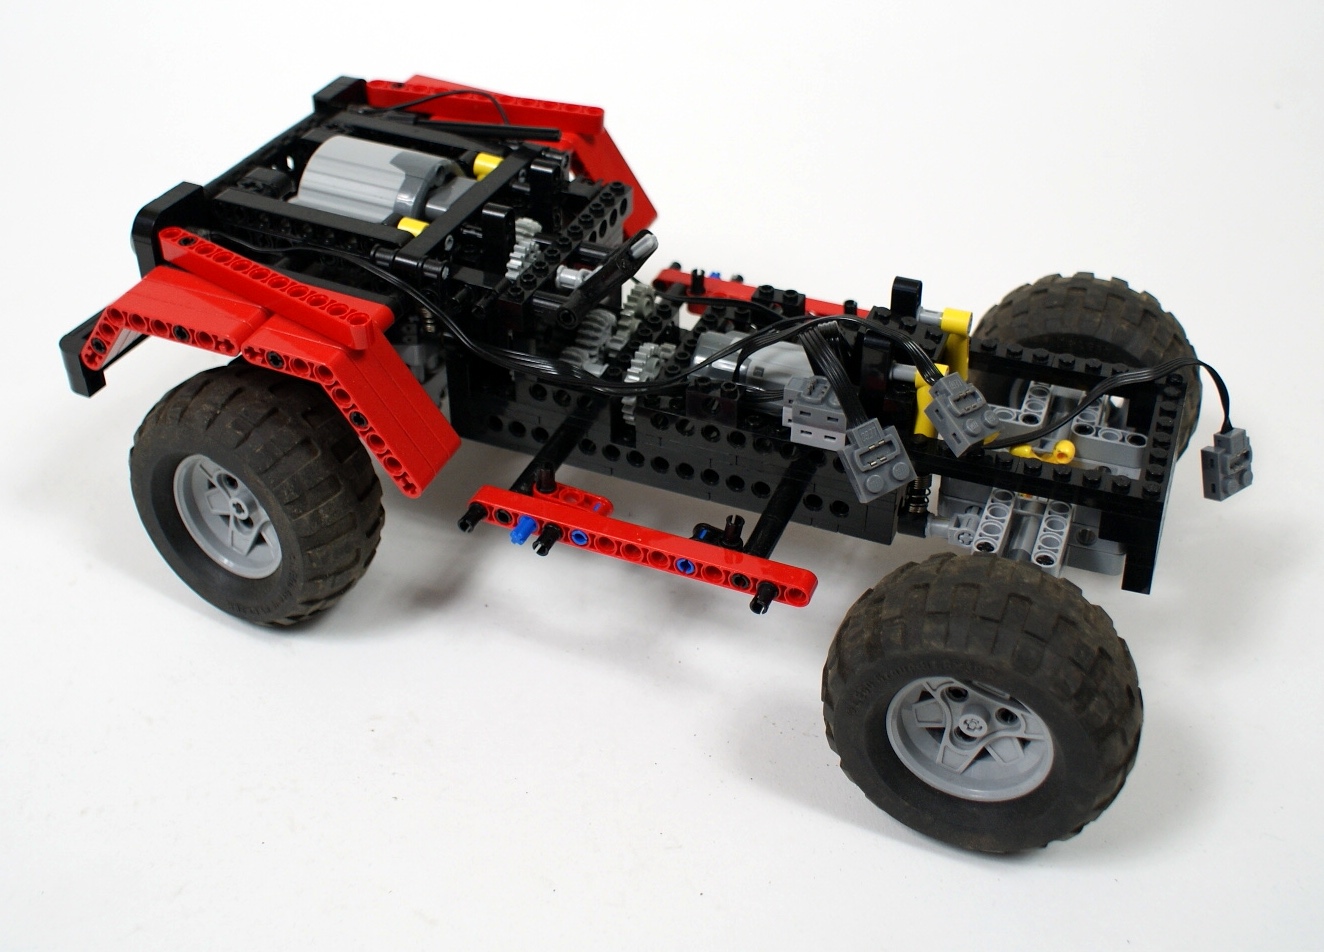
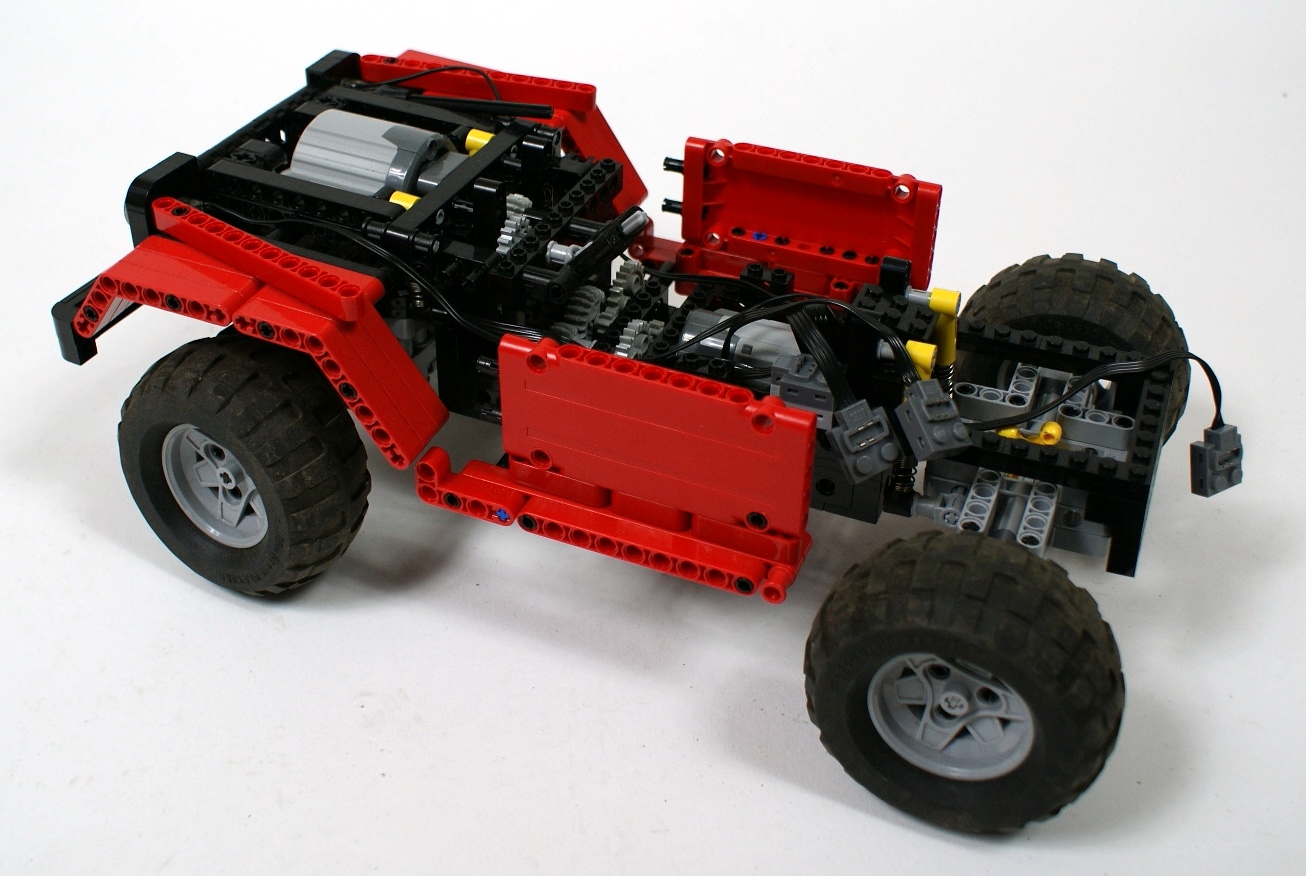
The chassis, which weights just 0.75 kg, consists basically of the studfull frame connected with studless axles. Since there is very little space in front of the front axle, both drive and steering had to be transferred to the front axle from behind. This was achieved by placing a 16-teeth gear with a clutch on the driveshaft – this gear works as an idler gear between two other gears, thus transferring the steering independently to the drive. Front axle is compact but massive, strong enough to handle much heavier vehicle, and it’s bottom is entirely covered with liftarms to prevent it from getting stuck on an obstacle. It should be noted that both axles use knob wheels instead of differentials, and both are portal axles with an integrated 3:1 gear reduction. Each axle is stabilized by a pair of short shock absorbers located between the axle and the frame for maximum structural integrity. In order to minimize the effect of central driveshaft’s torque tilting the body, which occurs when only pendular axles are used, the axles are stabilized with the hardest shock absorbers available. The rear axle is built around the 7×5 liftarm frame and is not covered from below.

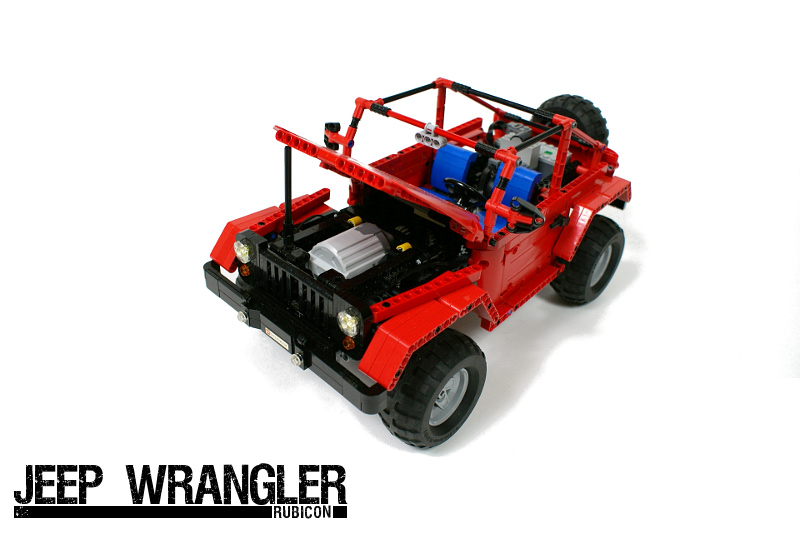
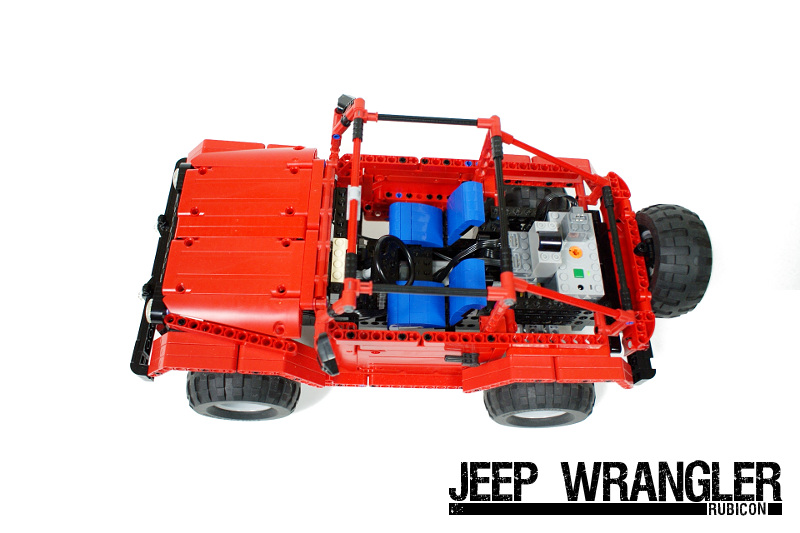
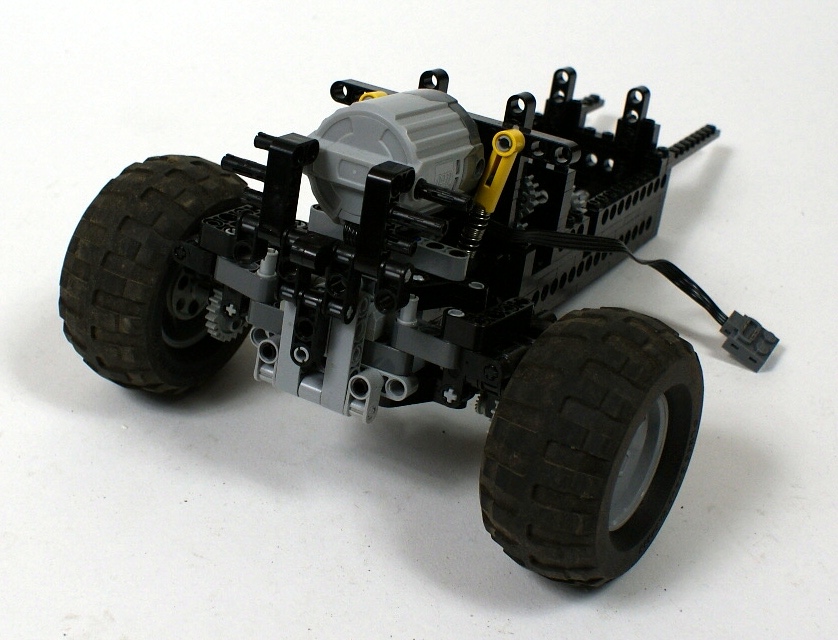
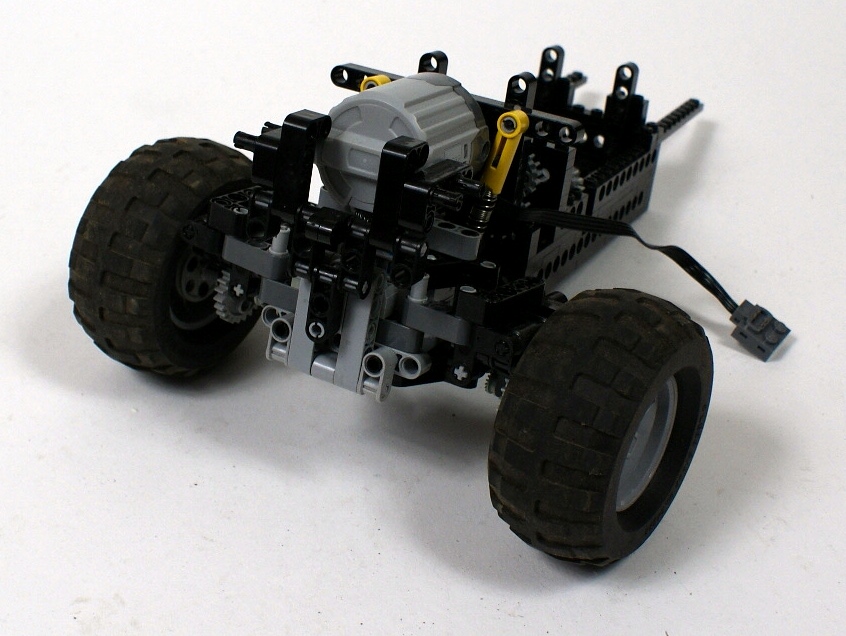
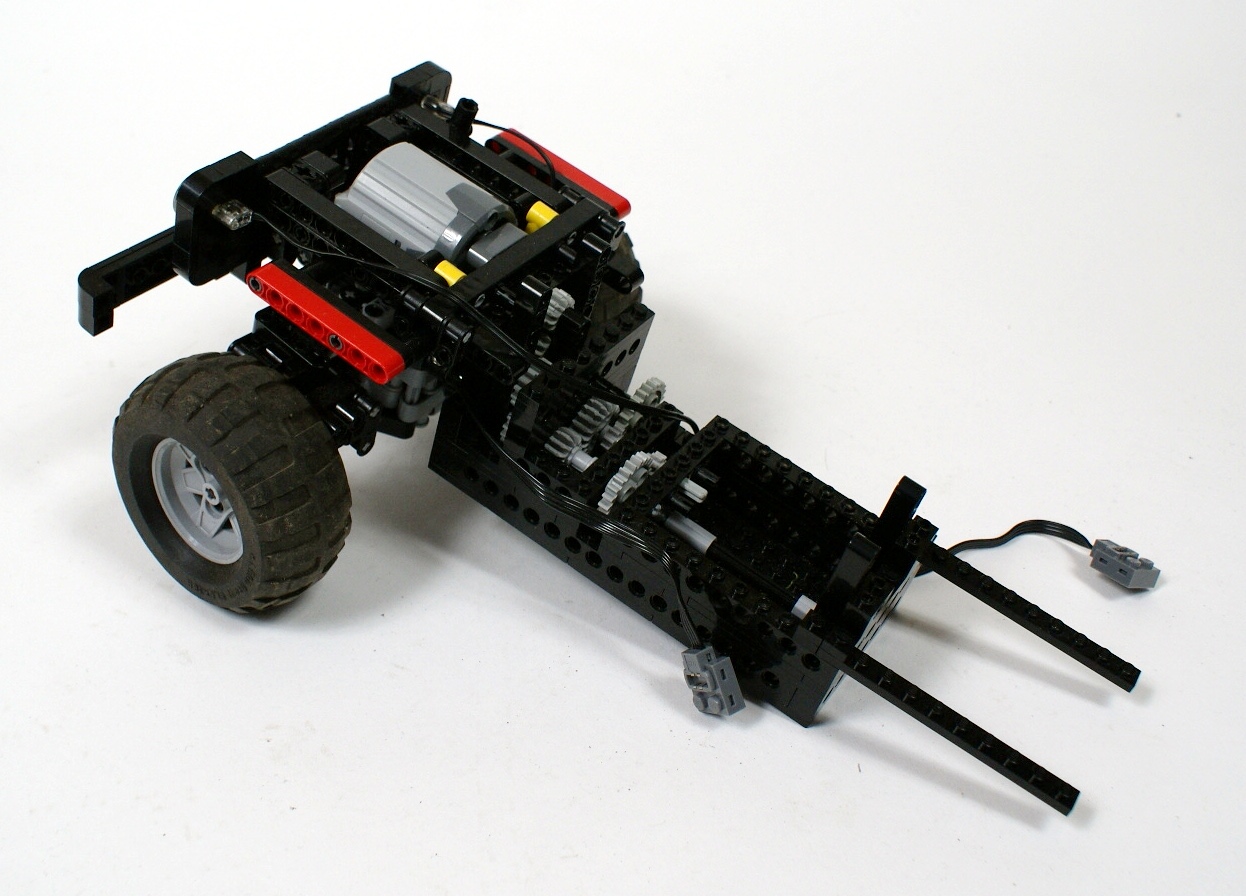
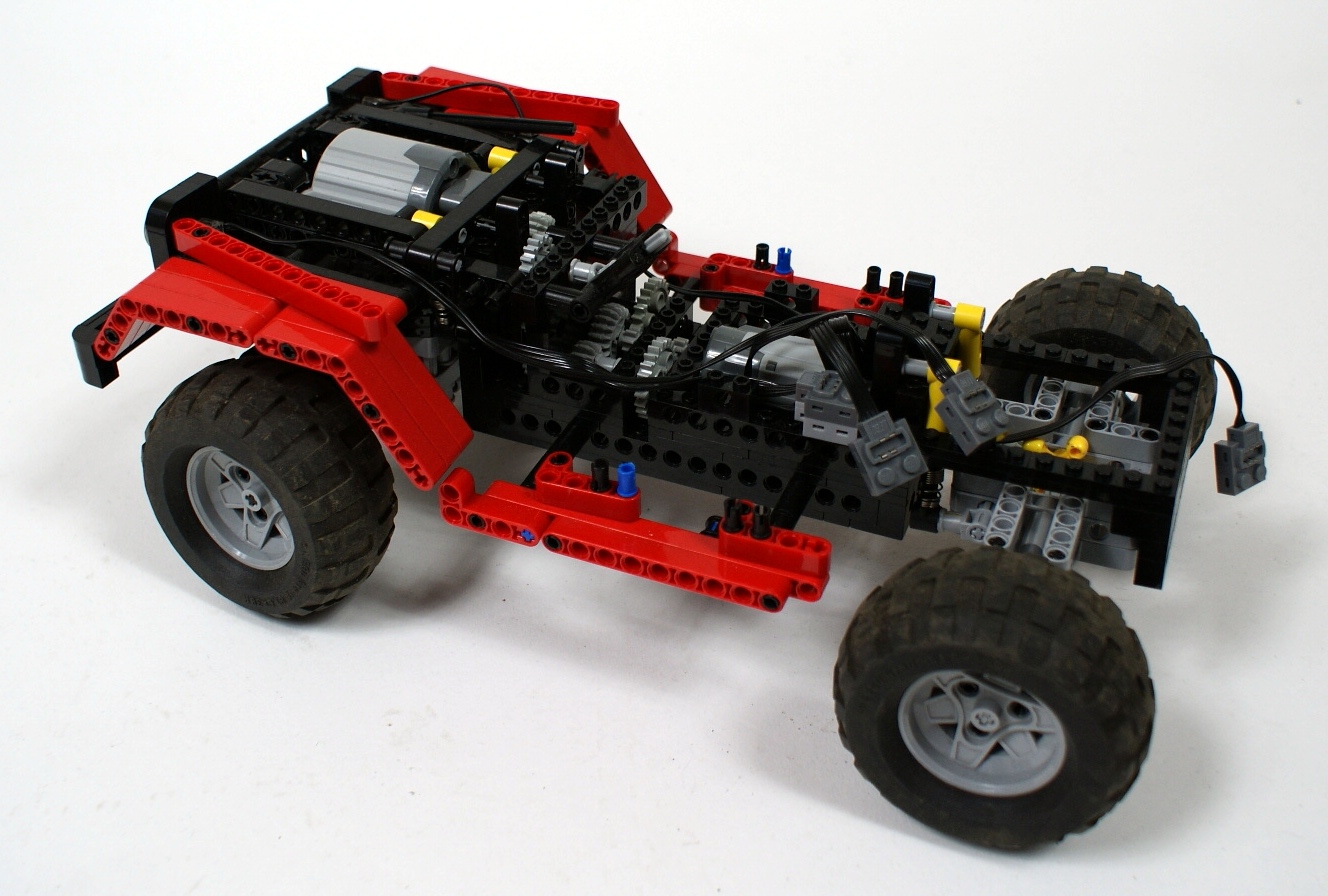
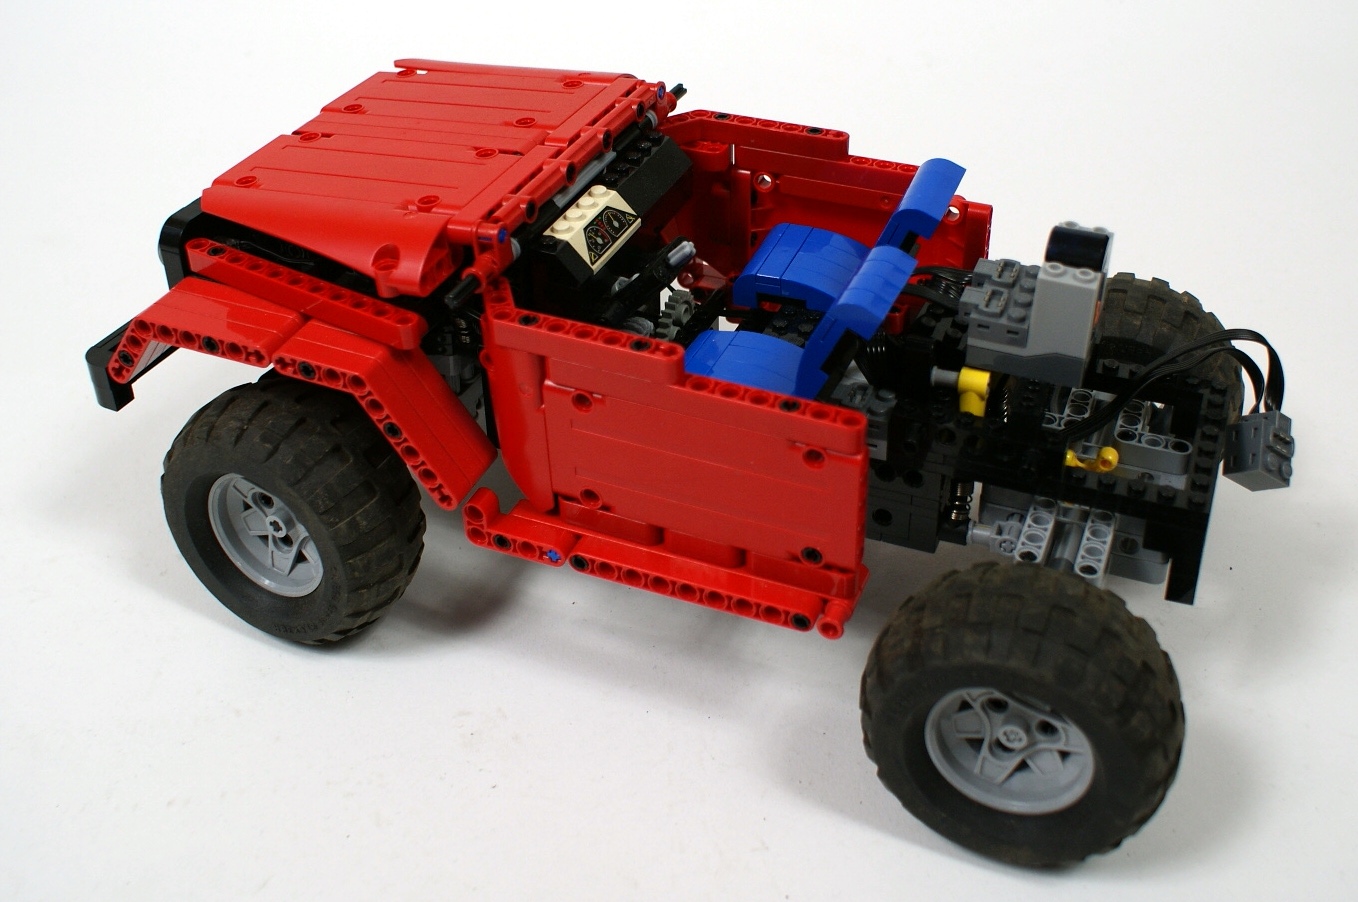
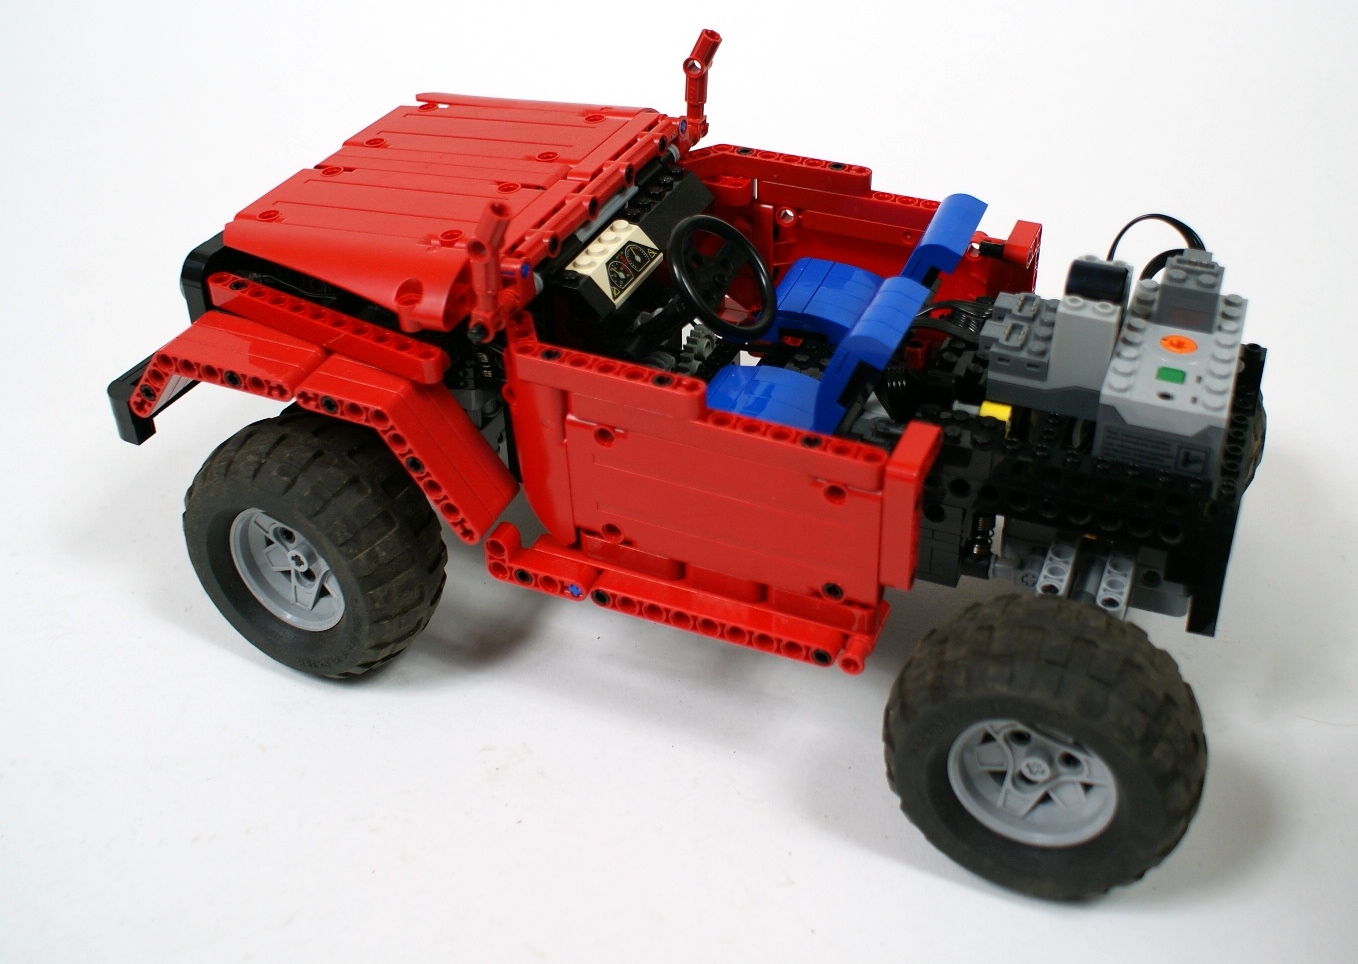
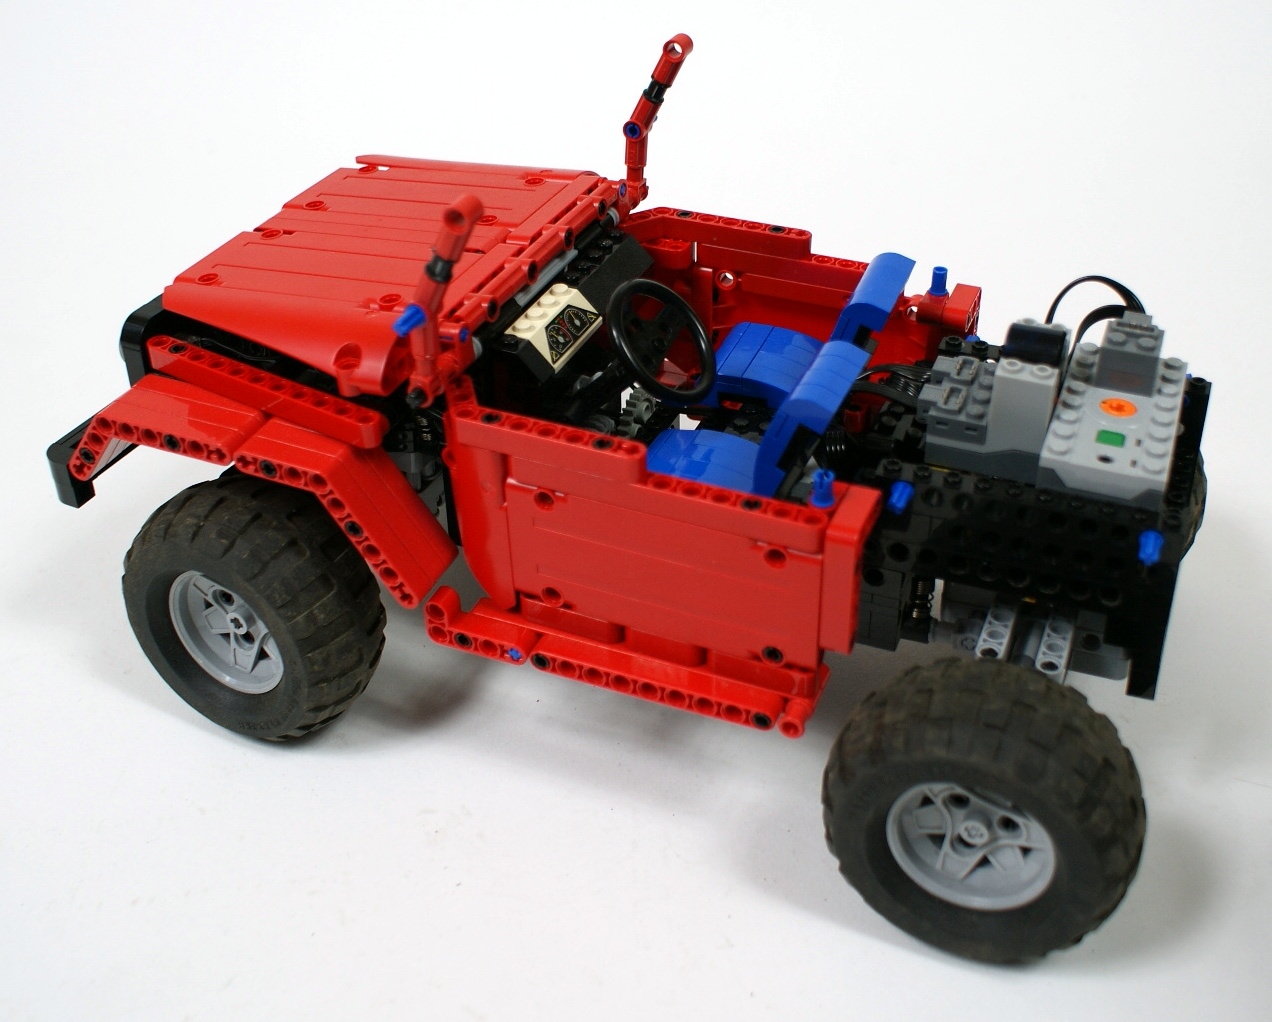
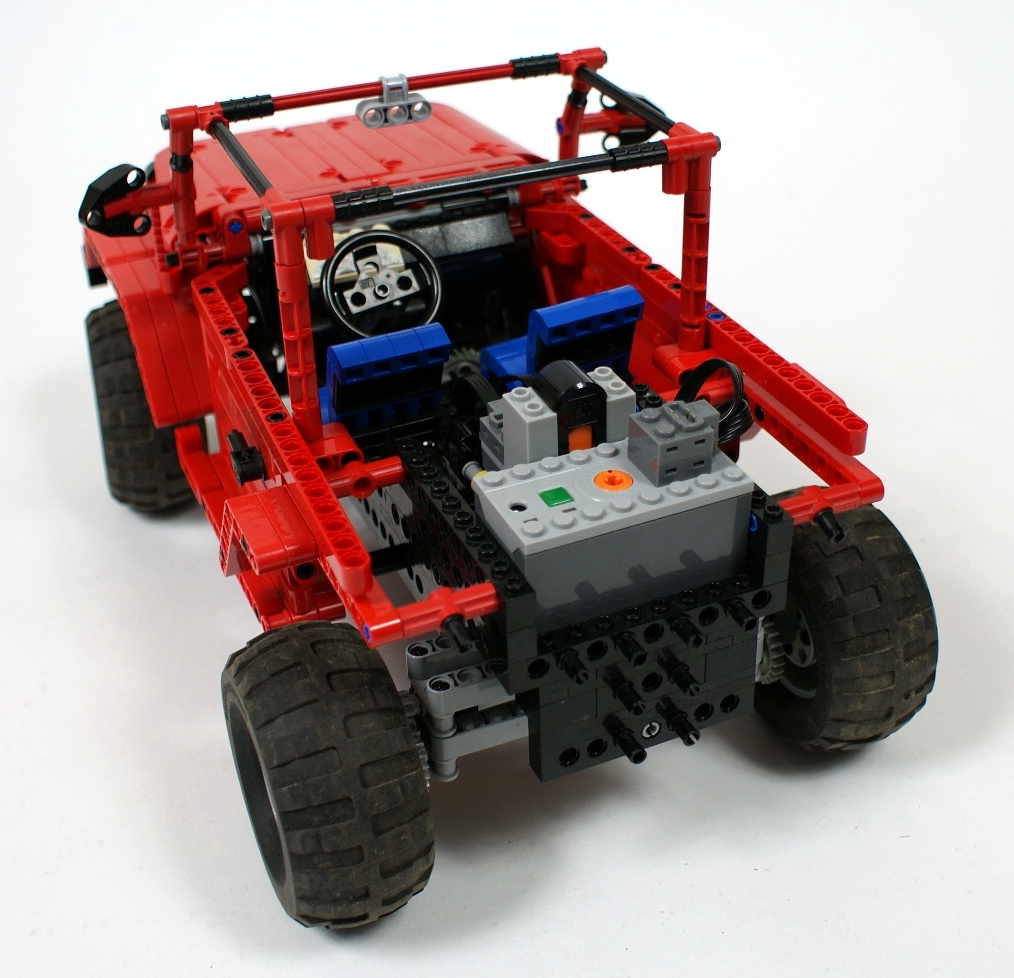
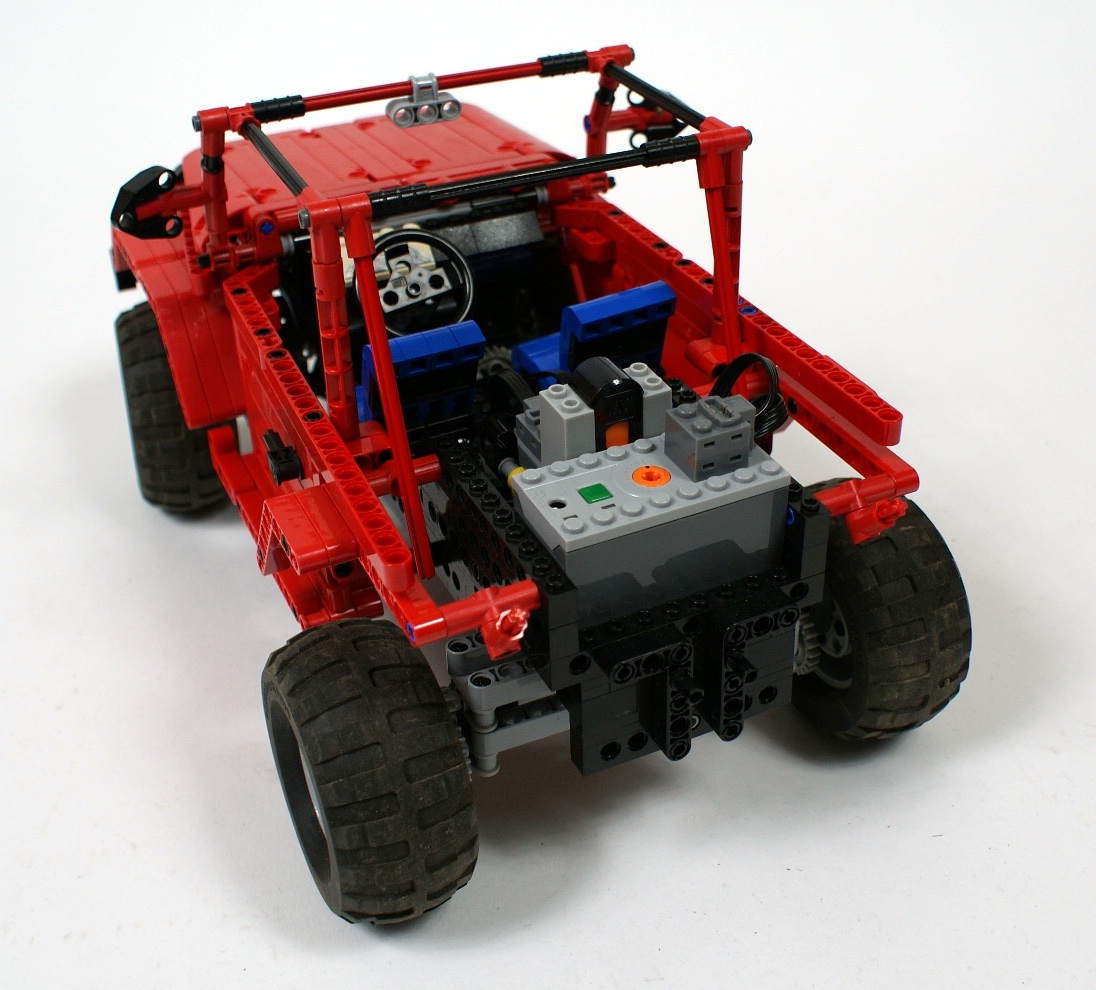
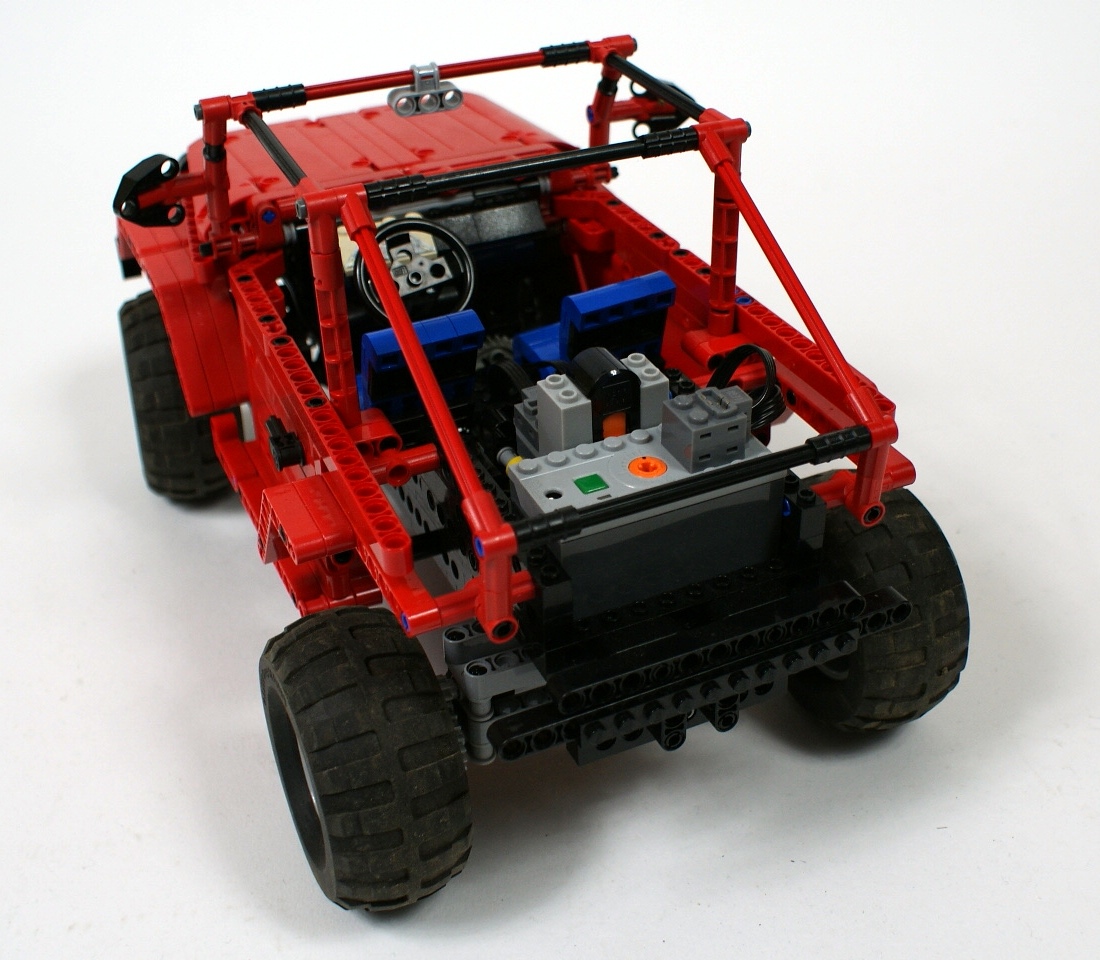
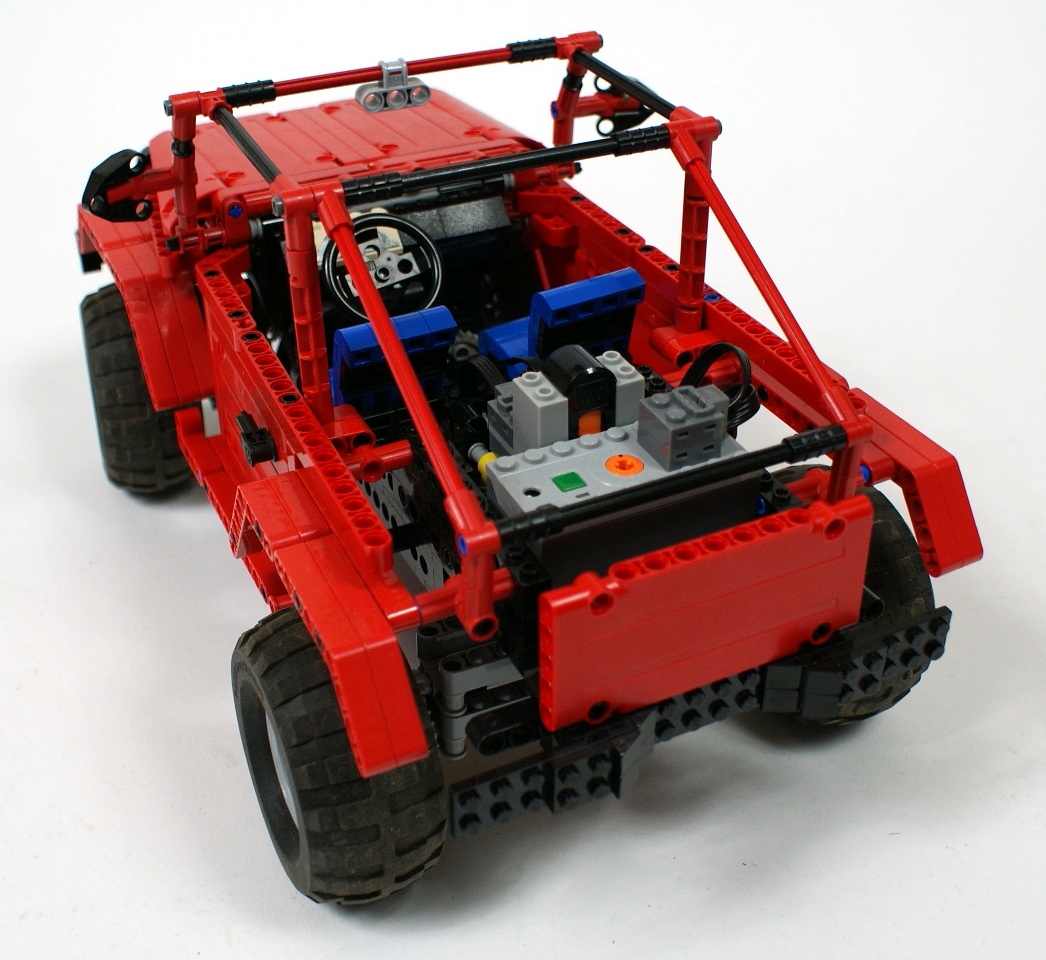
The model is driven by a single PF XL motor with a total 5:1 gear reduction, and the motor’s location is strictly related to our current rules. Our rules state that every model has to be equipped with a piston engine whose set-up and location are consistent with the original engine. This rule, however, can be omitted if the drive motor is located exactly where the original engine is. This is Jeep’s case – the PF XL motor occupies exactly the same place that is taken by the original engine in a real Jeep, hence there is no need for the piston engine and the model can be simpler and lighter. You can see the top ends of the front axle’s shock absorbers next to the motor. It should be noted that the PF XL motor actually touches the front axle, but because it’s located in the center of the chassis and because it has a round shape, the axle can still oscillate under it. Such a trick was necessary to fit the XL motor under the bonnet.
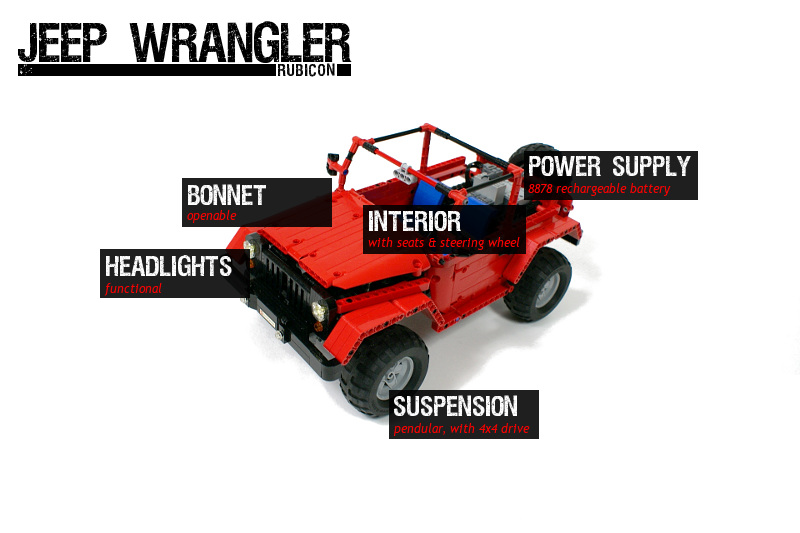
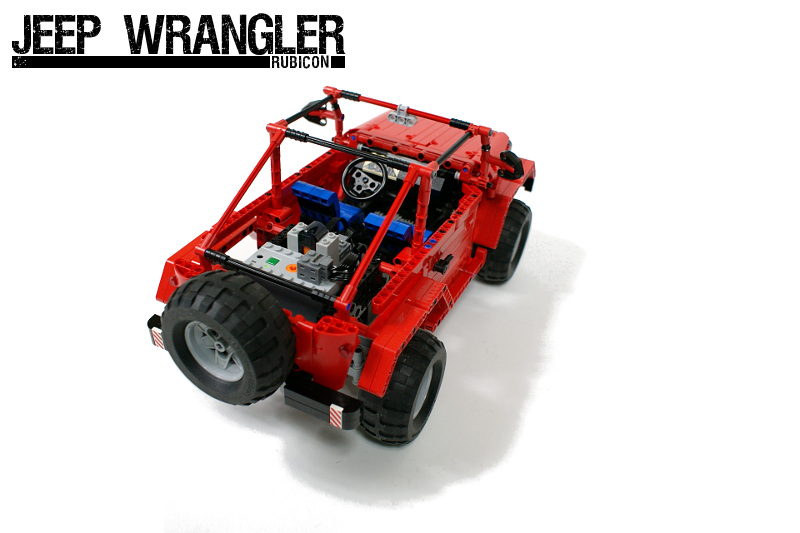
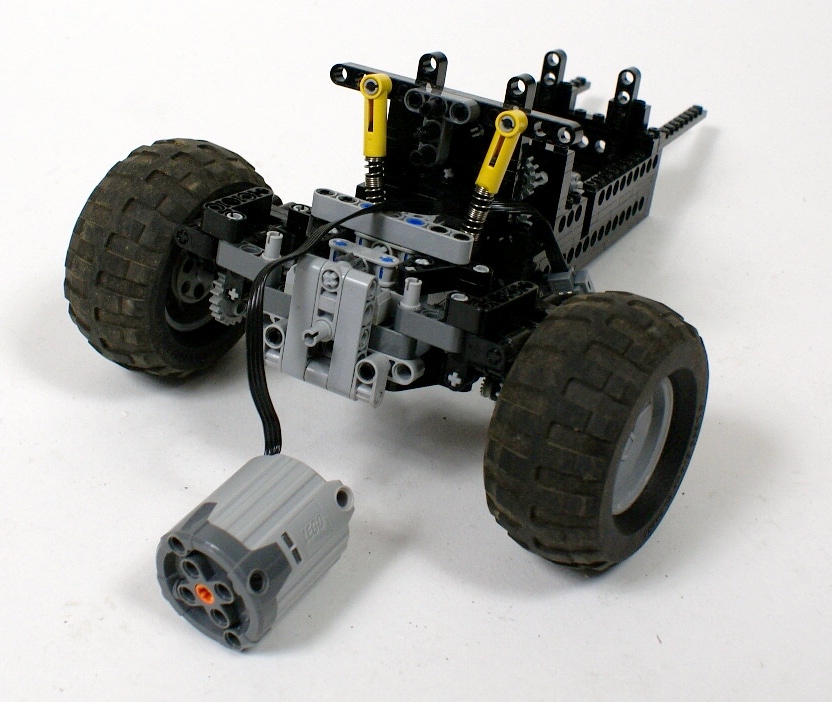
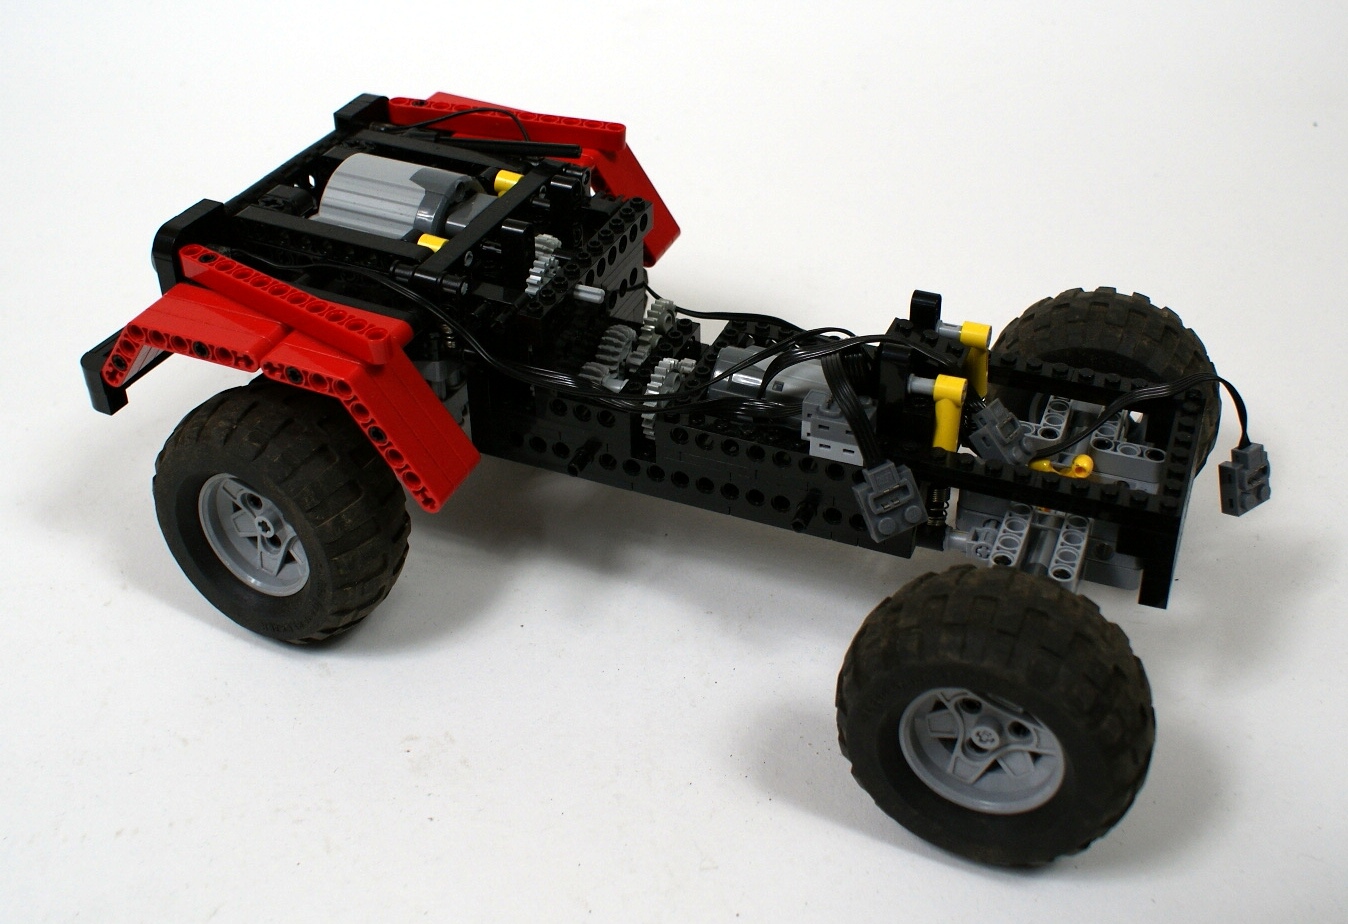
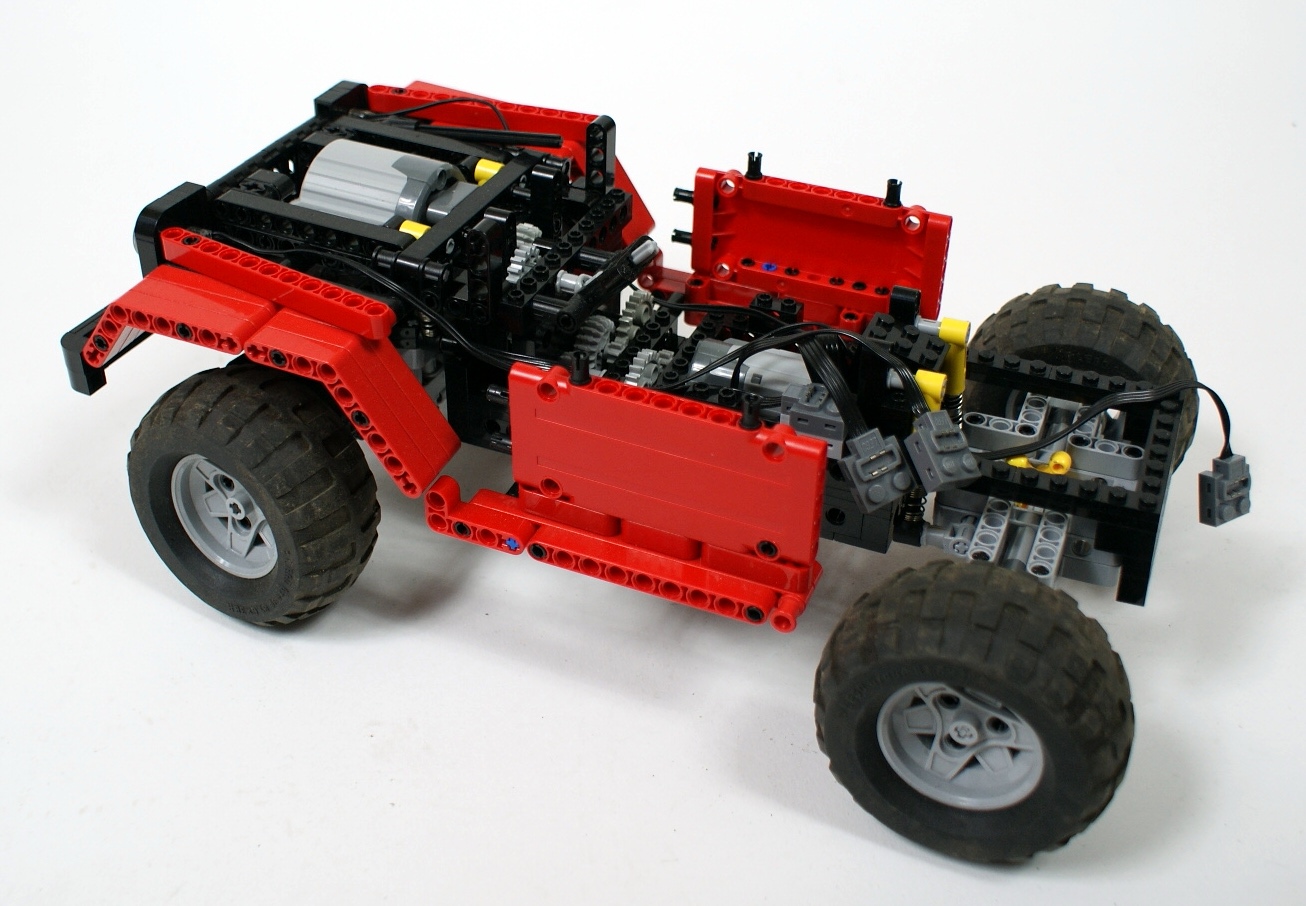
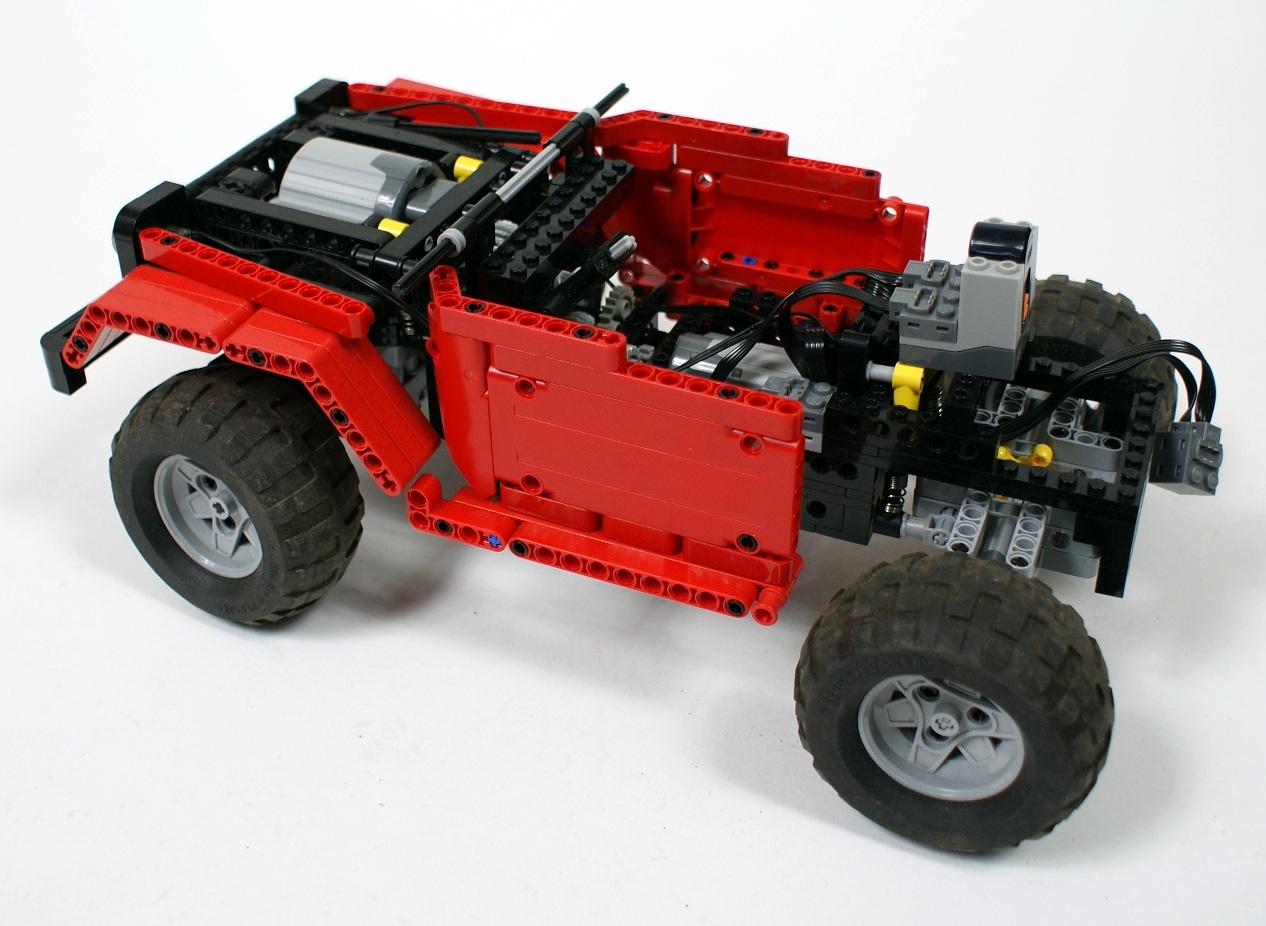
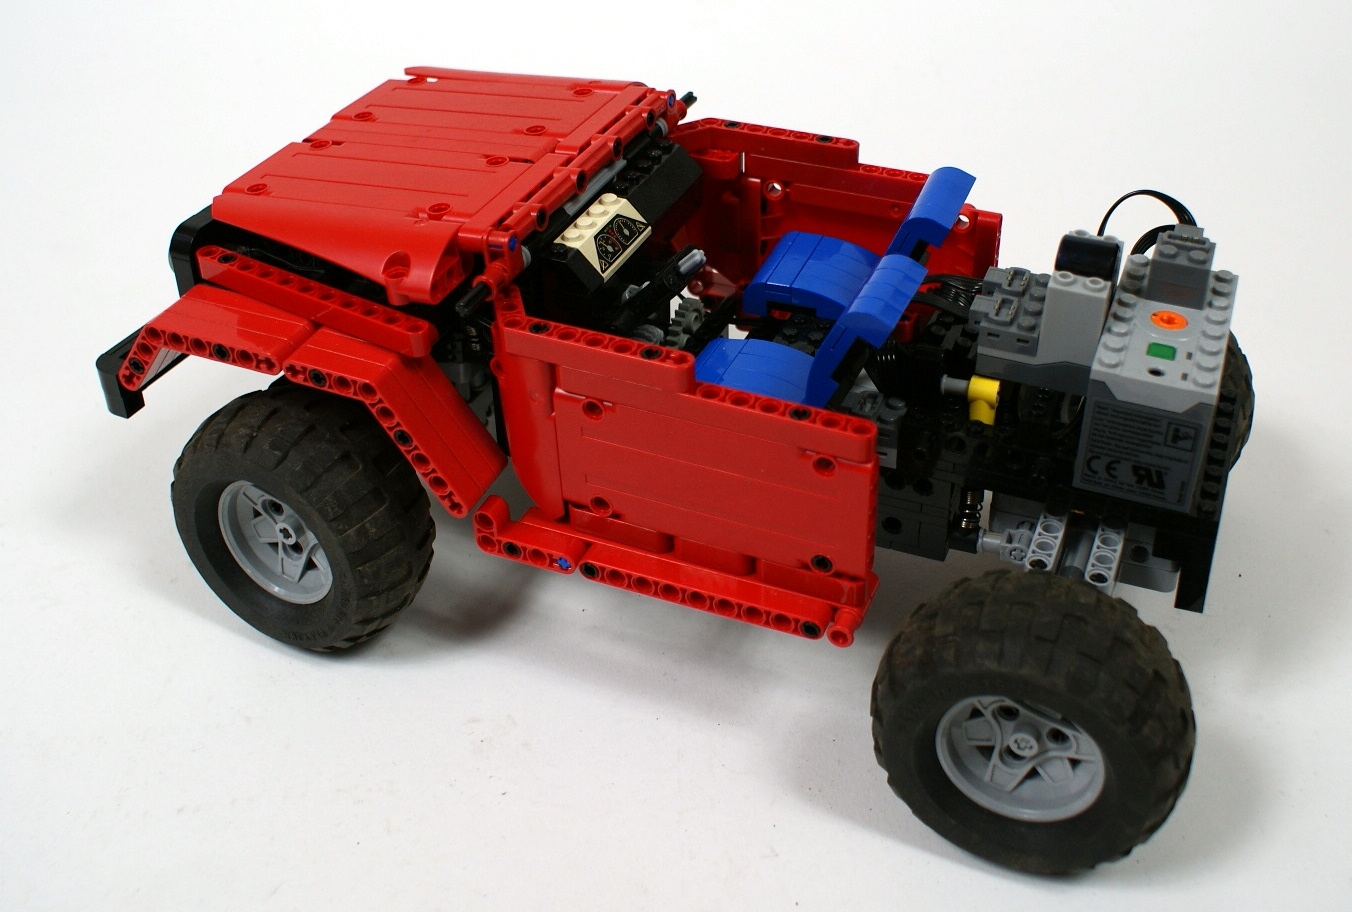
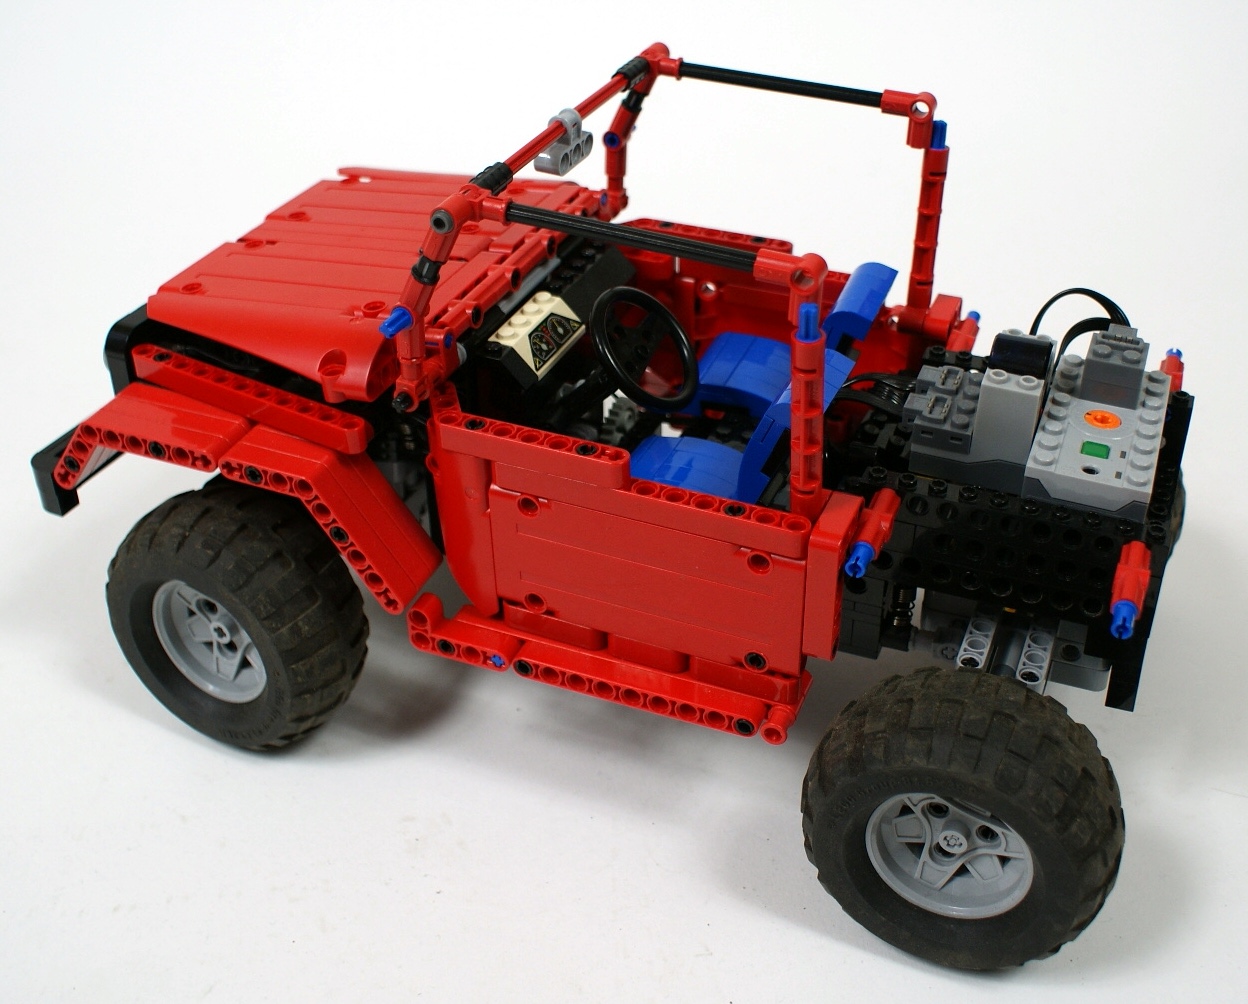
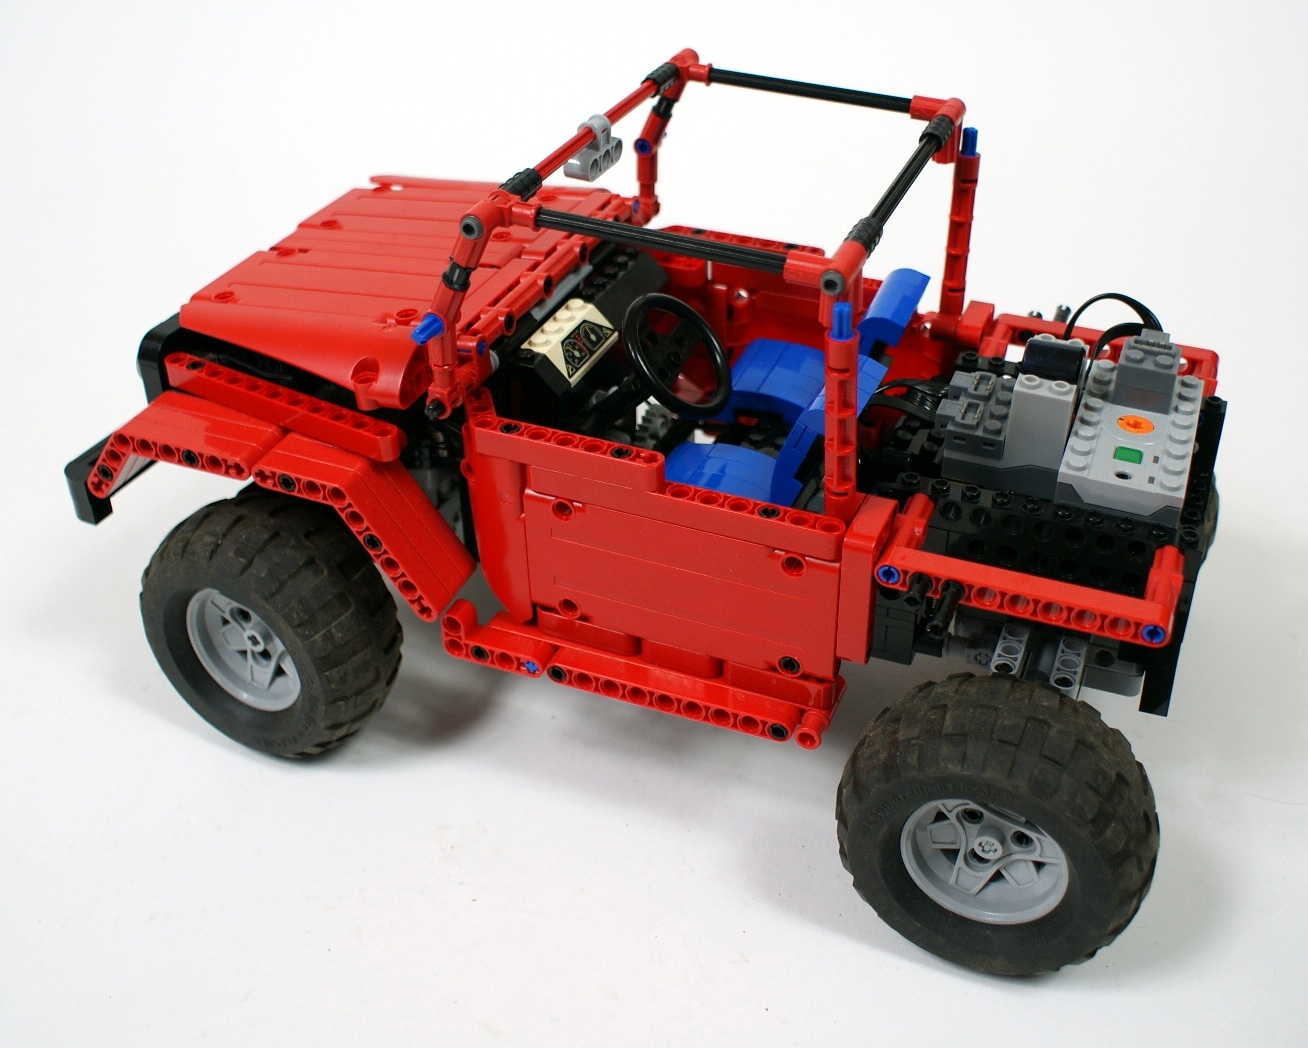
The steering is controlled by a PF Medium motor with a 9:1 gear reduction. The motor is located between the seats in the cabin, and the steering wheel is connected to it. The cabin has a safety cage built on top of it, which is strong enough to survive a turnover without any damage. Finally, there is the 8878 rechargeable battery box and the IR receiver located over the rear axle, as a counterweight against the PF XL over the front axle.
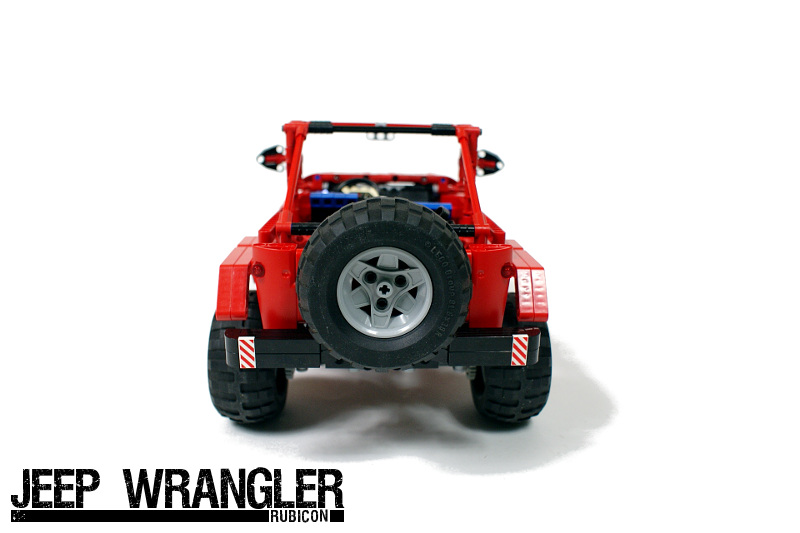
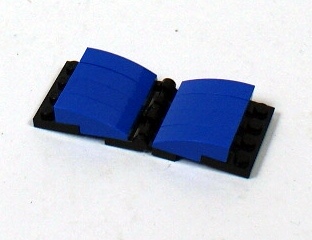
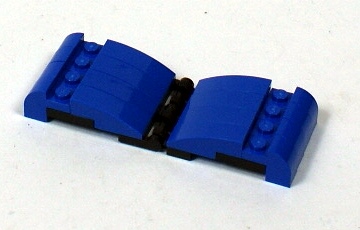
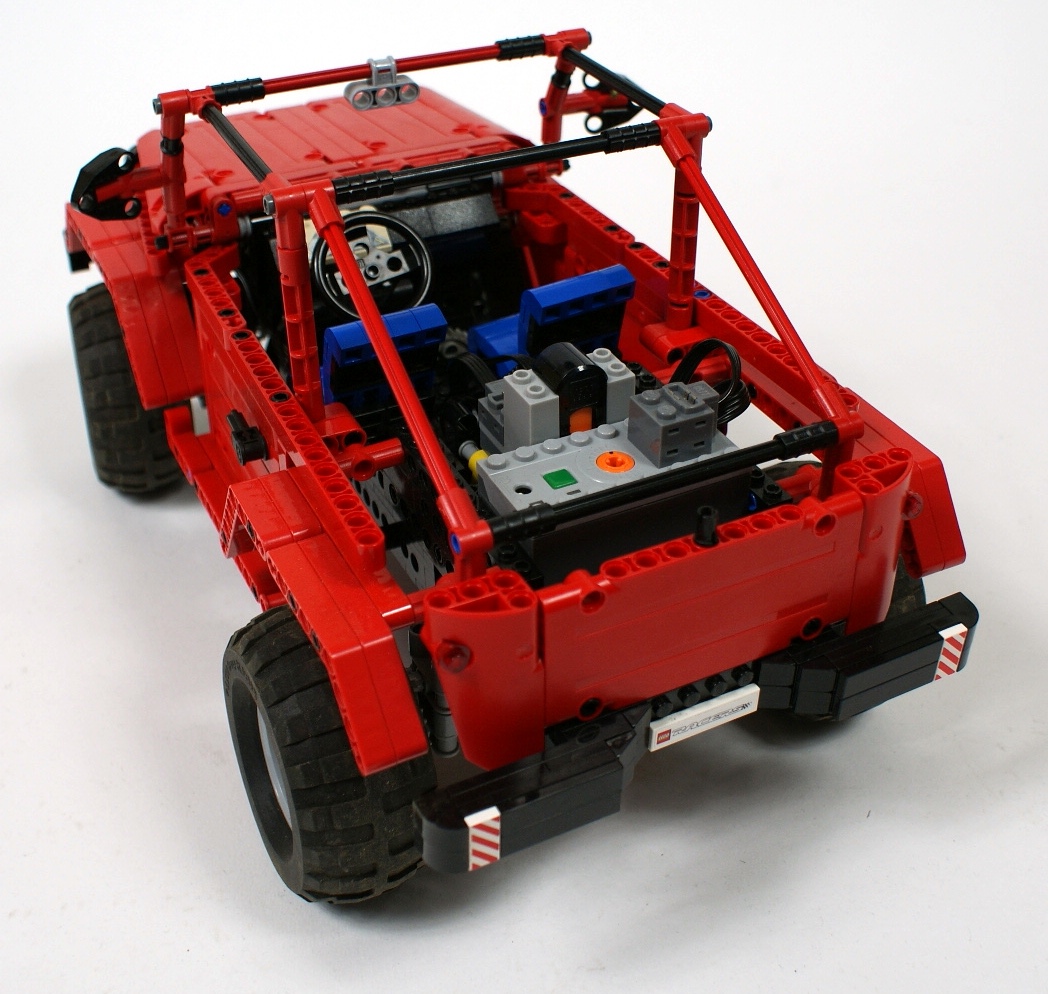
One special feature of the bodywork is a droppable modules design. The obstacles used in our races are often larger than the ones the real vehicles are designed for, so the usual practice to handle this difference is to increase the model’s ground clearance. I wanted to avoid it, however, to keep the Jeep’s center of gravity as low as possible. It meant that some parts of the body are very likely to touch the ground e.g. when the approach angle proves to be insufficient. Therefore I designed a number of body elements as independent modules that would fall off when stressed, on assumption that it’s better to drop something than let it get the whole vehicle stuck. The list of droppable elements includes front and rear bumper, rear spare wheel and front mudguards. The sides of the cabin are somewhat elastic too. This design is also helpful when the front wheels’ steering lock makes them collide into some parts of the body.
The model turned out to be pretty stable, with a well performing suspension and an excellent amount of torque available. It was my goal to prefer the torque over speed, since I did not want the model to get stalled under any circumstances while its speed didn’t seem crucial. This is second model of a Jeep used in our races, and it’s much different from its predecessor, the Jeep Willys built by Atr. Among other things it is heavier, larger and slower. Observing the two models compete against each other and comparing their performance will be certainly a great experience.
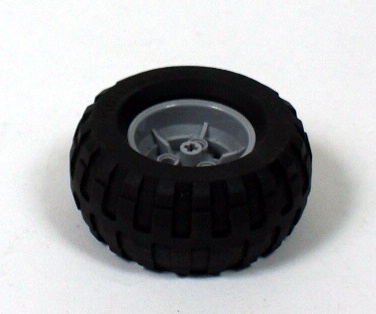
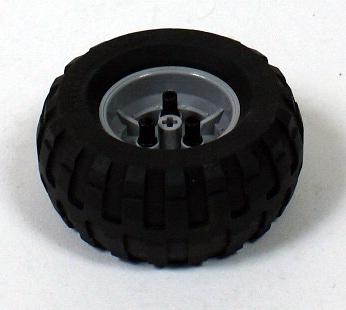
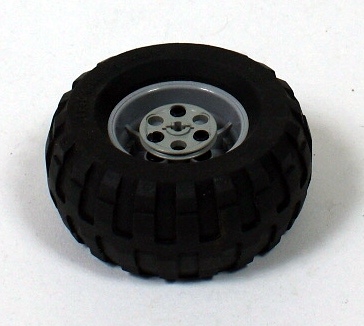
The main disadvantage of this model is its size. The standard scale used for vehicles in our races is 1/13. I was in hurry while building the Jeep, so I picked up the wheels I found most suitable and scaled the whole model accordingly to their size. Eventually it turned out to be in 9/1 scale which is much different from the required one, and will probably result in letting this model race outside the official ranking (in a so-called ‘open class’). Still, building and testing this model was a valuable experience, and driving it in a race will be so too. It was also acclaimed by other builders and race contestants for its look, its authenticity and its performance. If it turns out to be successful in the race (meaning that it suffers no fatal malfunction and doesn’t end up last), I will prepare and publish a complete step-by-step instruction for it, as well as schemes of front and rear axle along with their individual instructions.
Update: since the Jeep performed well at the race, the instructions are under the photos.
Photos:


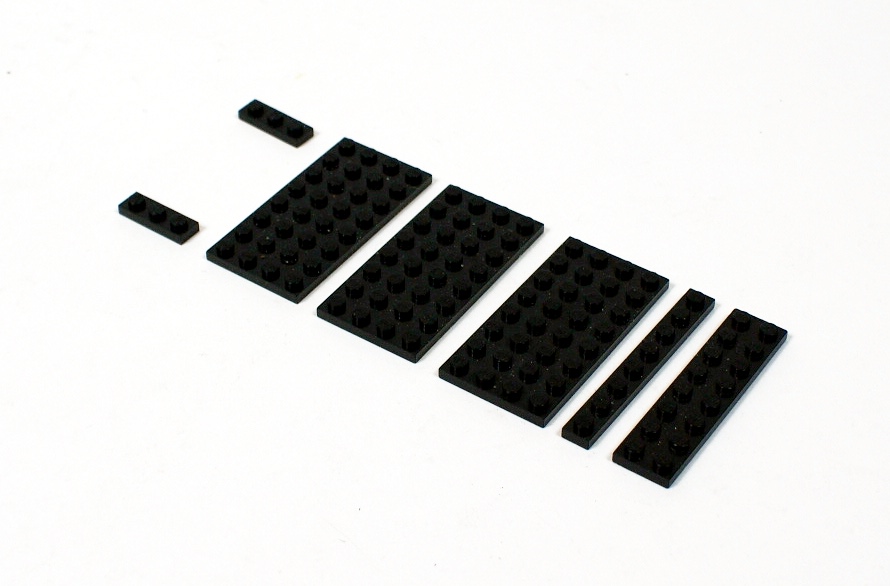
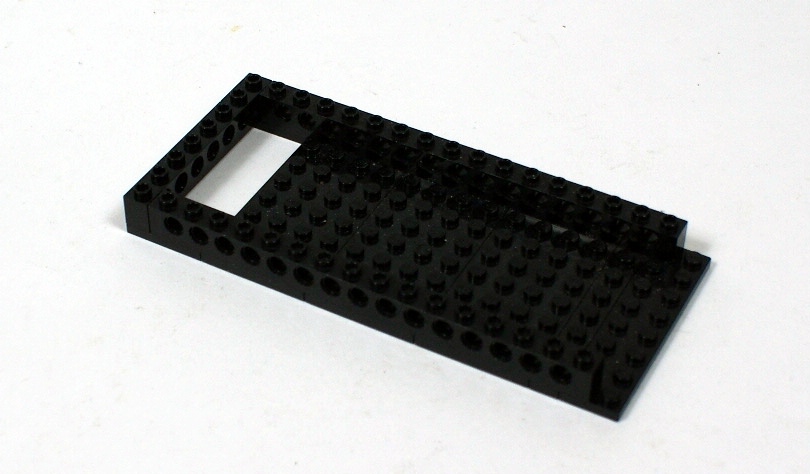
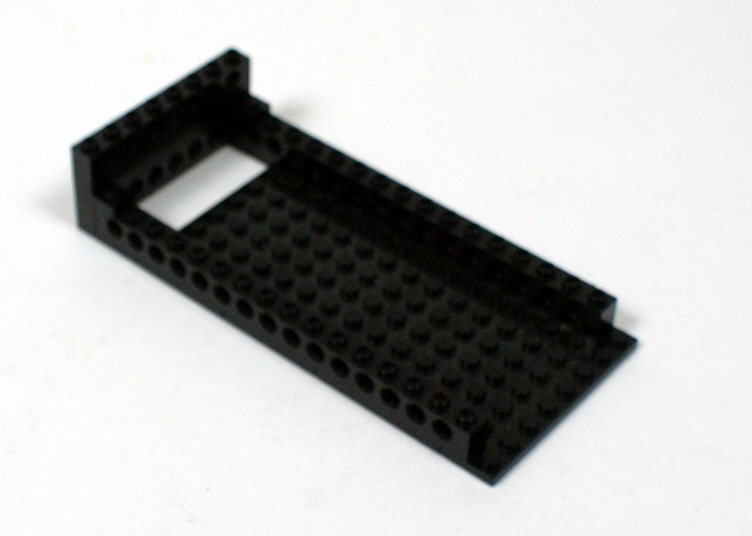
Full instruction with parts list:


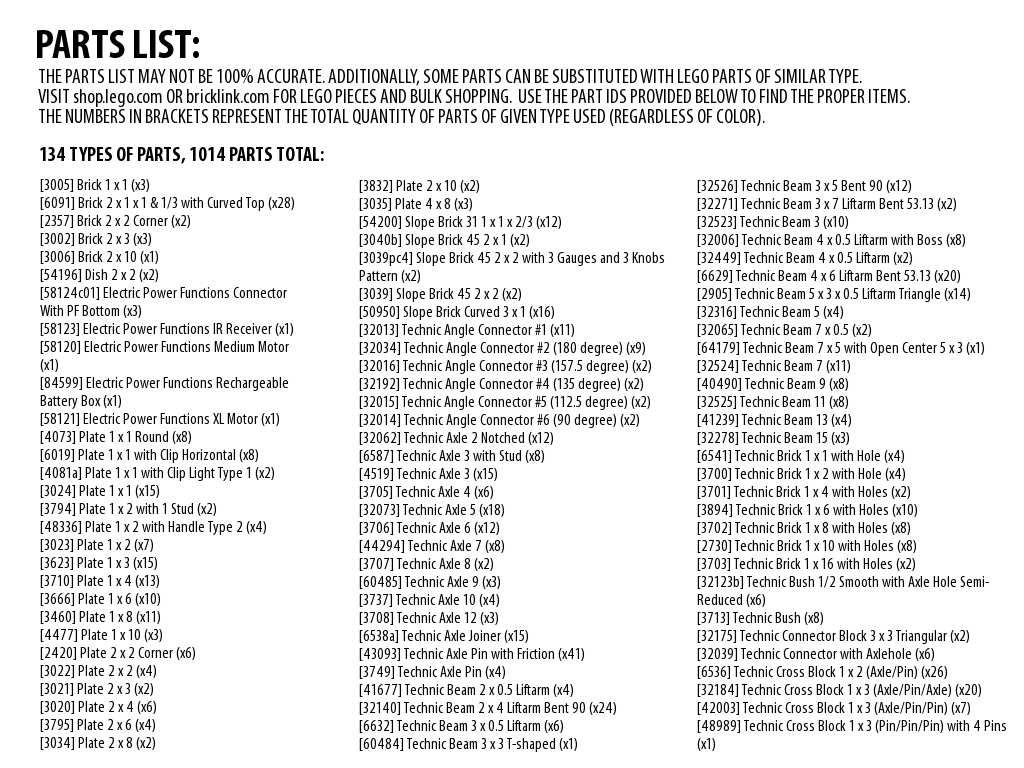
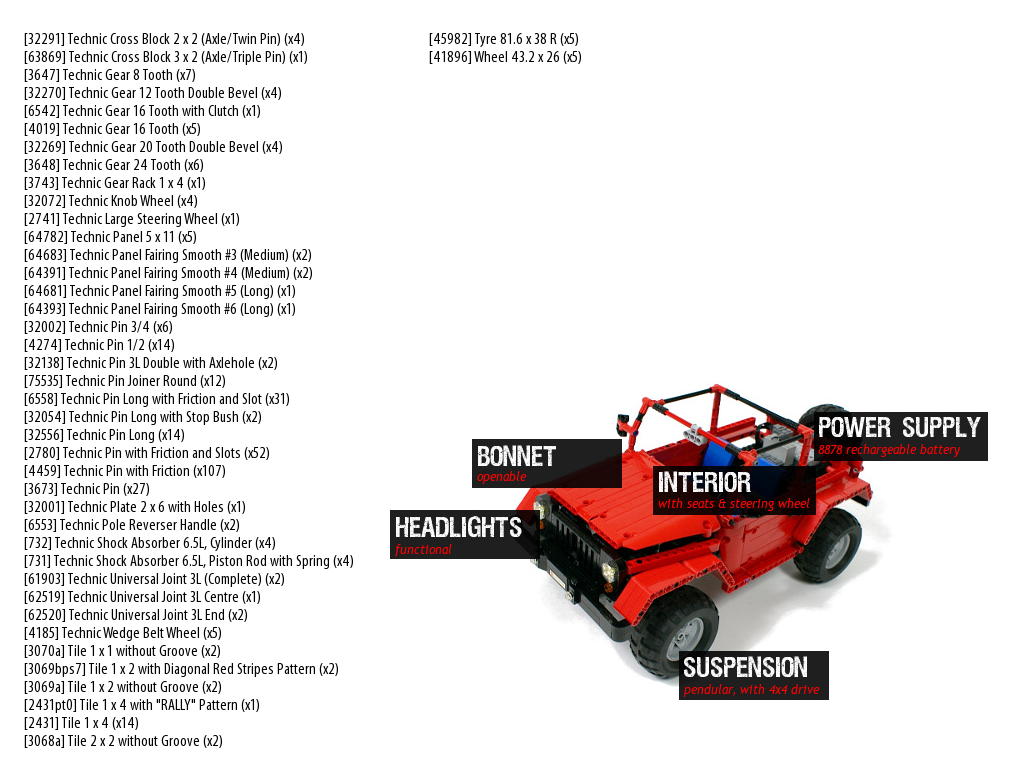

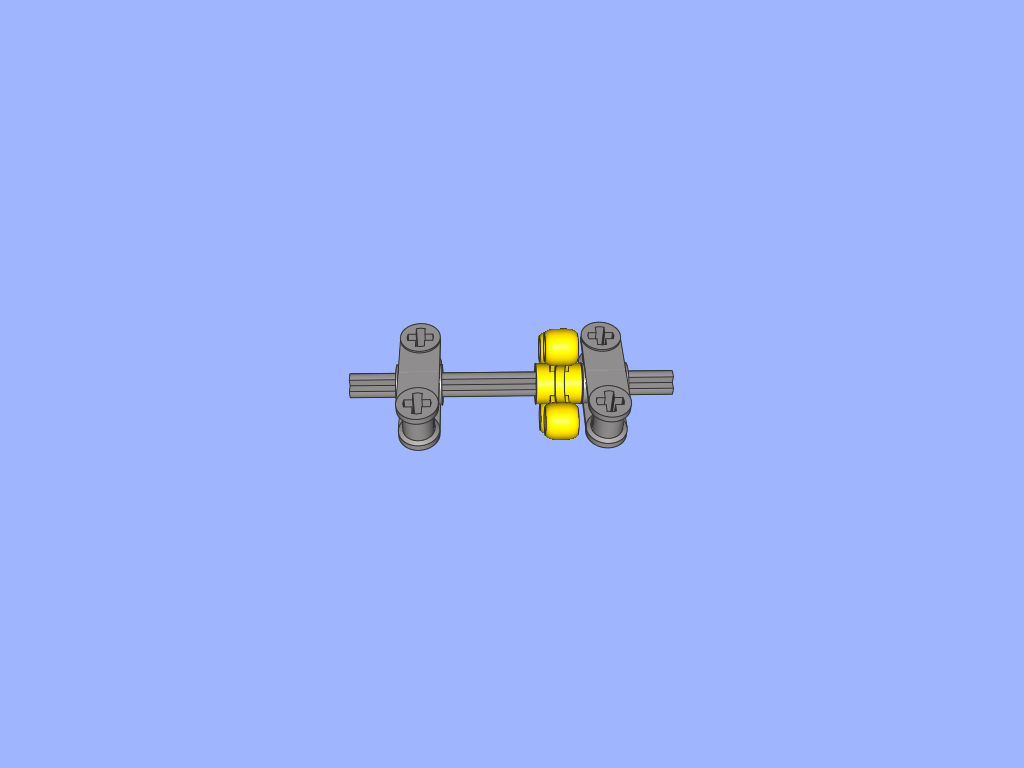
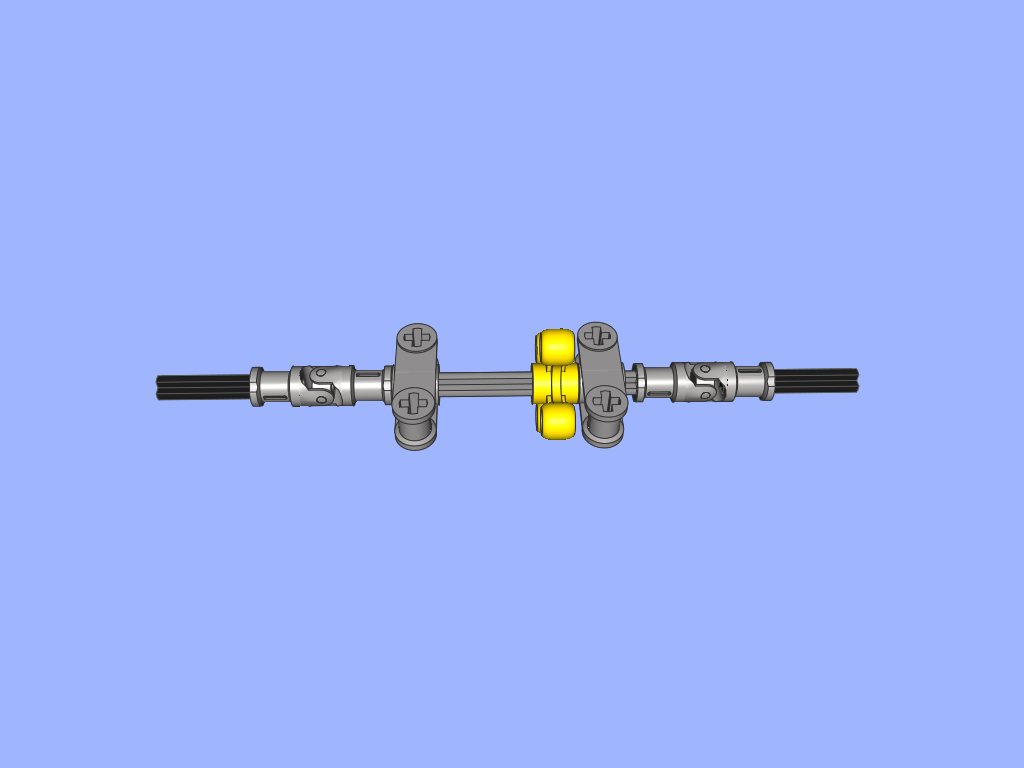

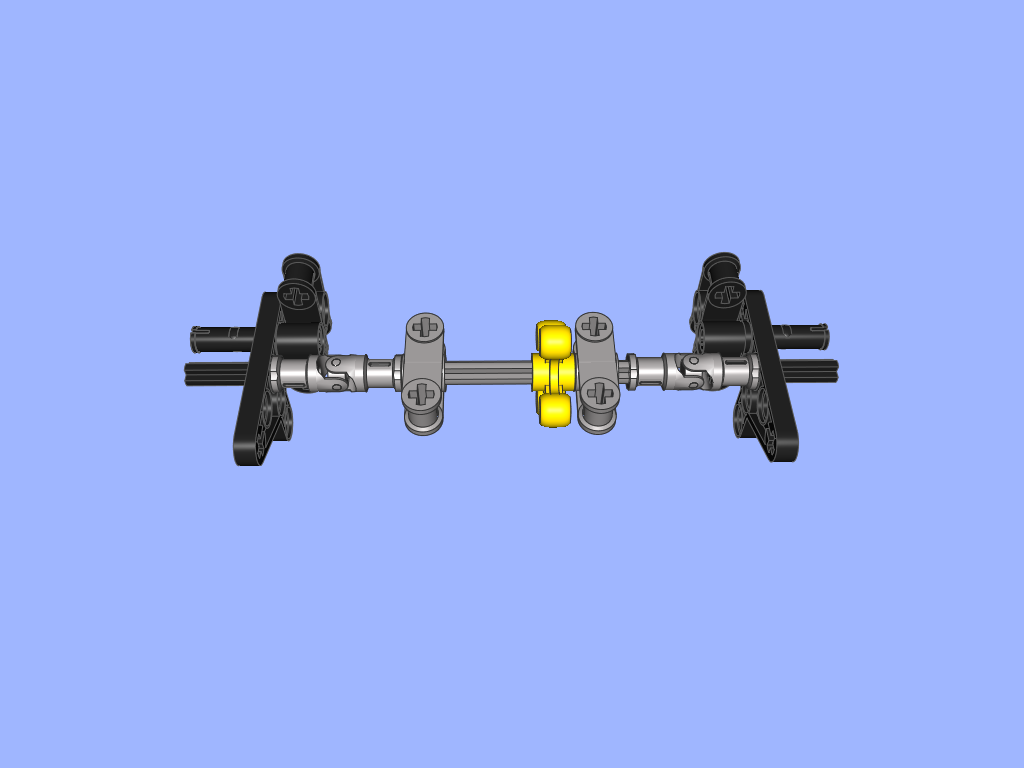

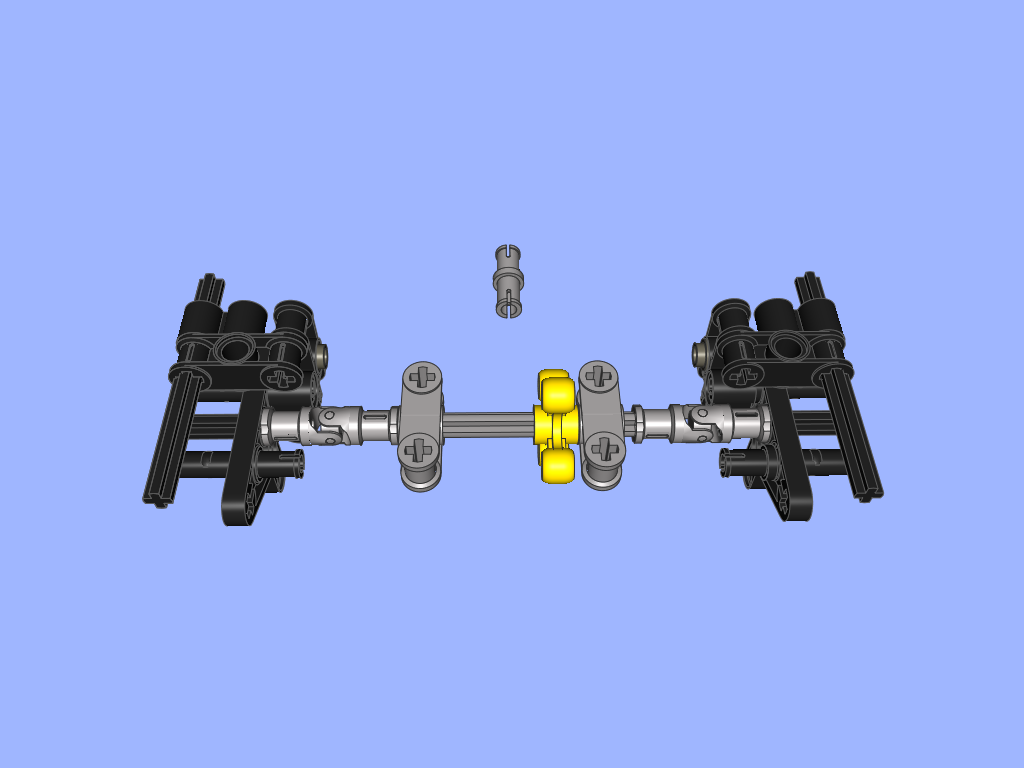
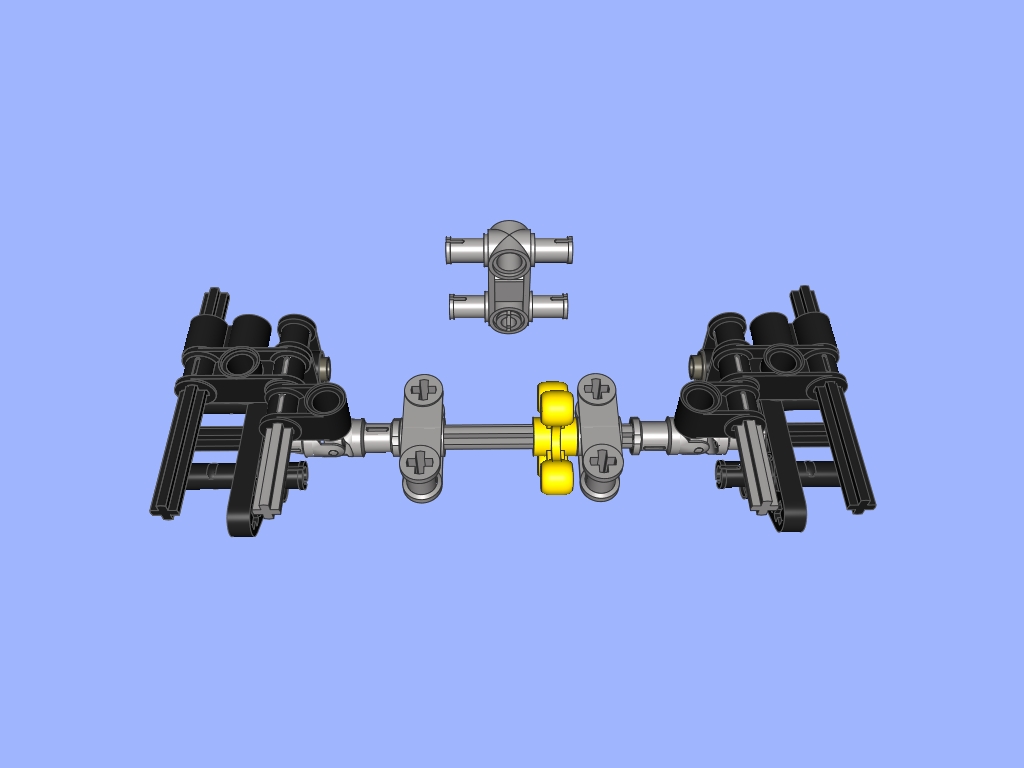
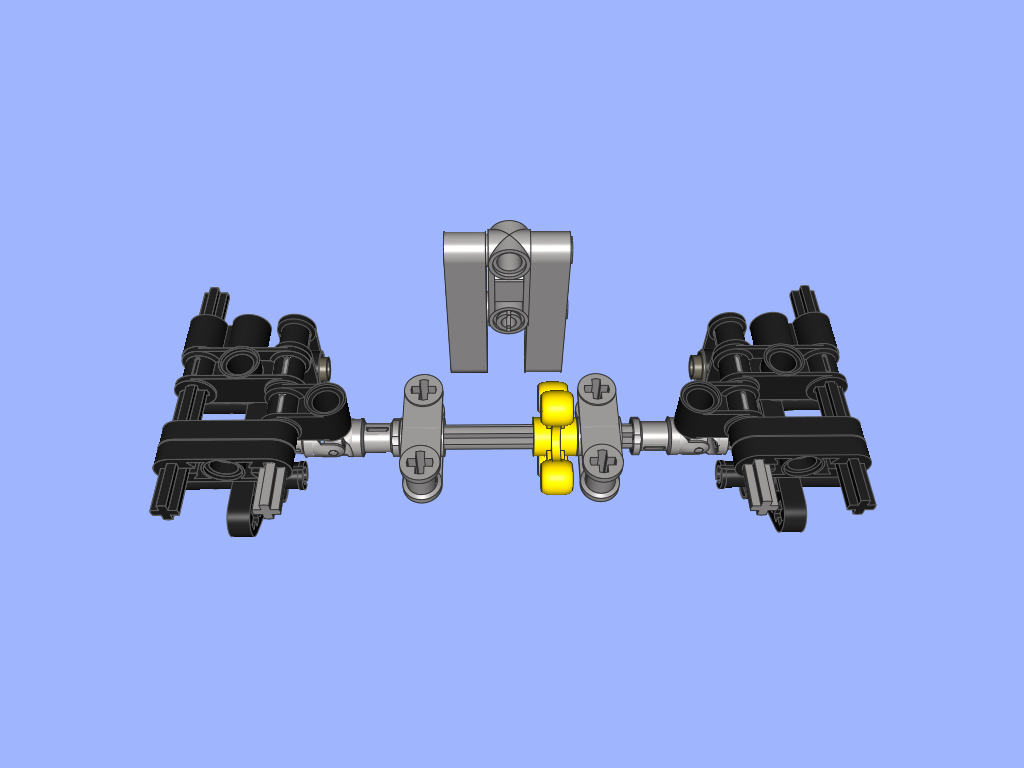

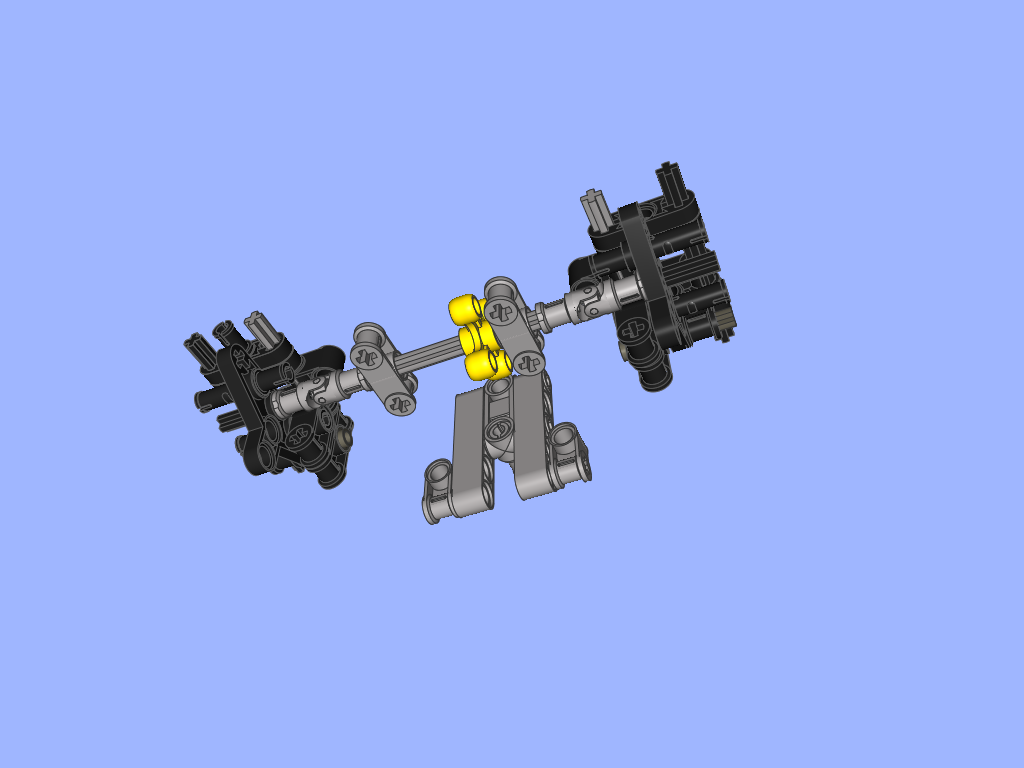

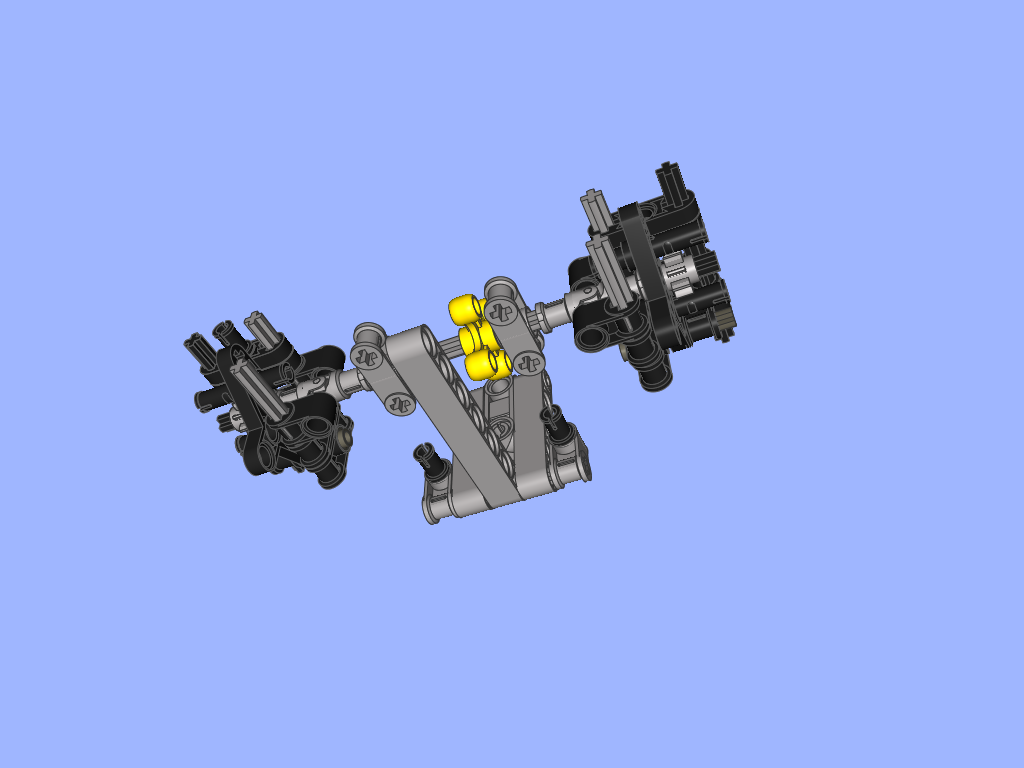

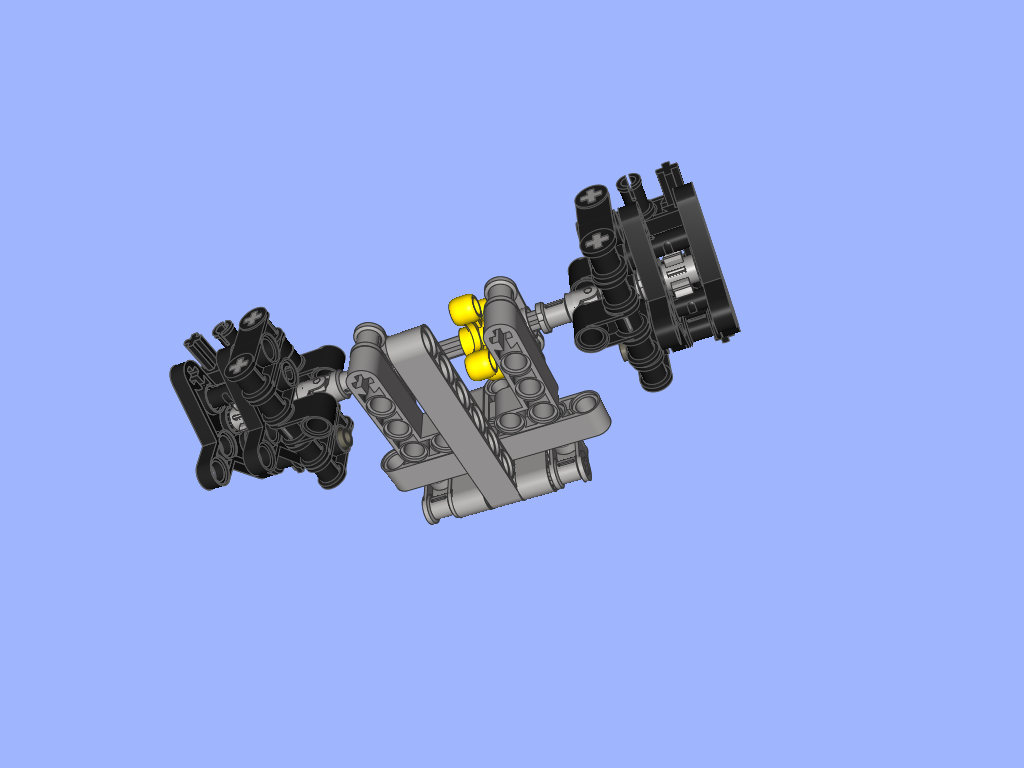
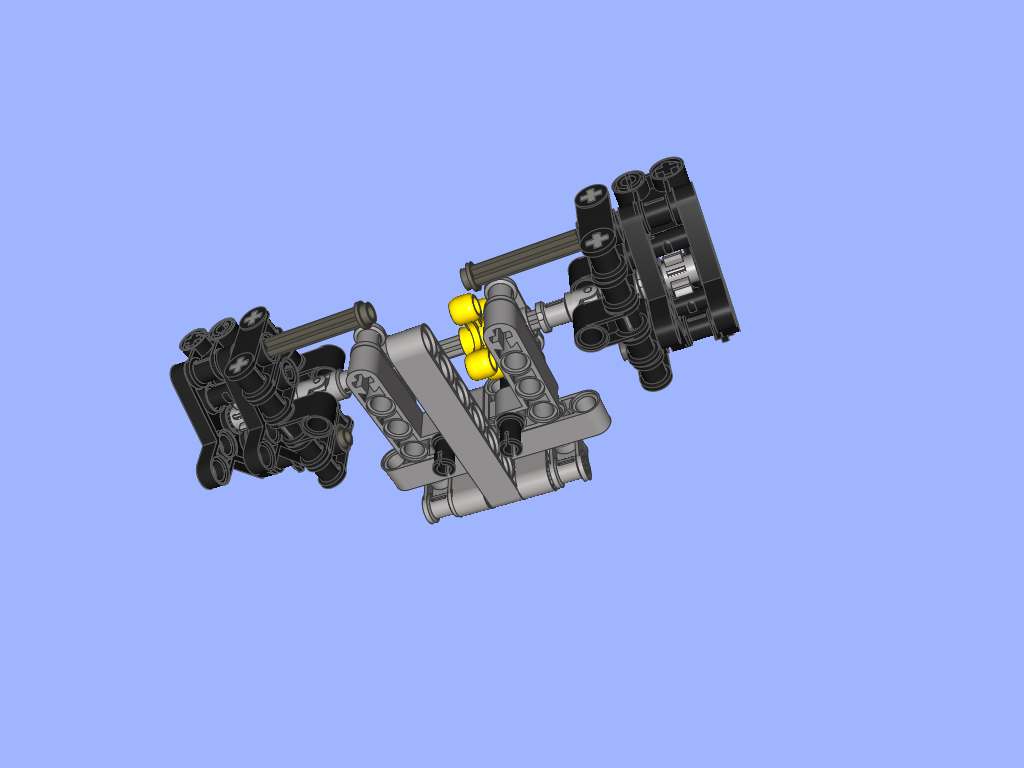
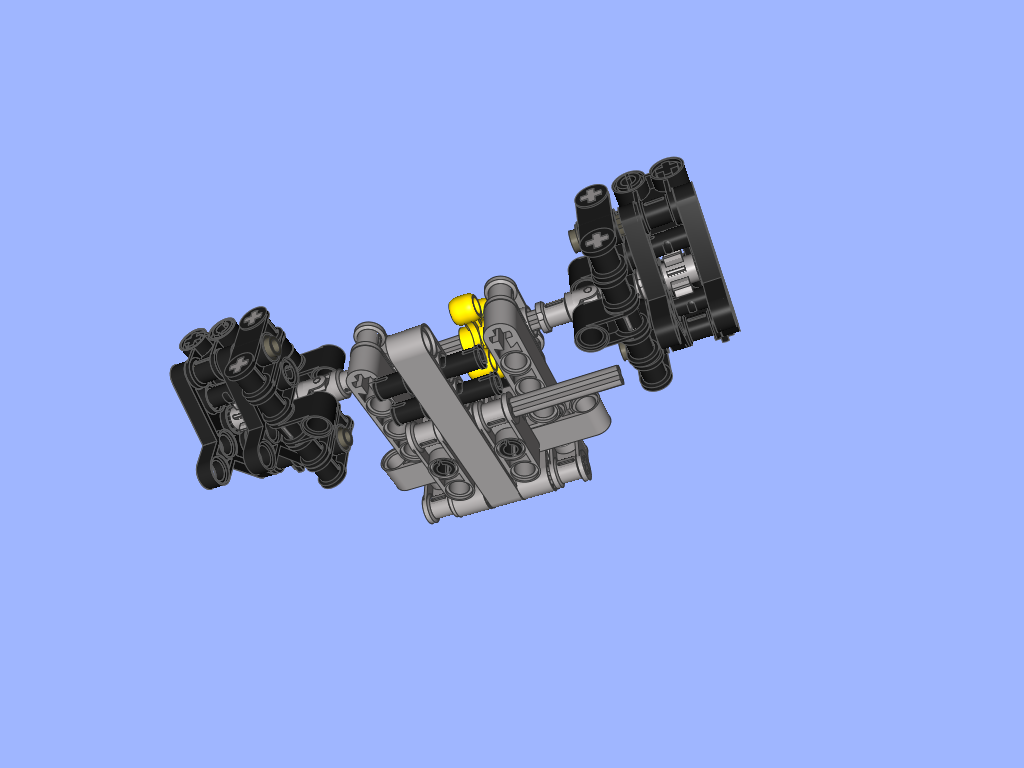
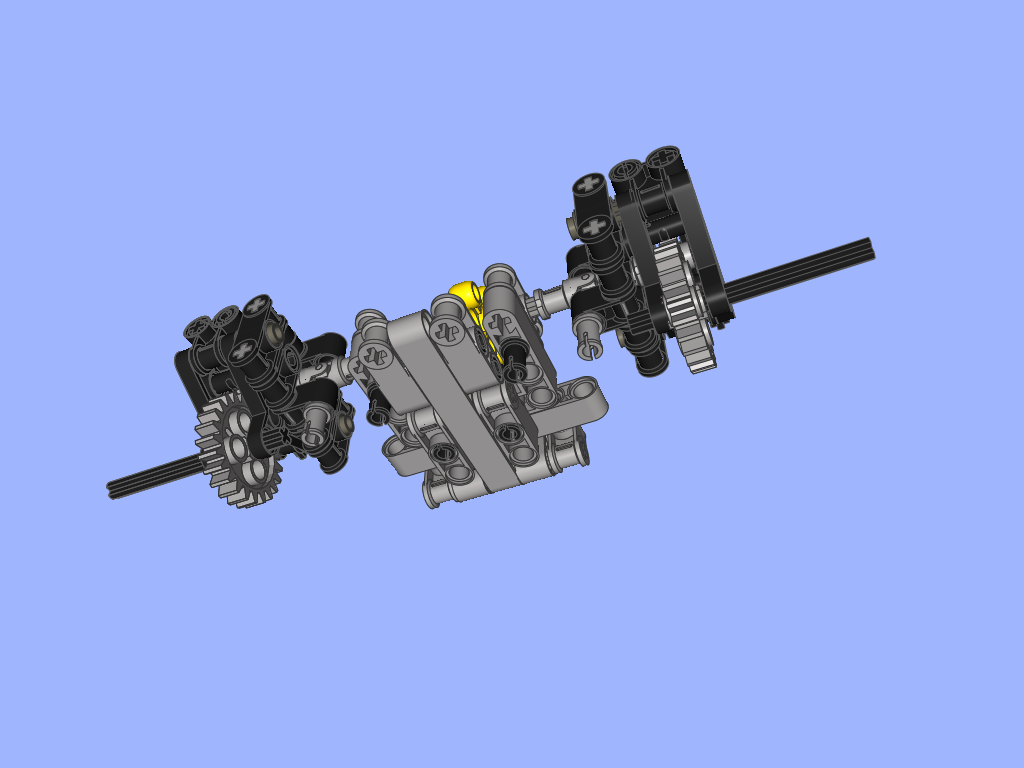
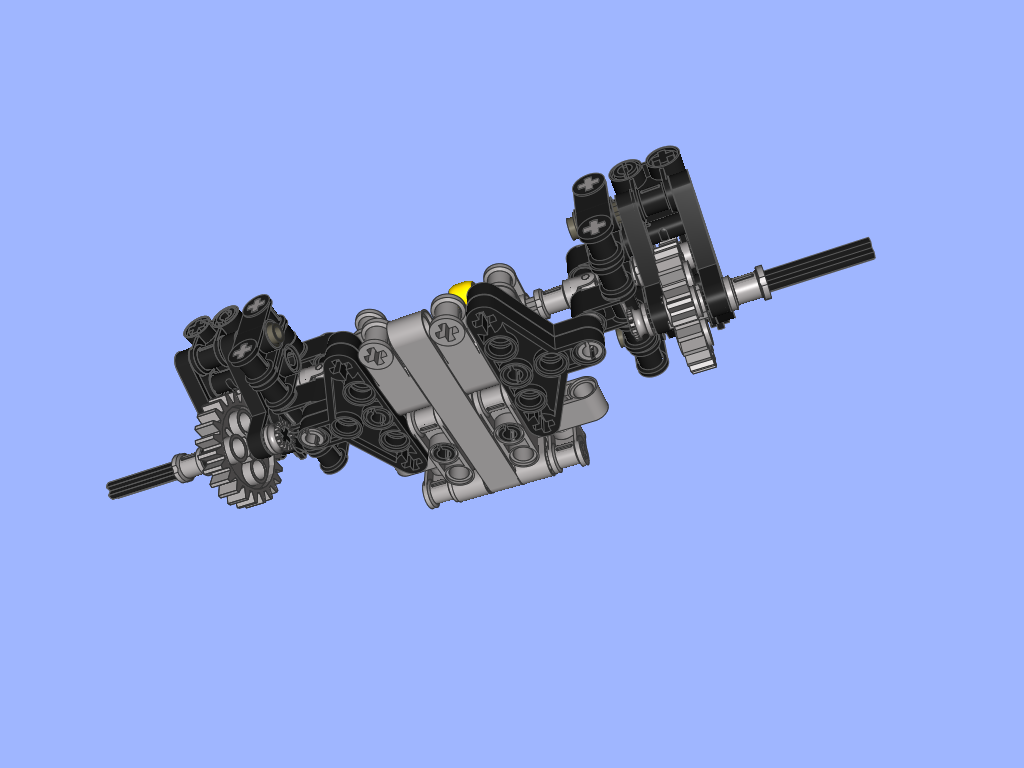
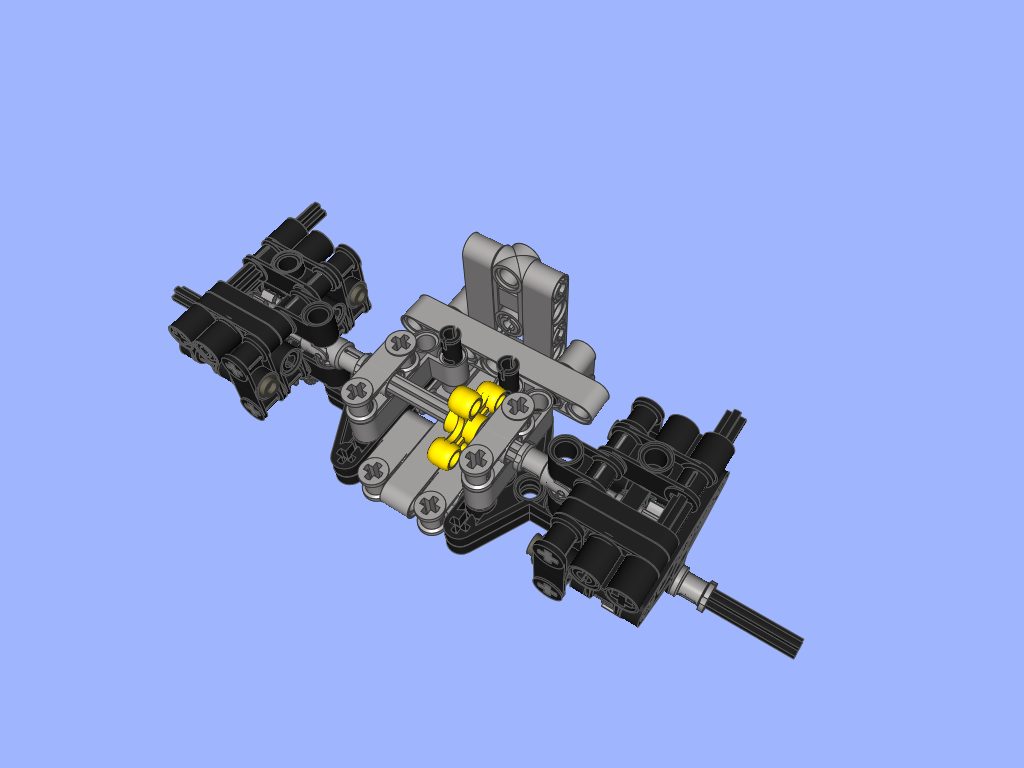
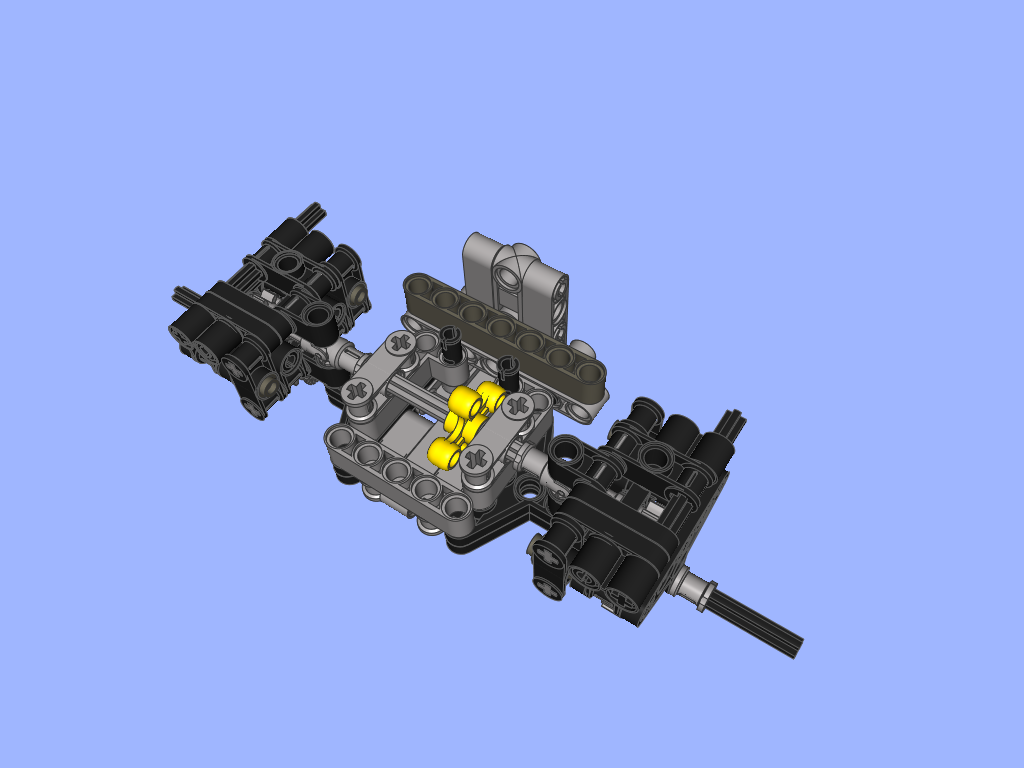

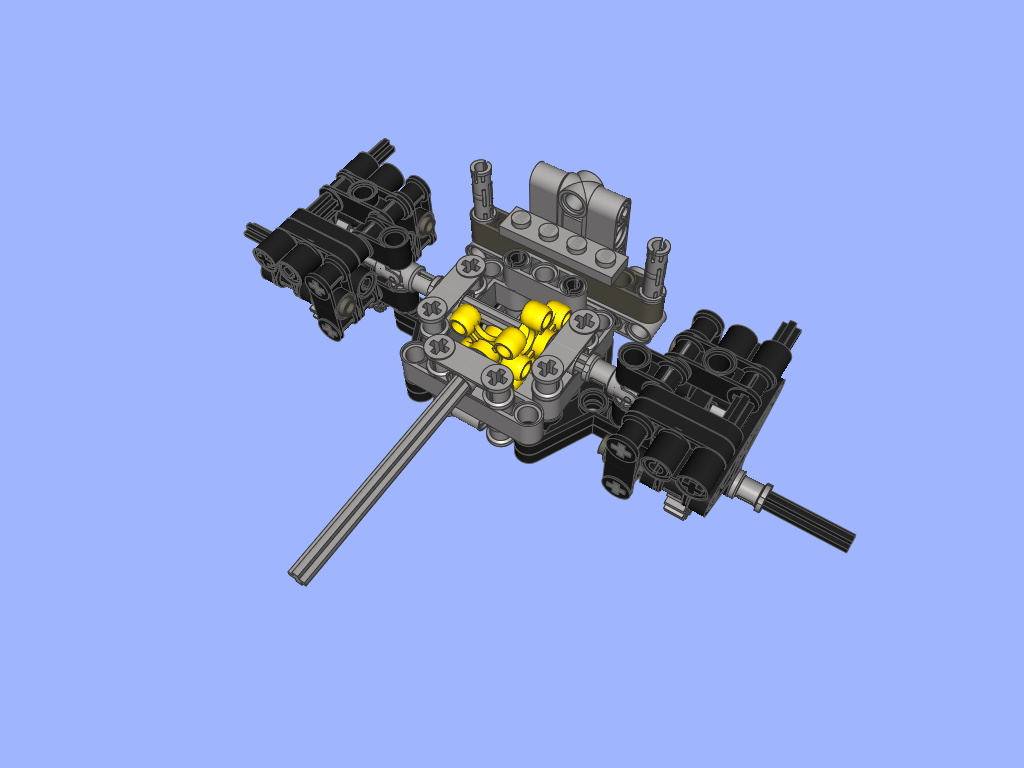

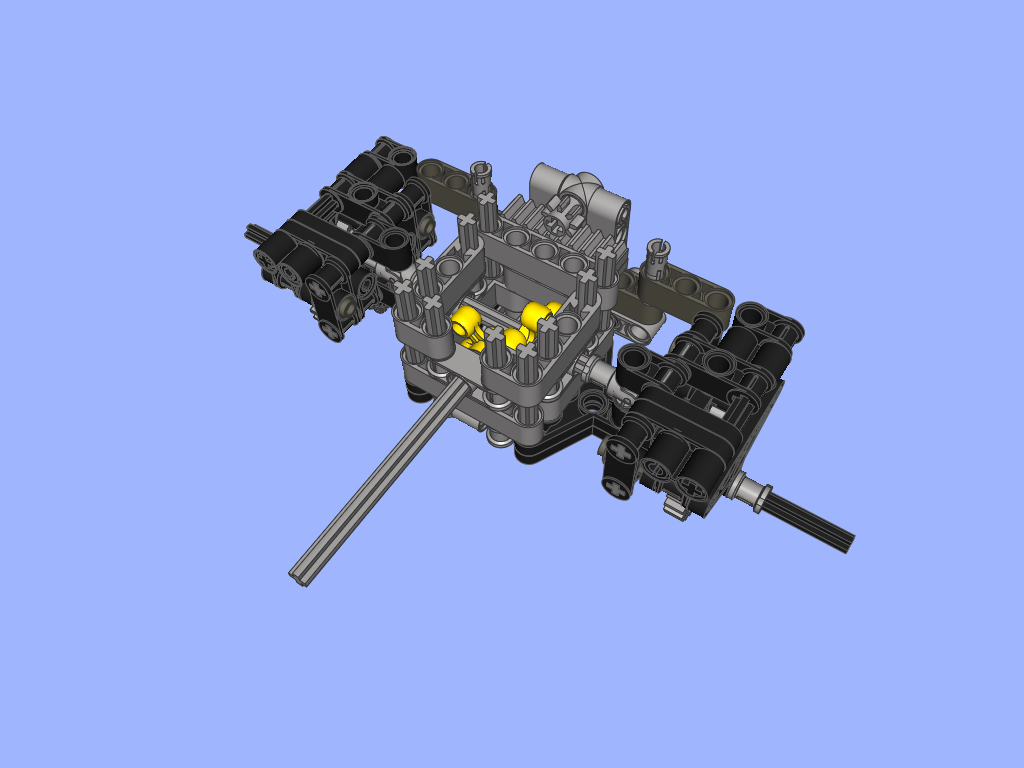

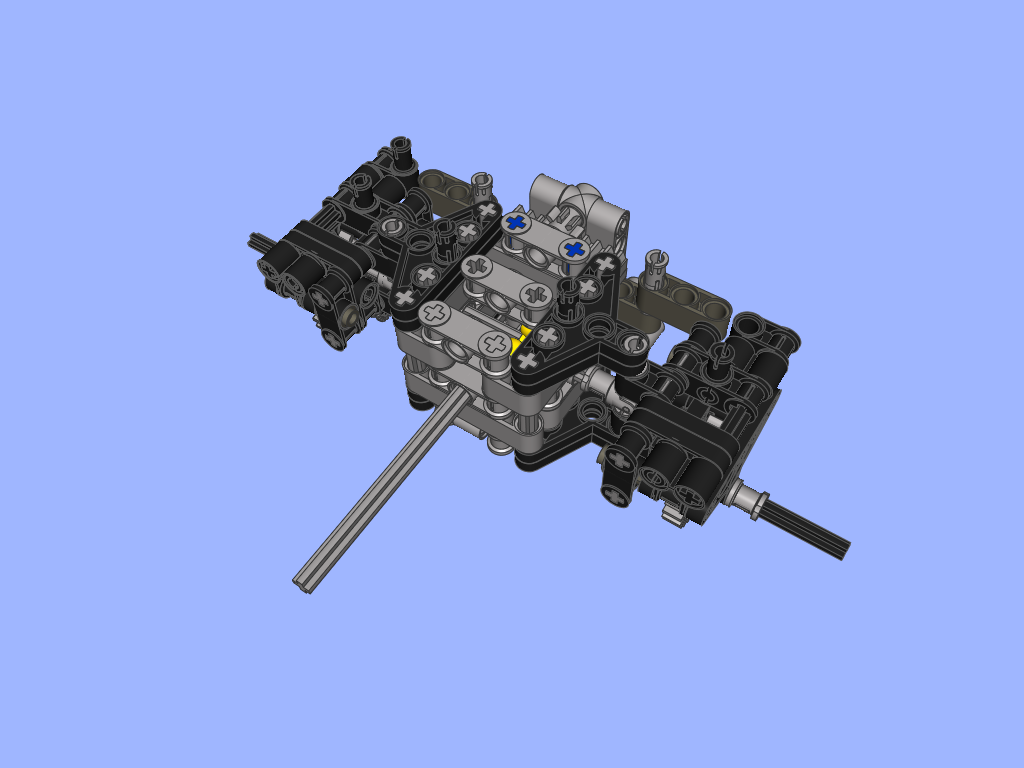

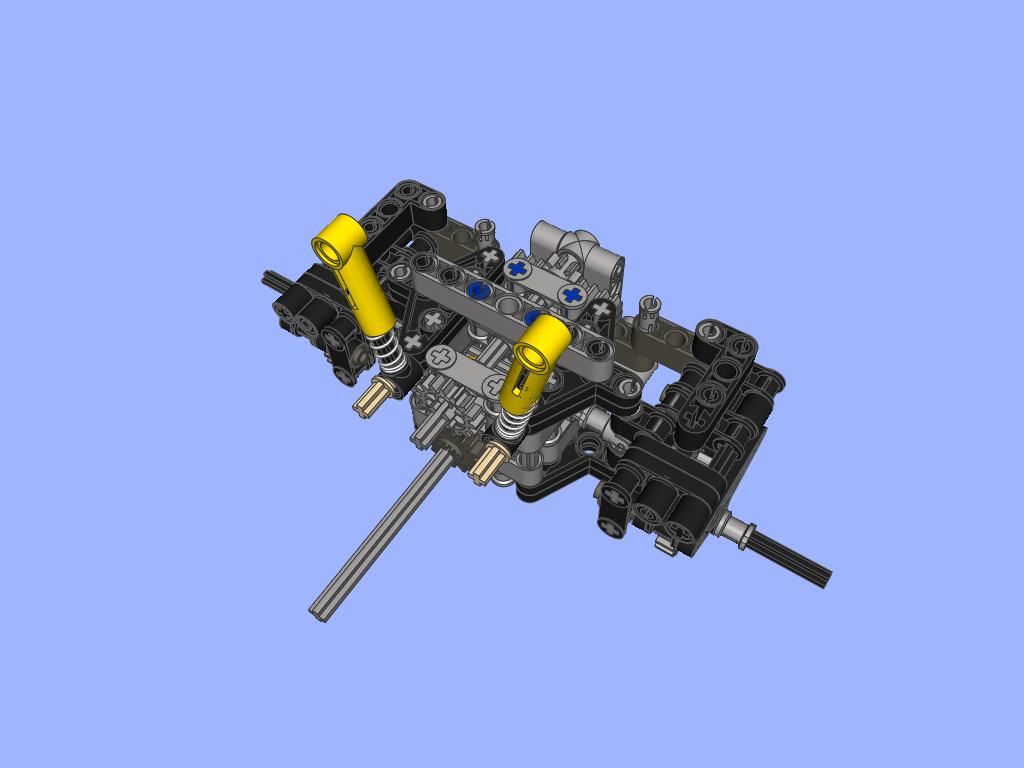

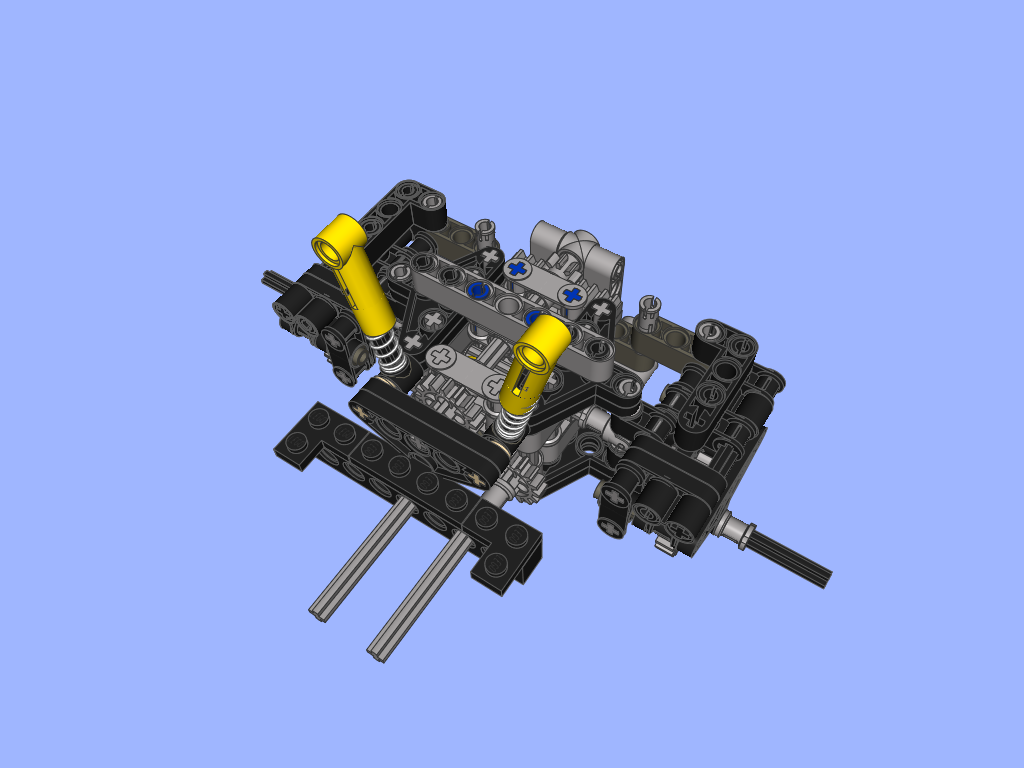
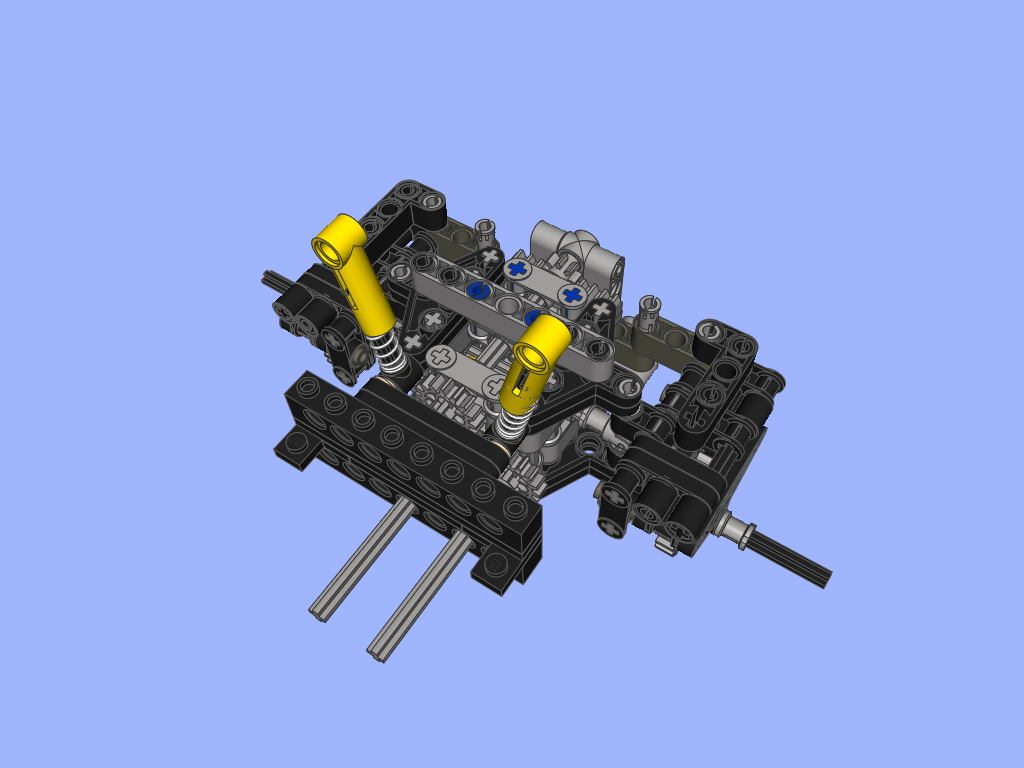

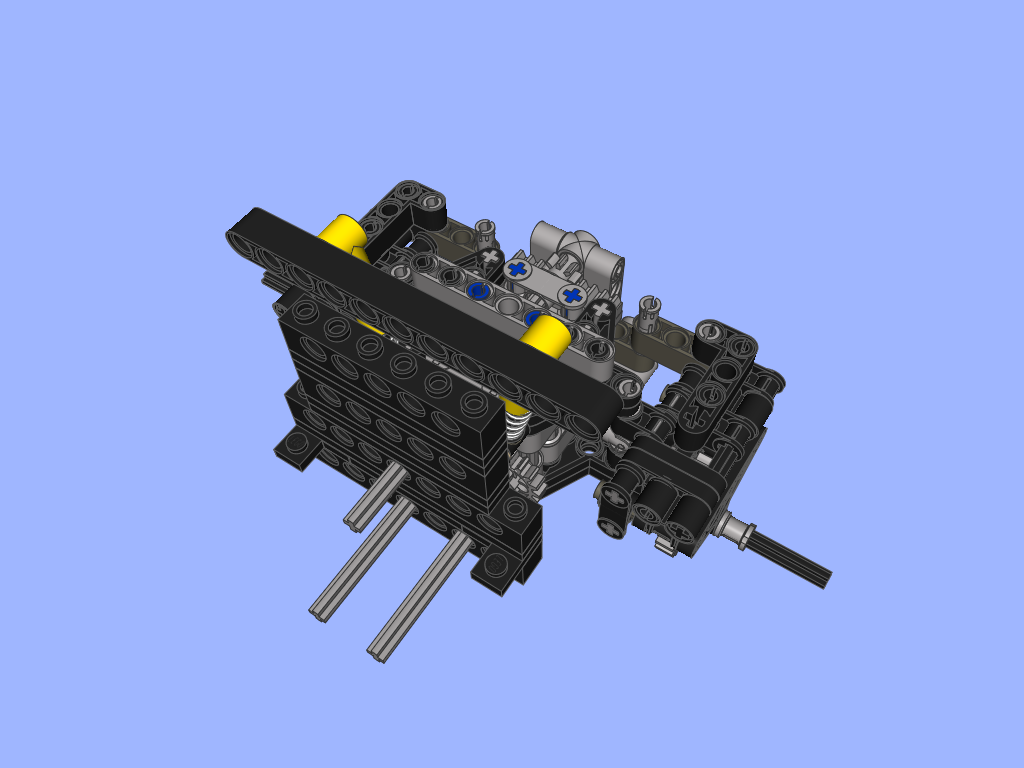
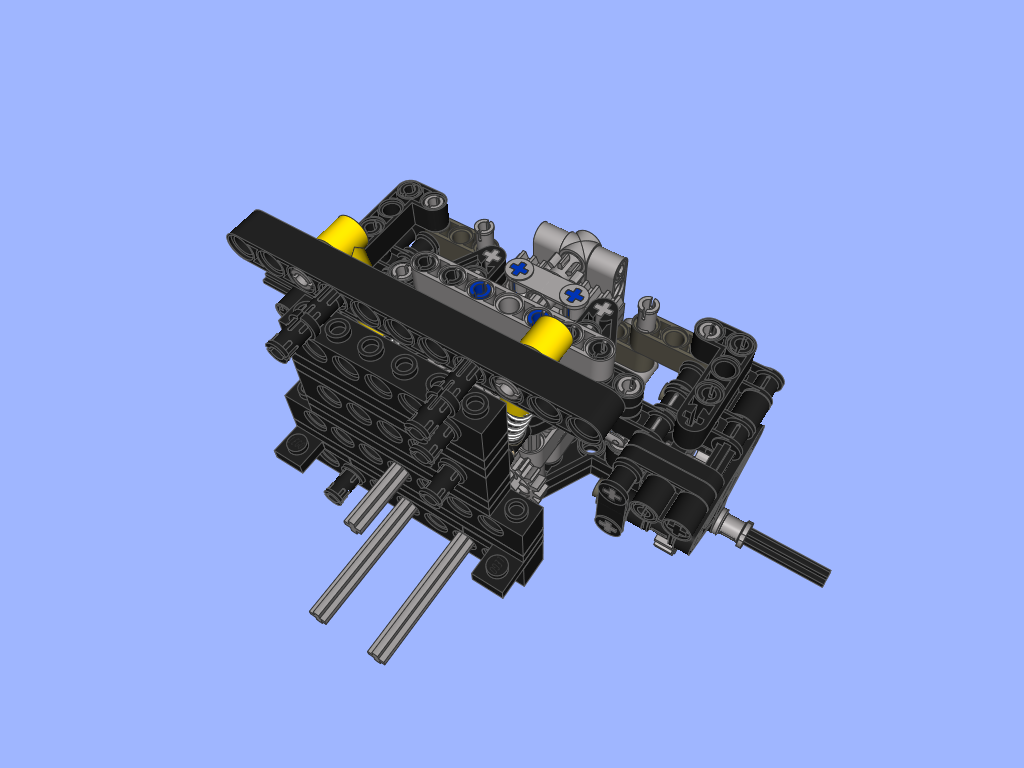
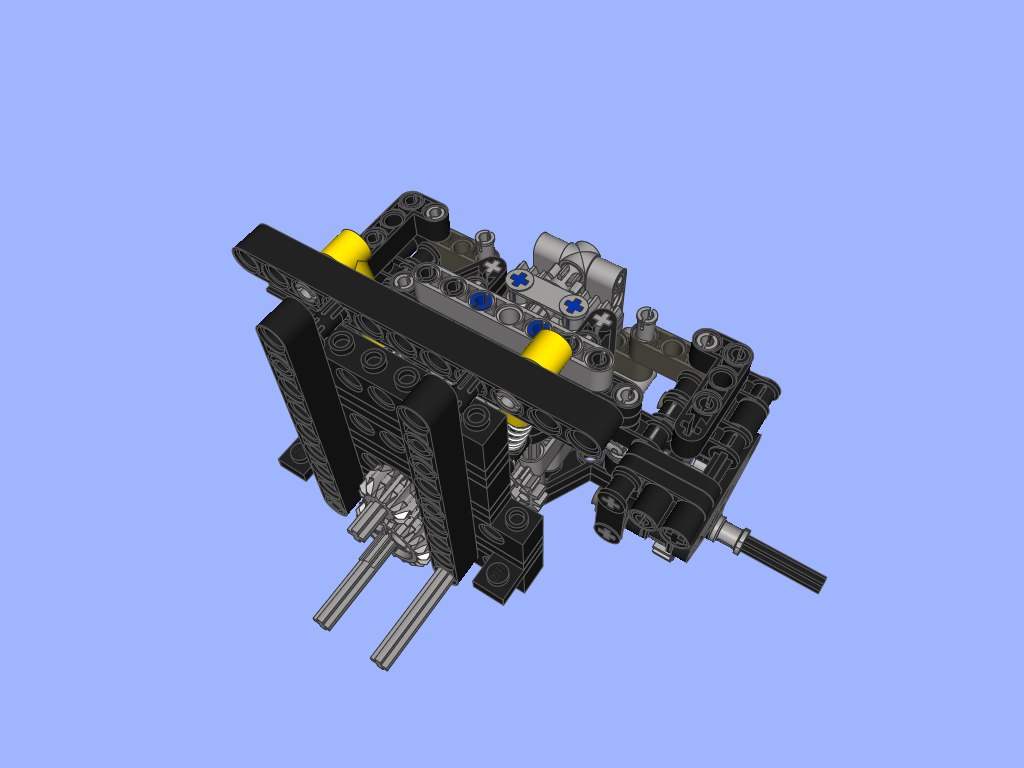


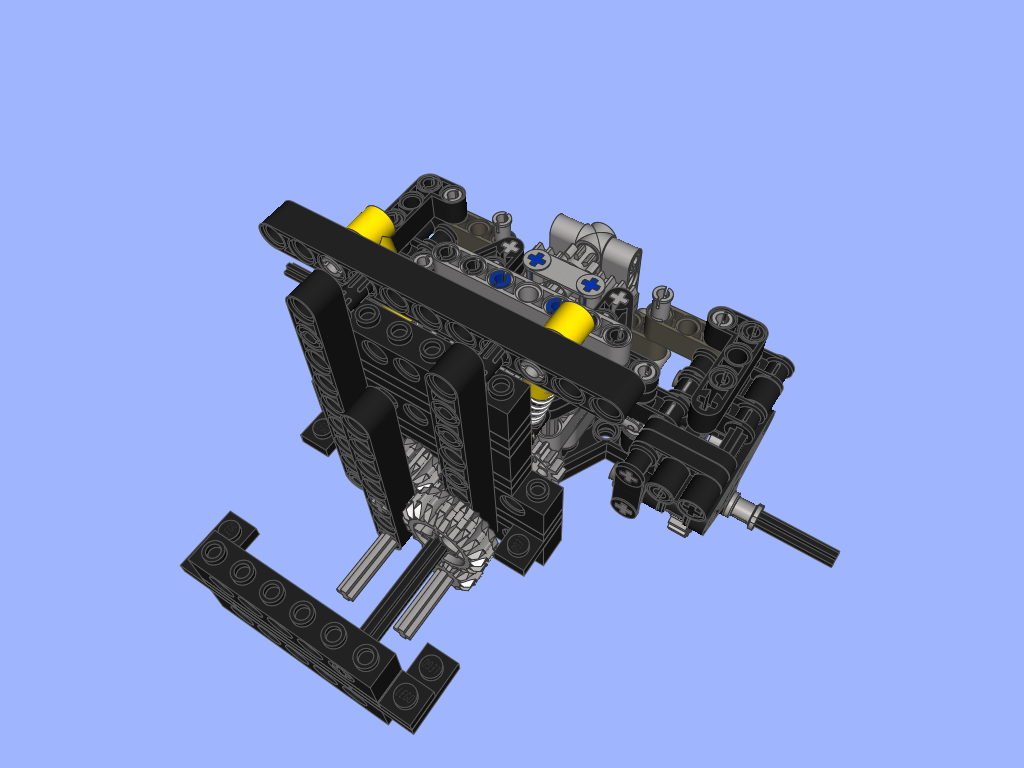
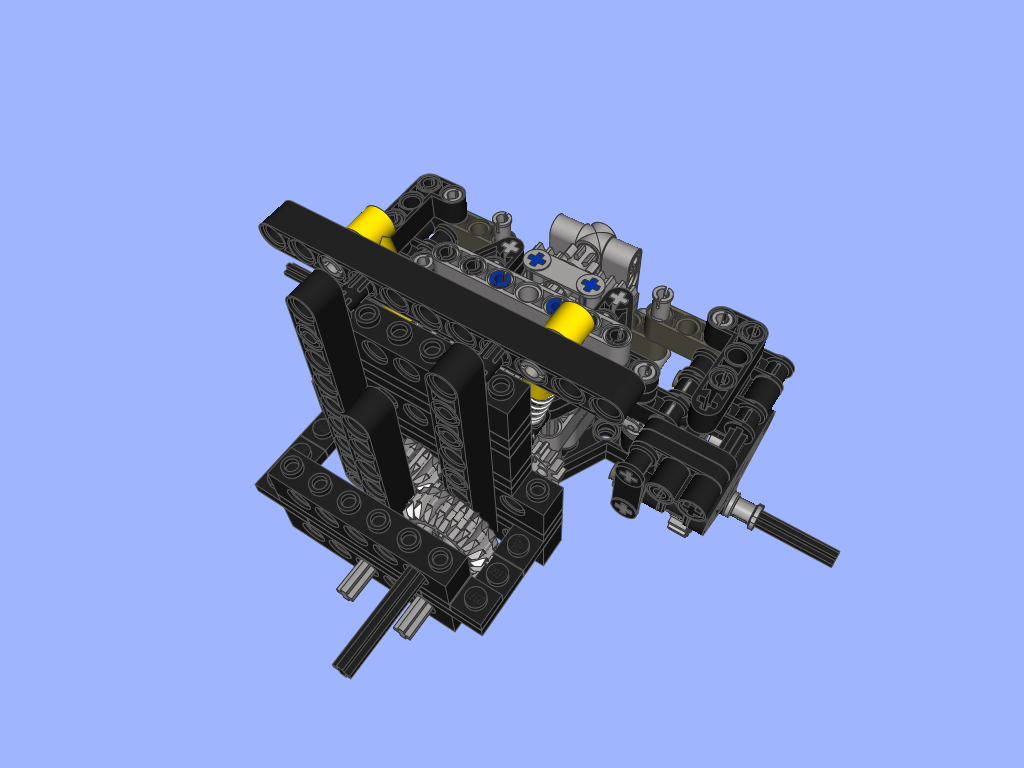
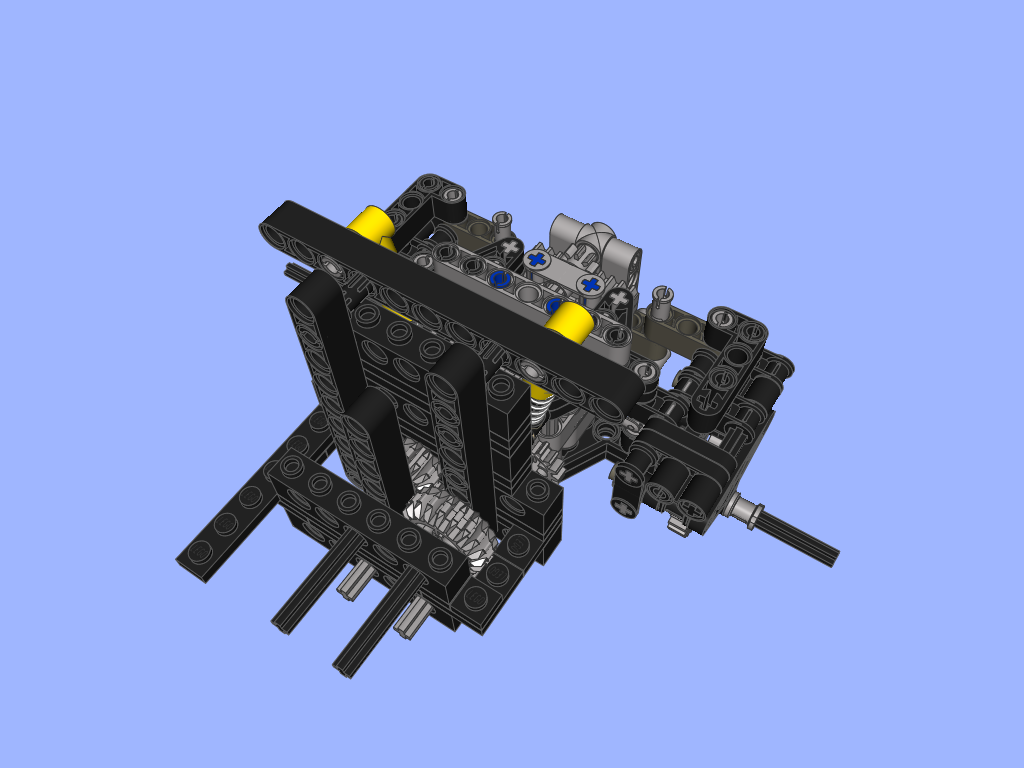
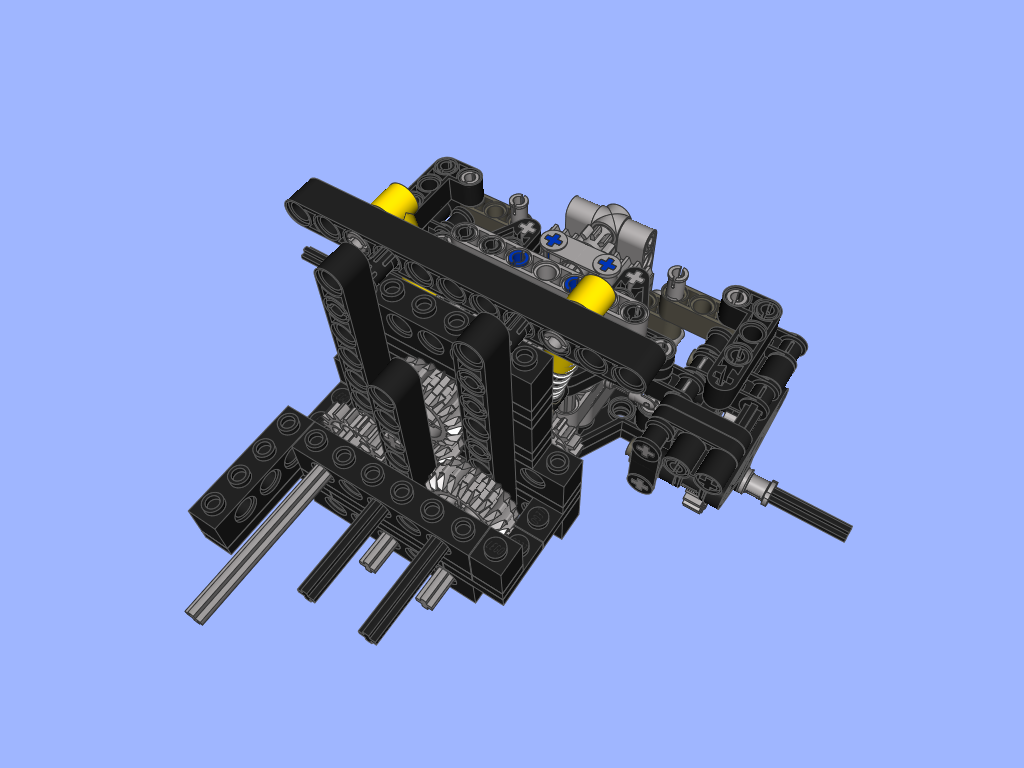
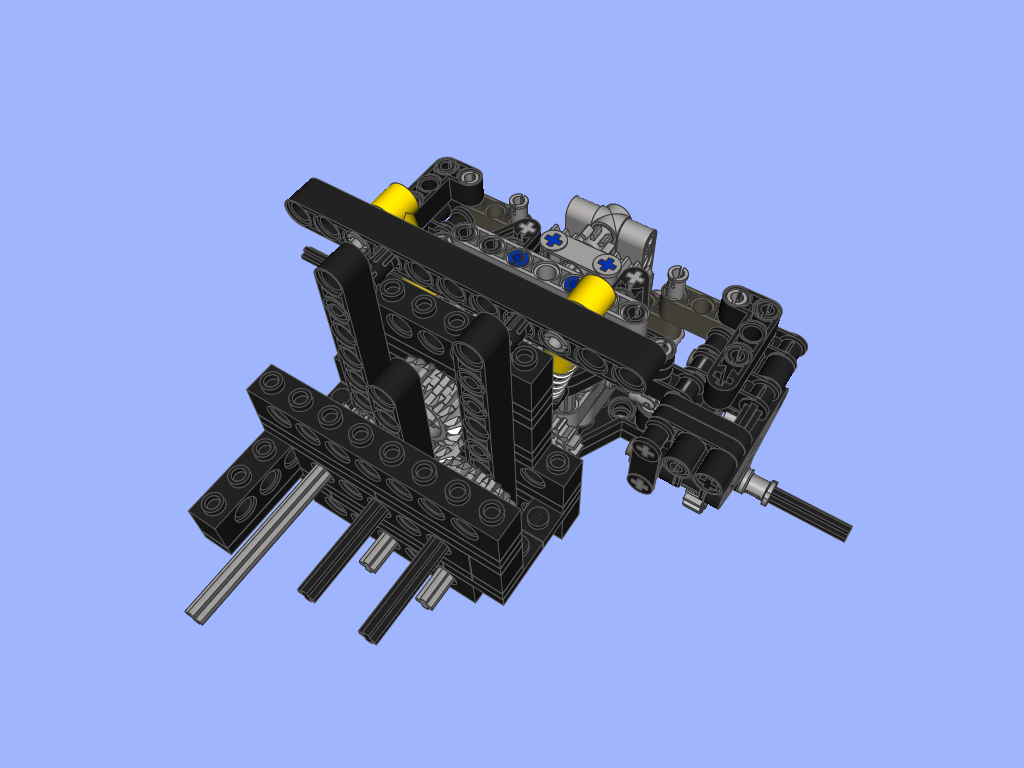

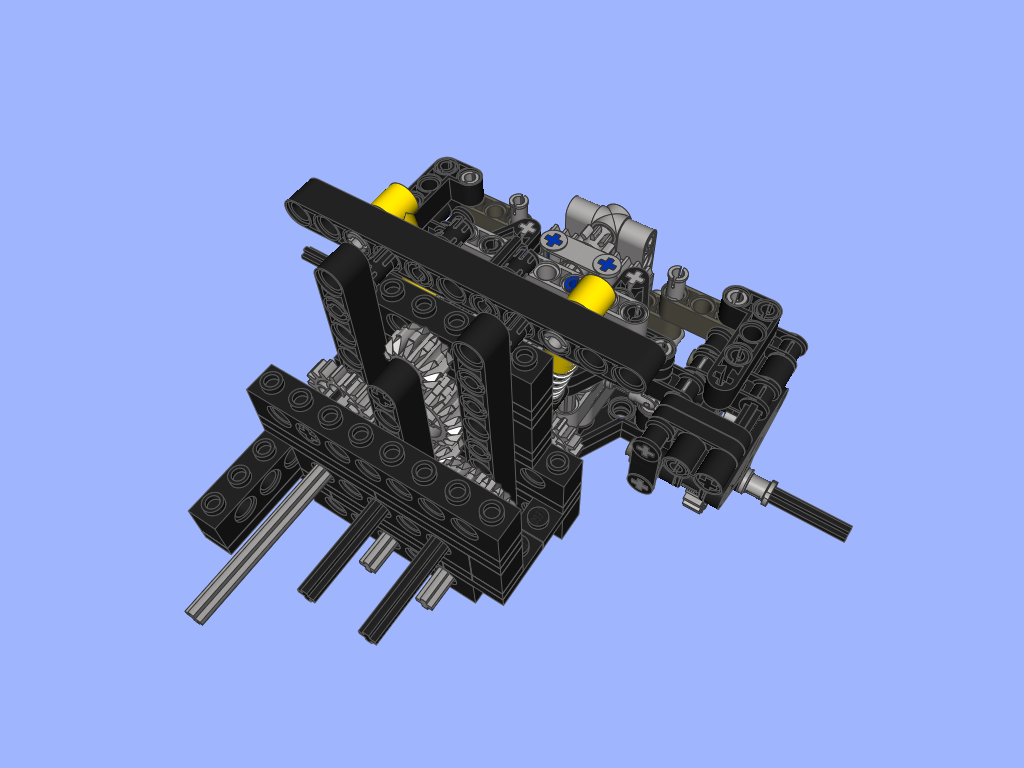
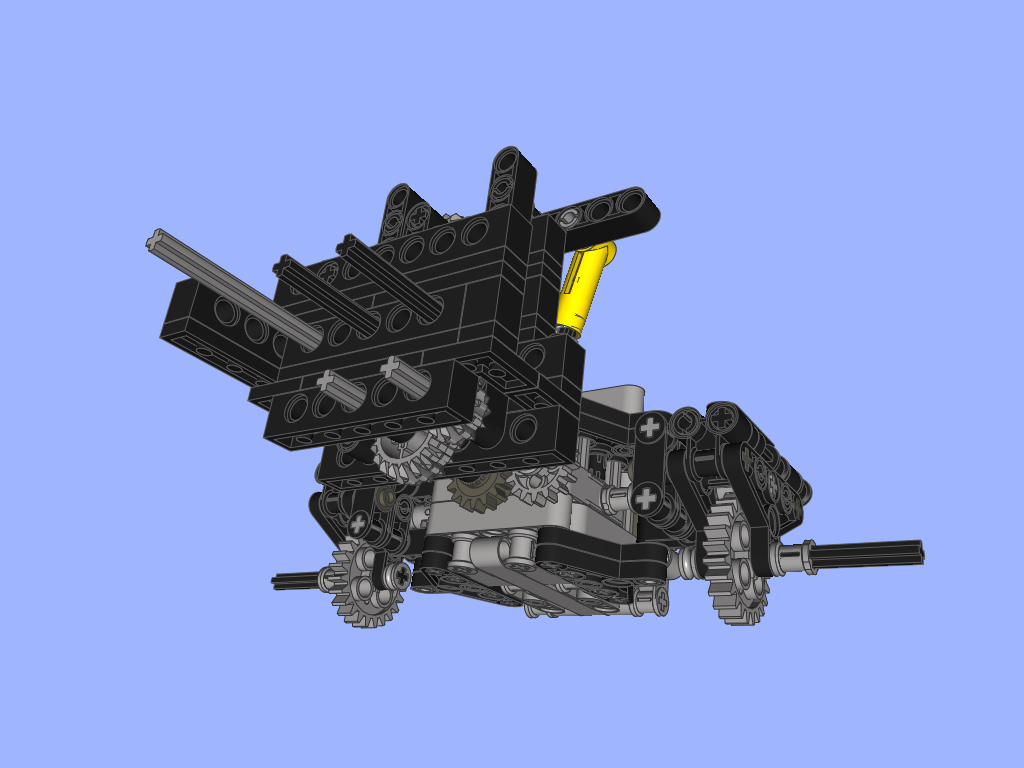
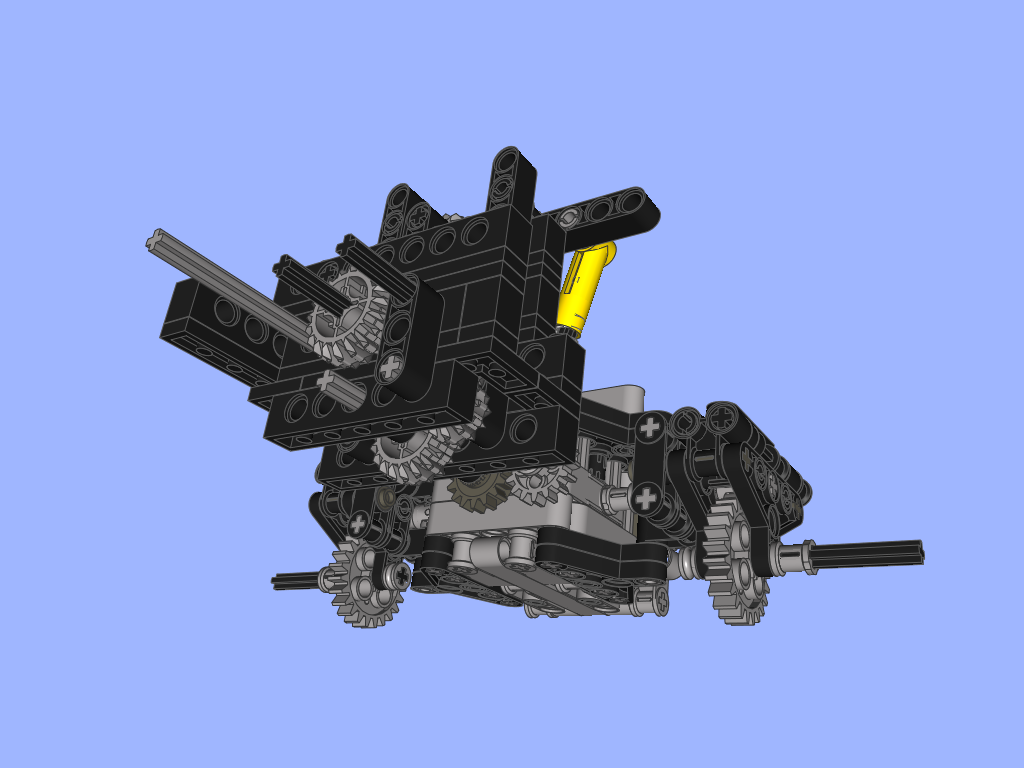
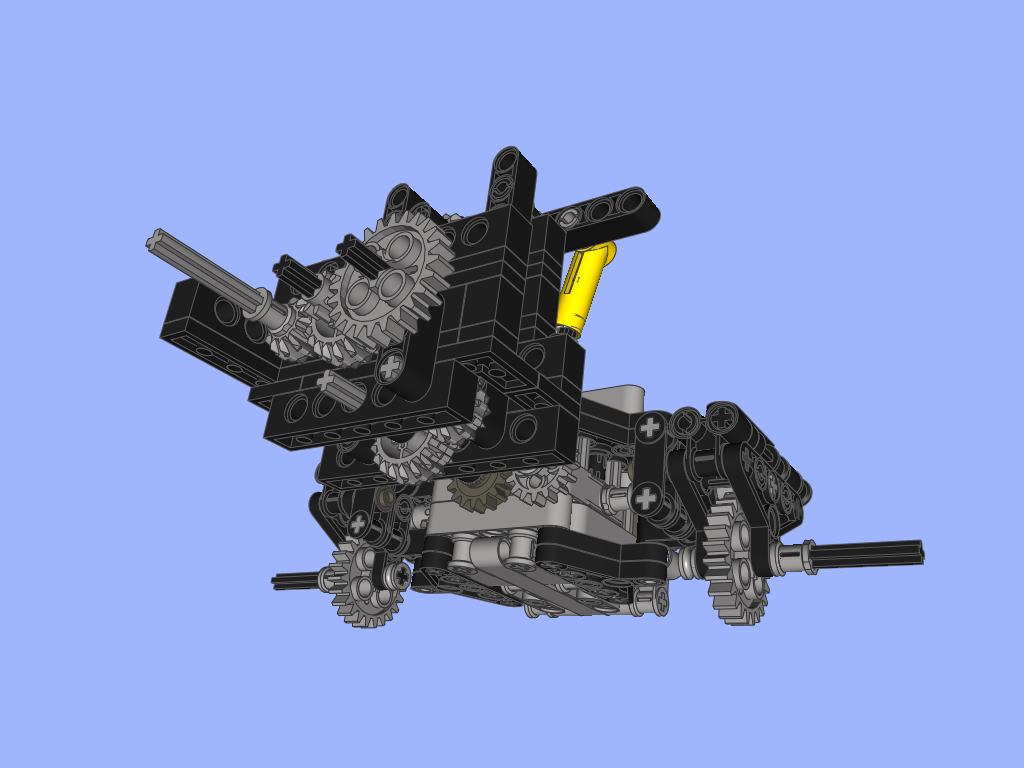
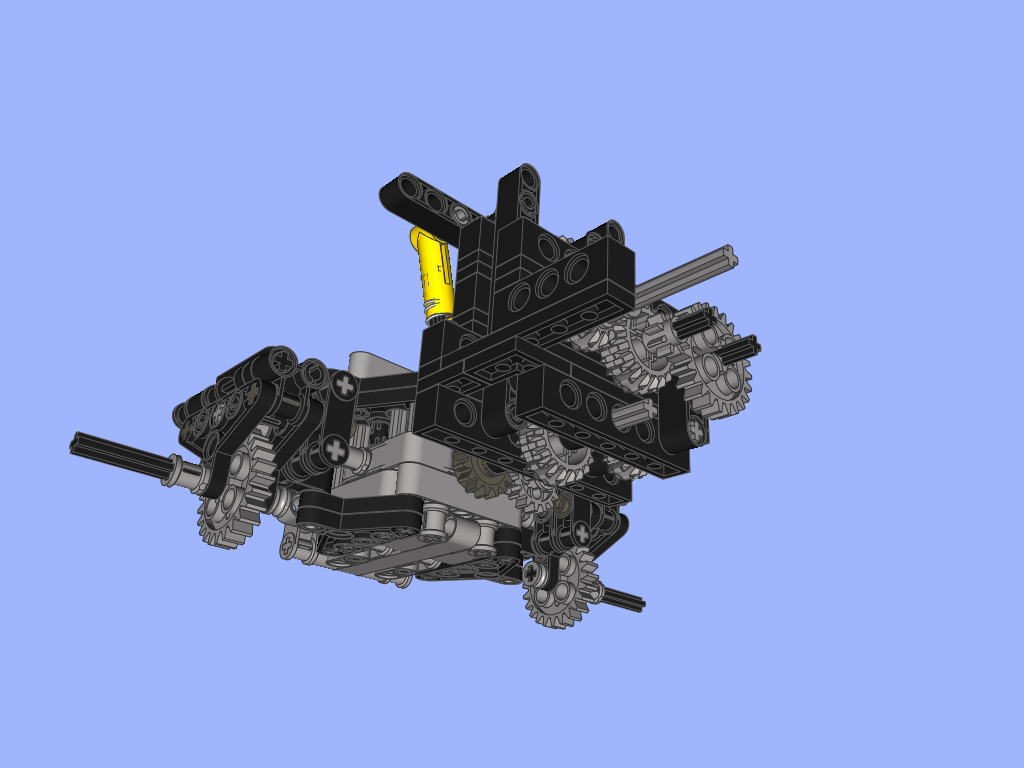
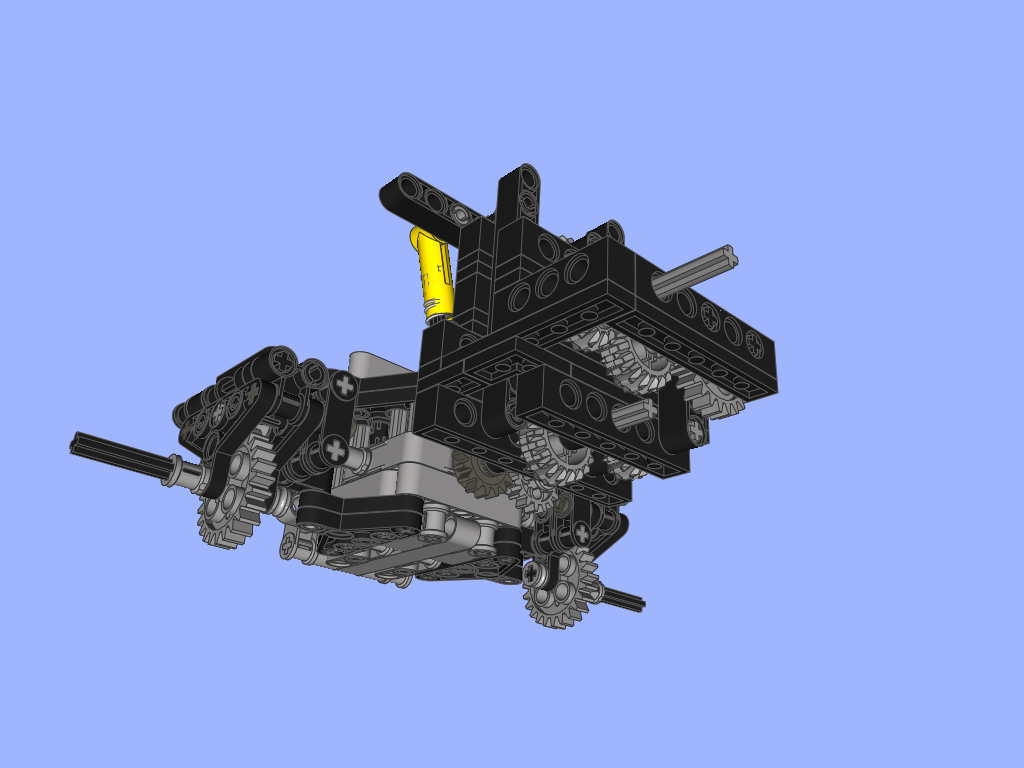
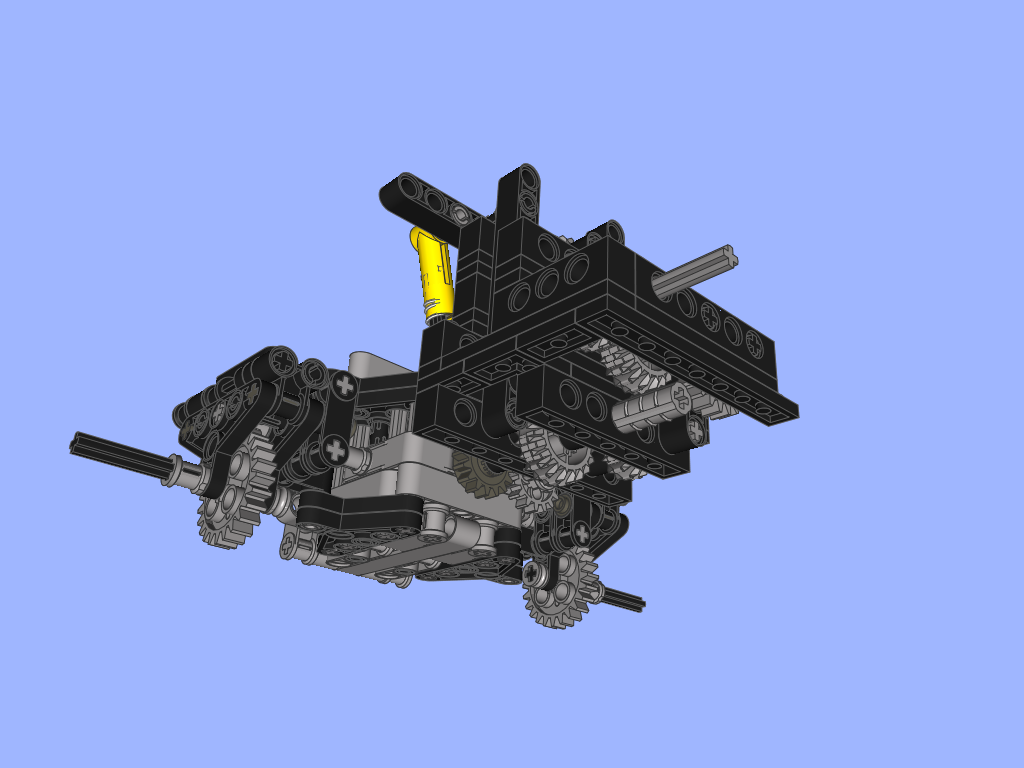
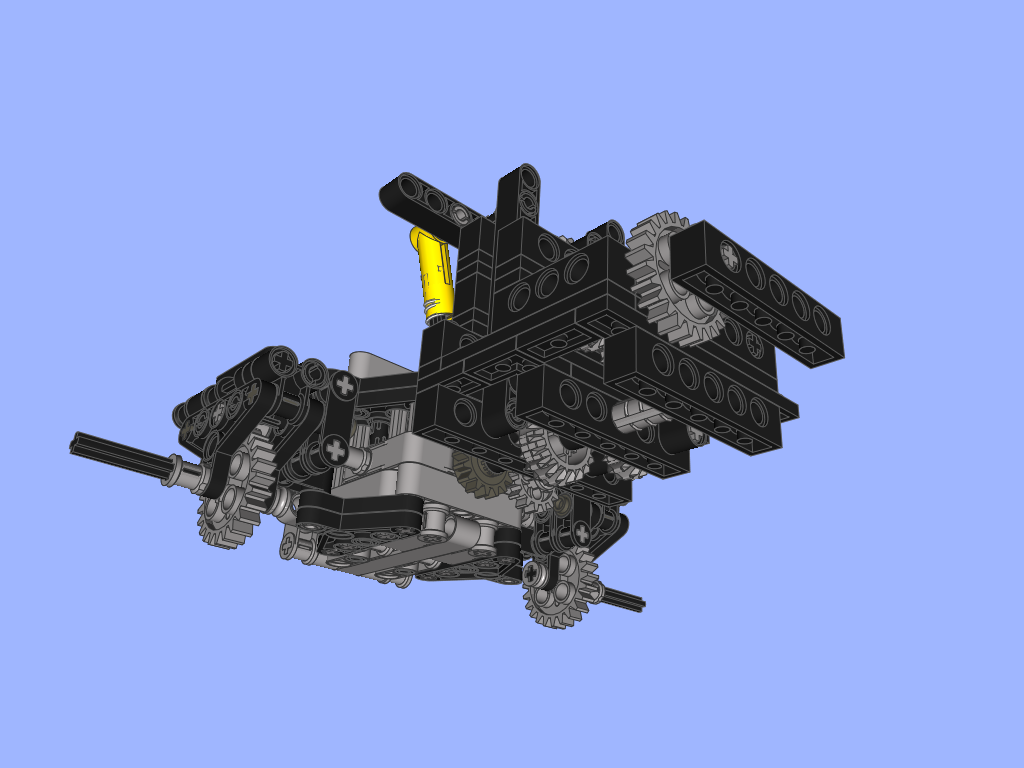
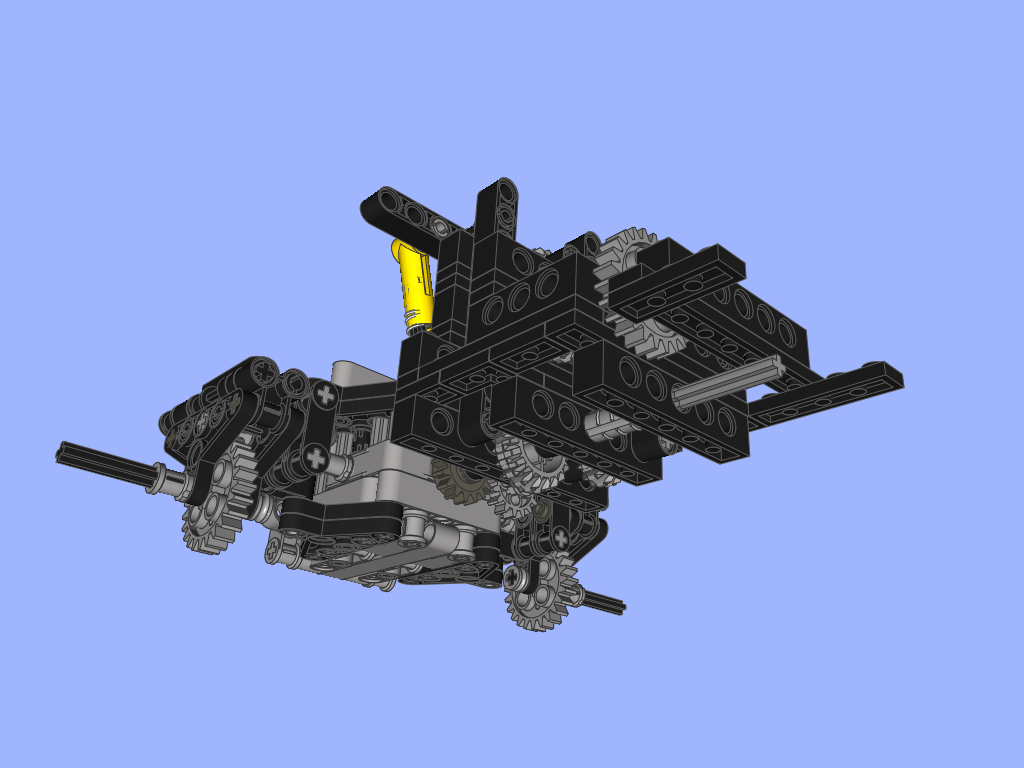
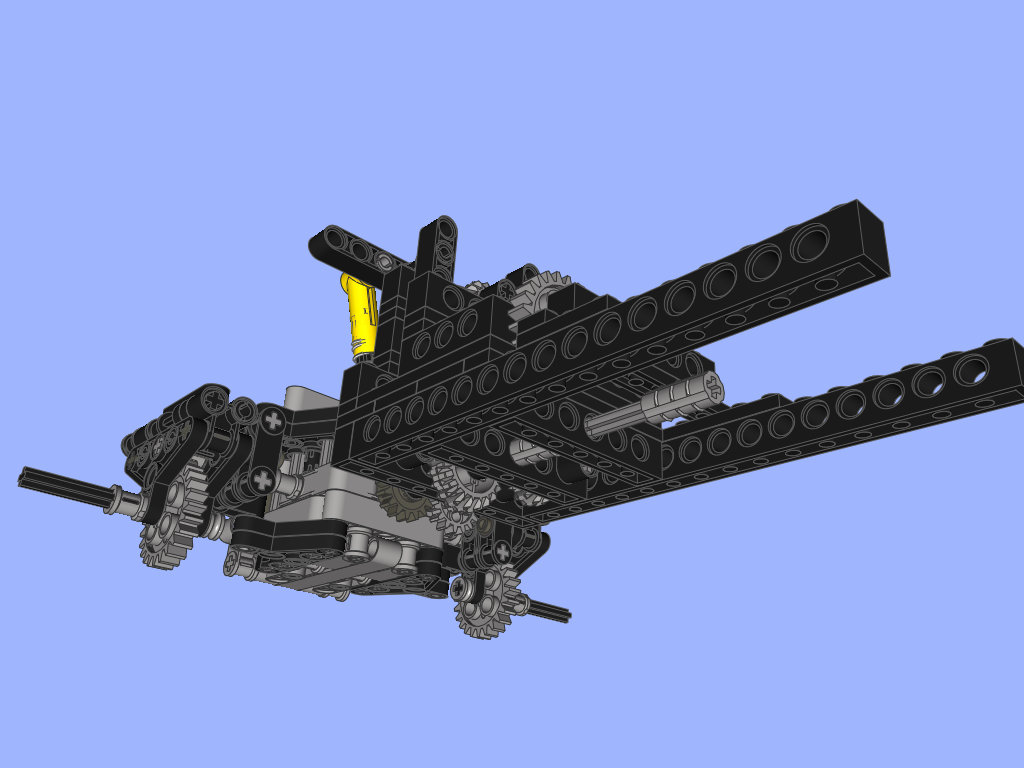
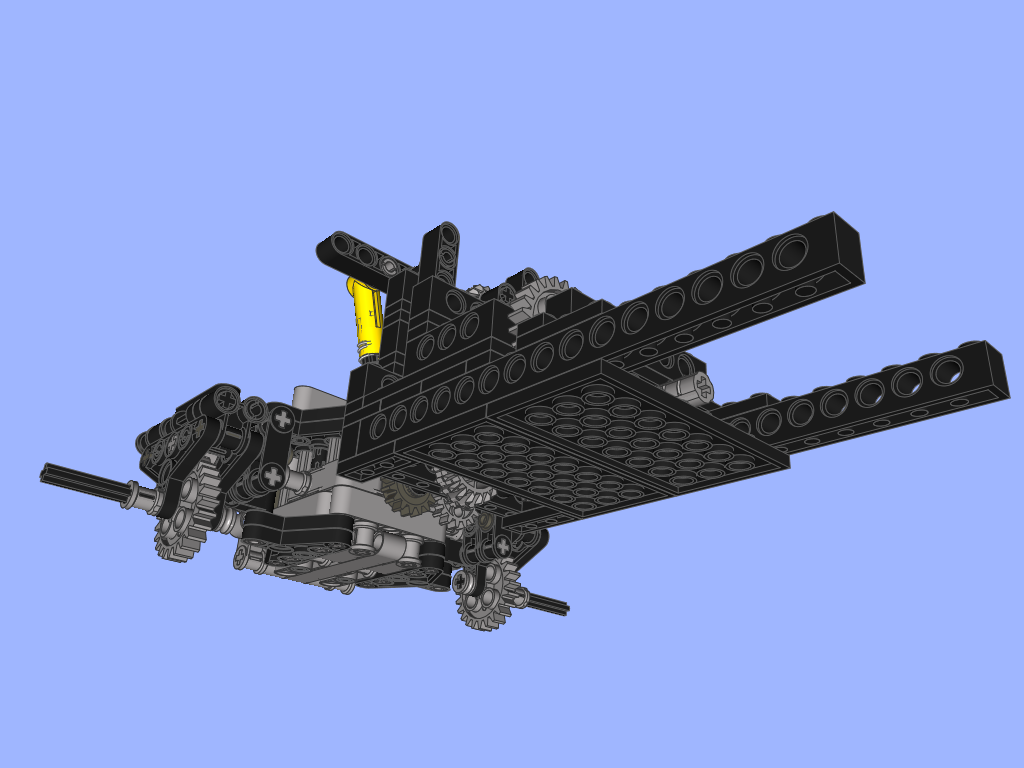


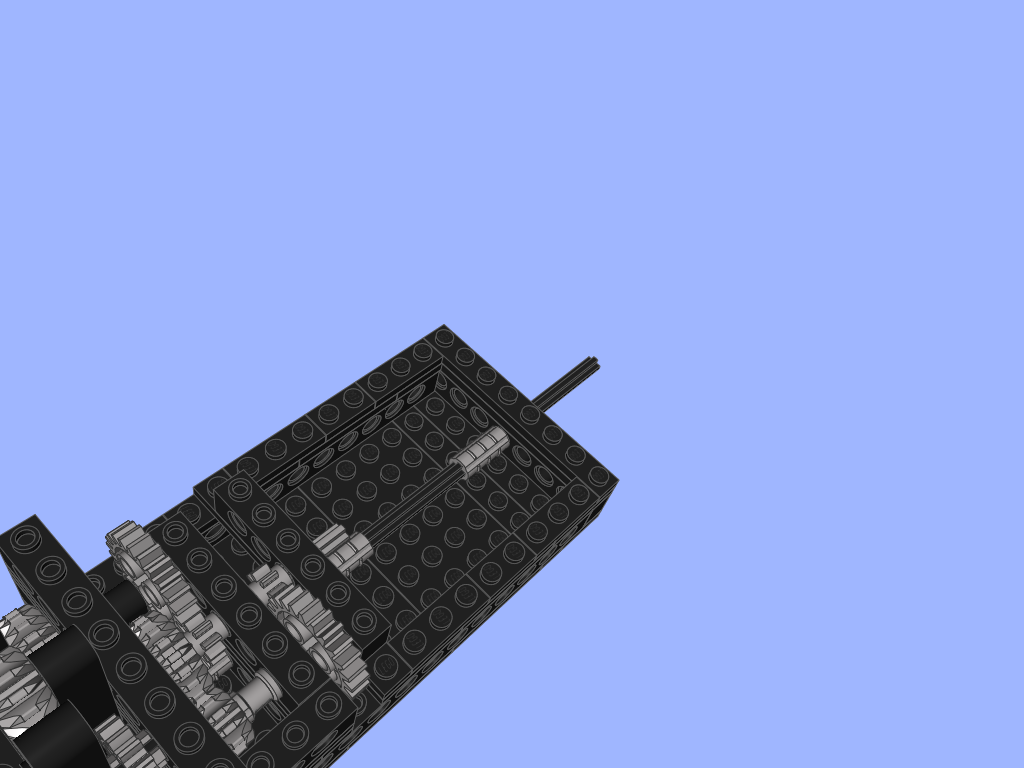

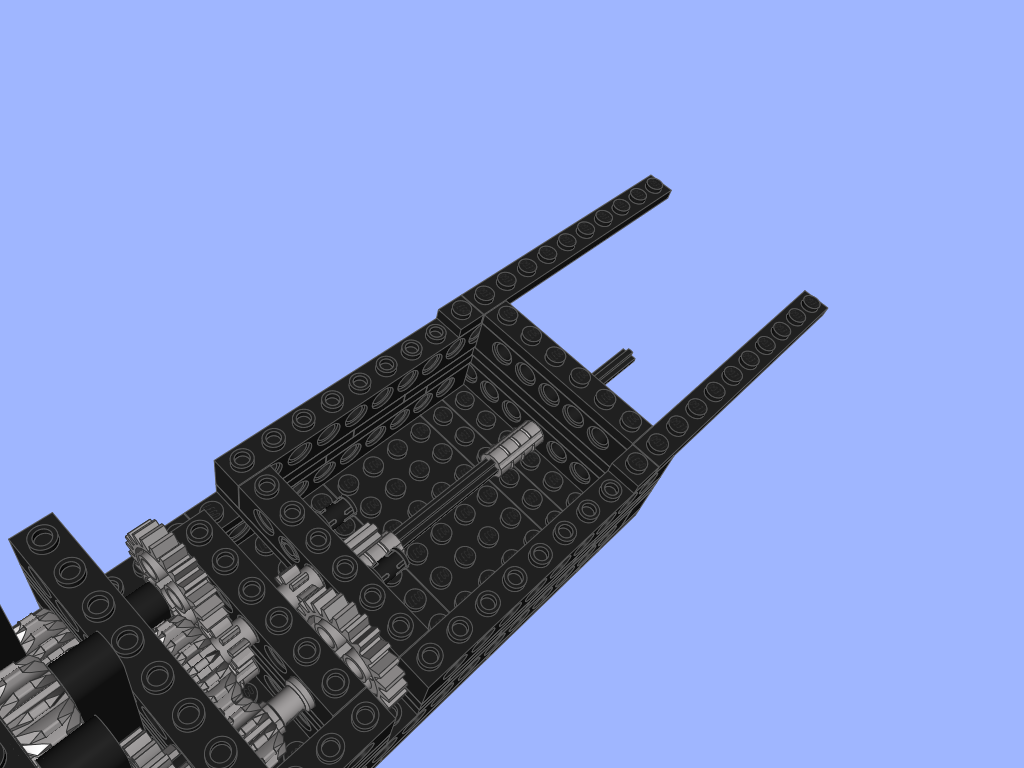
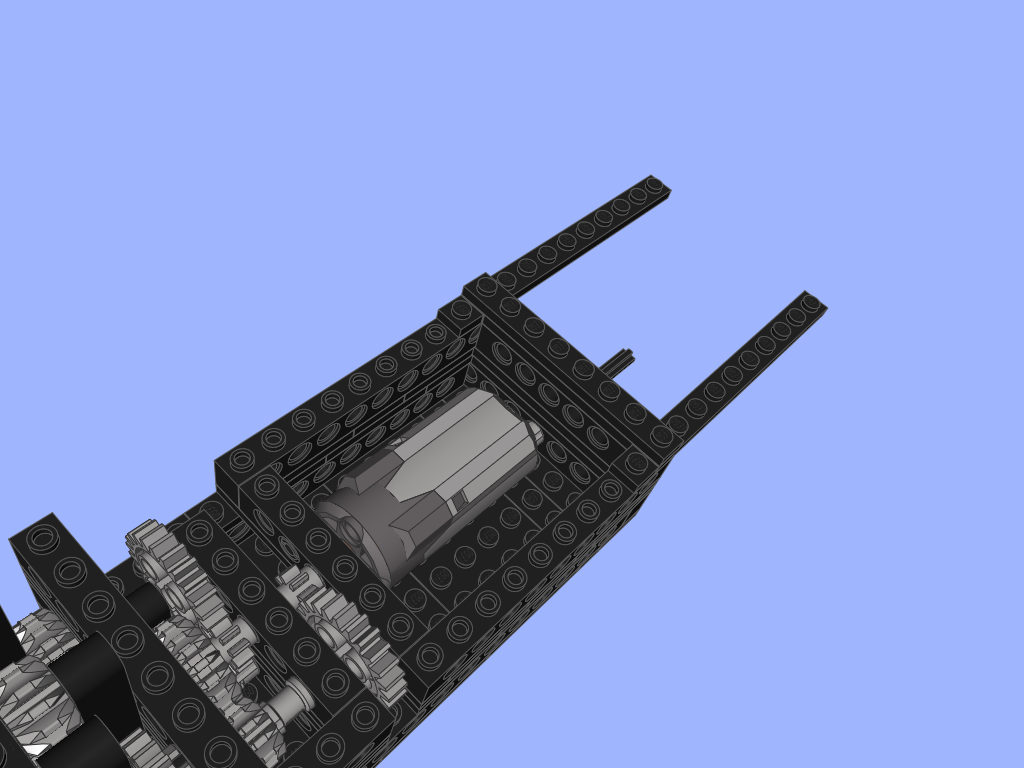
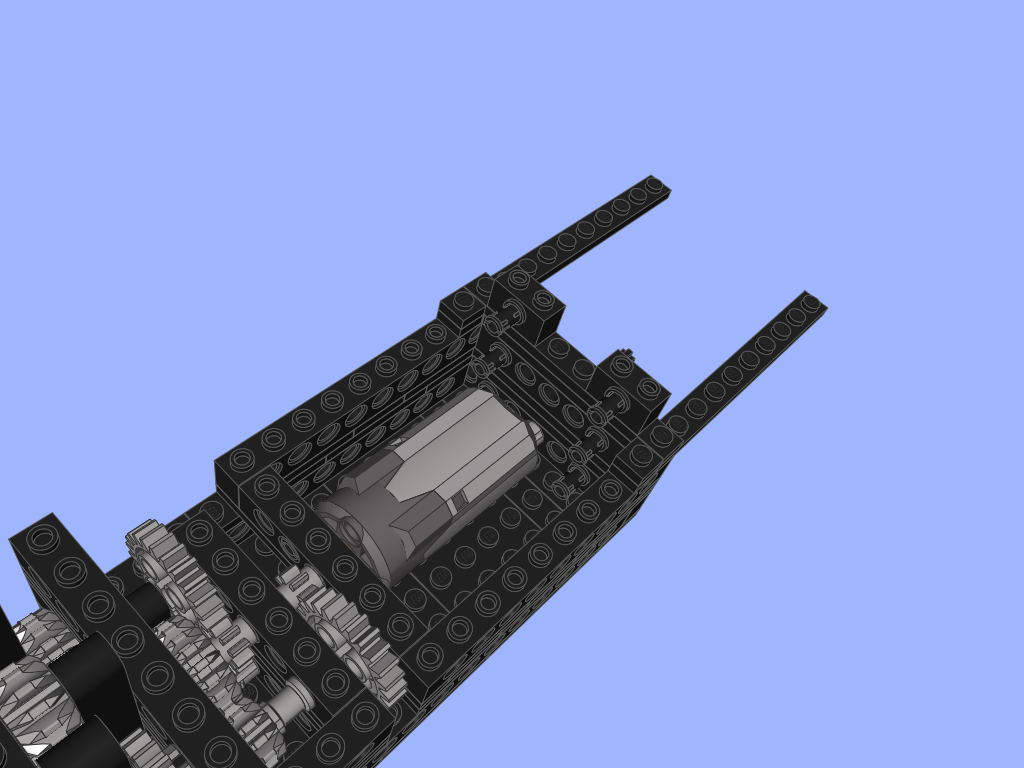

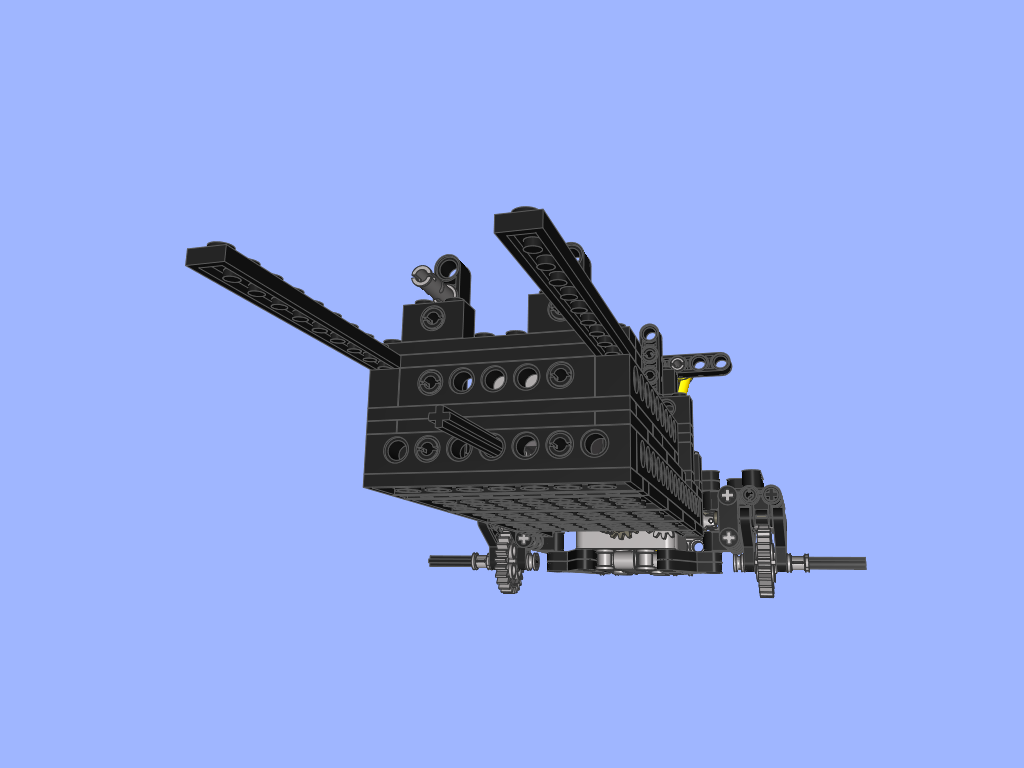
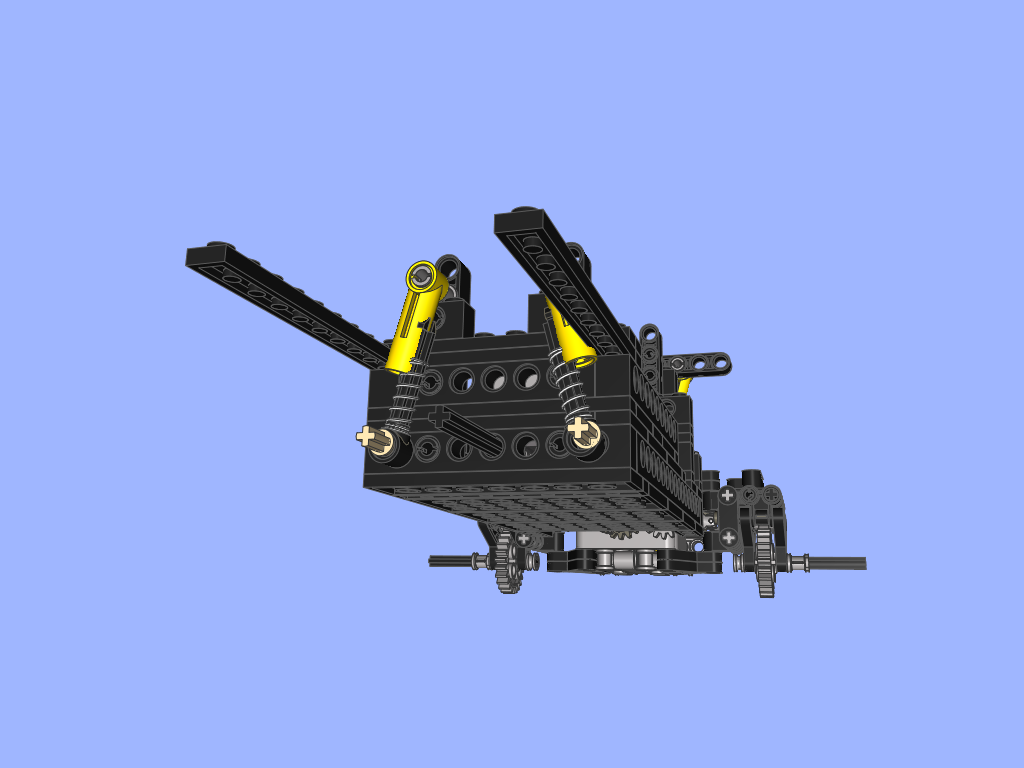
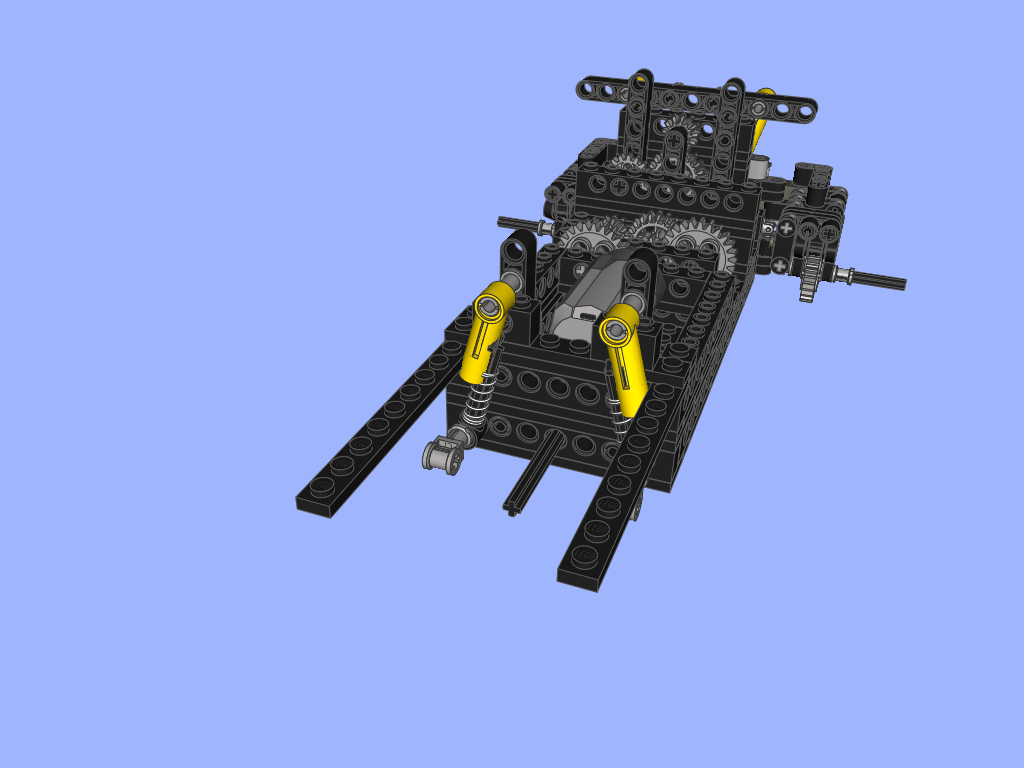
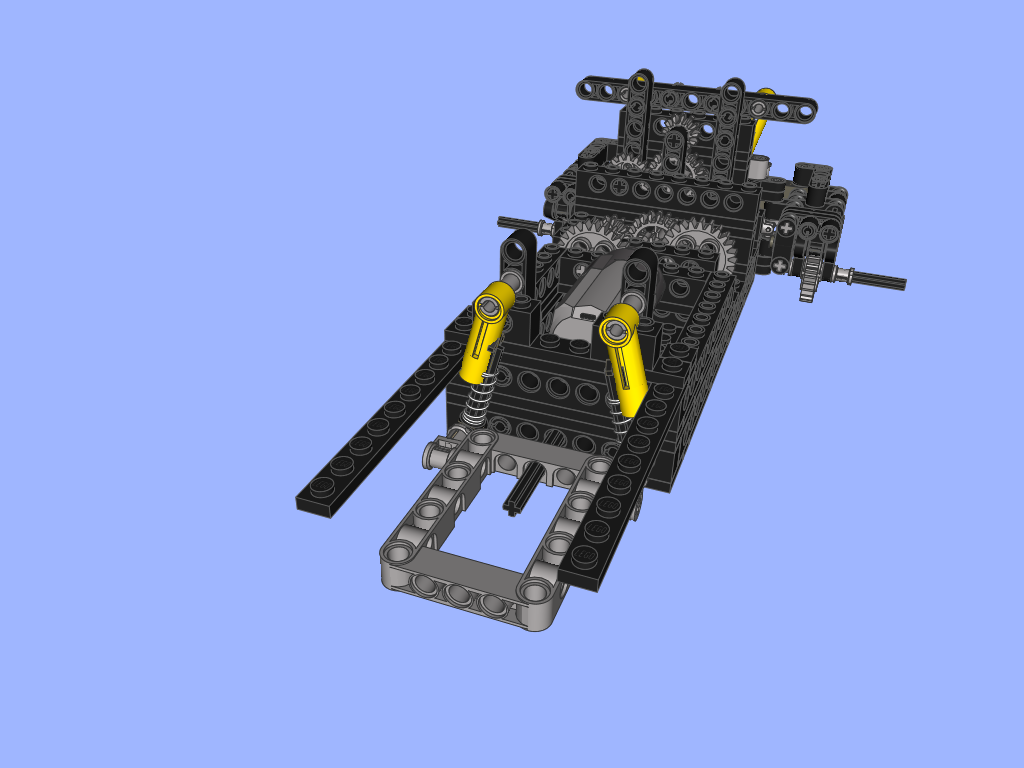
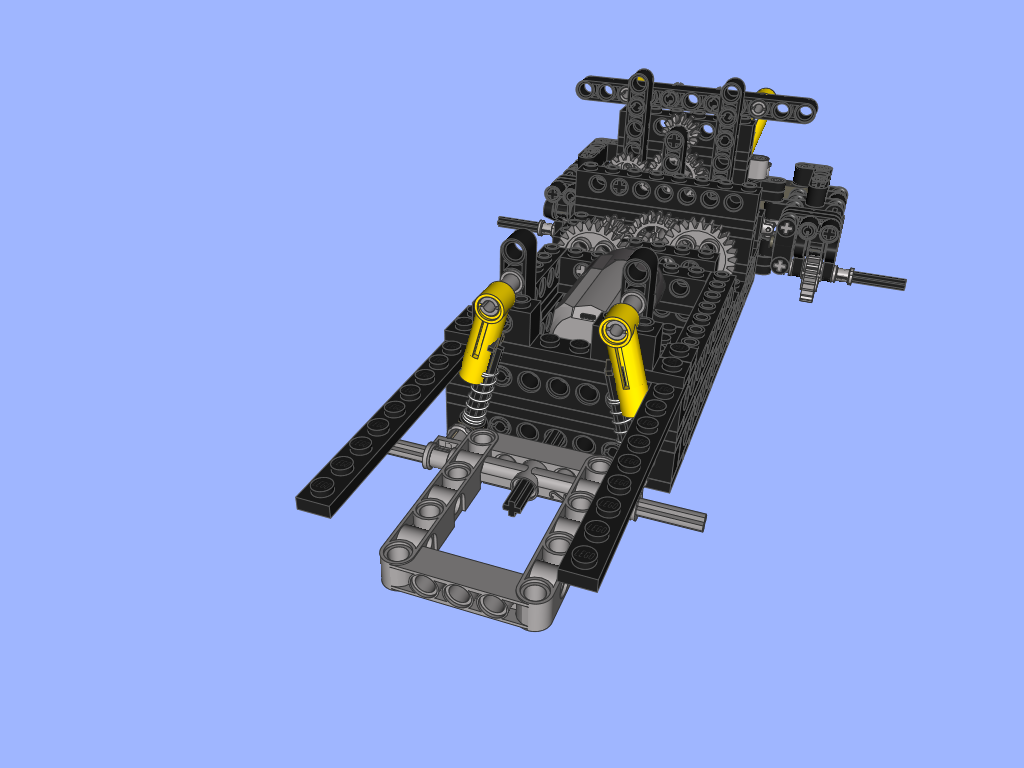
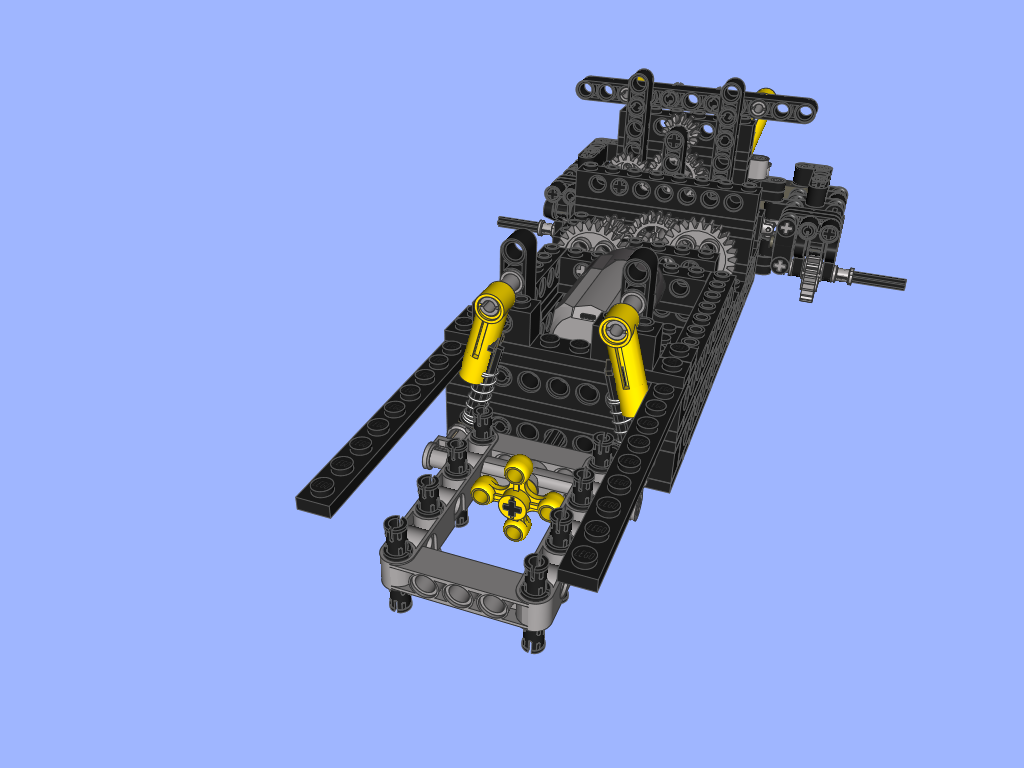
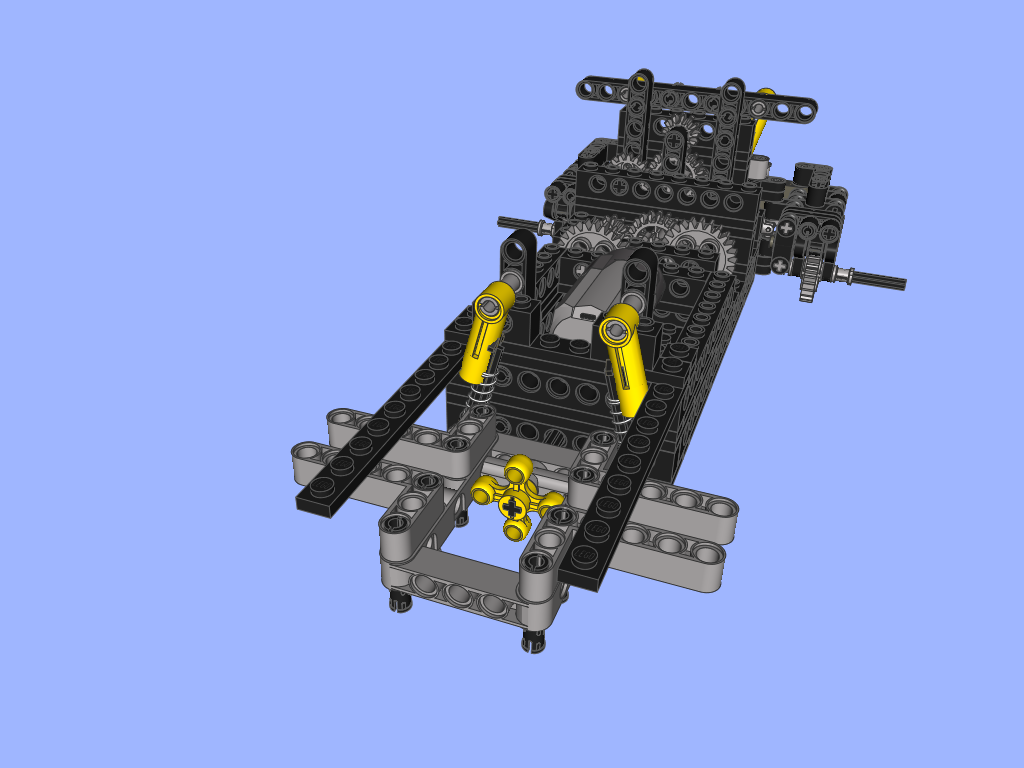

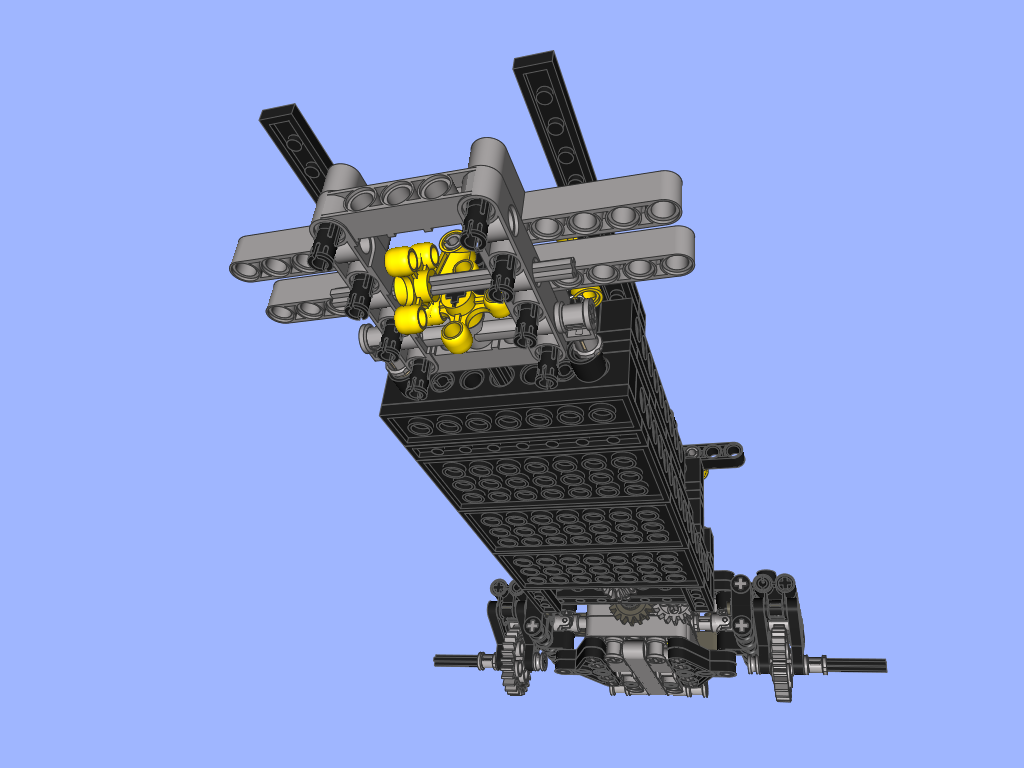
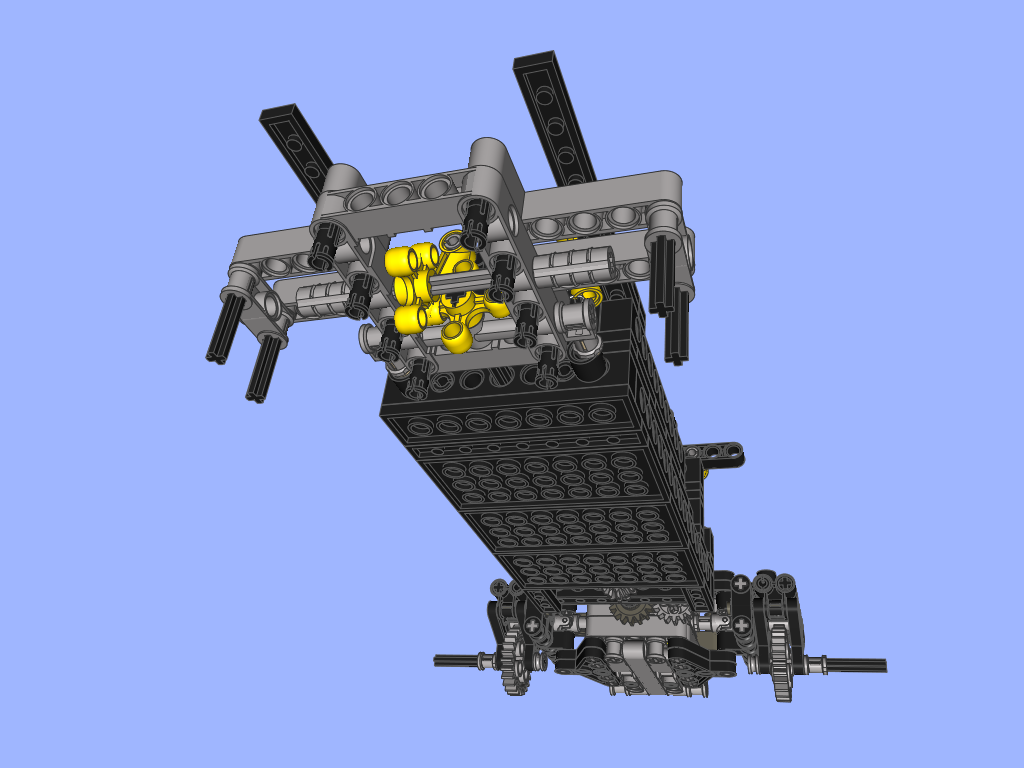


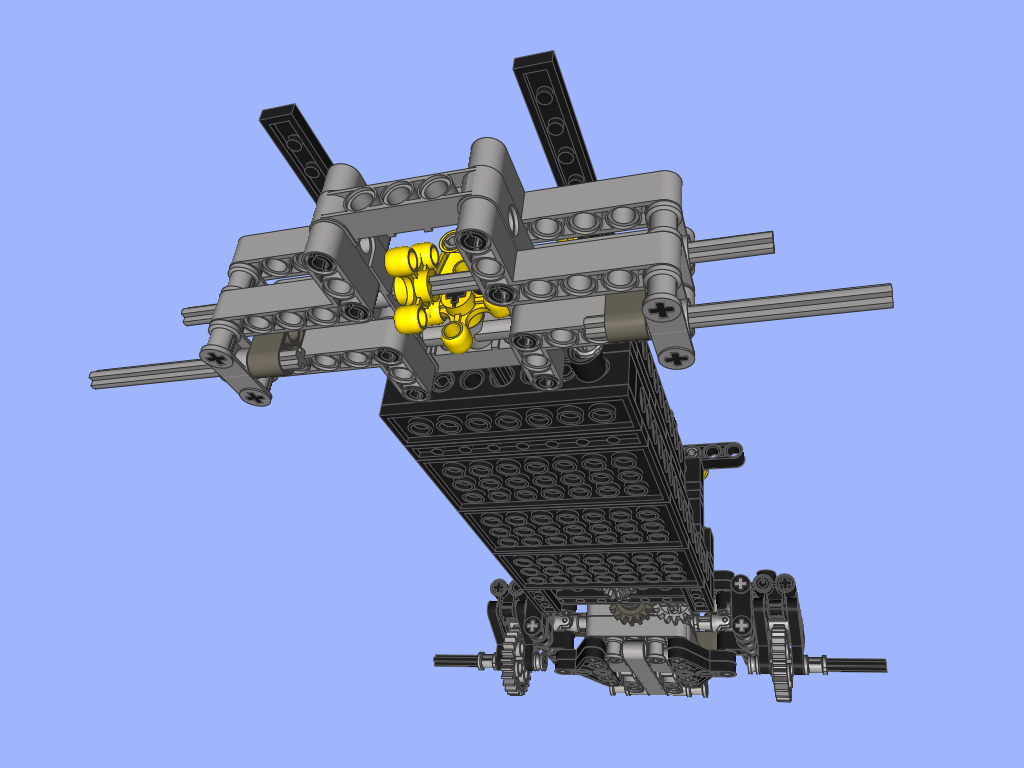


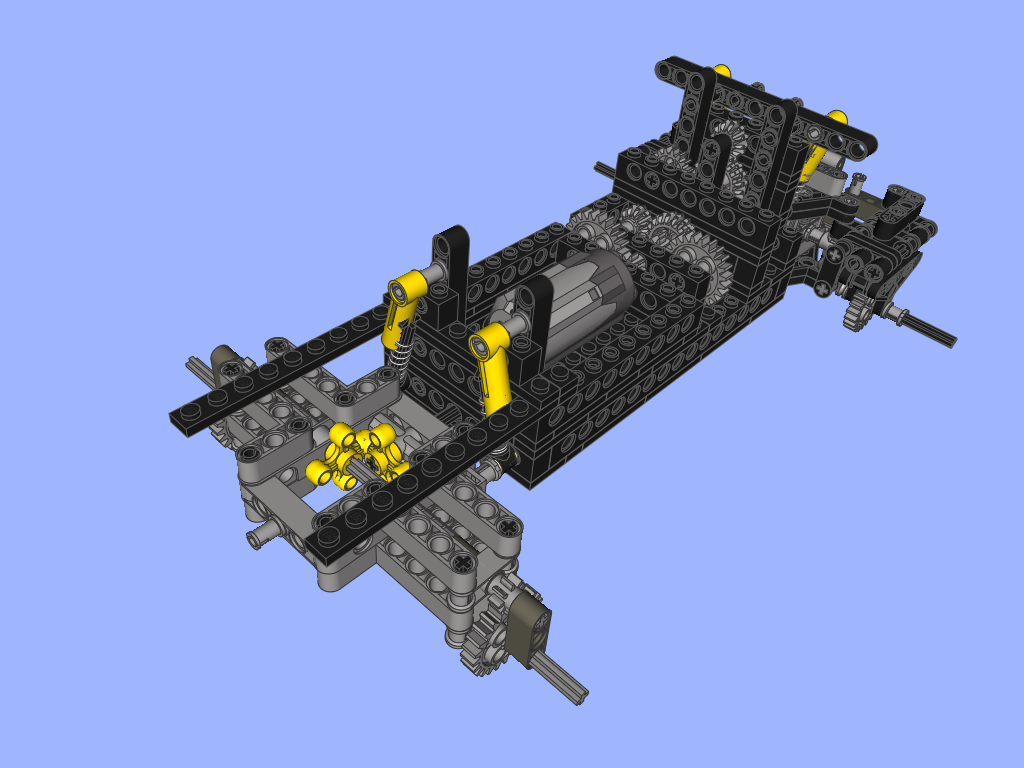

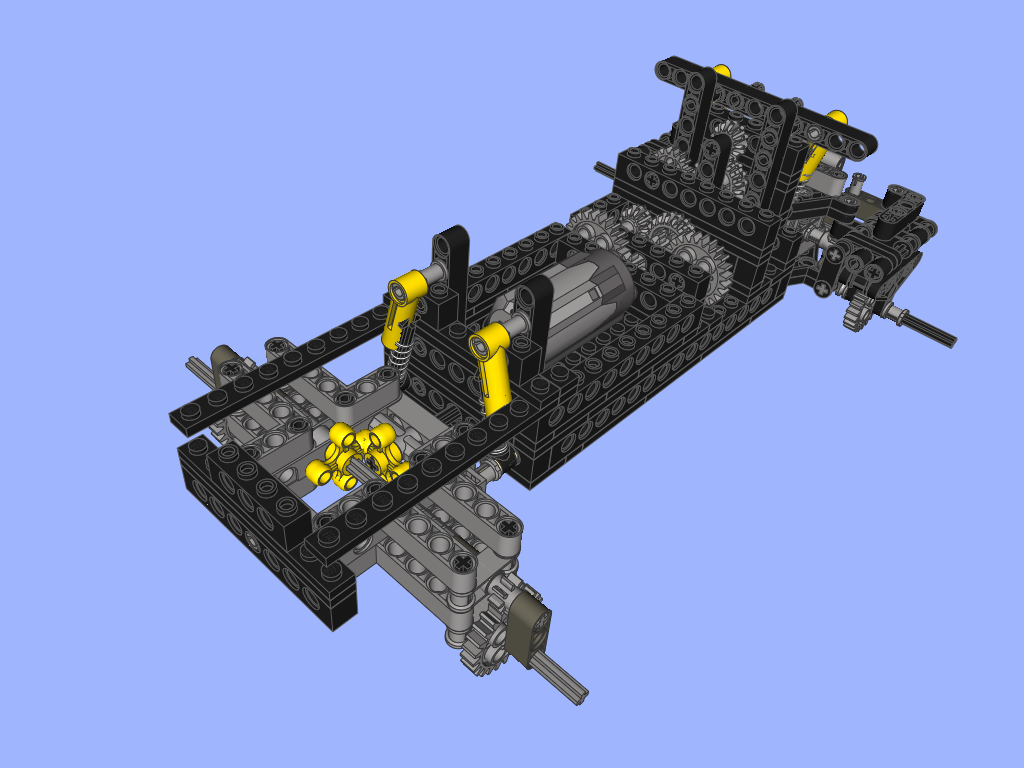

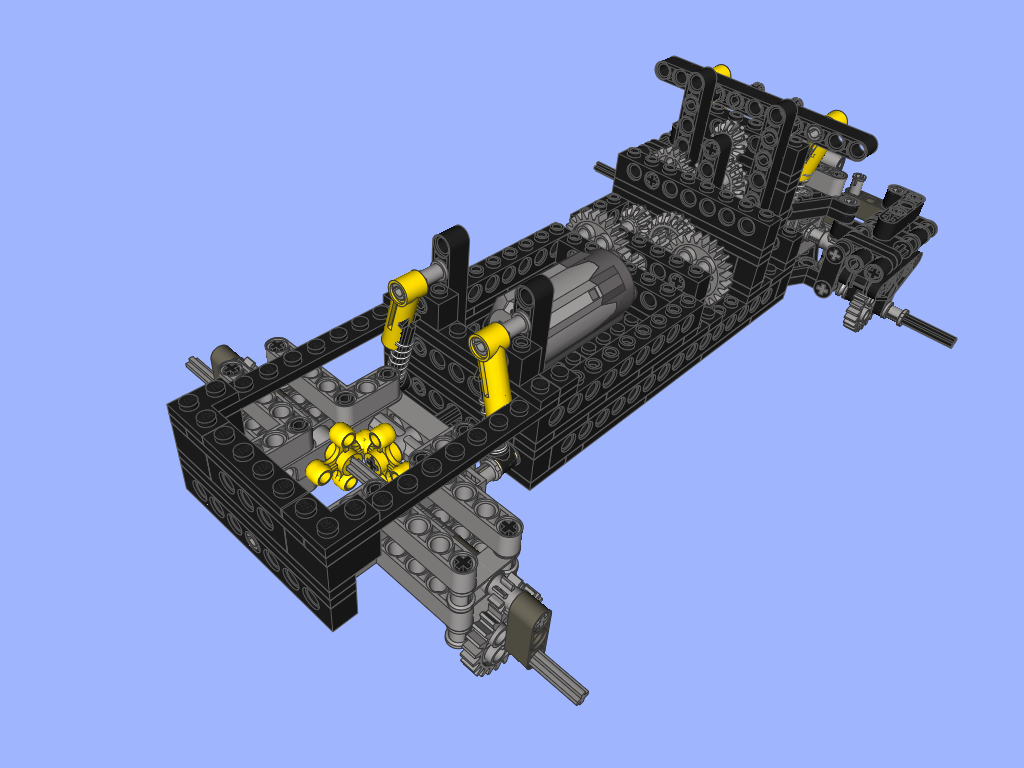
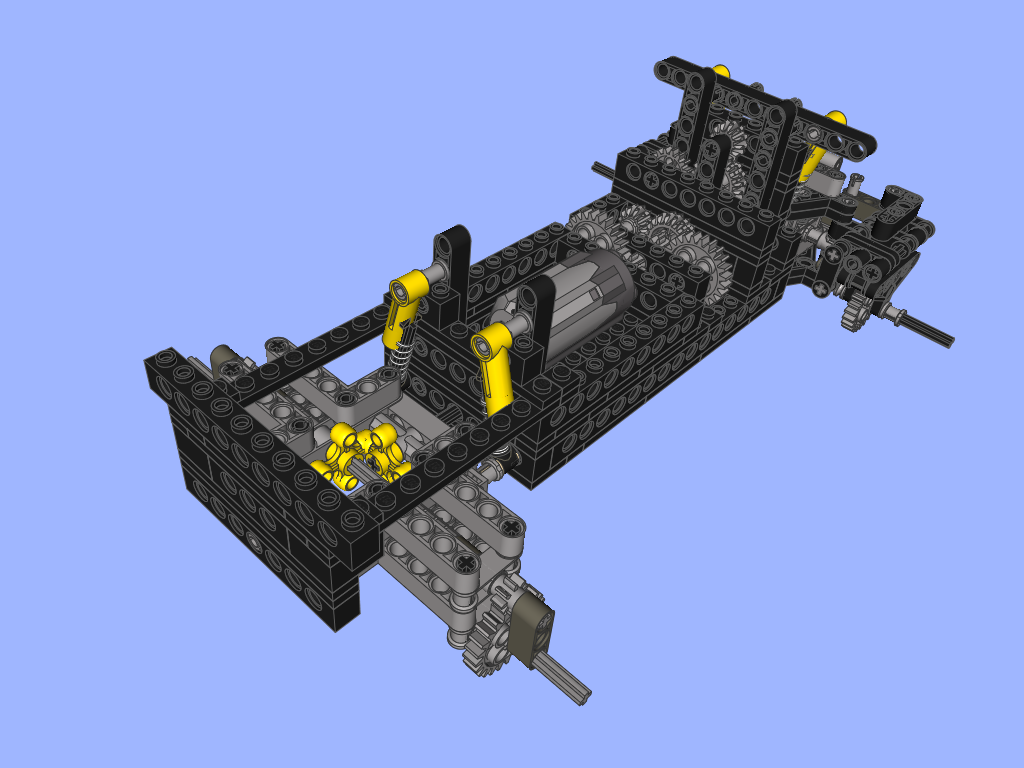
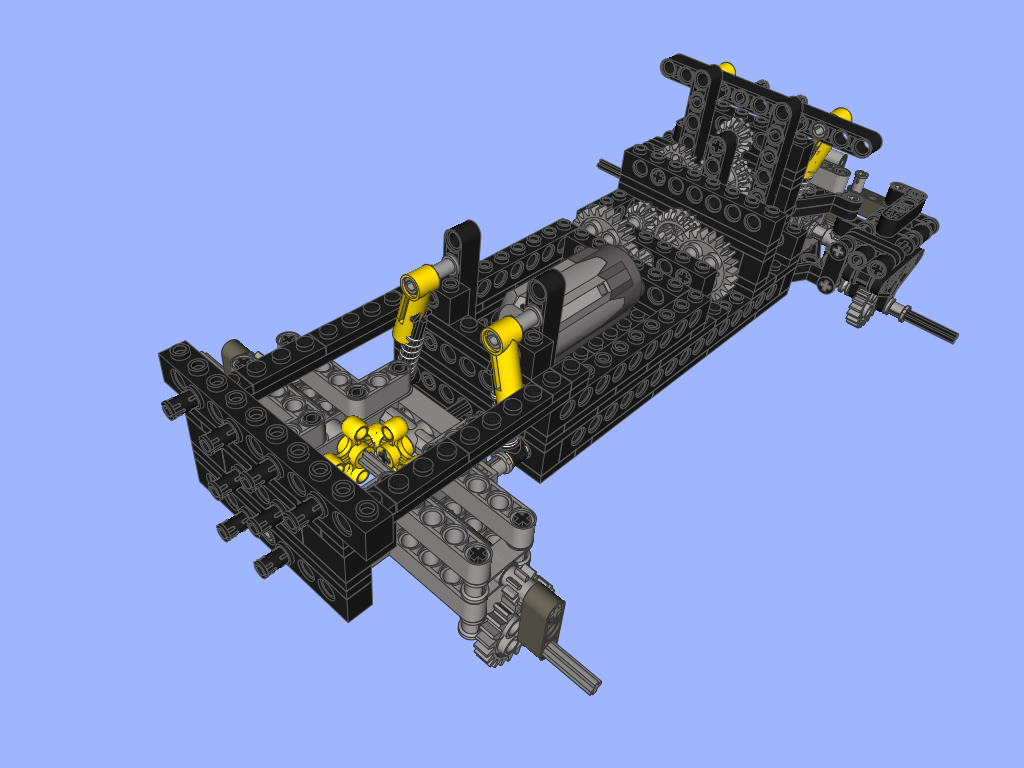
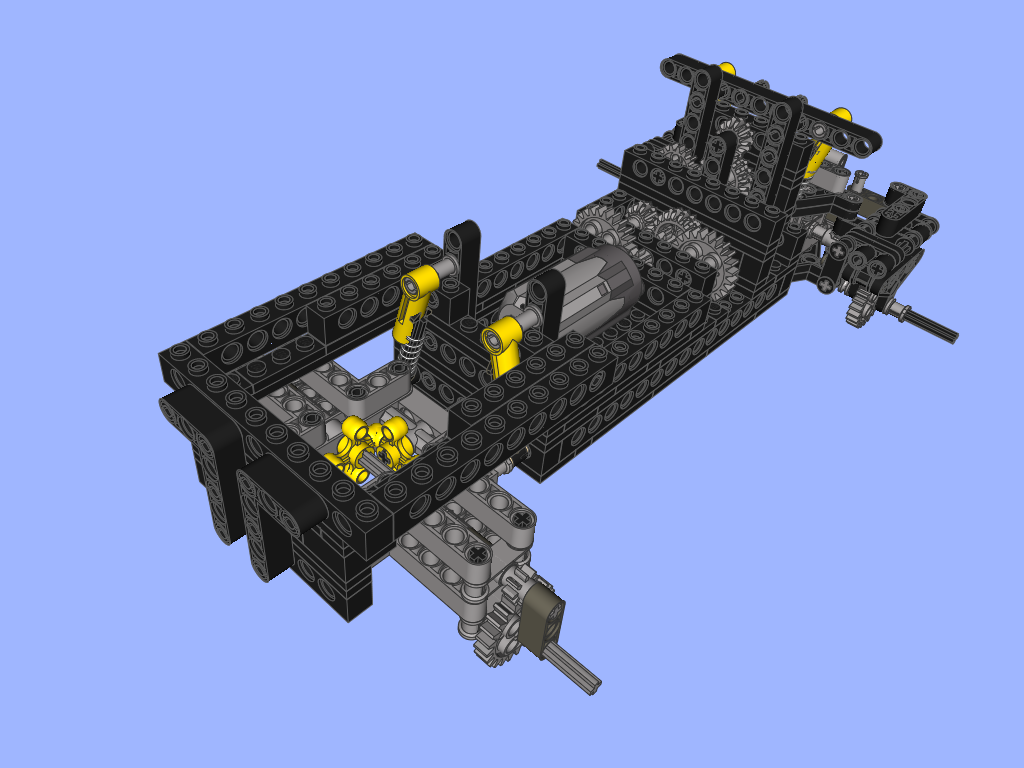
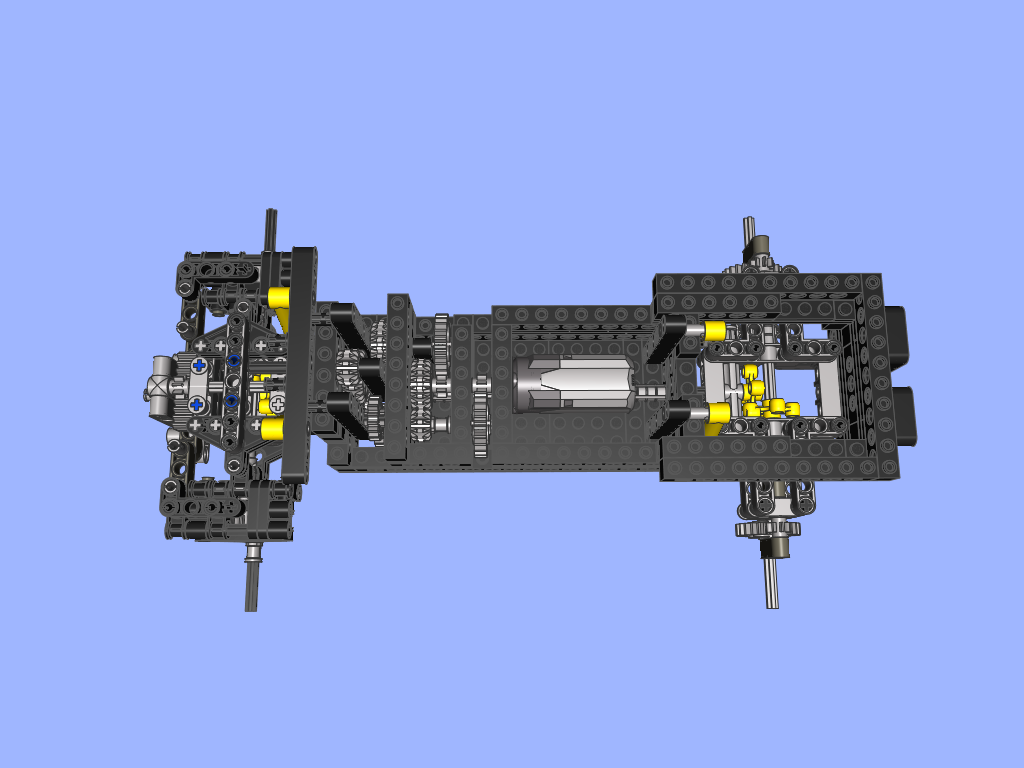
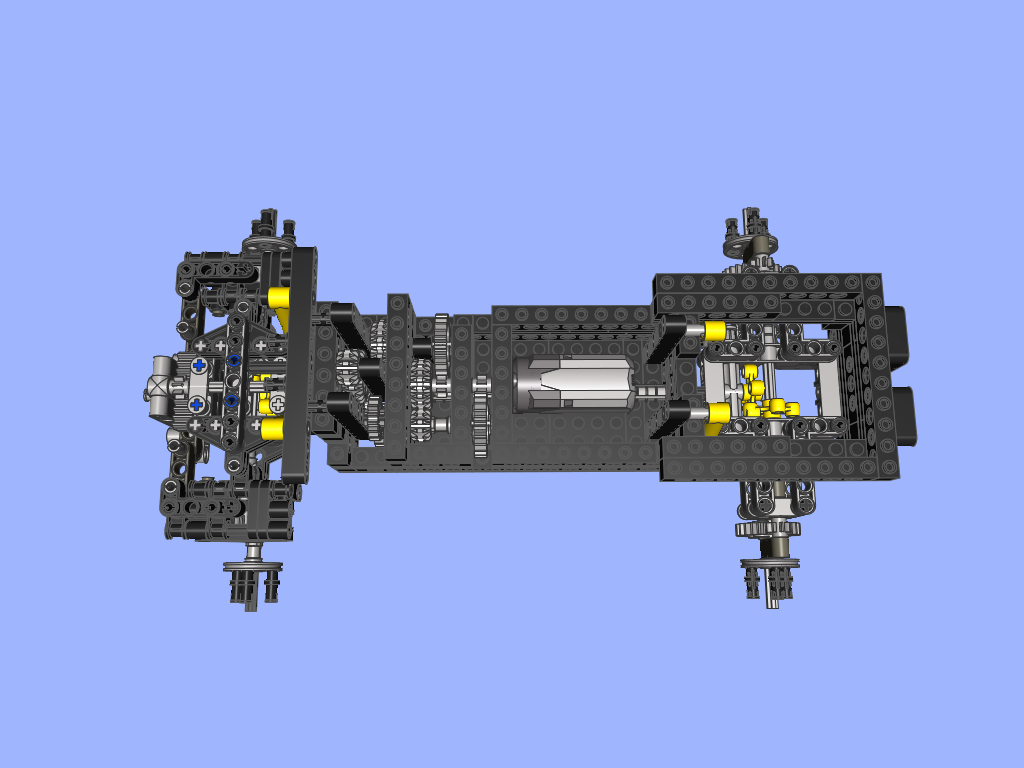
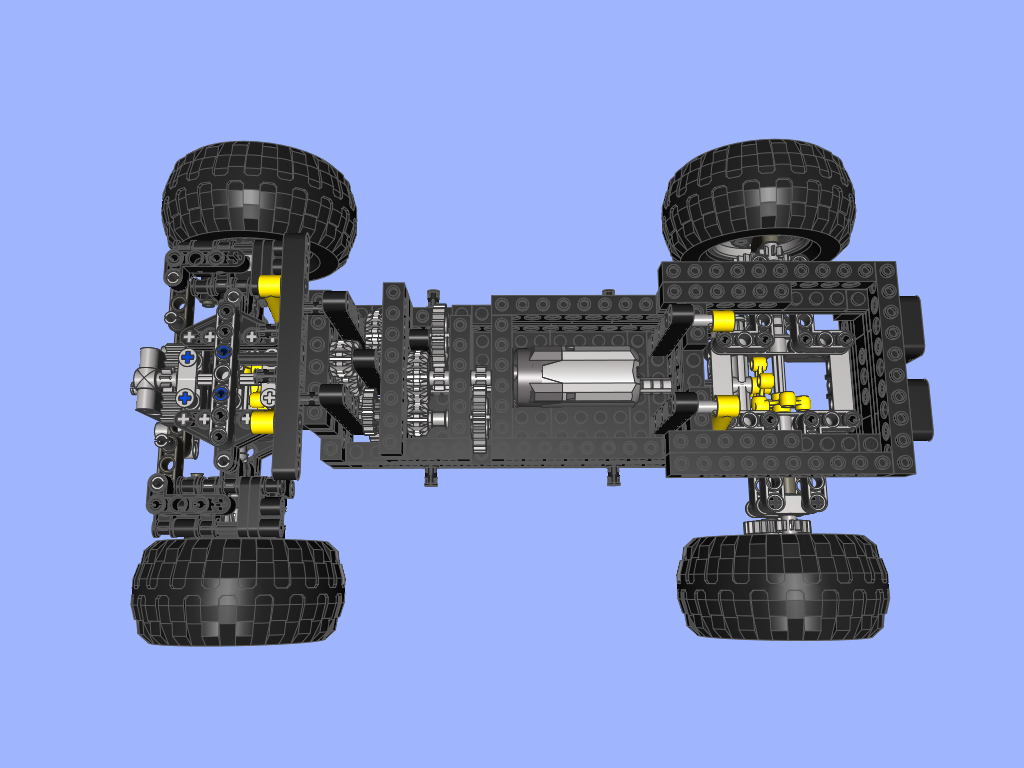

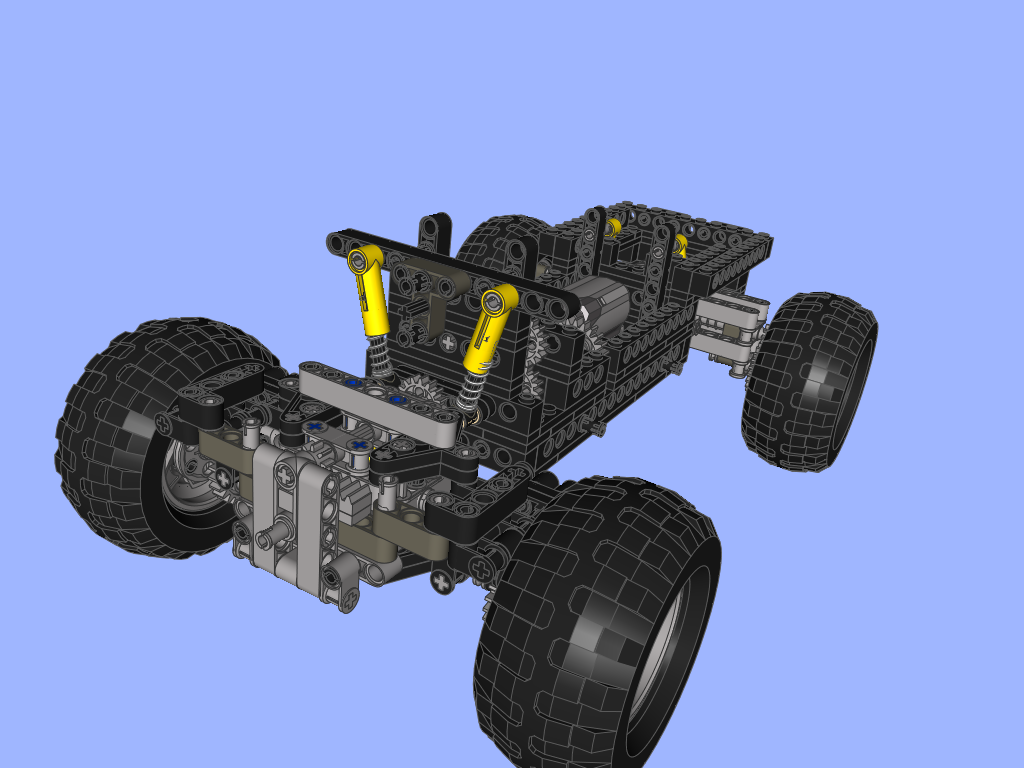
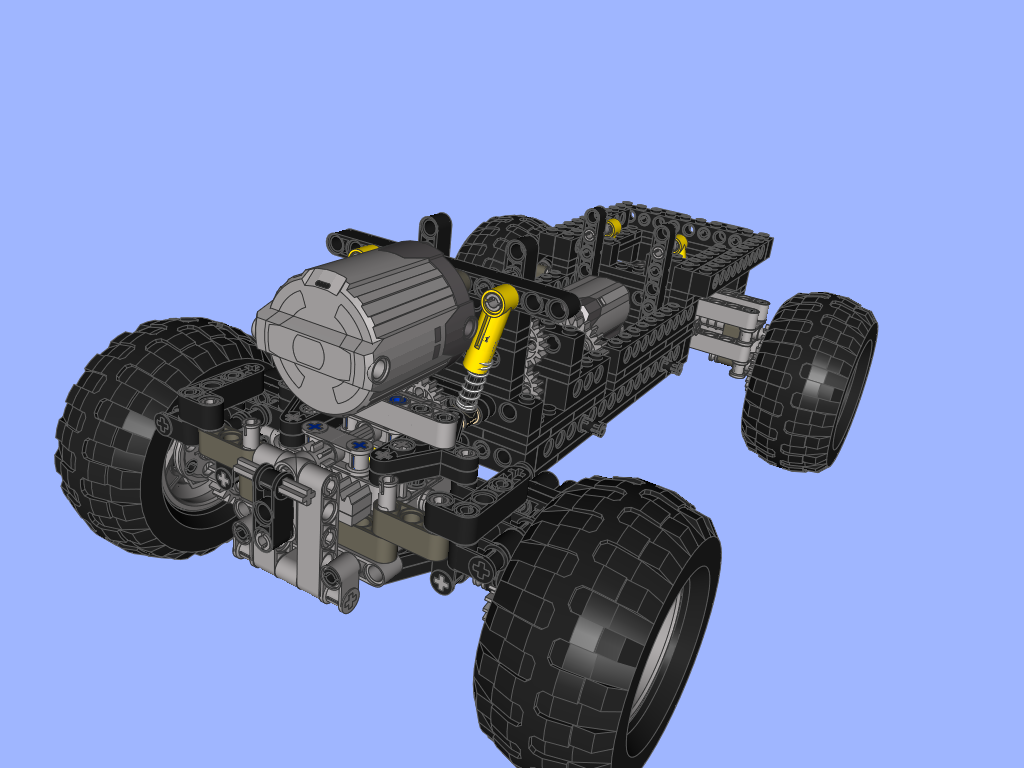

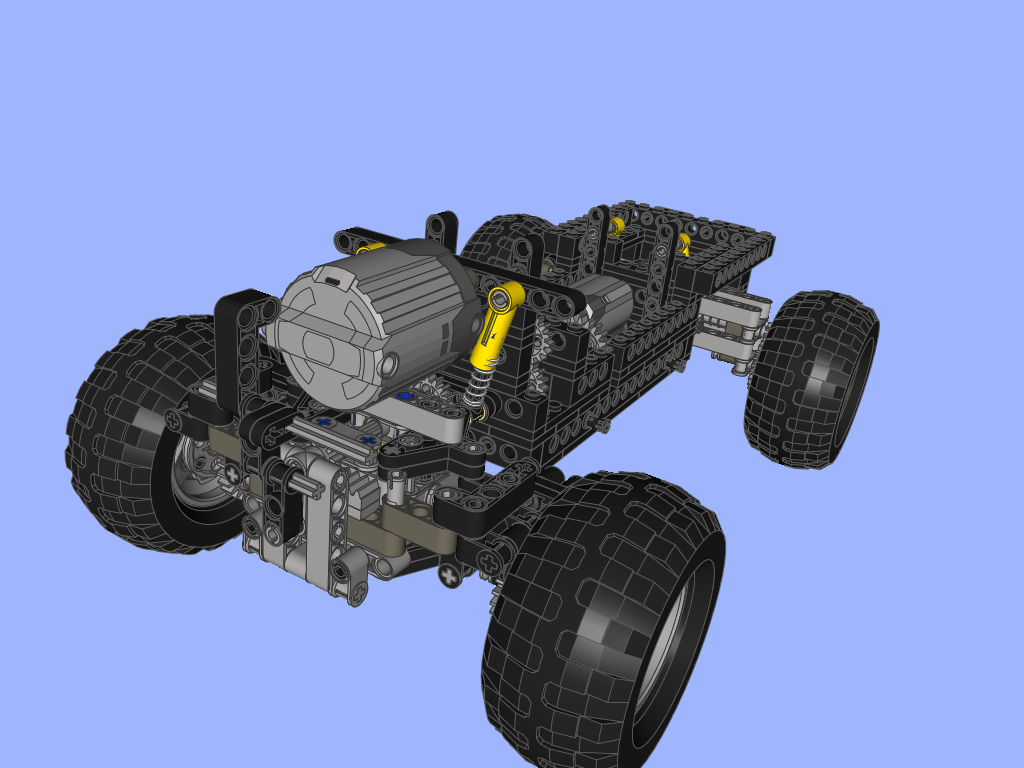
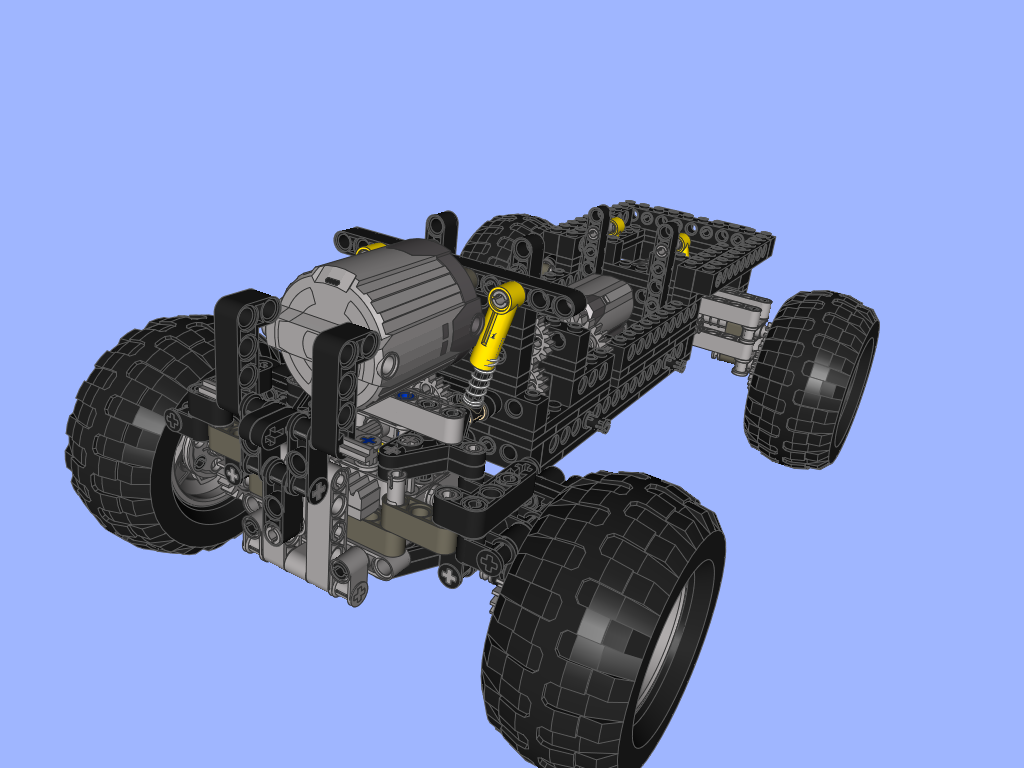

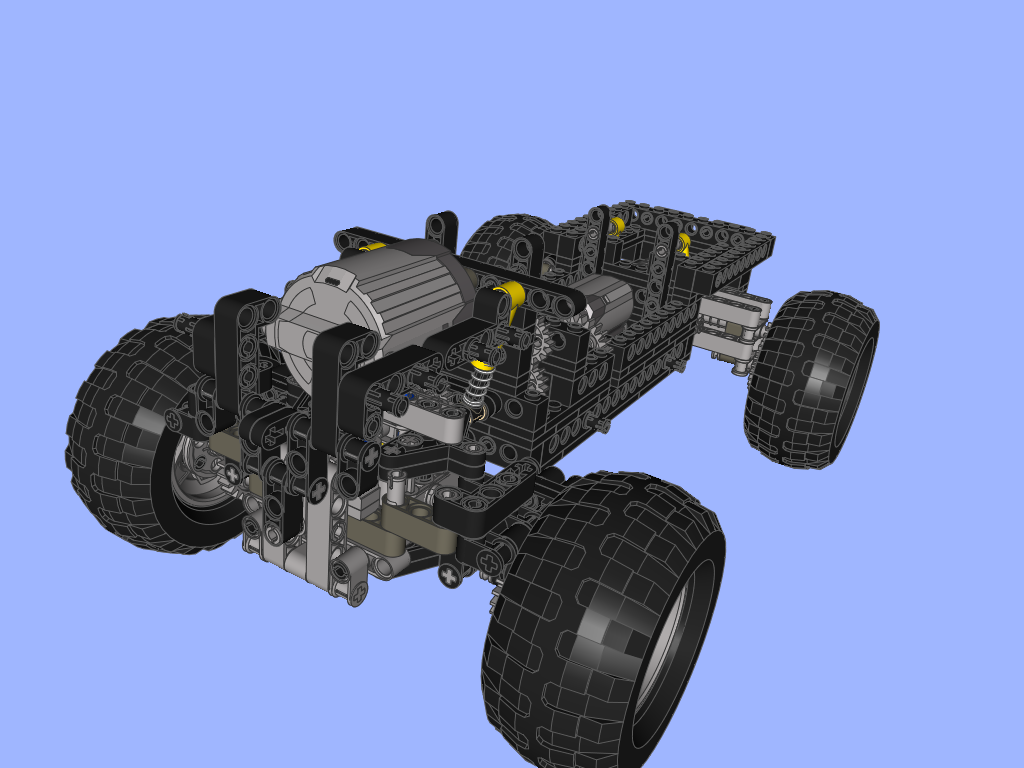

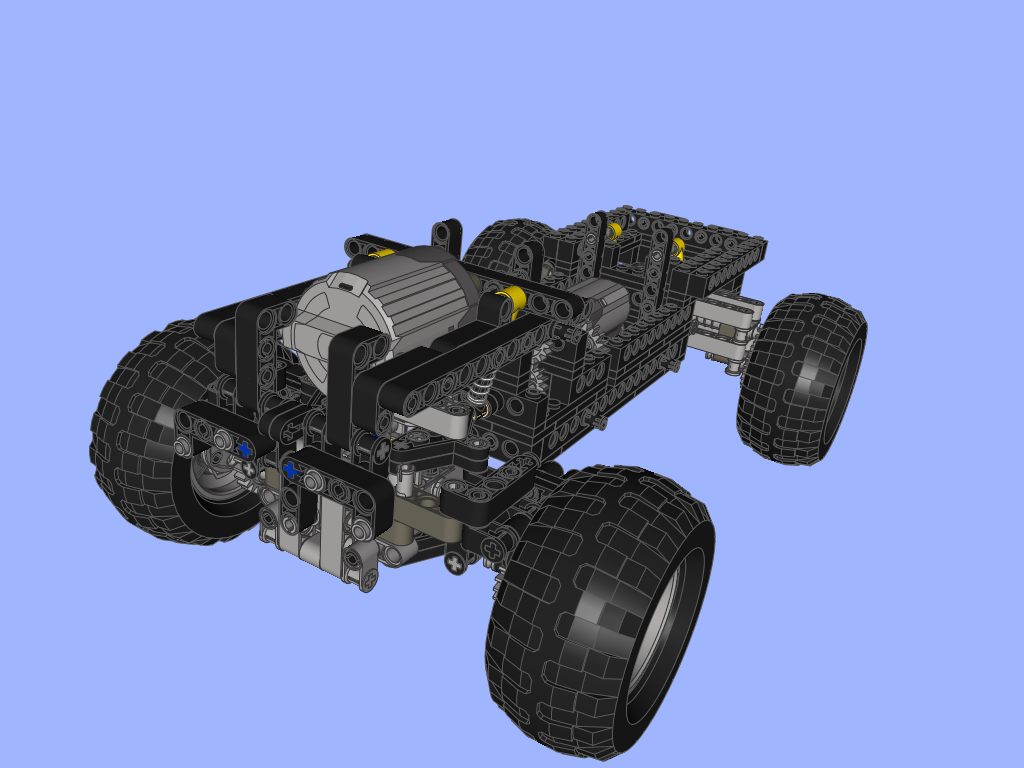
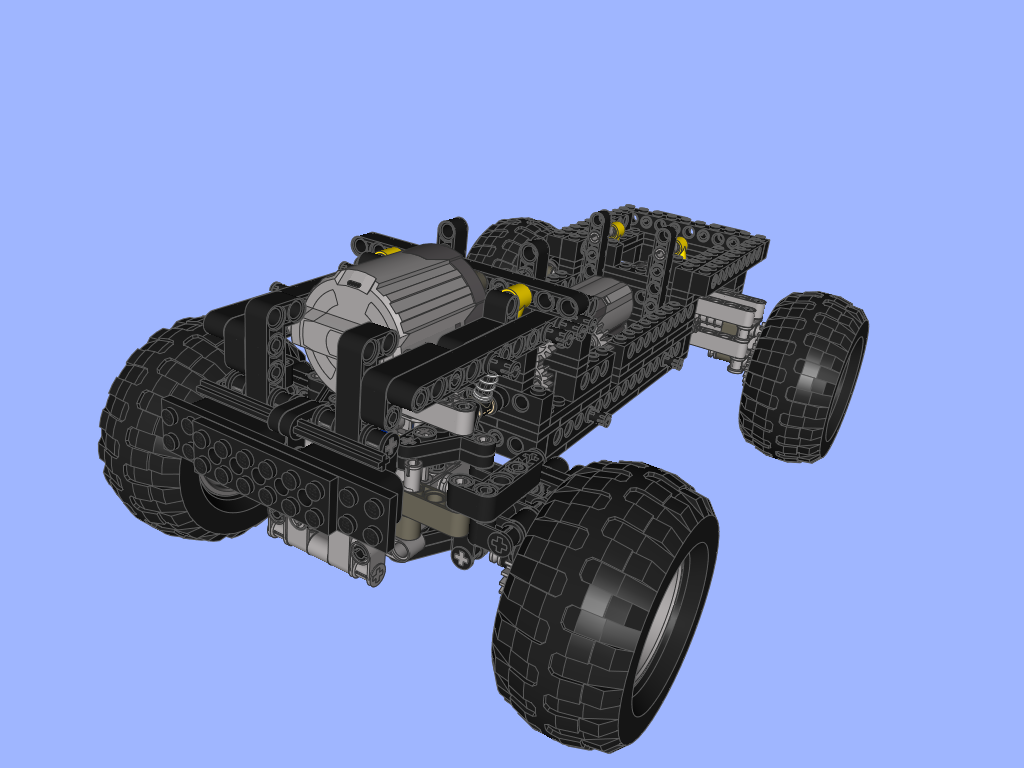
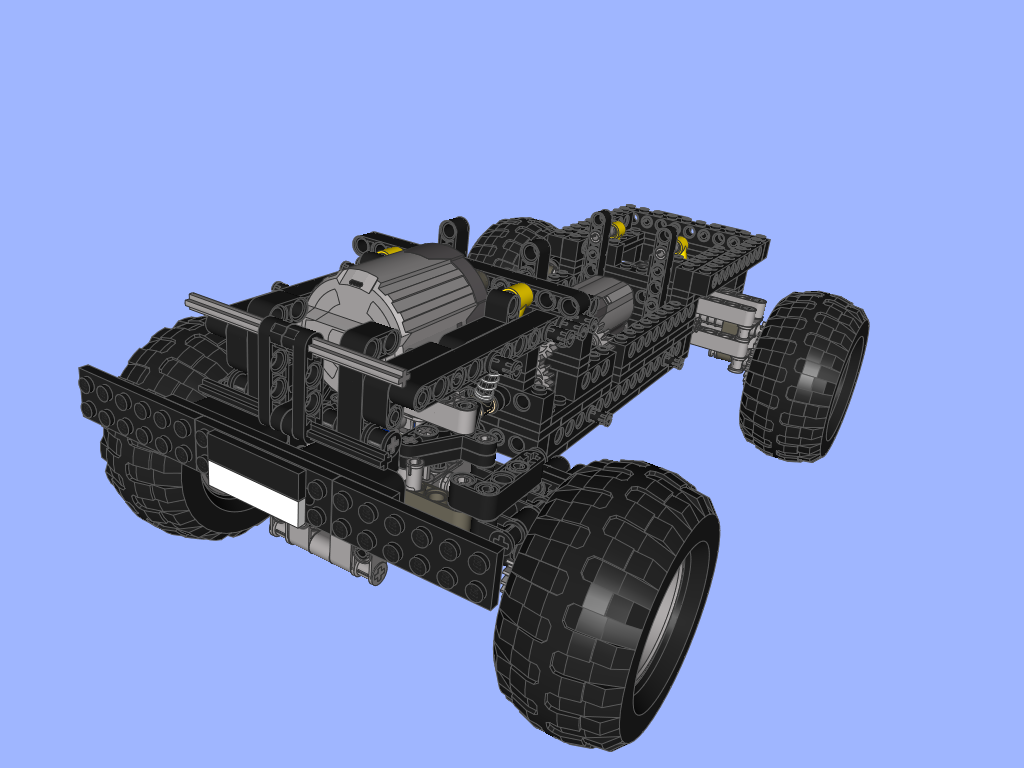
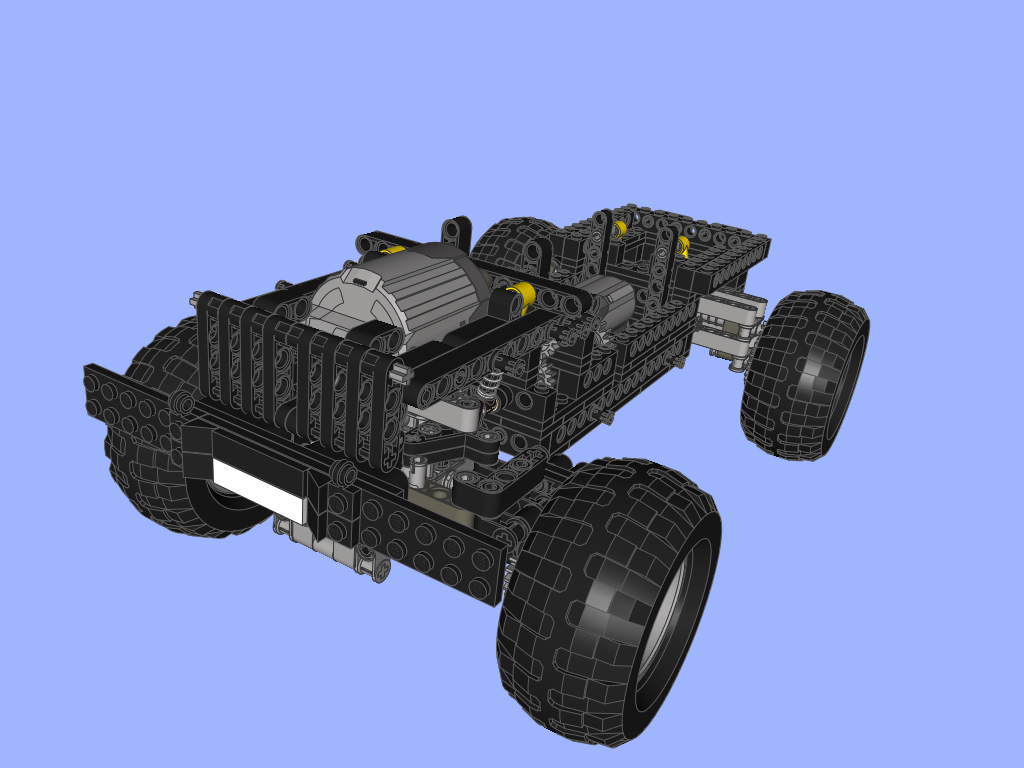

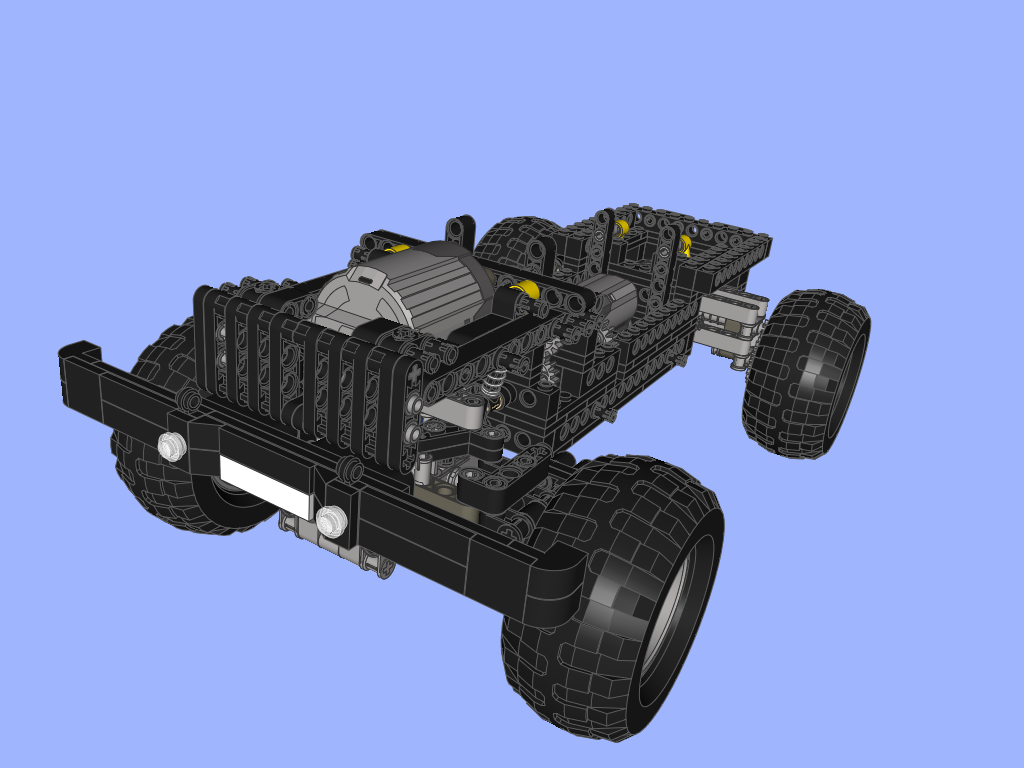

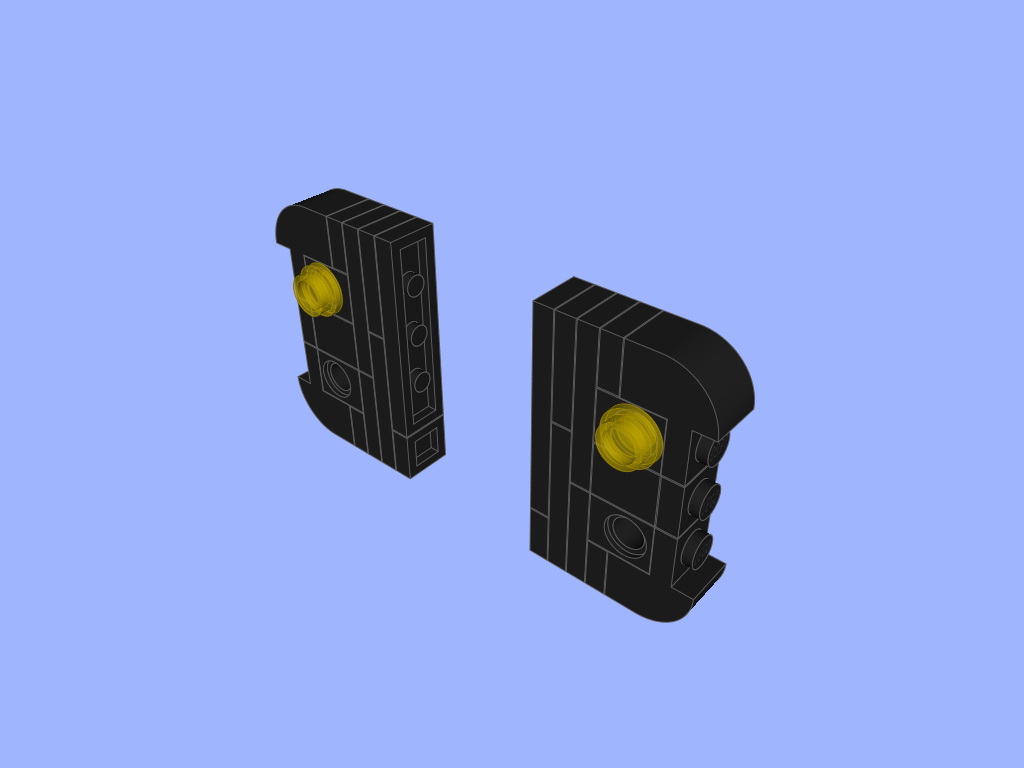
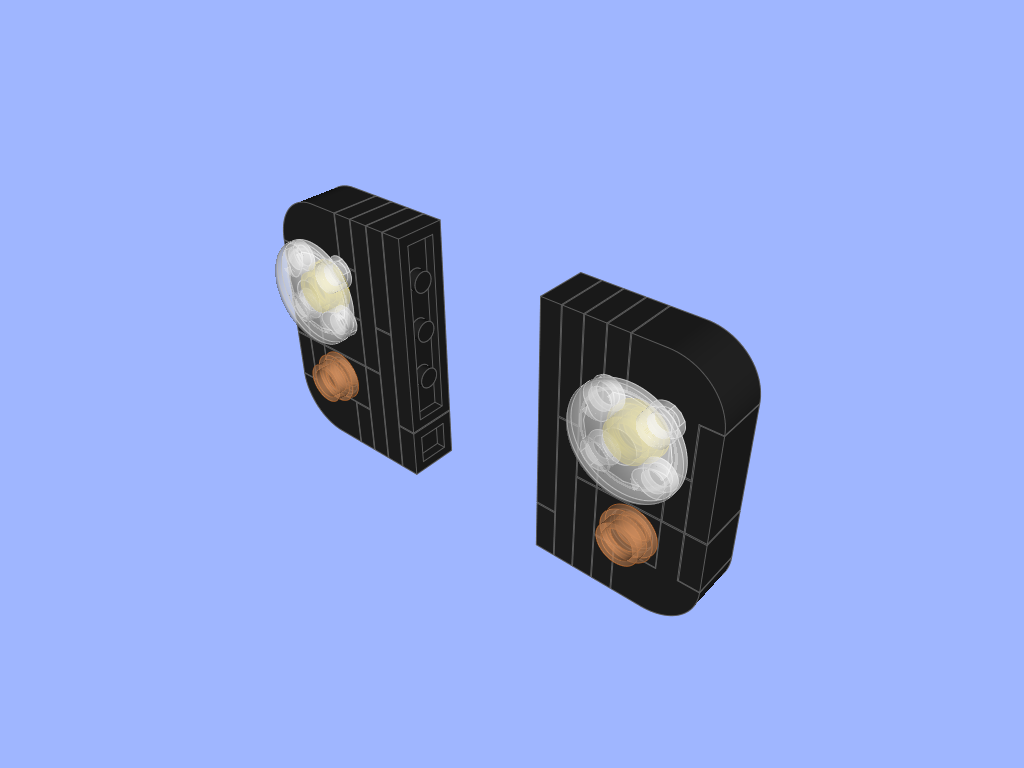
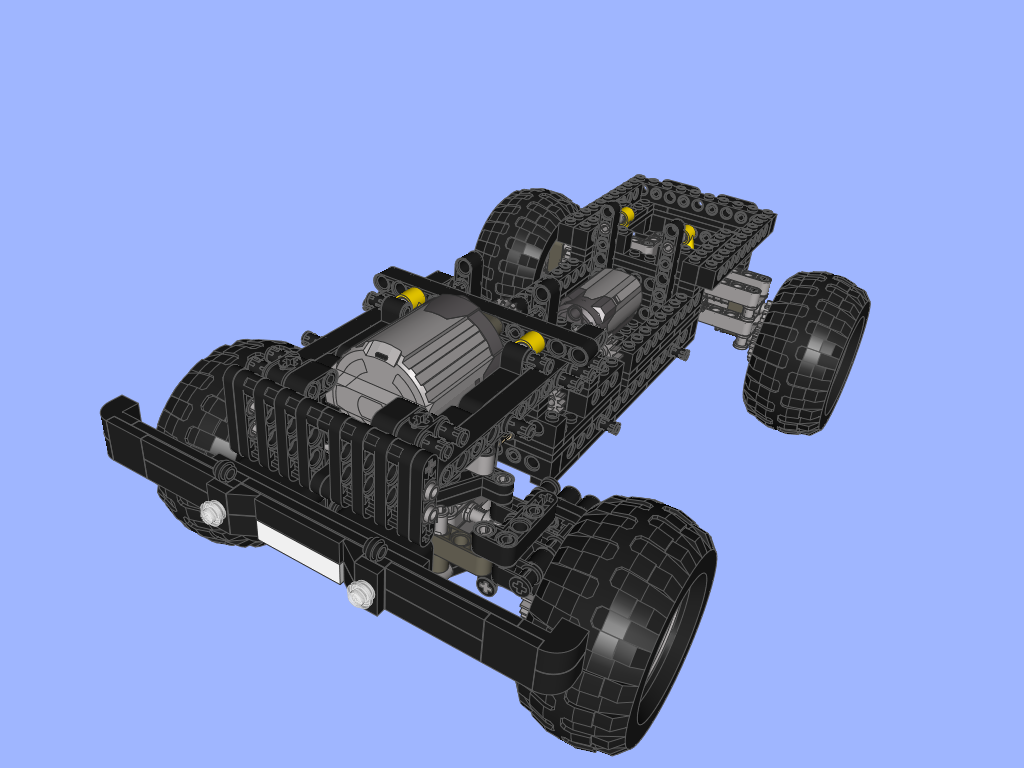
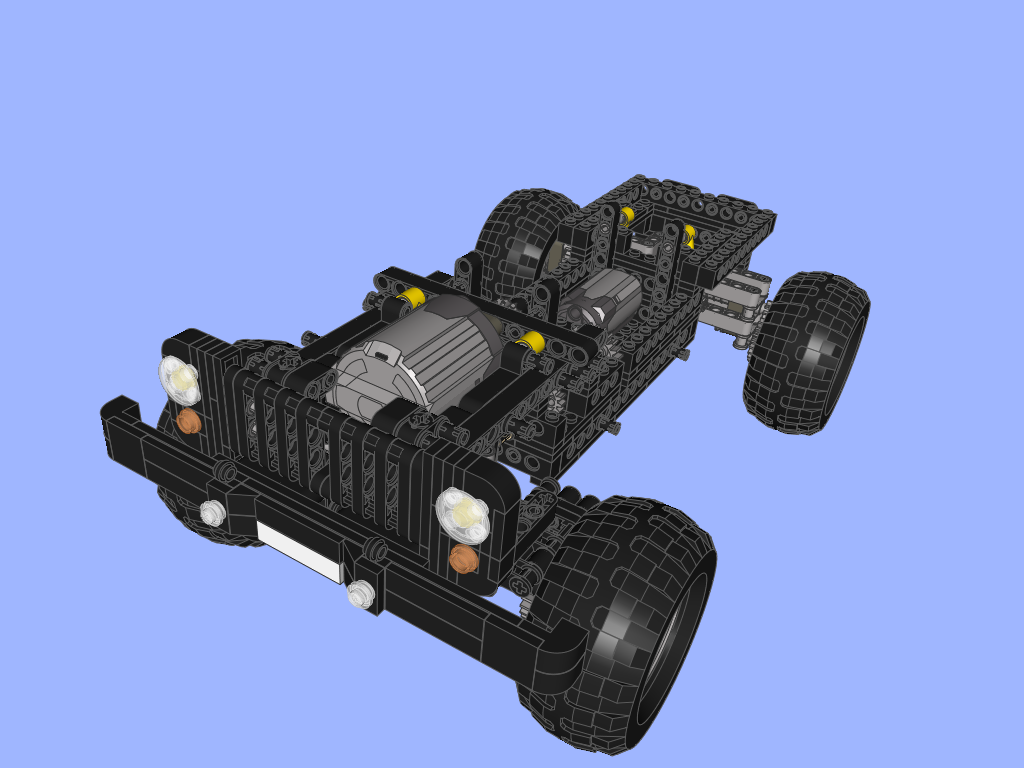
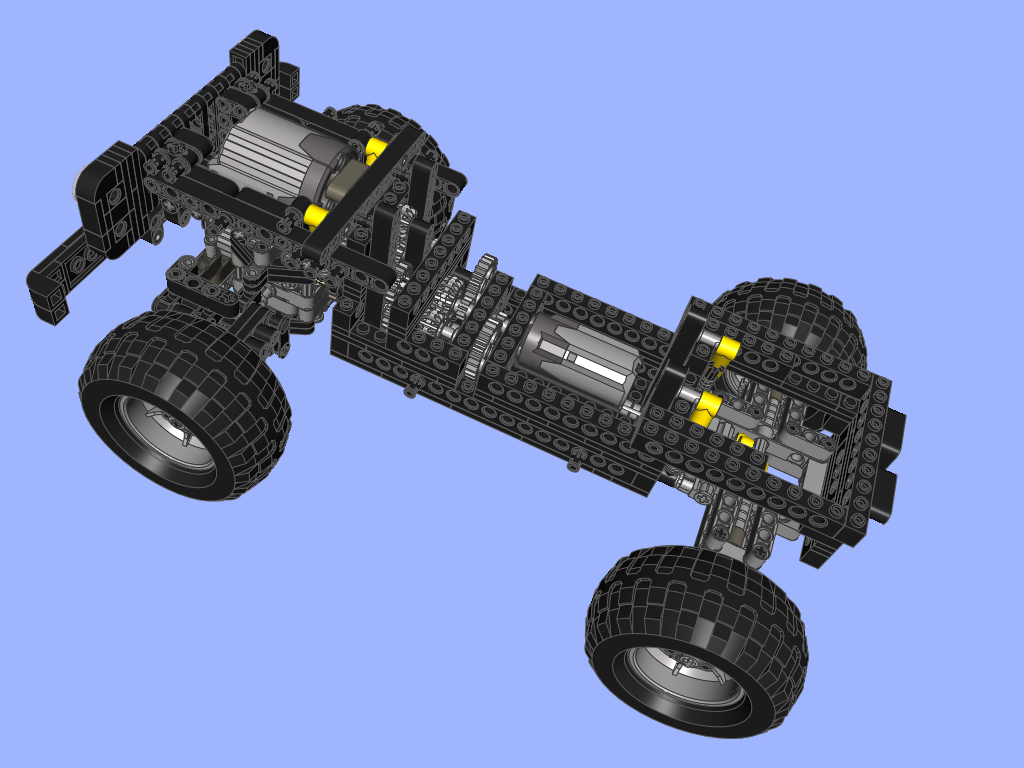


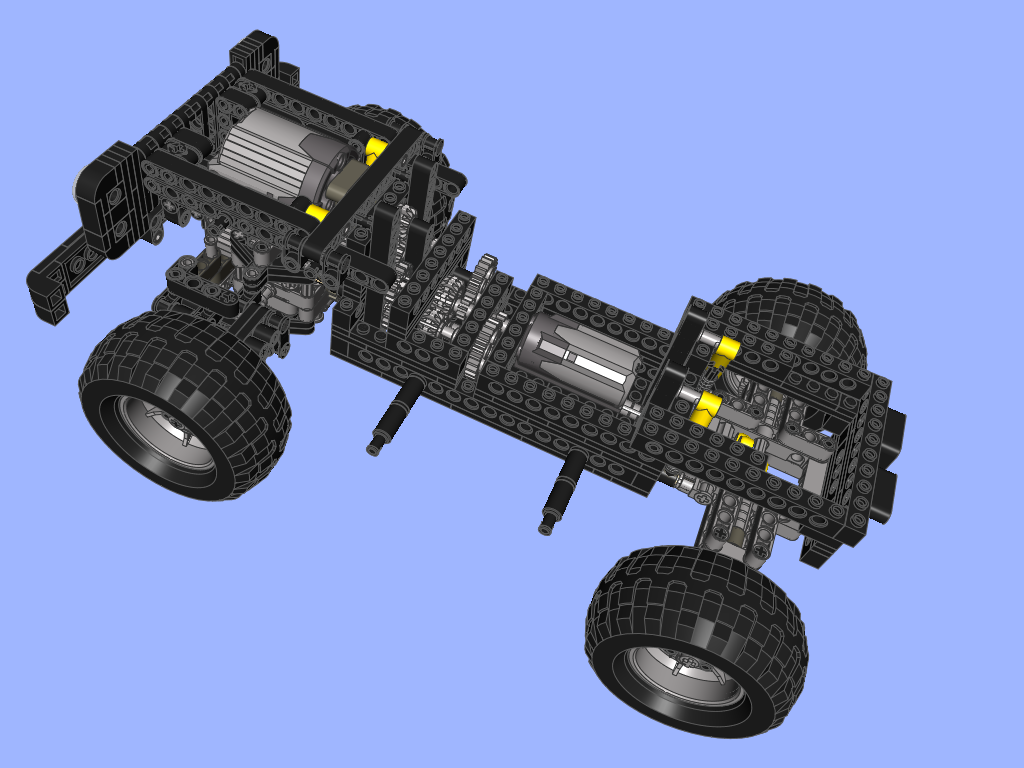
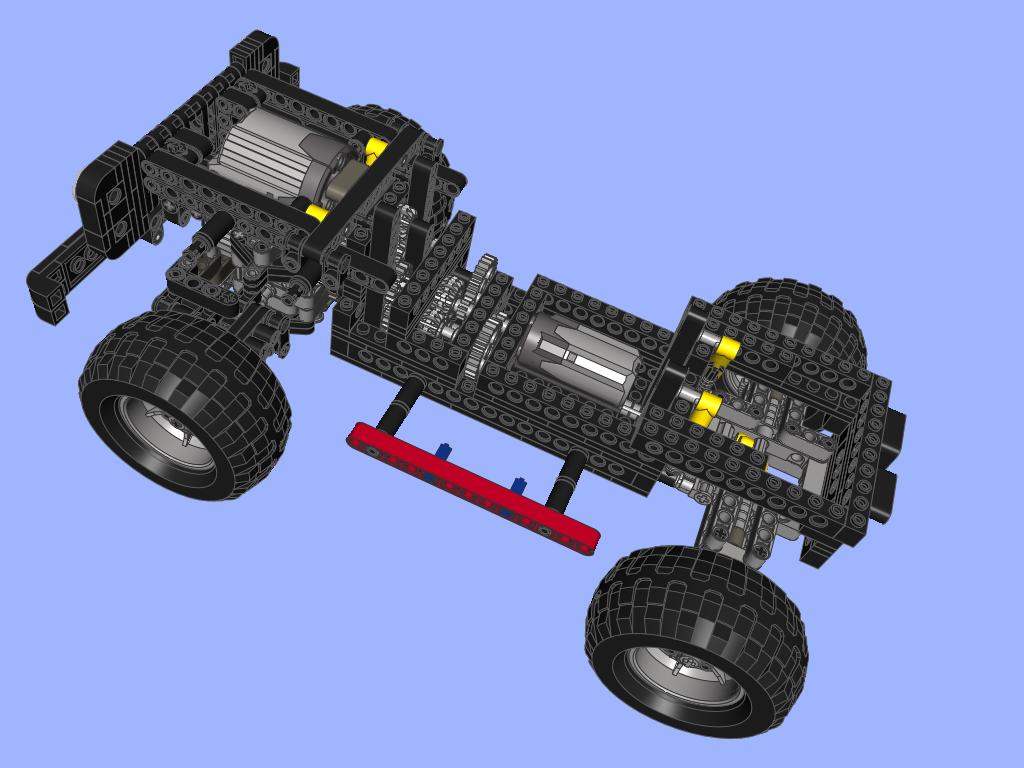
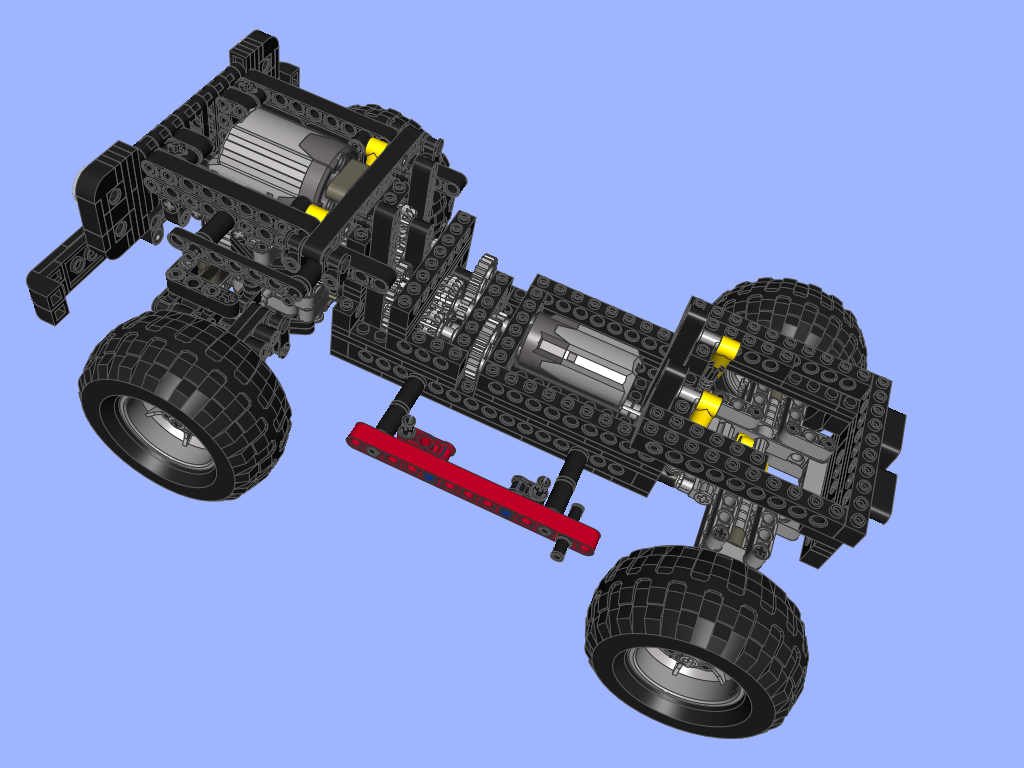
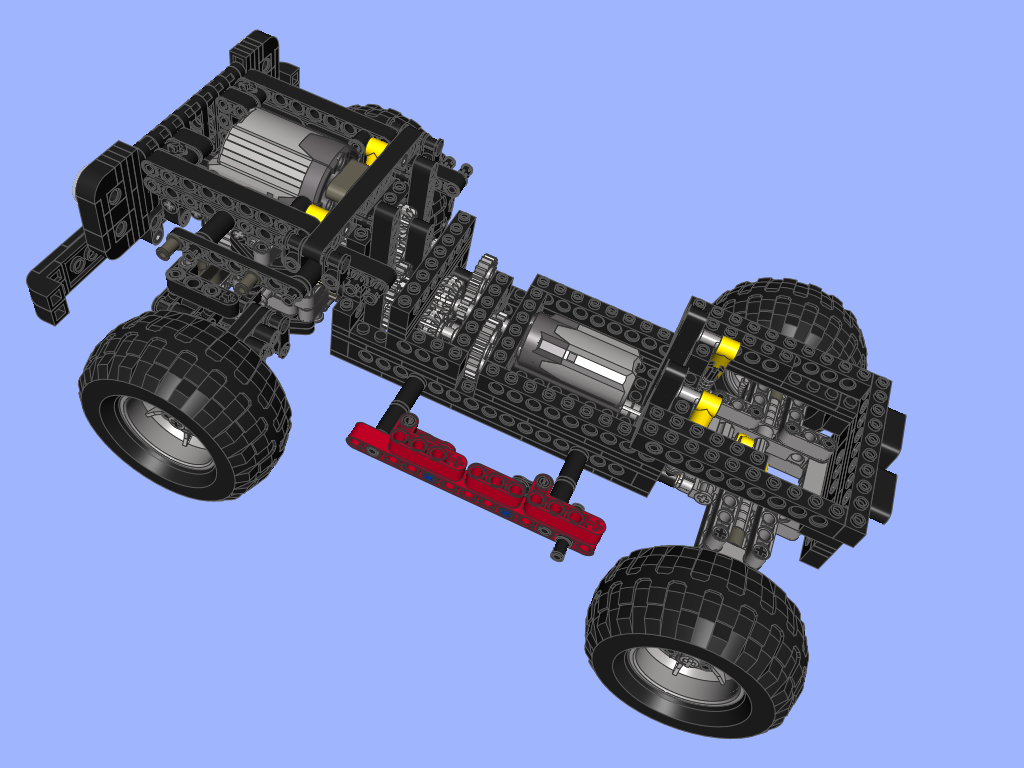
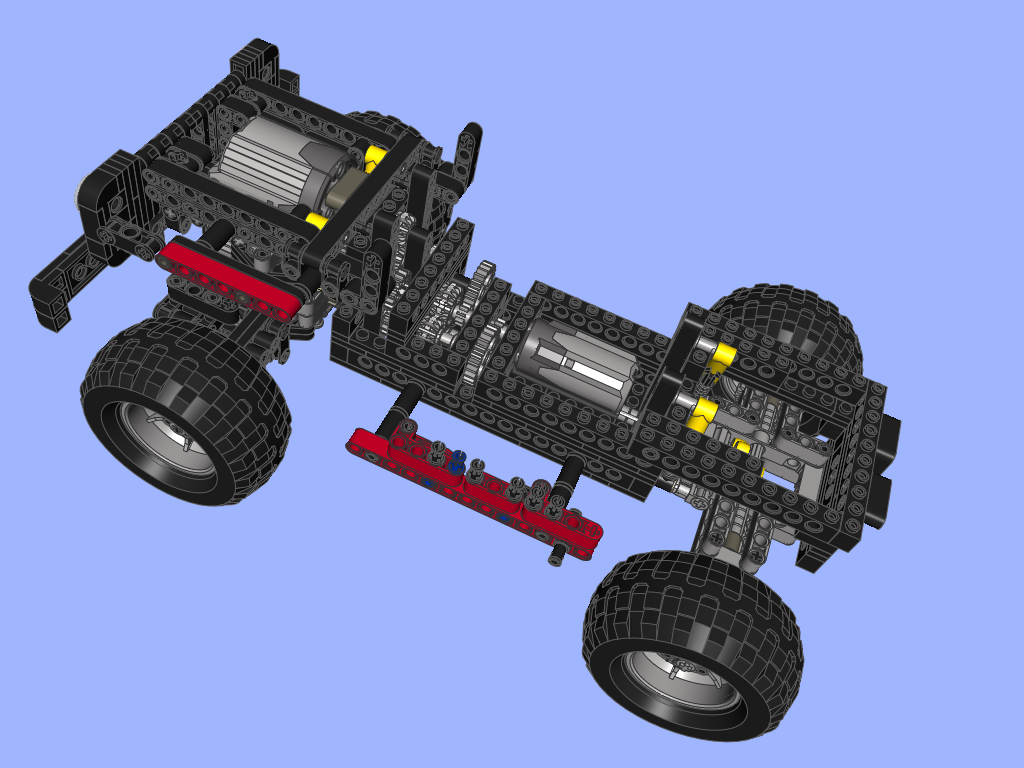
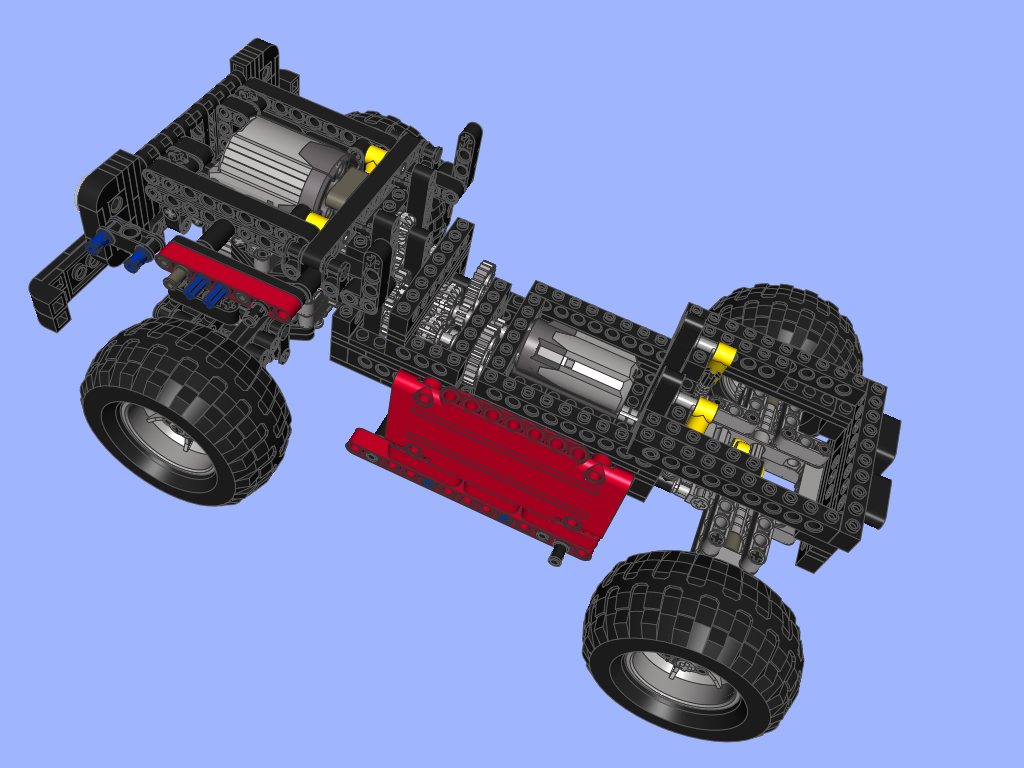


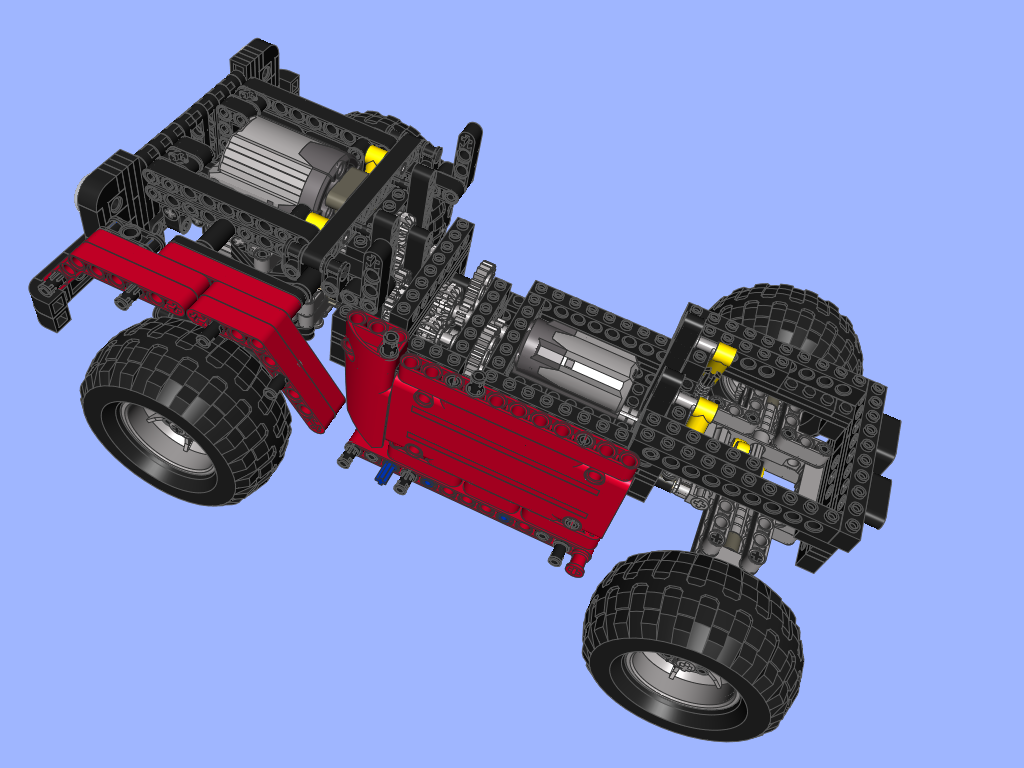
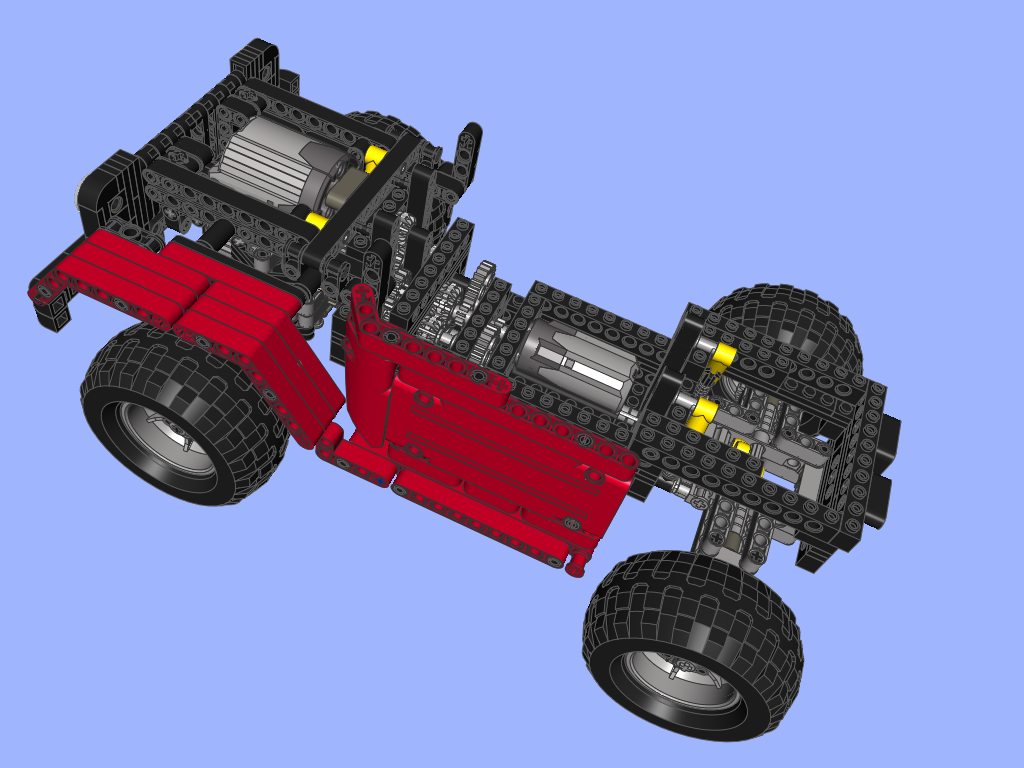


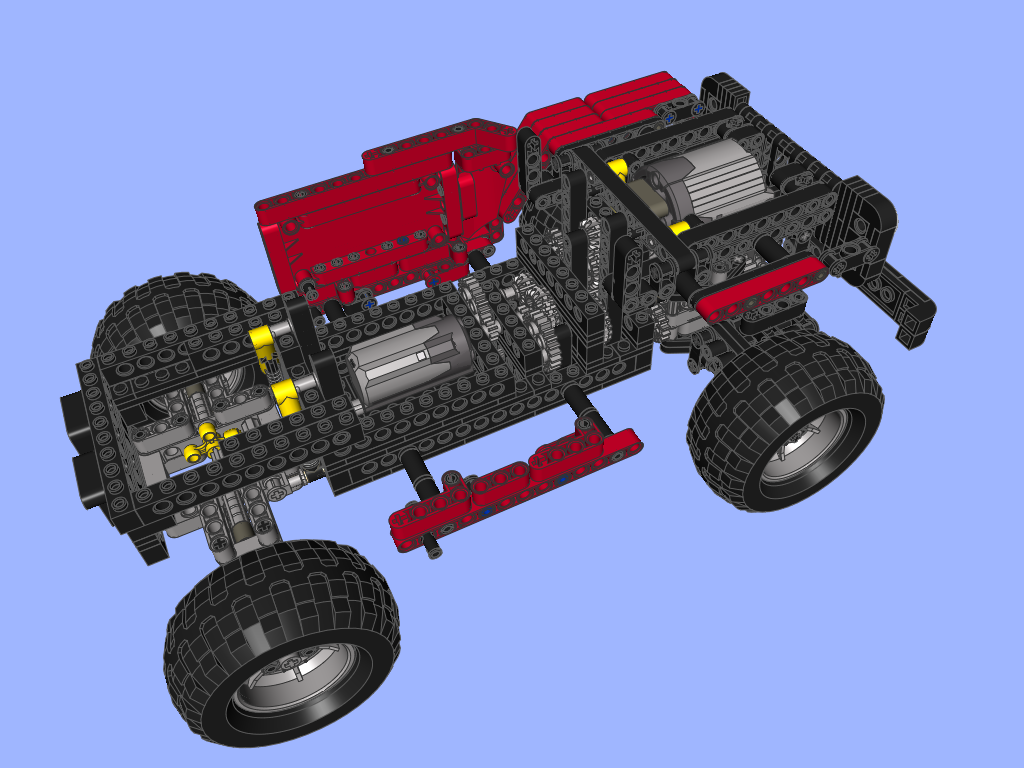


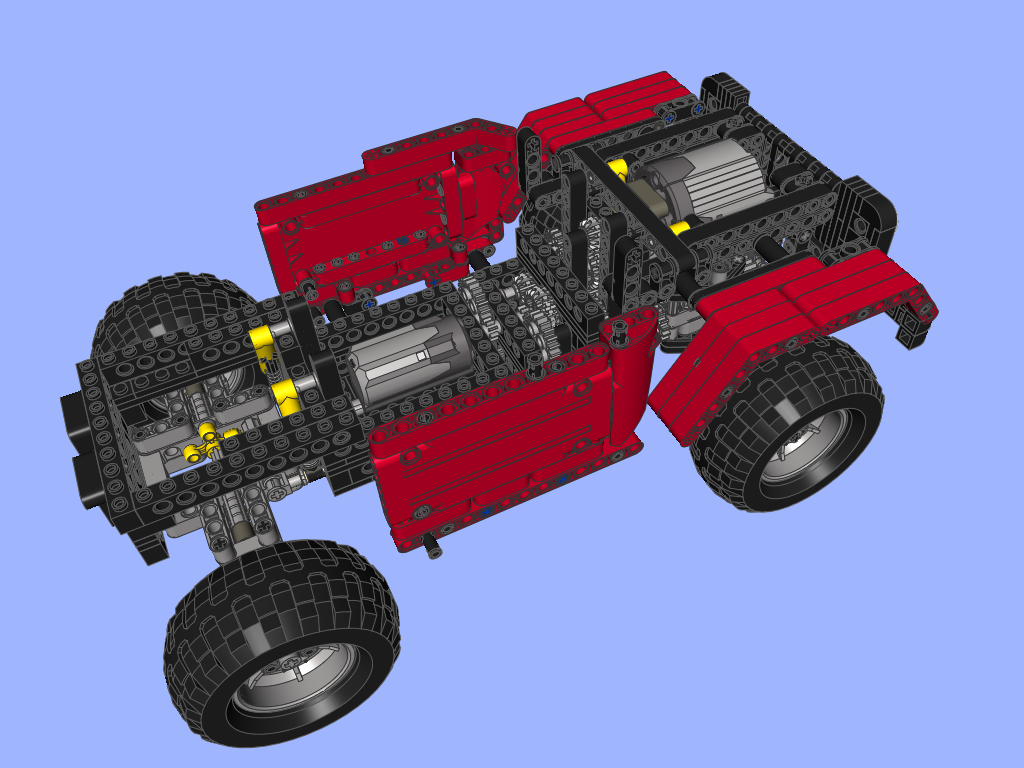

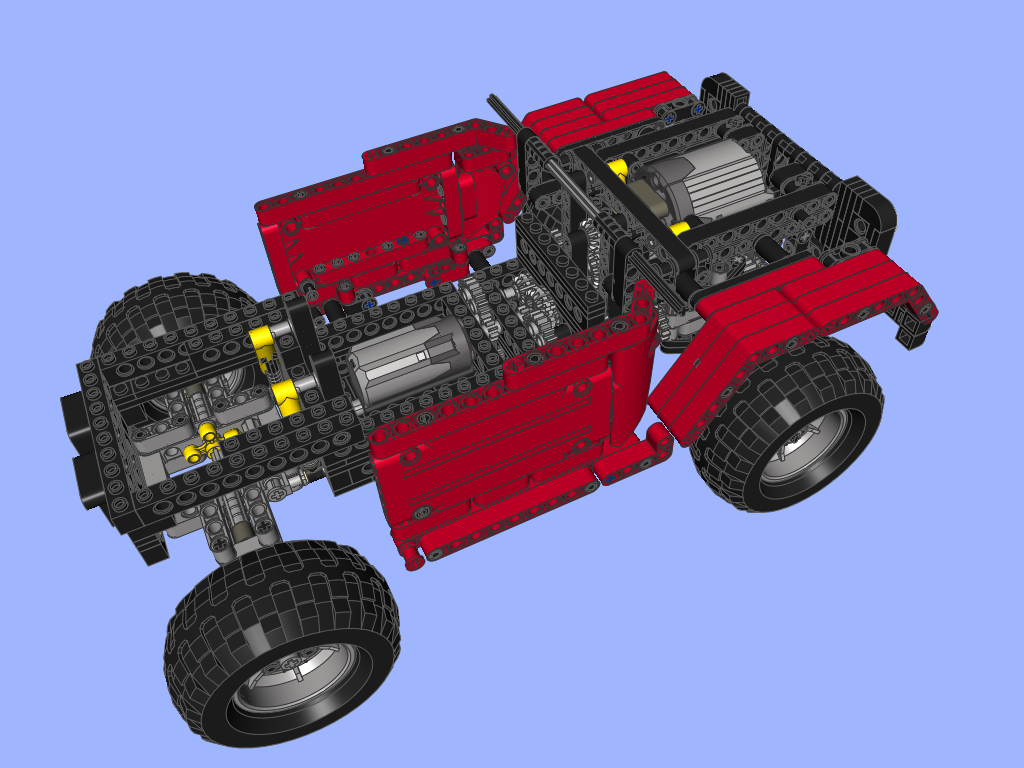


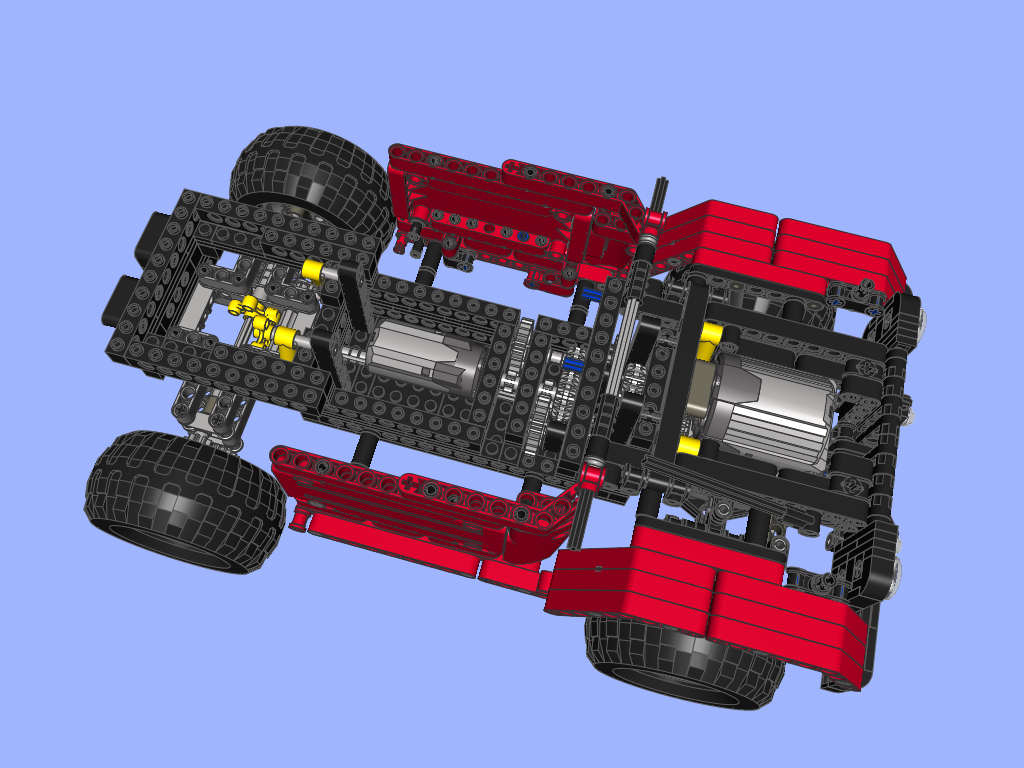
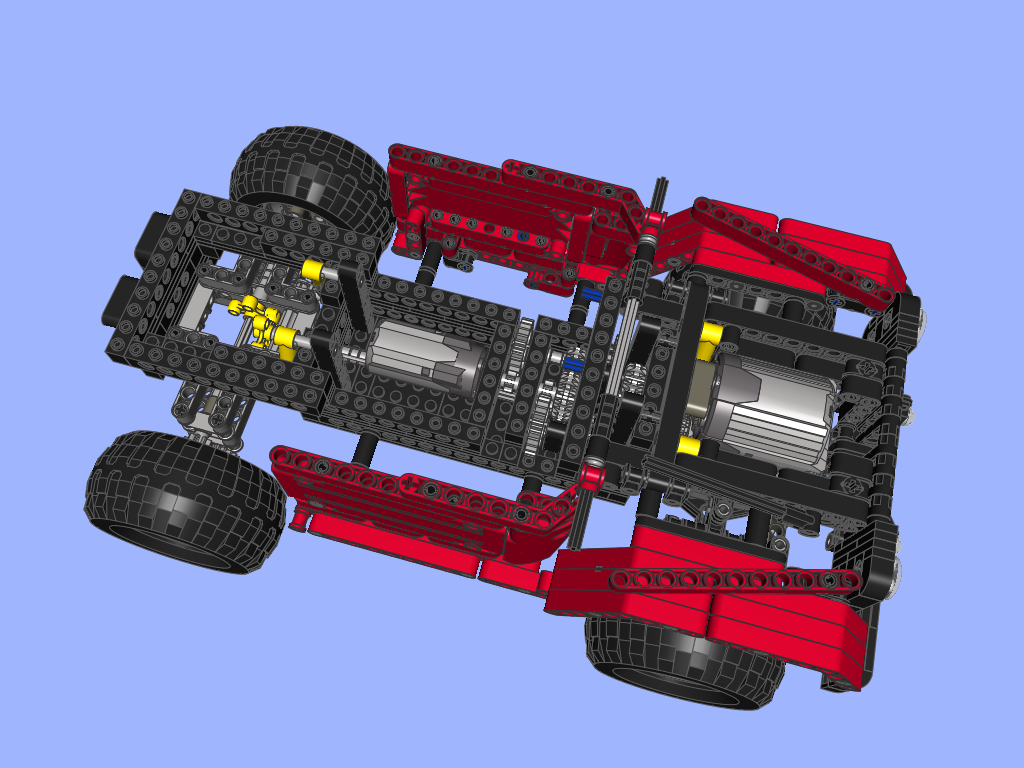
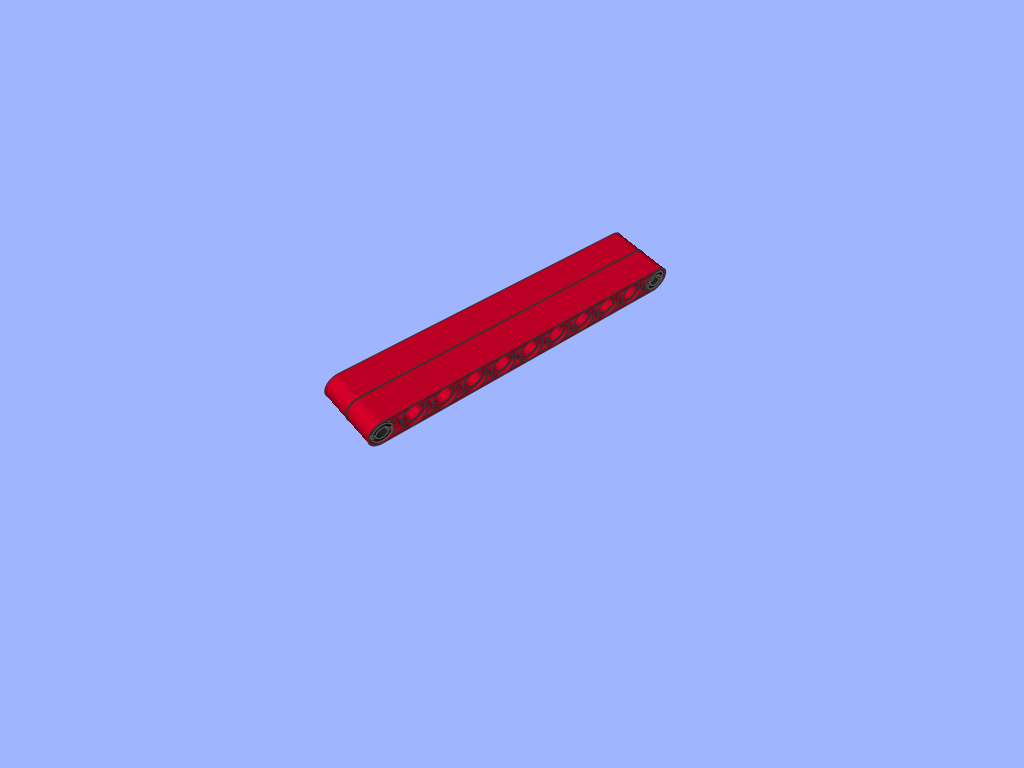

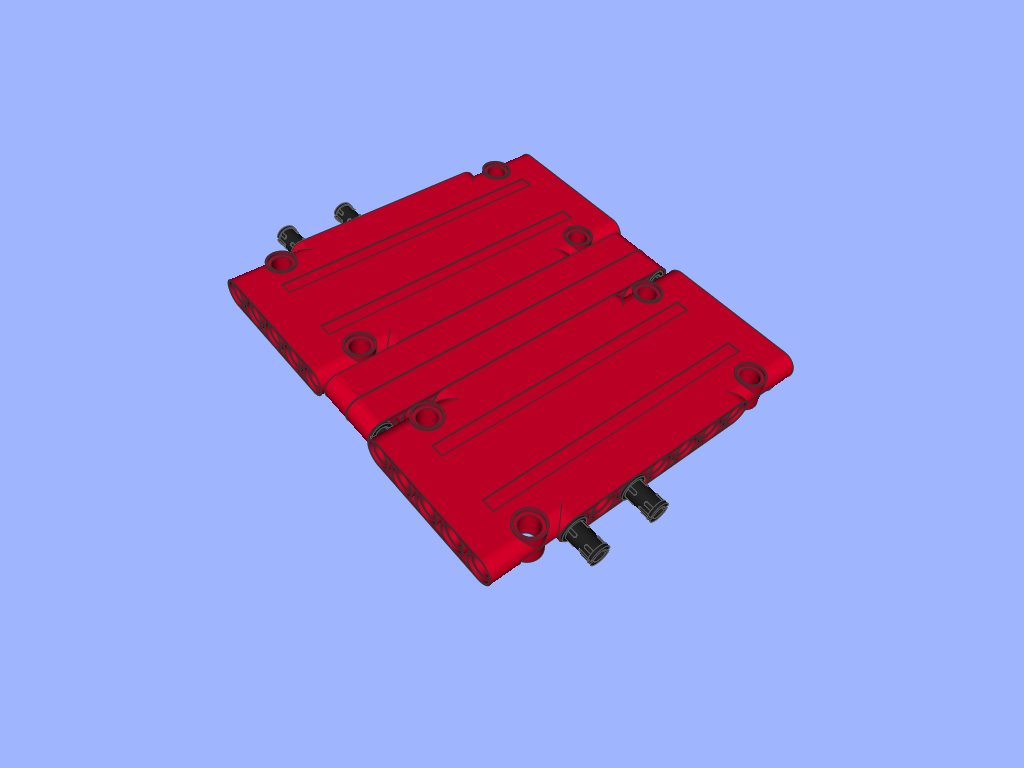


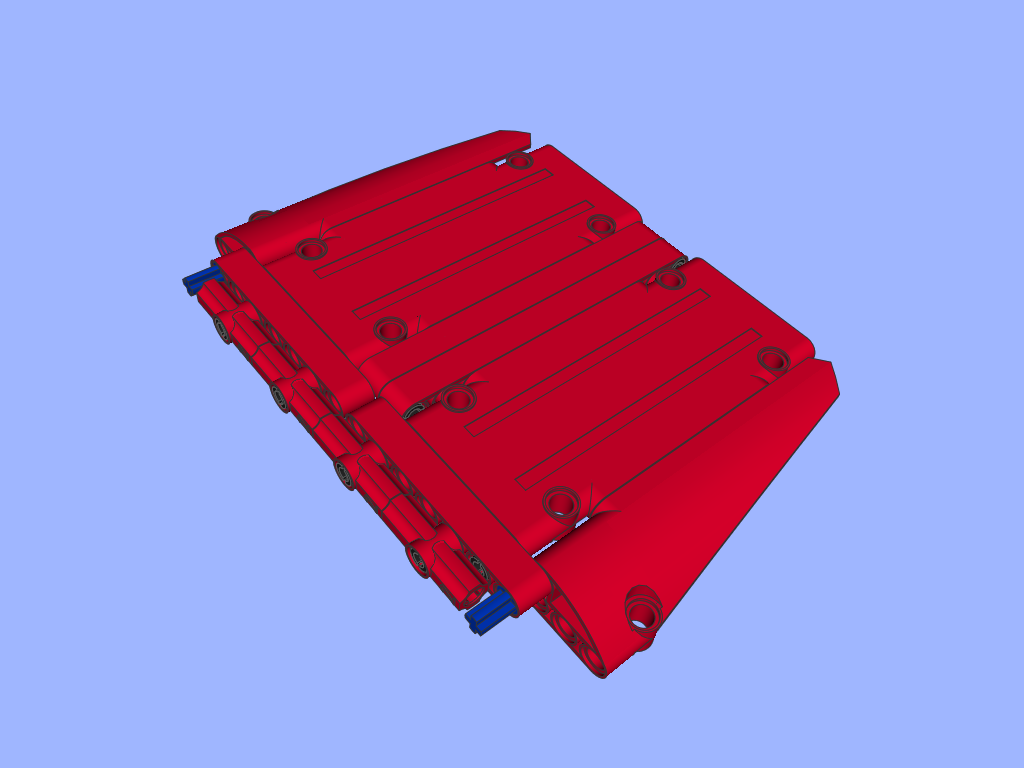
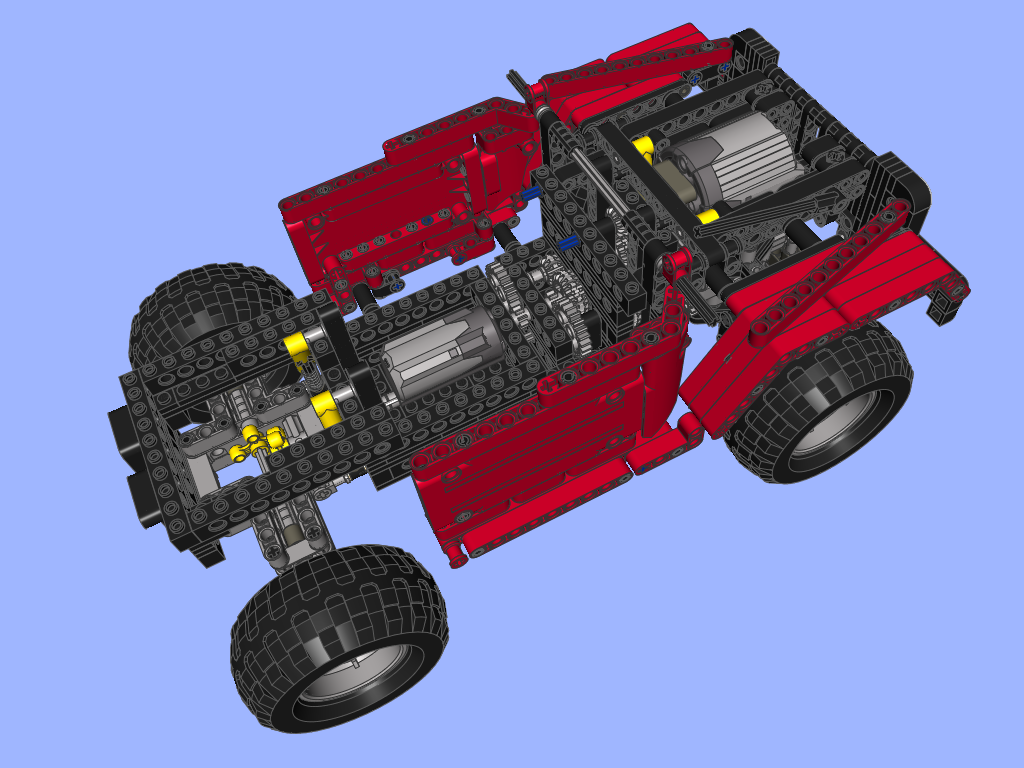

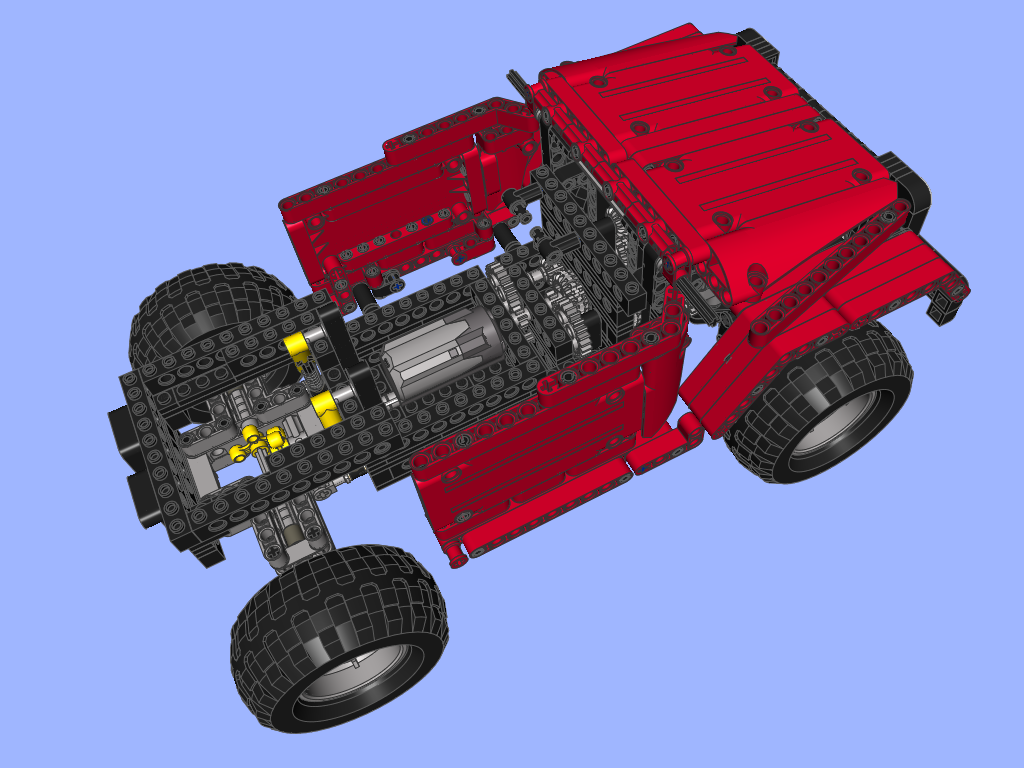


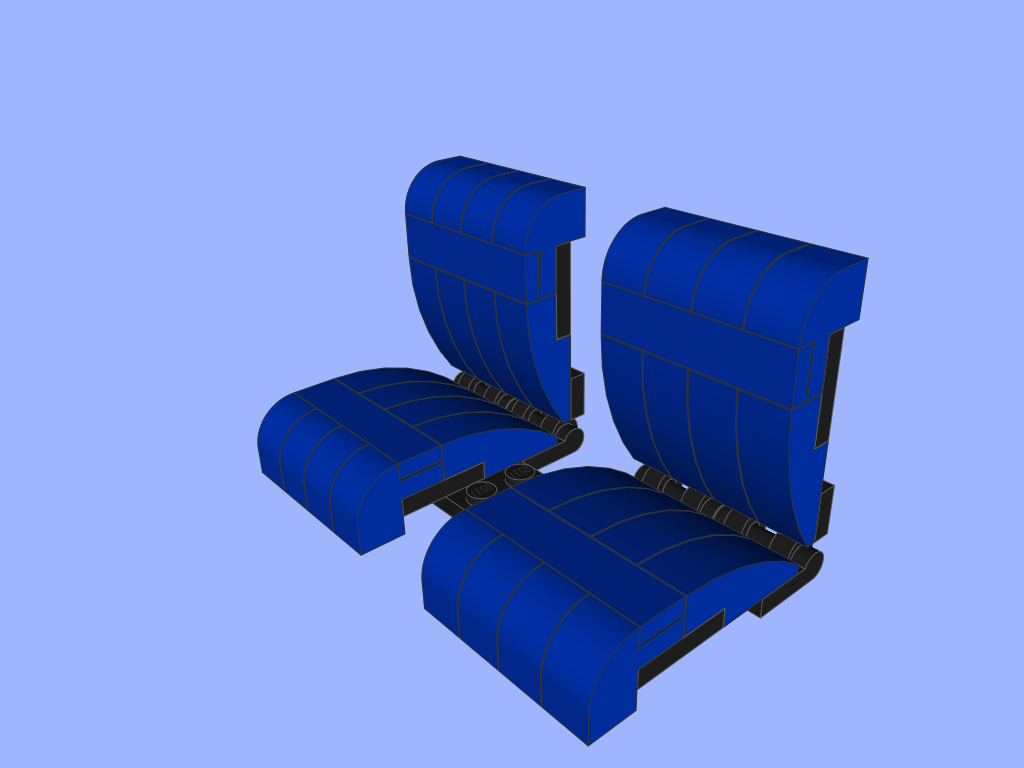
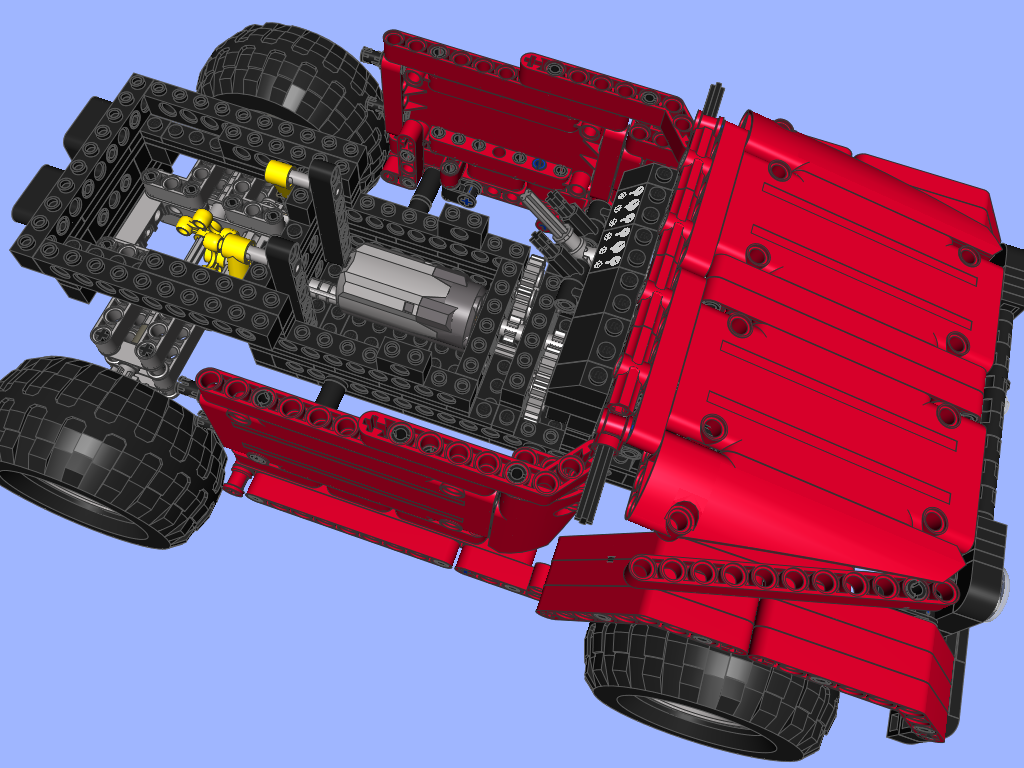
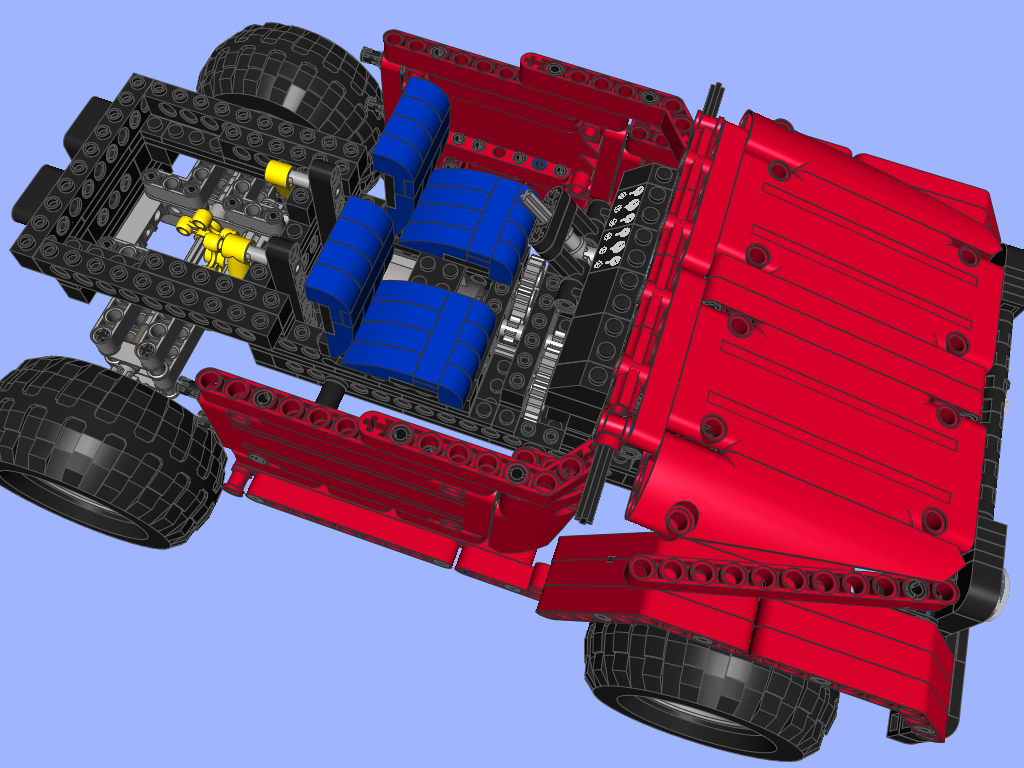

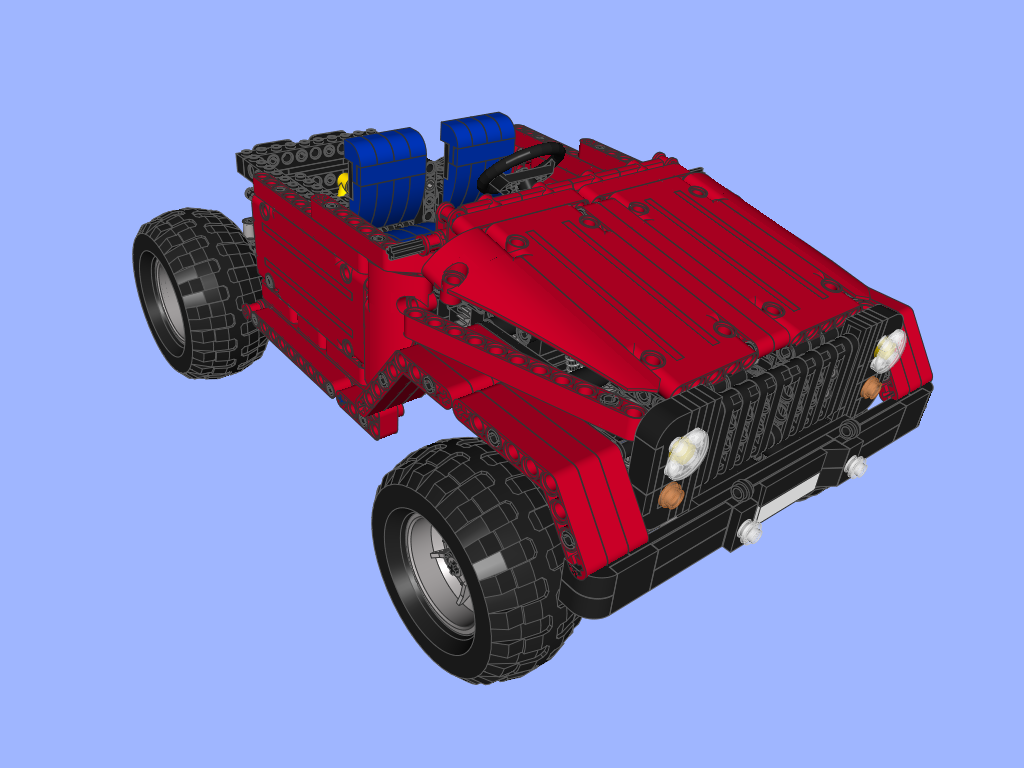
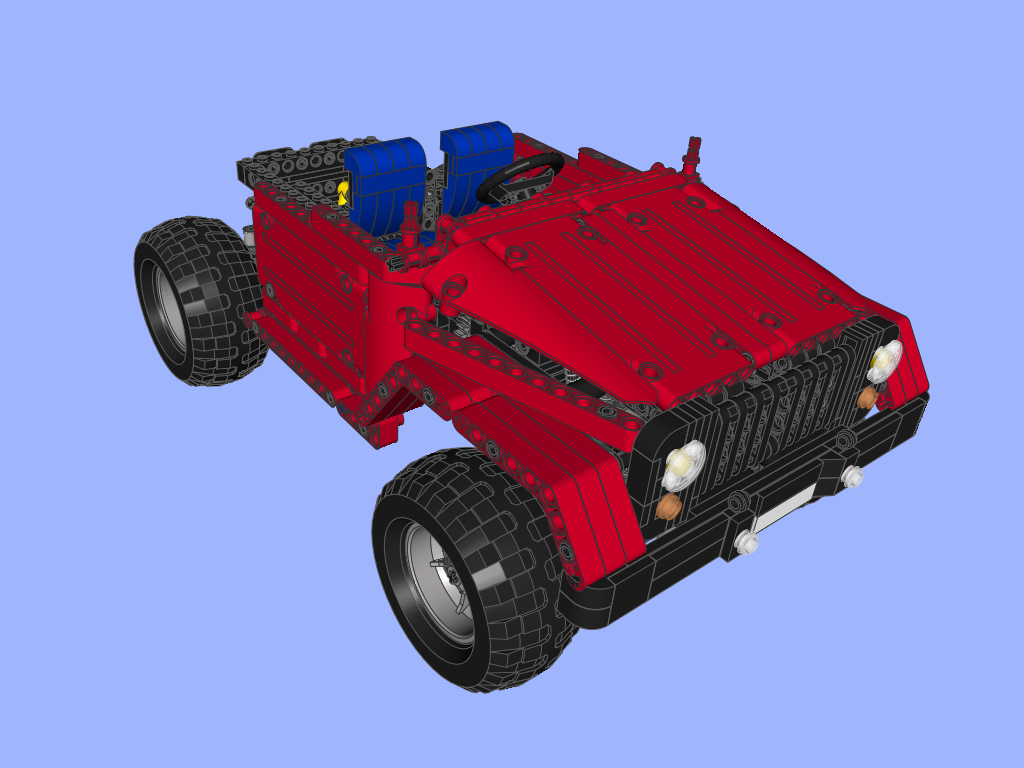
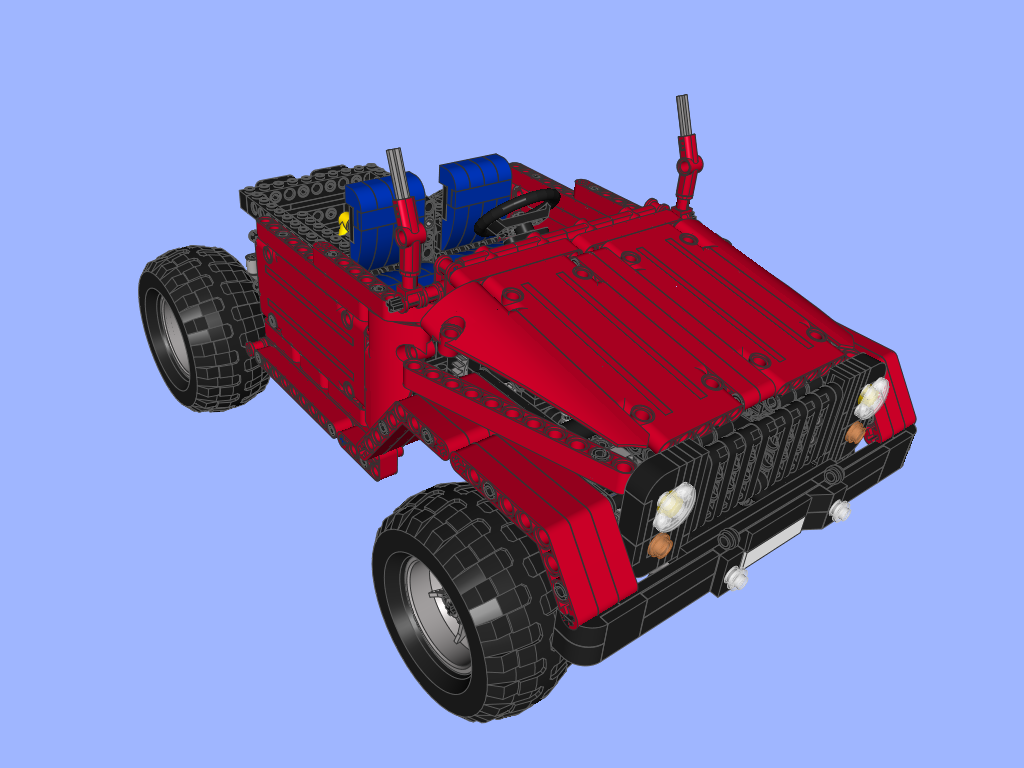
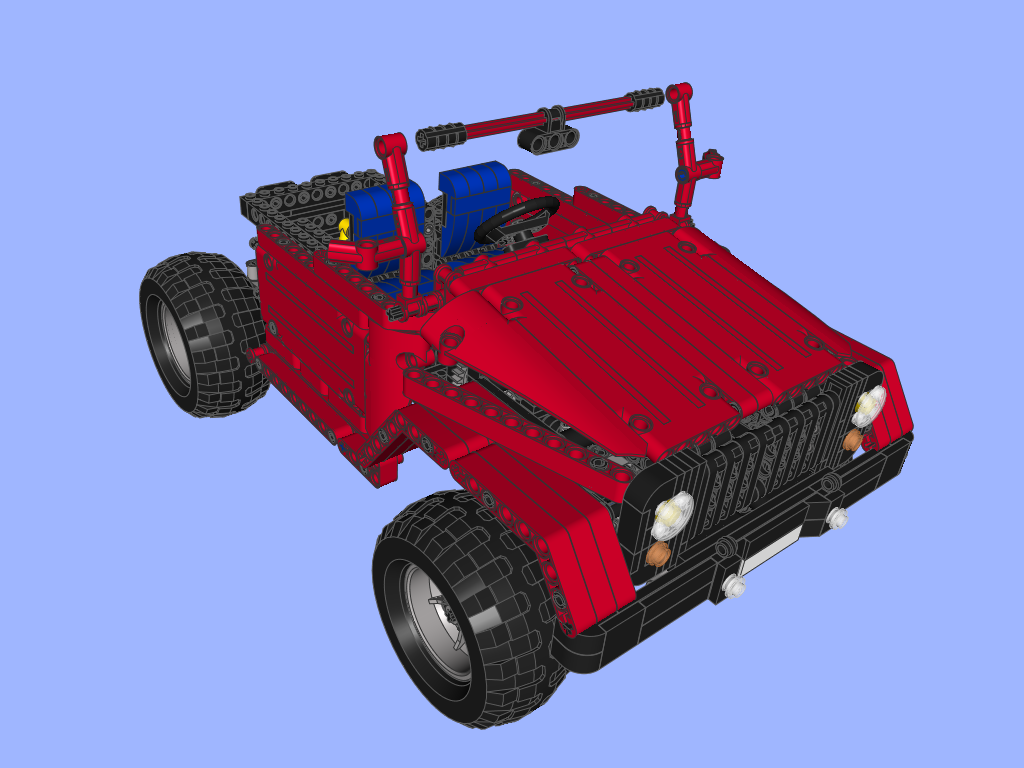
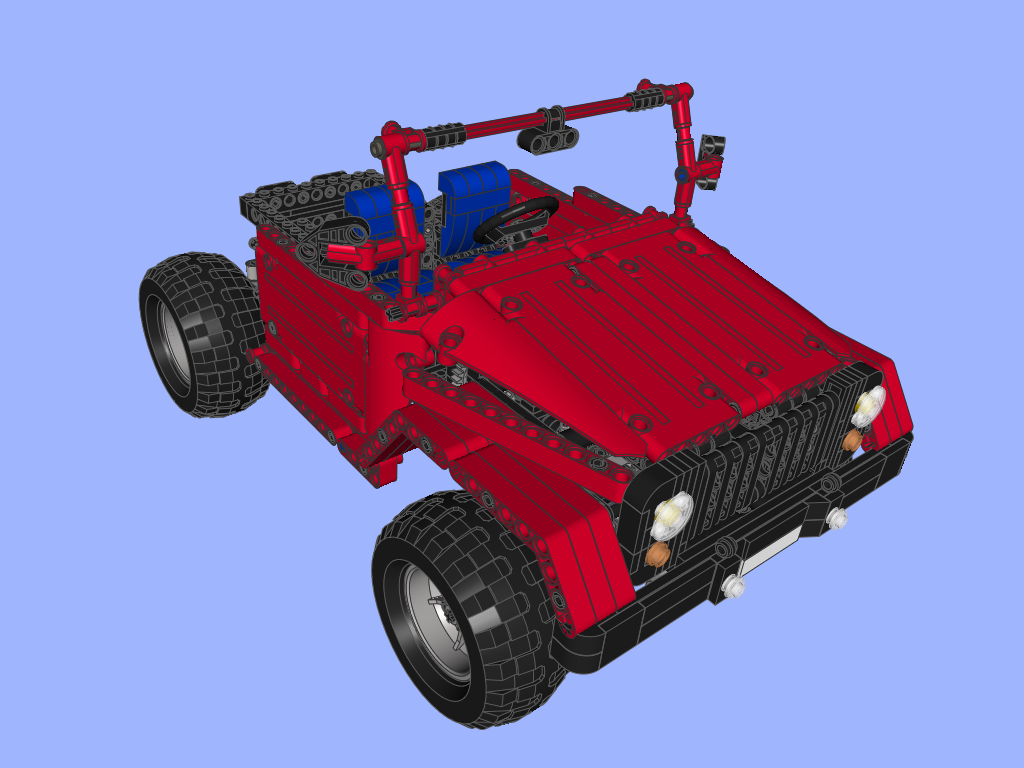


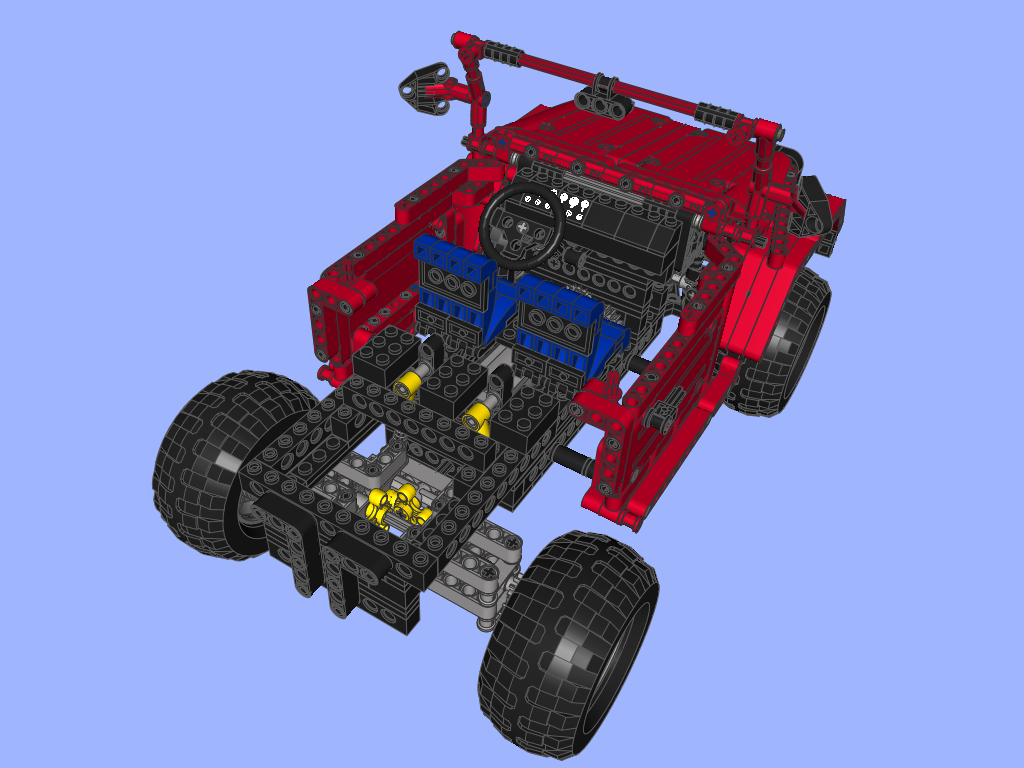
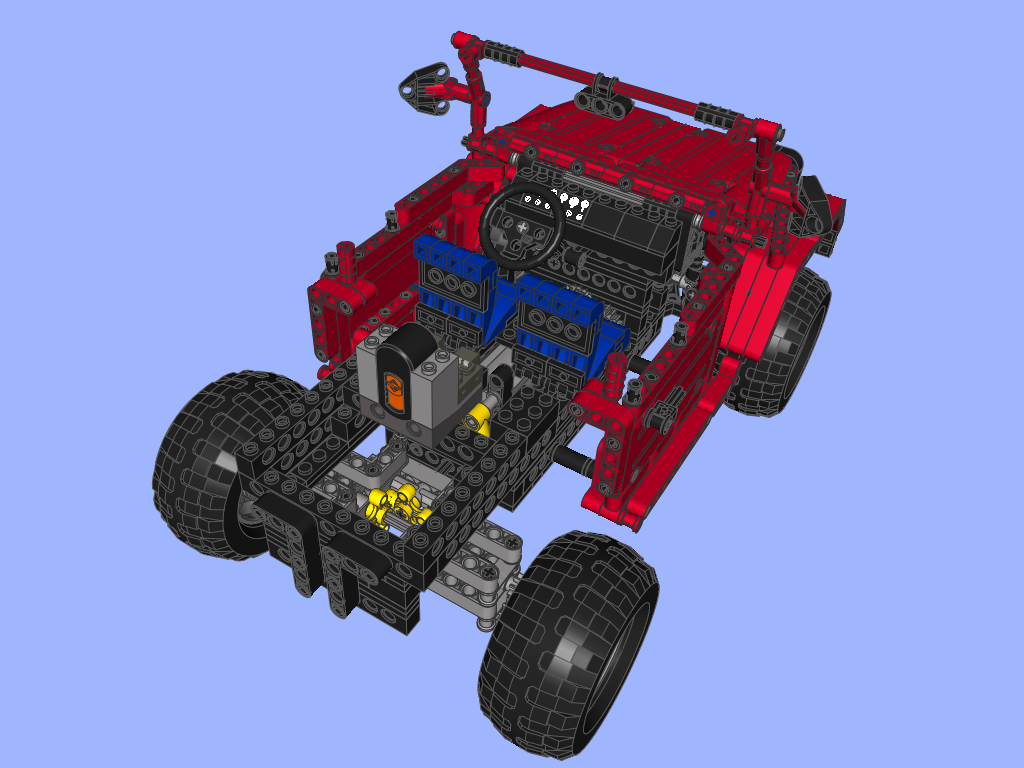

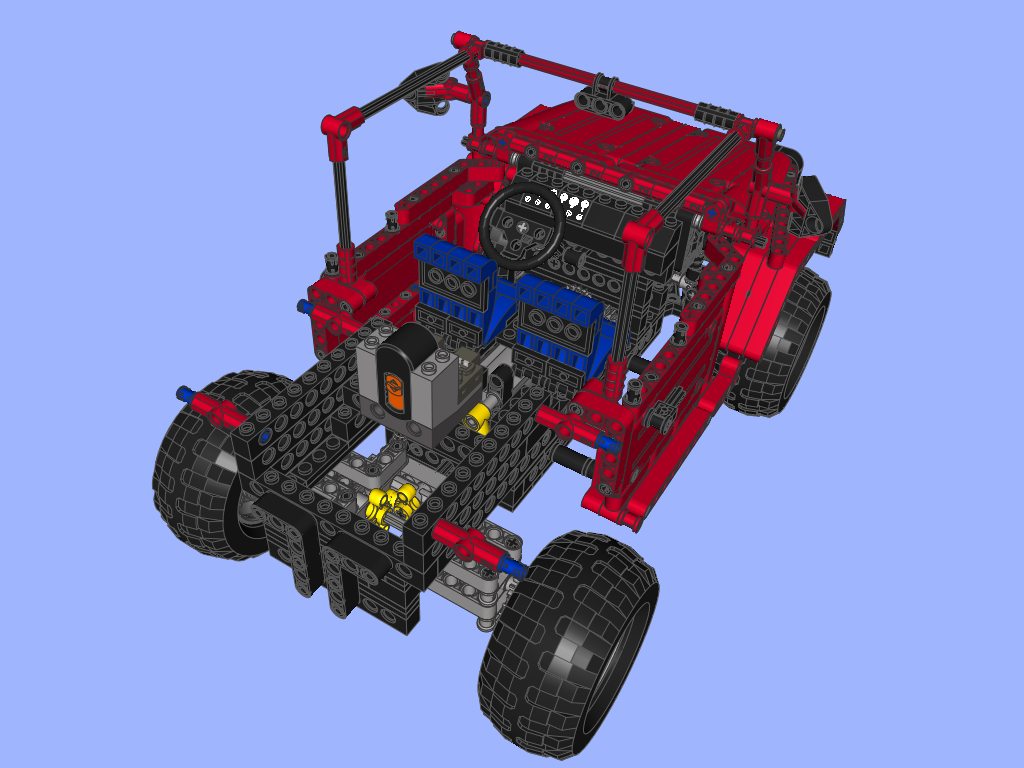
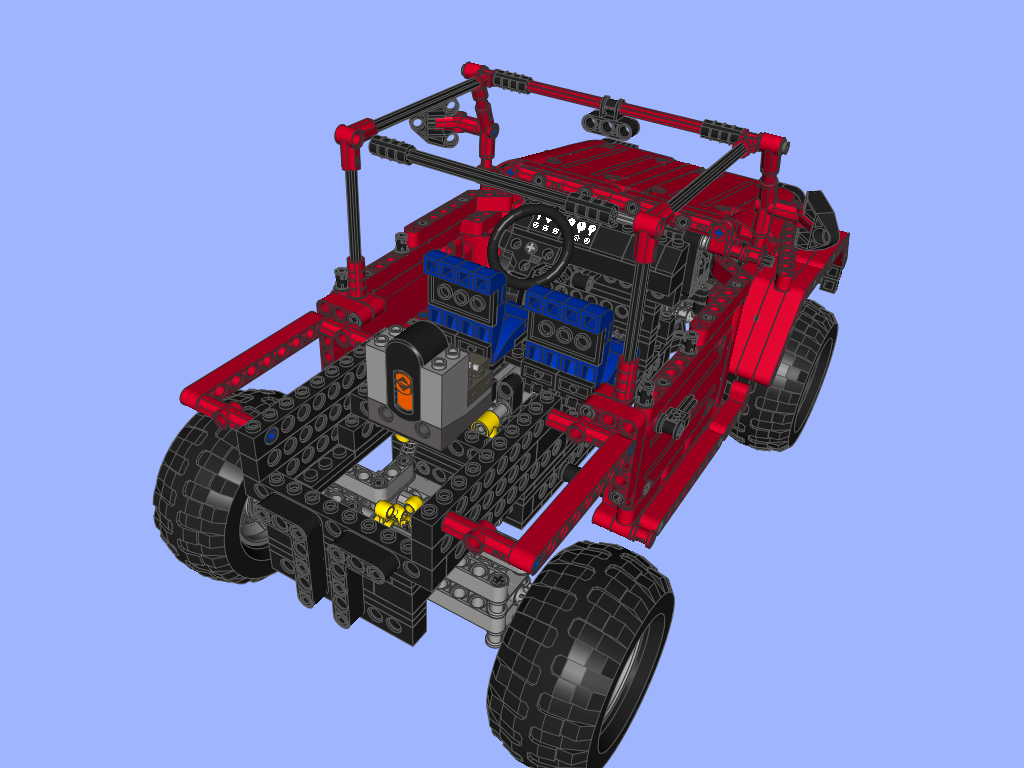
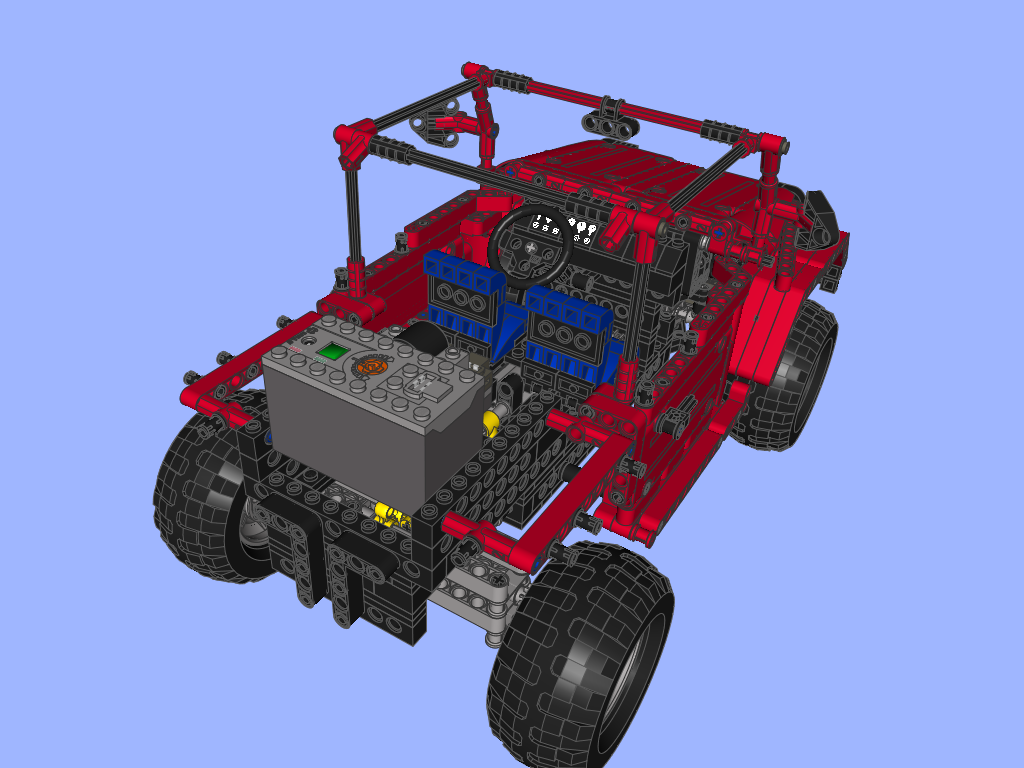


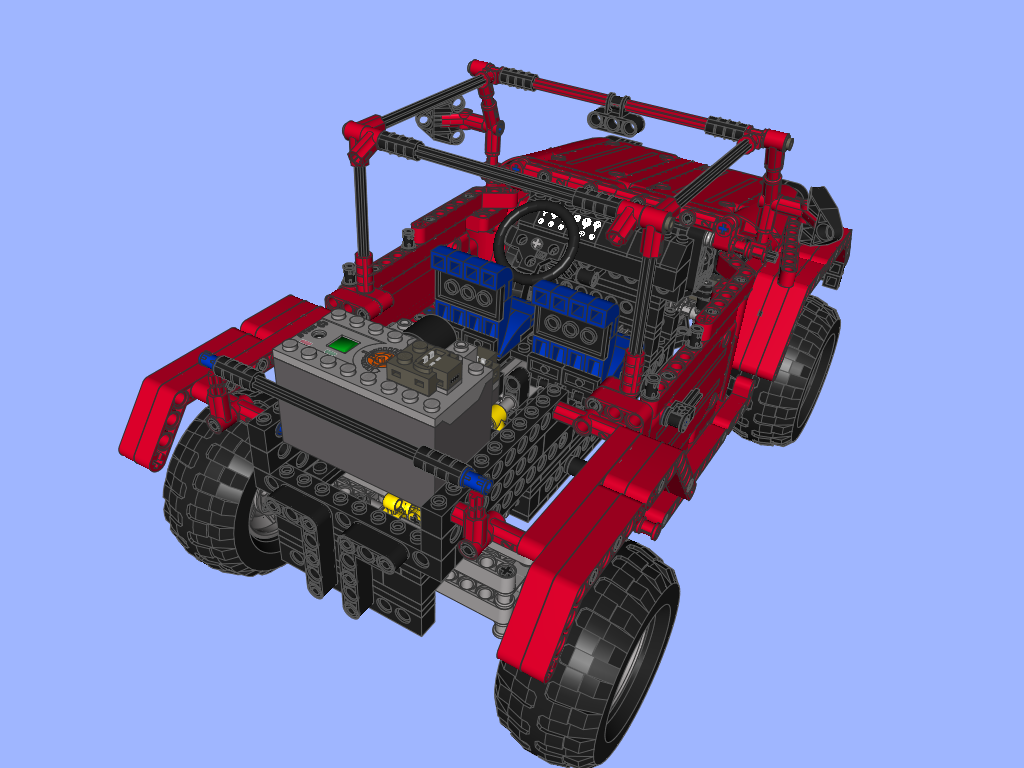

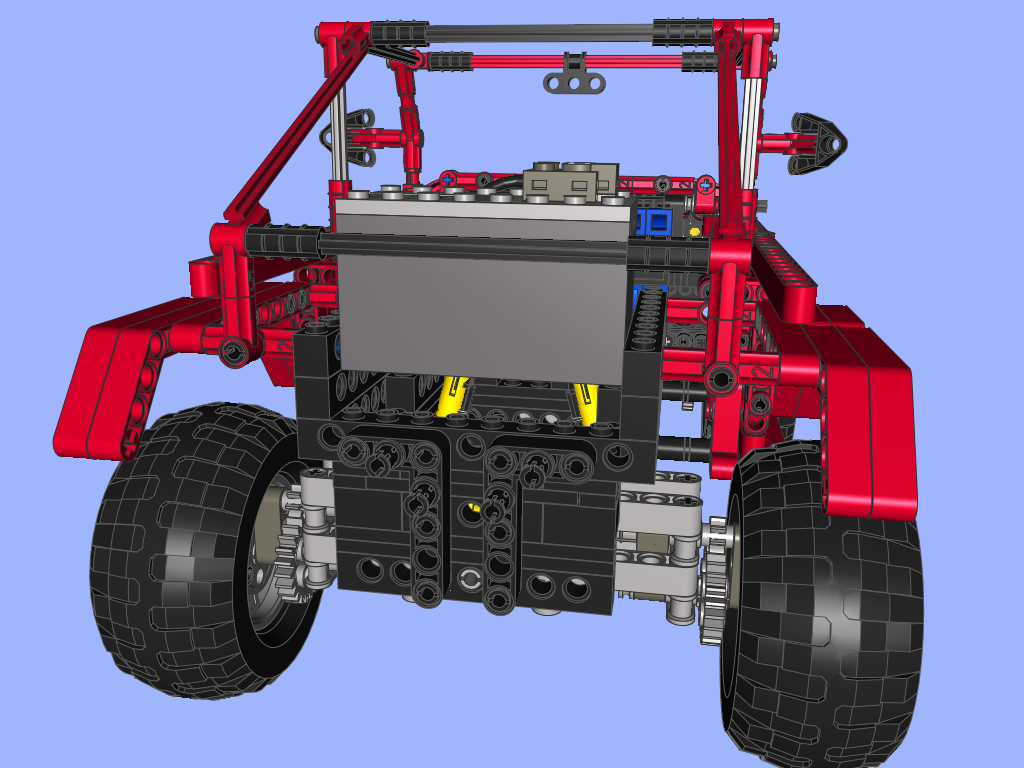


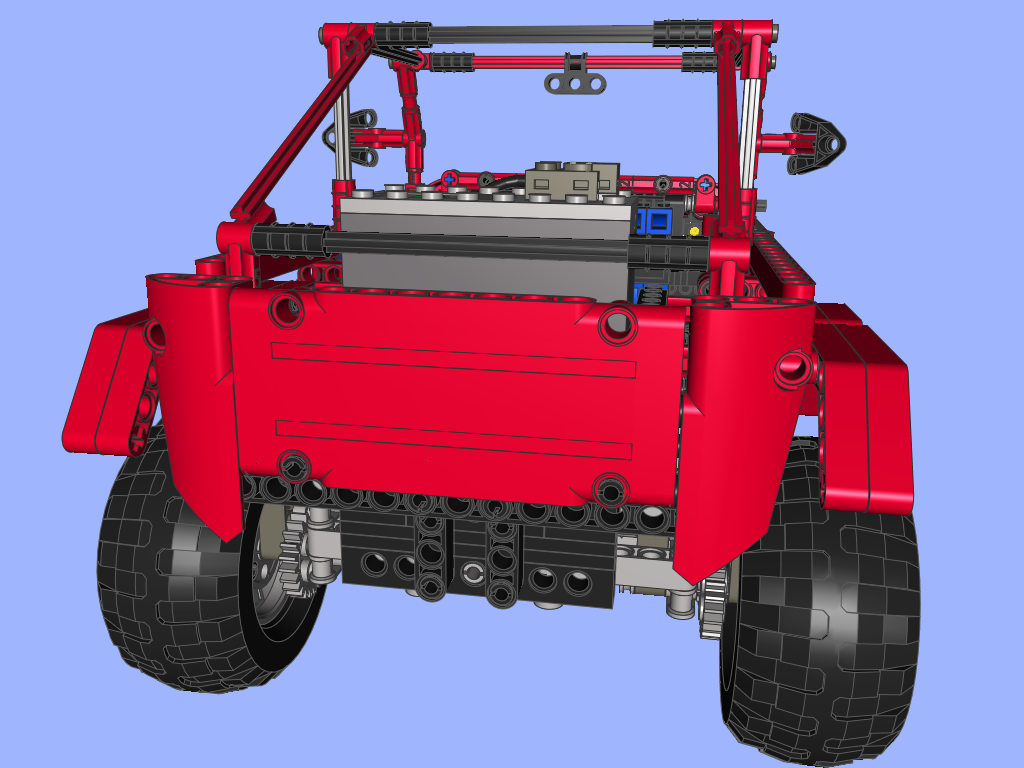
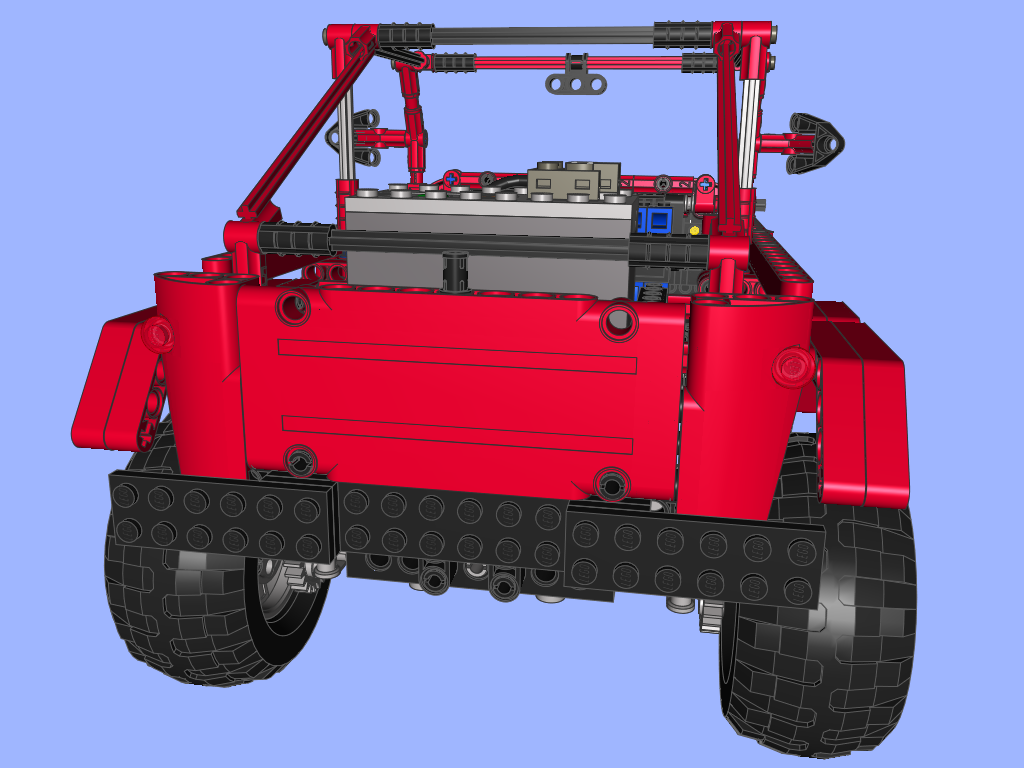

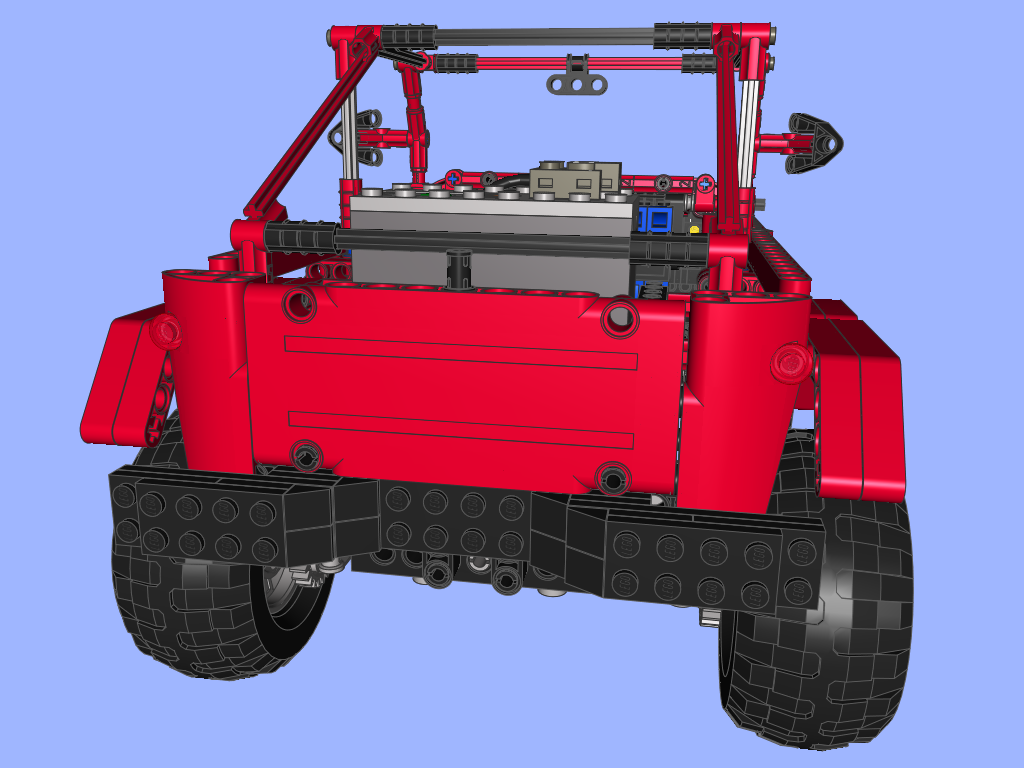


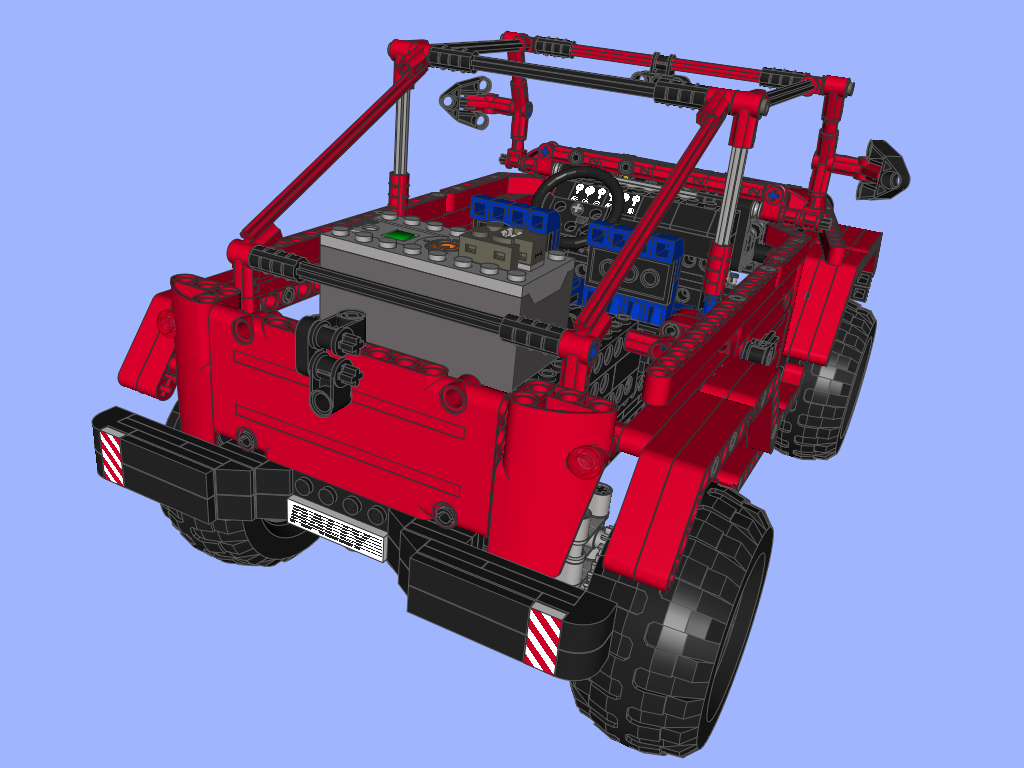

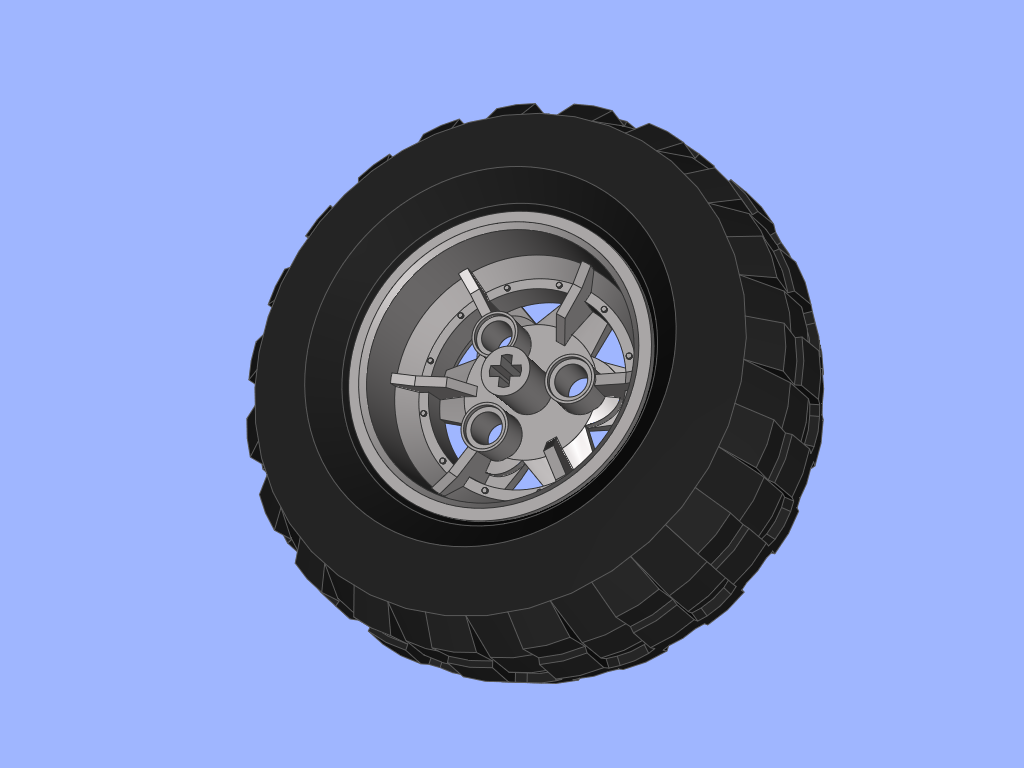
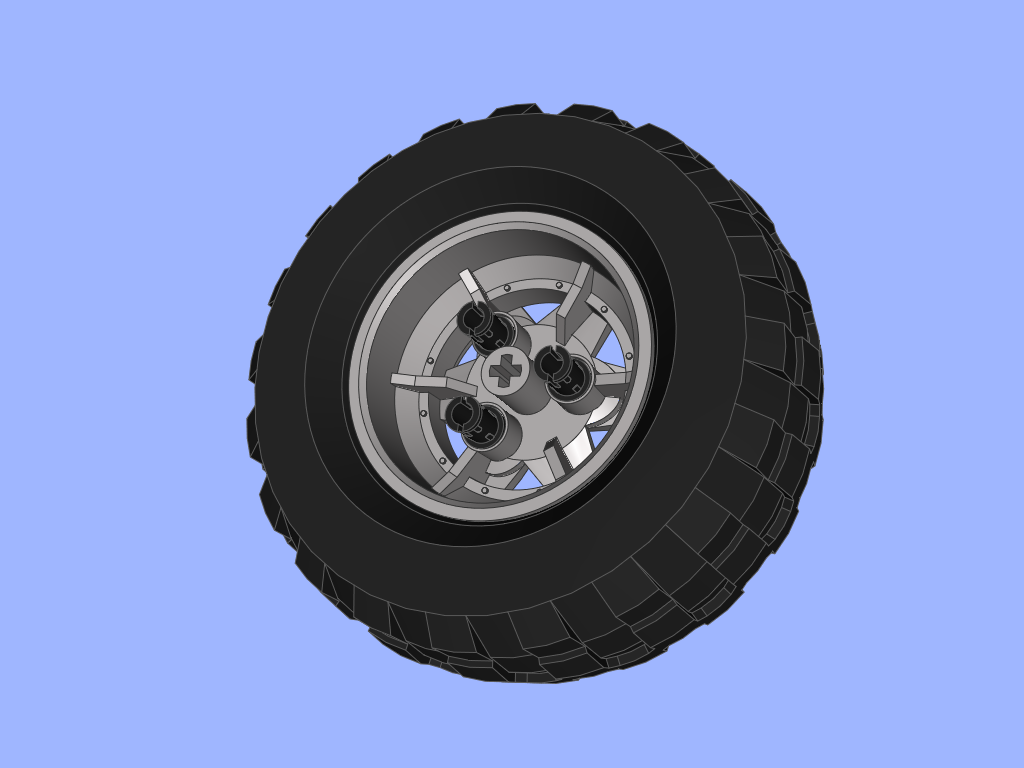

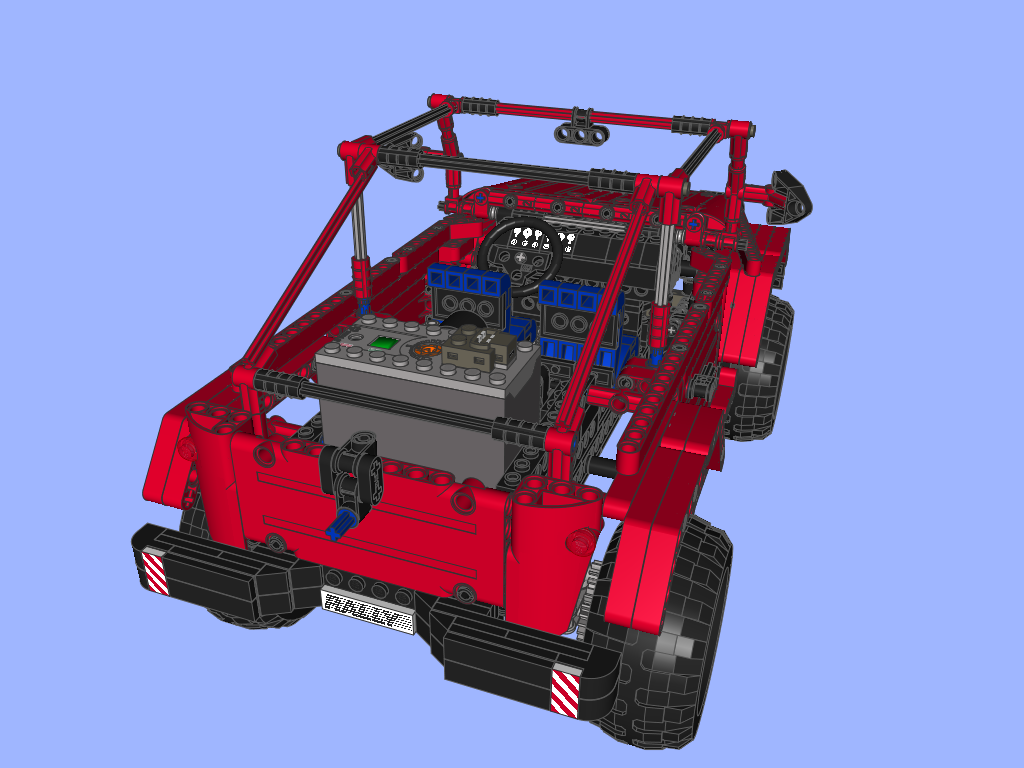
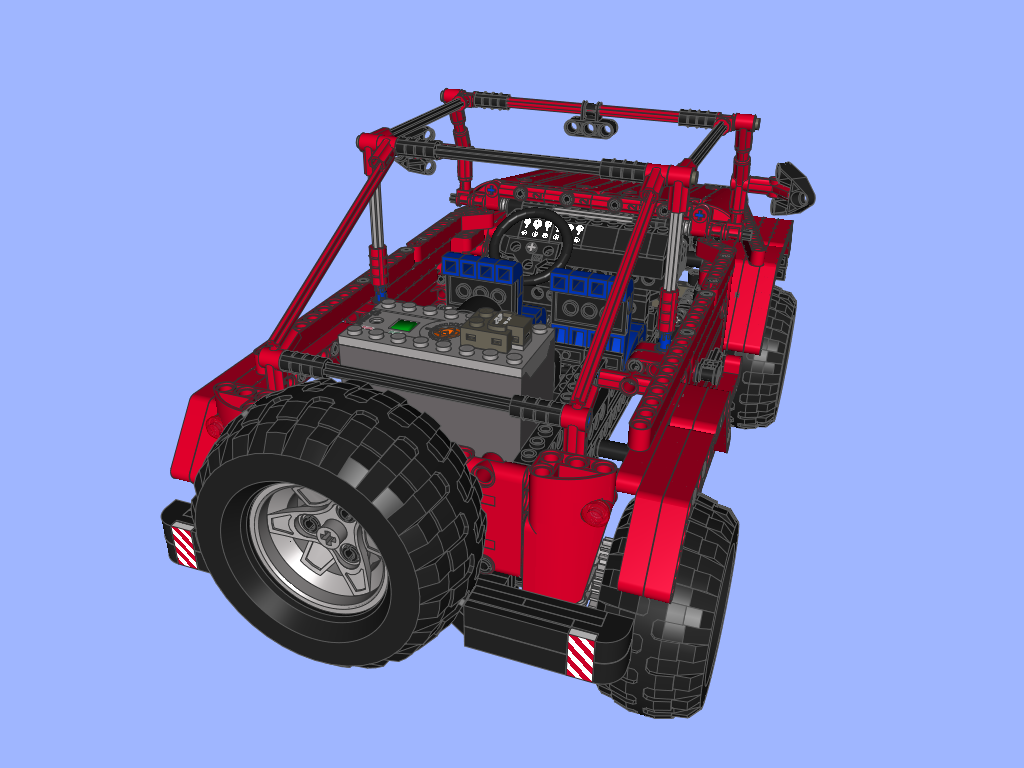
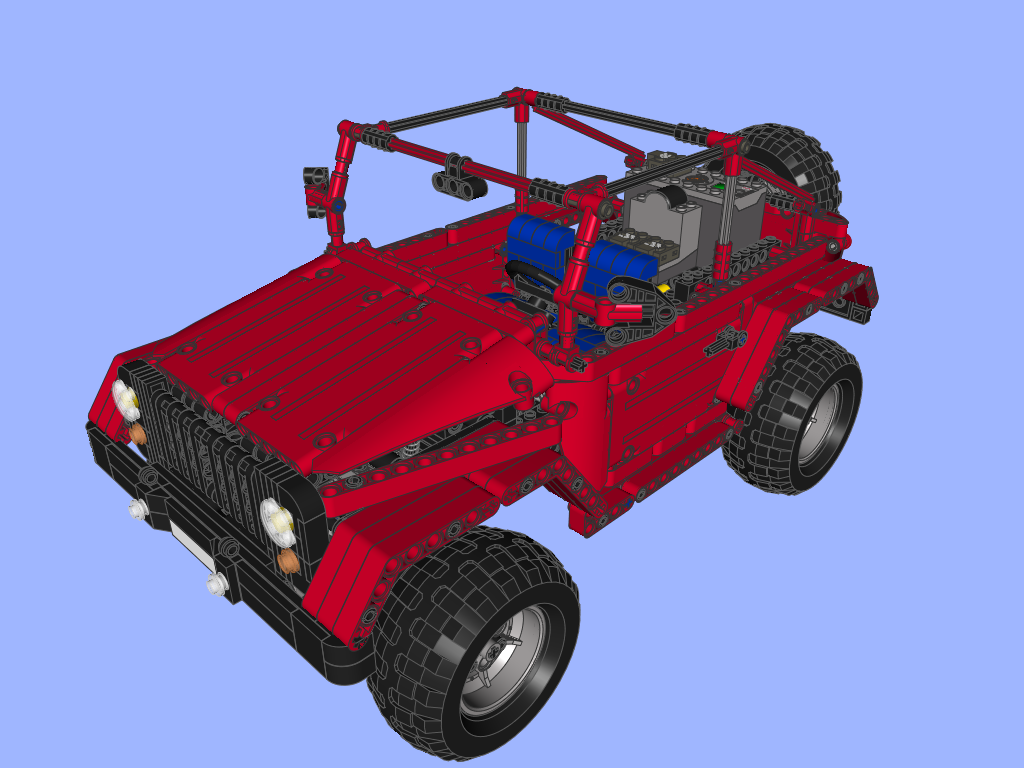
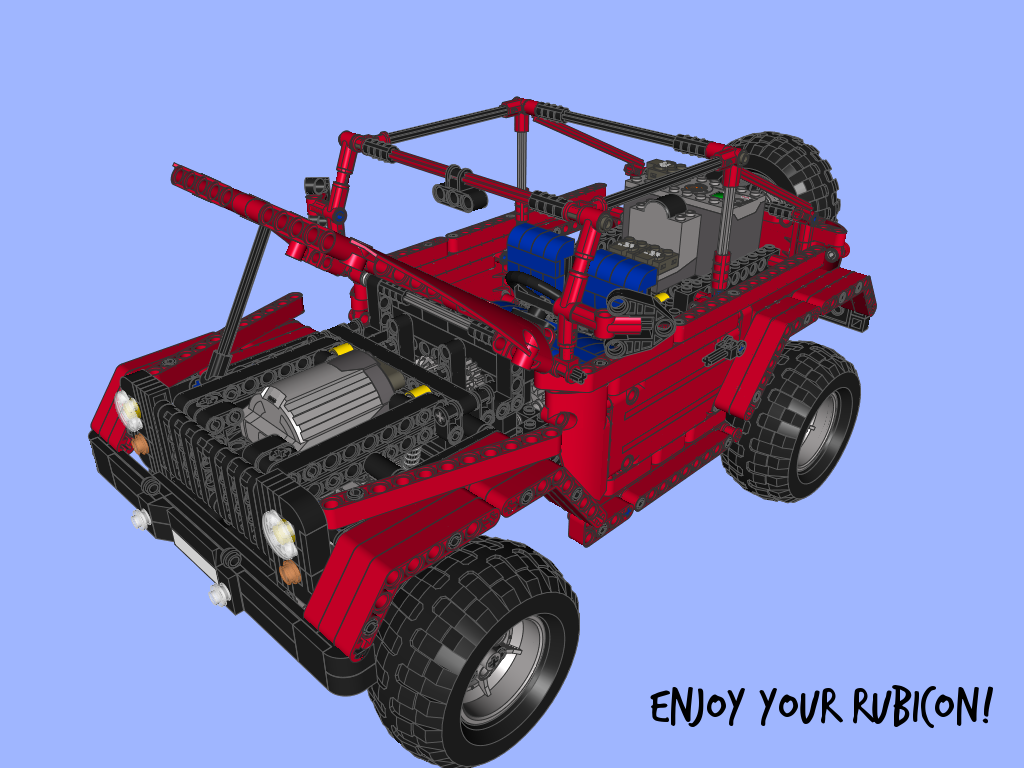
Photo-instruction for the whole model:


@Myeong Mo Kim
I think it’s the most accurate I was able to find, but probably not a perfect one.
Sariel, Is that blueprint in the instructions accurate? I found the same one in here(http://www.the-blueprints.com/blueprints/cars/jeep/20701/view/jeep_wrangler_rubicon_/) and found out that some of the wheel sizes are different(e.g. spare wheel and wheels attached to a axle). I’m searching for a accurate jeep wrangler blueprint in the internet and its quite hard…
Thanks!
@Pablo salamanca
Here: http://www.bricklink.com/catalogItem.asp?P=32072
Hi can anyone tell me how are called the yellow “gears” he used for the differential because I can’t find them on Bricklink.
Thanks
@Mario
Here: http://www.bricklink.com/index.asp
Hello, Great build. What is your advise in getting all these parts? Is there a current kit that has most of them? I want to build this! What was the cost if you don’t have the extra parts? Thank You
@EV3fan
No, it’s 1:5.001 to be correct. I even made a tool for you to calculate it, to be correct: http://gears.sariel.pl/
Thank you. I thought it was different because you wrote 5:1 but it’s 5.5 and something : 1 to be correct.
@EV3fan
8t -> 24t + 12t -> 20t.
Just a little question: Do you remember how the 5:1 reduction was achieved here? With an 8-tooth gear connected to a 16 – tooth gear and an 8-tooth gear connected to a 24-tooth gear or else?
Thank you!
@Sariel
Thanks for the clarification. You are right, probably GP sucks here. Will try with proper 1.2V batteries (I’ve just got my hands on 6xAA Eneloops and a 8881 Battery Box) before buying a 8878 then.
Btw, watching your indoor video above again, just realized that my Jeep is way too slow (even with the 6x AAA 1.5V alkaline) compared to yours. Maybe I got some gear problem, it does not seem to run smooth all the time. My speed is about 10-11 cm/sec, and looks much less than yours.
Anyway, here is a picture of my original black version: http://i.imgur.com/uWzQ3sU.jpg
Cheers
@TecHUNic
No, this is the exact opposite of what I told you. Torque is always the same, no matter what batteries, no matter what voltage. It’s only the speed that gets higher with higher voltage. So 8878 will be slower than 1.5 V batteries, but with the same torque. Like I said, your GP batteries are probably worn down, the same happened to mine. GP sucks, that’s why I switched to Eneloops.
@Sariel
So you say that 8878 drives this beauty at least as fast as the 88000 with 1.5 V batteries? Torque is crazy when using 1.5 V (climbs ANYTHING in its way), but honestly I did not test it with the GP rechargeables as whole Jeep was like a dead turtle.
@TecHUNic
The voltage does not affect torque, only speed. The problem must be your GP batteries.
Hi, Sariel! I’ve just finished building this awesome Jeep WR in black with light bluish grey accent matching gears, pins etc. Super cool when it is about displaying but had to mod chassis it a bit to get smoother steering (front bumper and side front panels were in the way when turning wheels near the end points). Maybe it was just me sucked at following instructions. Anyway, I’d like to ask you about the best solution to power this badass Jeep with. I’m currently using 88000 AAA Battery Box with 1.5 V alkaline batteries. Putting in 1.2 V Rechargeable 900 mAh GP batteries is a complete failure (barely moves the Jeep)! Is this possible that 7.2 V gives not enough power for moving this beast? If so, how can it be, that the 7.4 V Rechargeable 8878 can drive it well (I assume you used 8878 int he videos you shared). Watched your Battery Box comparison video, but did not help to decide. I’m about to buy a 8878, but don’t want to find it useless. Thanks for any response in advance!
Ok thanks so much! U love this jeep and your hamsters!
@Bridger
Smaller wheels will improve performance.
@Sariel ok an is there any way to give it more torque?
@Bridger
Try these: http://www.bricklink.com/catalogItem.asp?P=41896c01
@Sariel ok I’ll get smaller tires and thanks
@bridger
You must have done something wrong. Sounds like you used different, larger wheels.
hi! i built this and i have problems with my tries getting stuck inside the wheel wells. also not having the power to climb things like the stuff in your video.
thanks, bridger
@Jeff
Nope.
Hi sariel!
Im considering building this model but im wondering if there is any gear cracking or ‘slippage’
Is there any?
@Zach
http://www.bricklink.com/catalogItem.asp?P=45982
What part number tires are you using?
@Zach
Sure.
Could you change out the rechargeable battery pack, the one running it, with the battery box
@Zach
What?
Could you change the rechargeable battery with the cheapest one you can buy?
@Zach
Bricklink?
Do you know a place where I can buy individual pieces for this like the red body plates
Wow! Awesome job sariel. I’m a big fan
@Jantjeuh
Sure, thanks.
Hello Sariel,
I just came across your MOC on Rebrickable. I really like the look of it, and thanks for making instructions available.. I know how much time is involved in creating those. It’s appreciated. I’ve downloaded all the individual PNGs and turned them into a single PDF, for ease of use. Are you OK with me distributing this PDF to people who want to build this model? With all credit to you, ofcourse.
Regards,
Jantjeuh (from Eurobricks)
@gabry
Oh, now I understand what you are talking about! But I’ve built some different mudguards, they can’t touch the wheels anyway. However I think to destroy it and build a new truck. I’m sad now. “Bye bye Jeep” ;(
I take this occasion to thank you for inspire and help me often, Sariel. I hope to meet you someday, if you’ll come to Italy… Keep calm, I’m joking!
@gabry
Turned so far left or right that it’s not possible to turn more in that direction.
@Sariel
The steering system is OK, but what do you mean with “wheels turned to maximum”?
@gabry
No. Are you sure this doesn’t happen when the wheels are turned to maximum? Or perhaps the 16t gears responsible for steering between the axle and the chassis come apart?
Hi Sariel! I used the axles of your great Jeep Wrangler Rubicon in my custom Jeep Wrangler Sahara, and sometimes, while the car meets an obstacle and sometimes when the front axle is steered, I hear some alarming “Clicks” and other noises. At first I tried to locate the cause of these noises but Ididn’t find it, so I disassembled a part of the model to check the gears: everything was in its place (and I followed all the tips given by your book). Now I suspect that there is a problem in the hubs of the rear axle. Did you have any problems with your jeep?
@jeremy
I have no idea.
around what cost would this take to buy all new parts from LEGO??