Tracked Mini Cooper
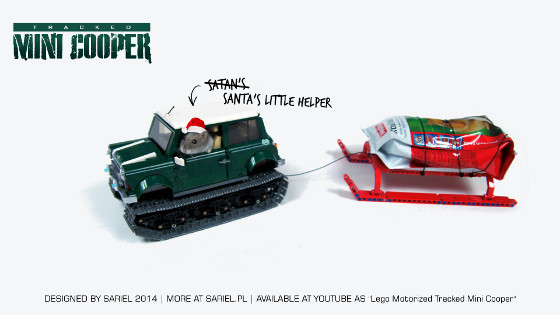
My first modification of an official LEGO set – the LEGO 10242 Mini Cooper equipped with a tracked chassis.
Datasheet:
Completion date: 26/12/2014
Power: electric (Power Functions)
Dimensions: length 30 studs / width 18 studs / height 18 studs
Weight: 1.173 kg
Suspension: oscillating bogies
Propulsion: 2 x PF L motor geared 1.6:1
Motors: 2 x PF L motor
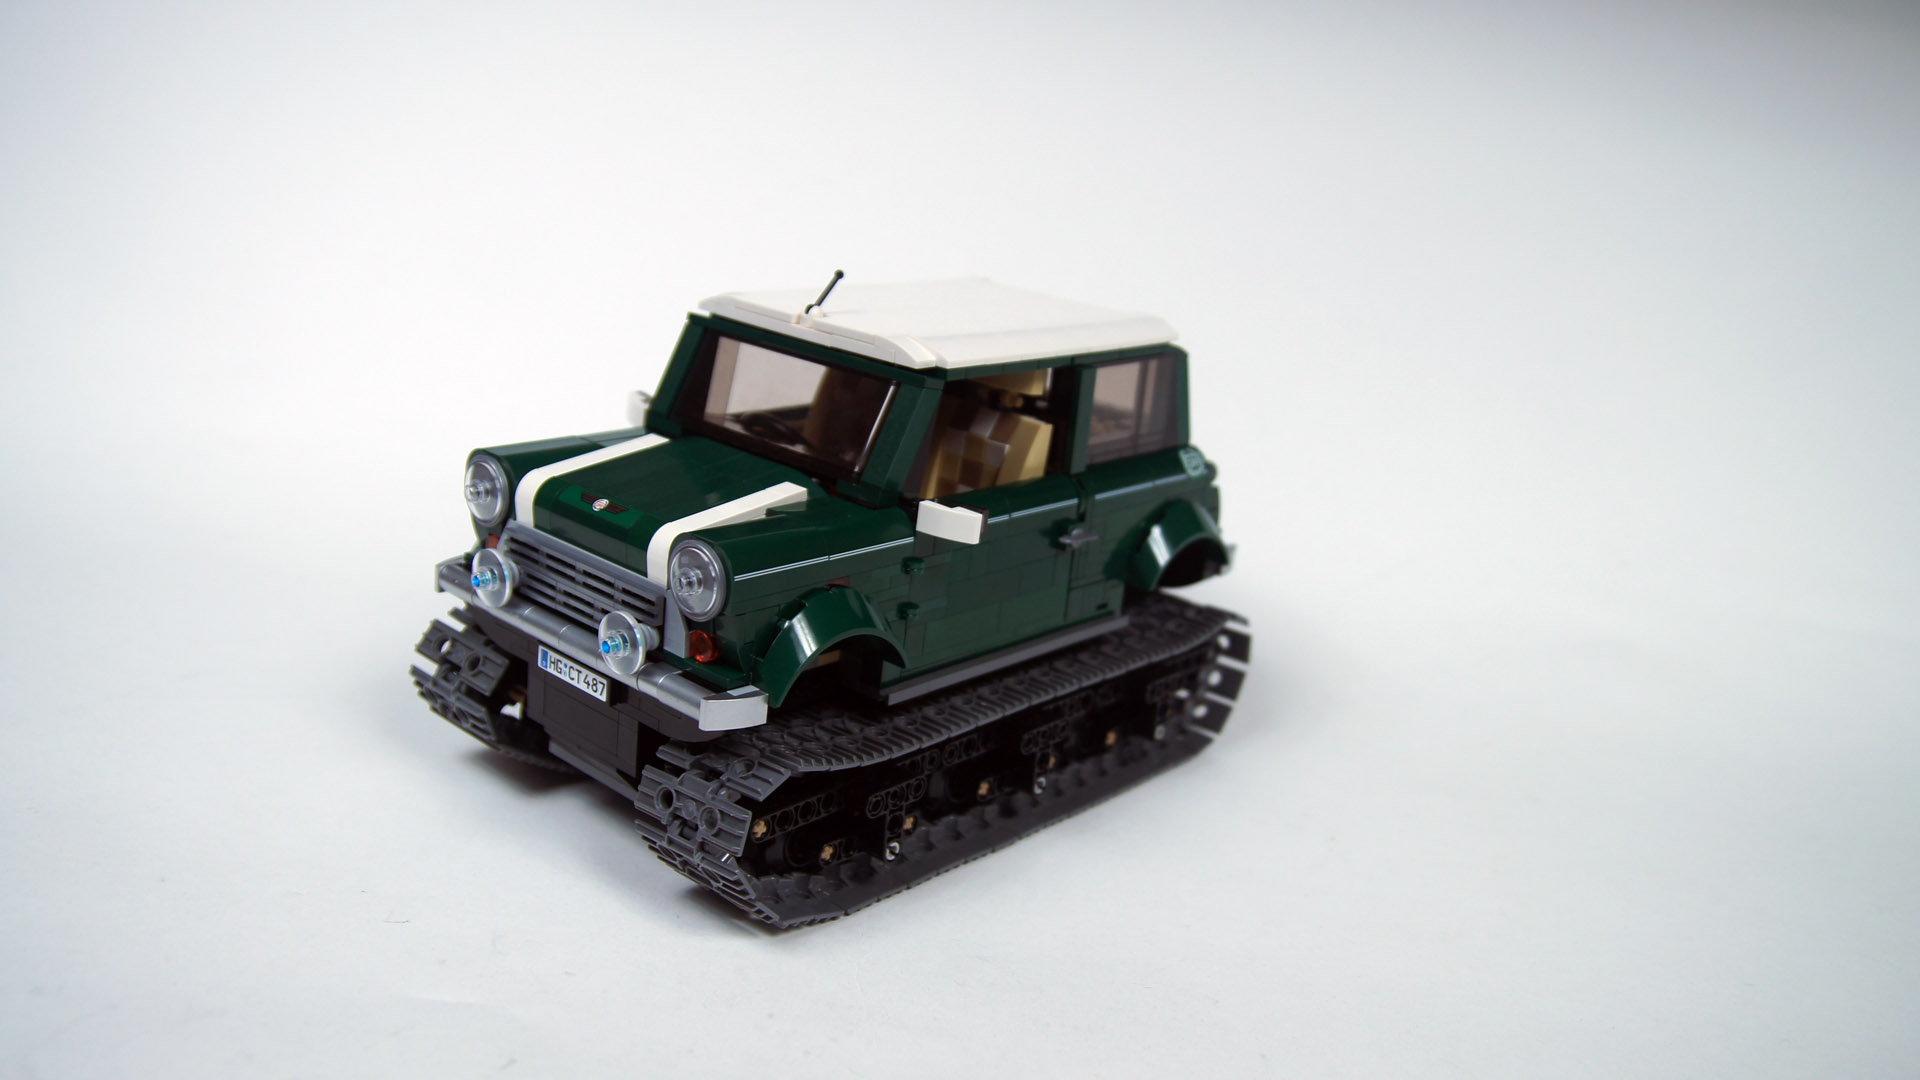
I was never really into modding LEGO sets, viewing them mostly as sources of pieces, but then I got myself the excellent 10242 Mini Cooper set and it proved so cool, I just had to do something with it. There was already a number of “full RC” mods of this set and my earlier attempt to put it on a crawler chassis failed, so I went for an idea that seemed silly but turned out to actually exist: a Mini Cooper with tracked chassis.

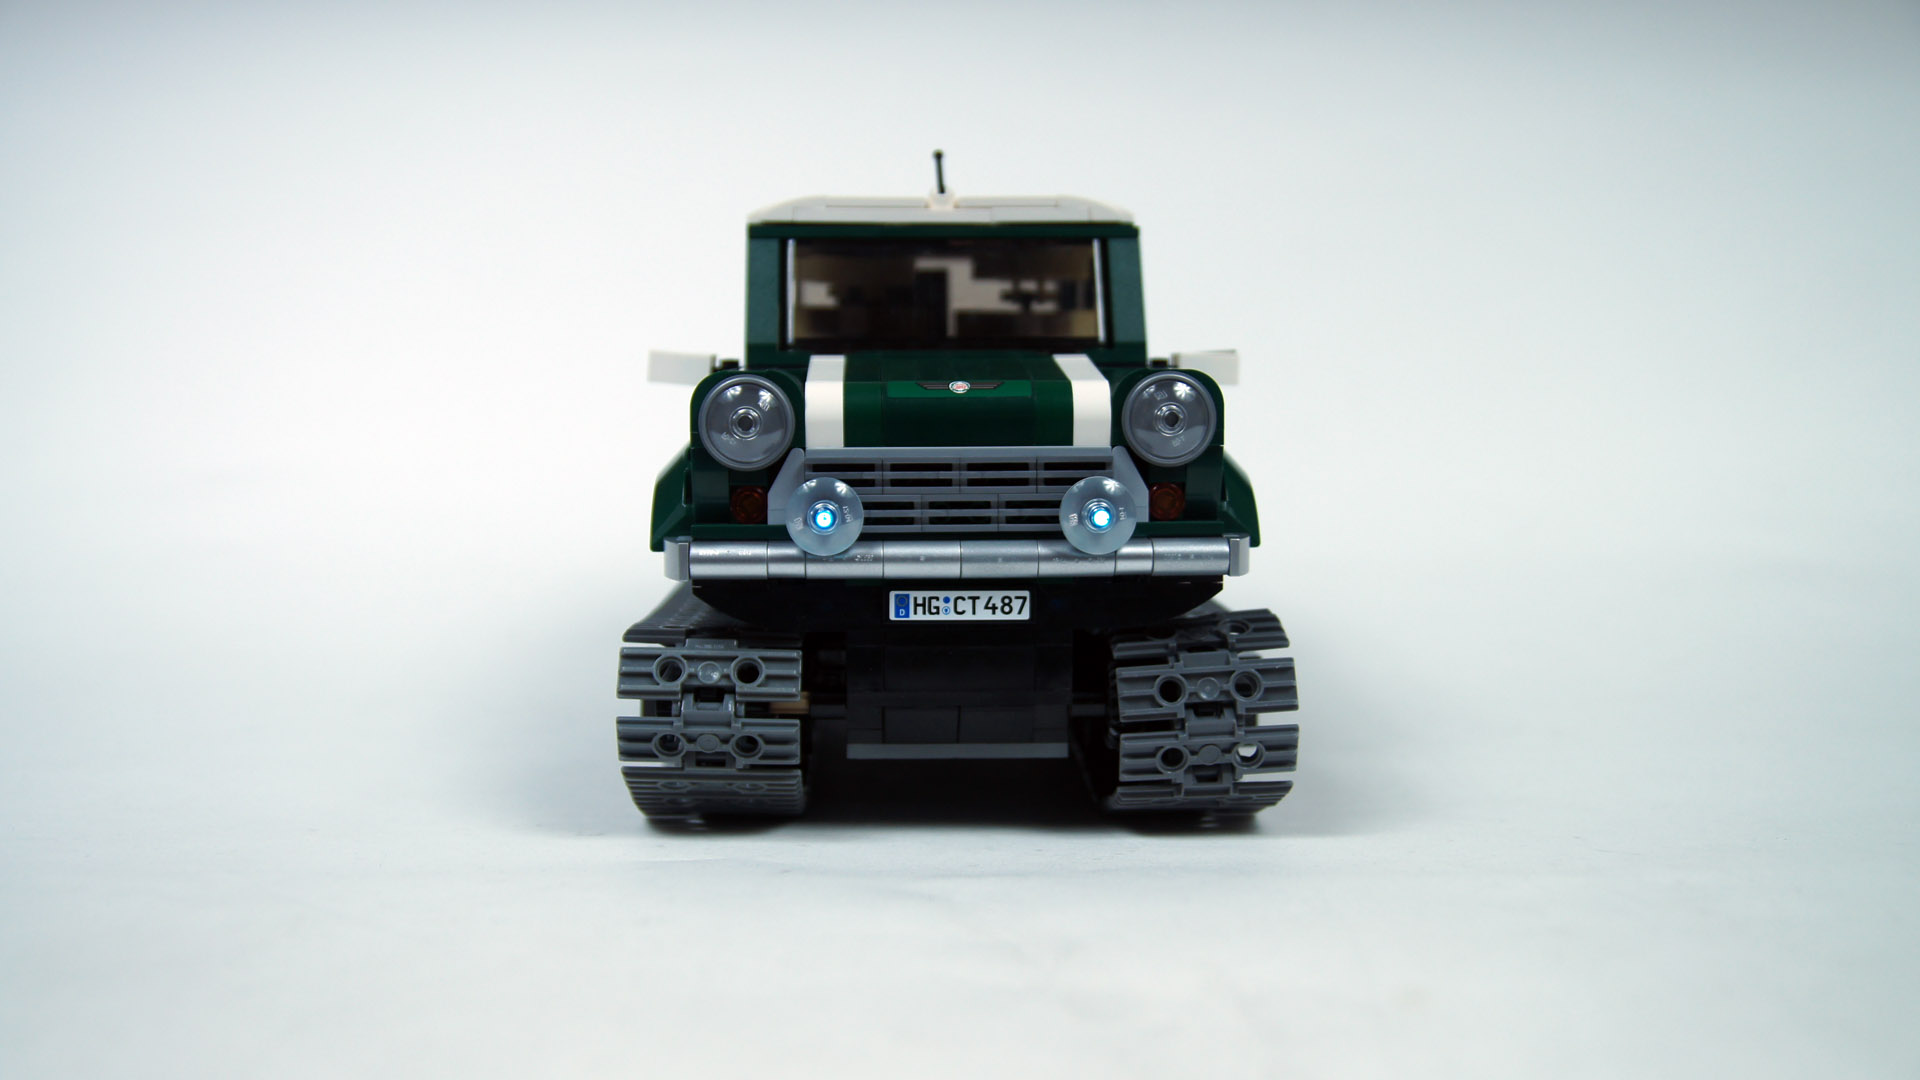
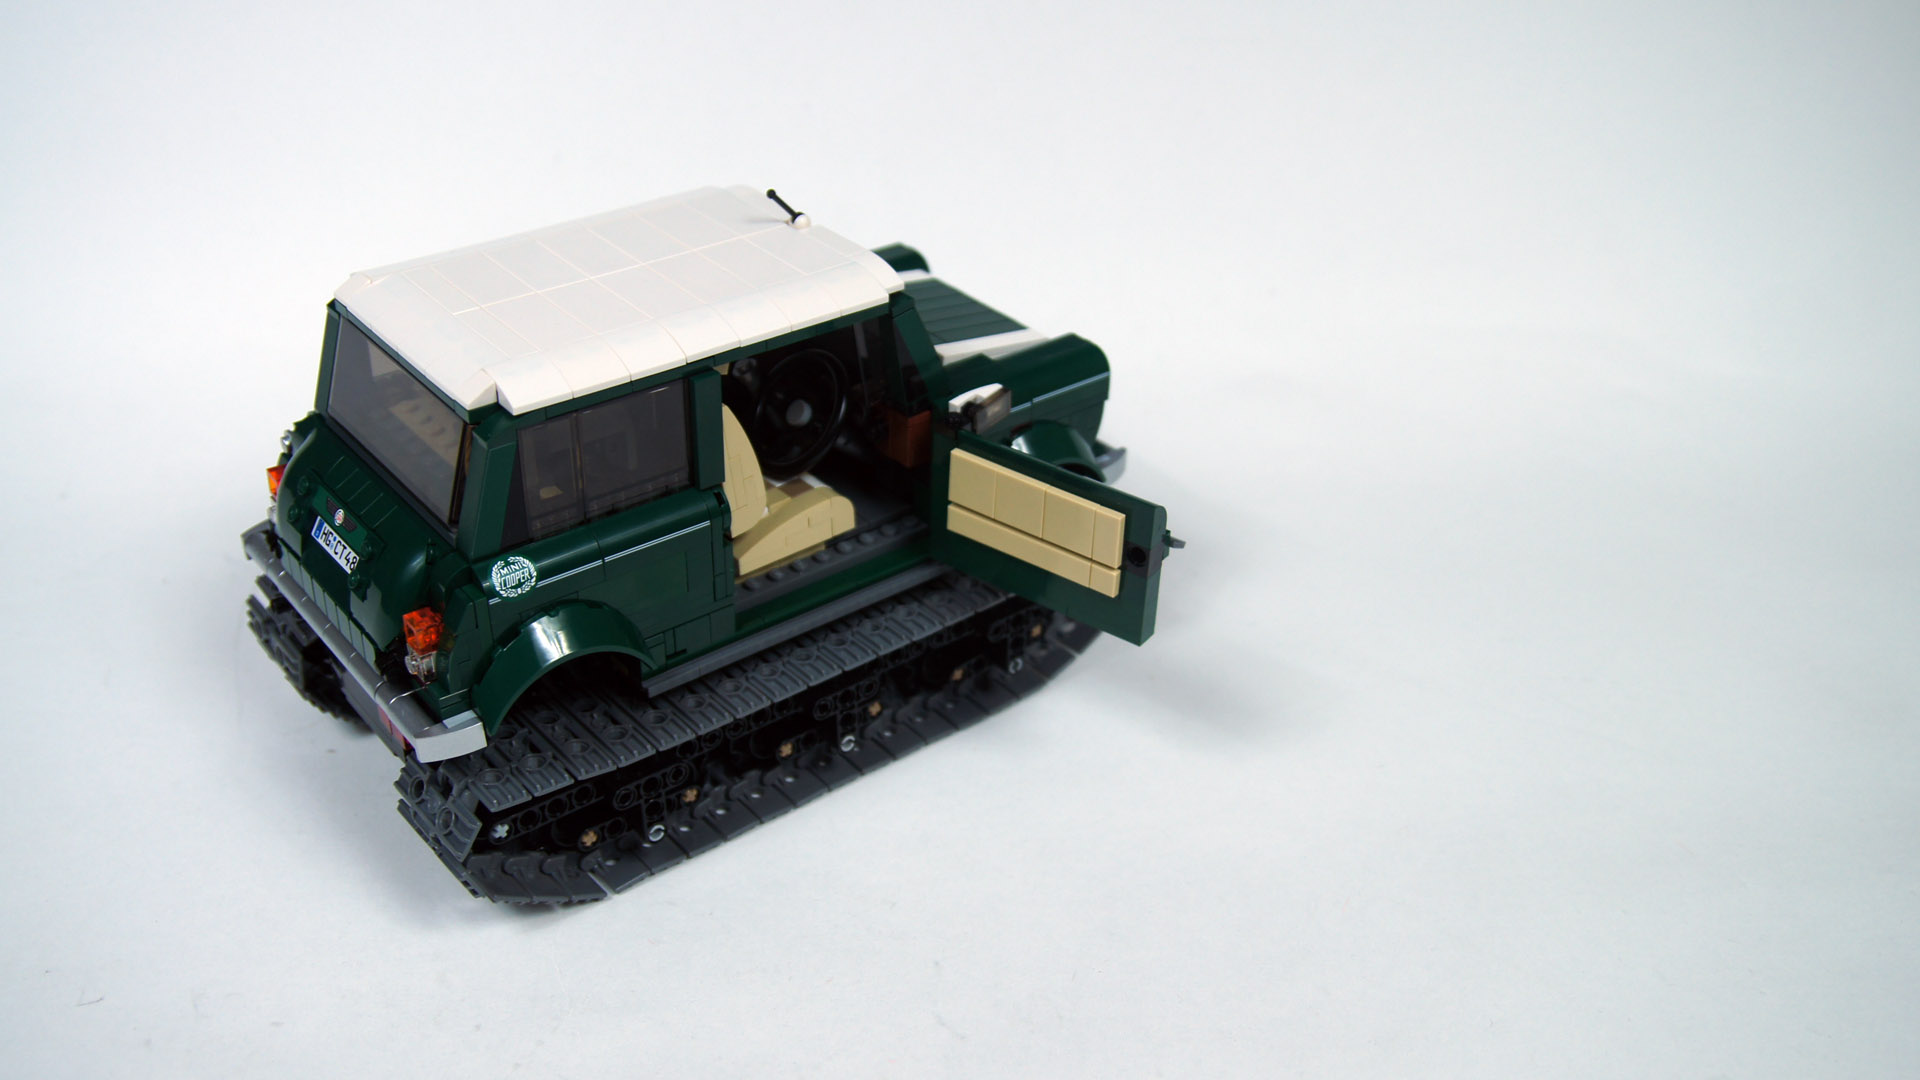
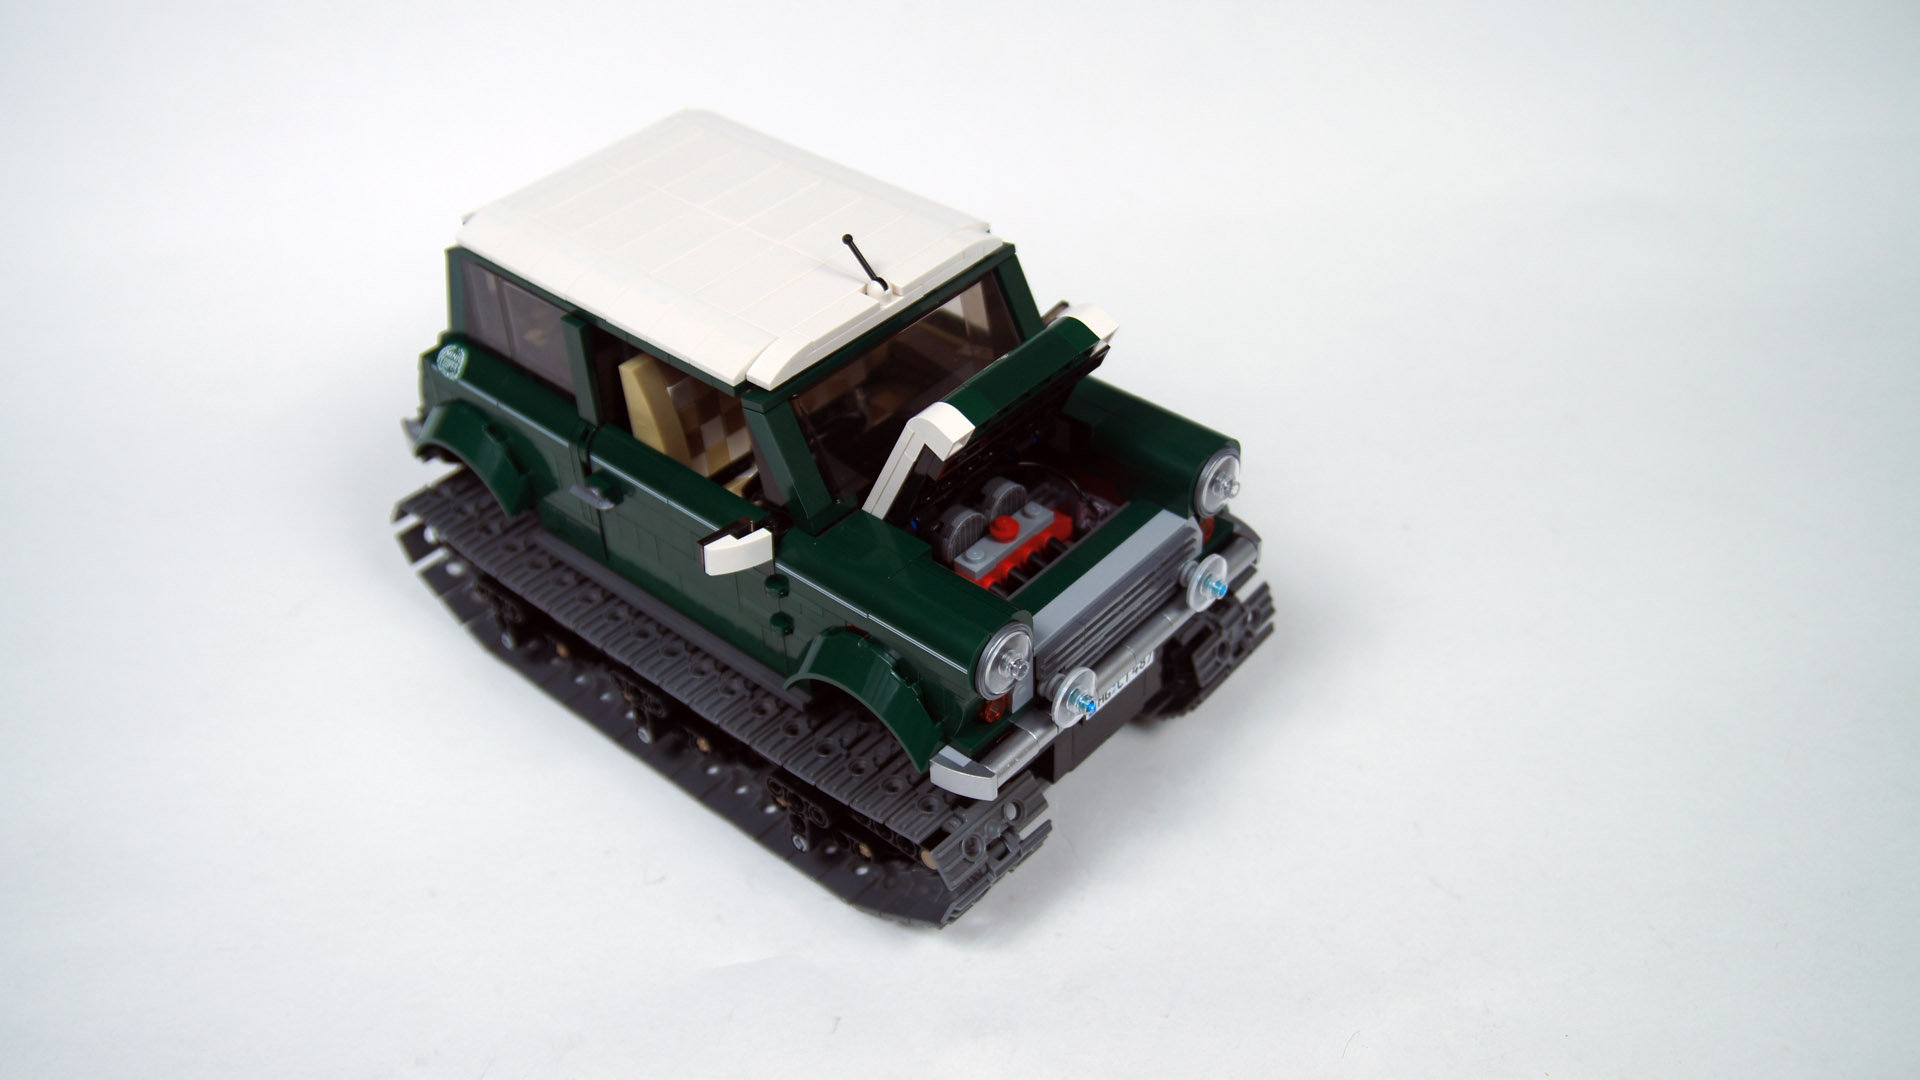
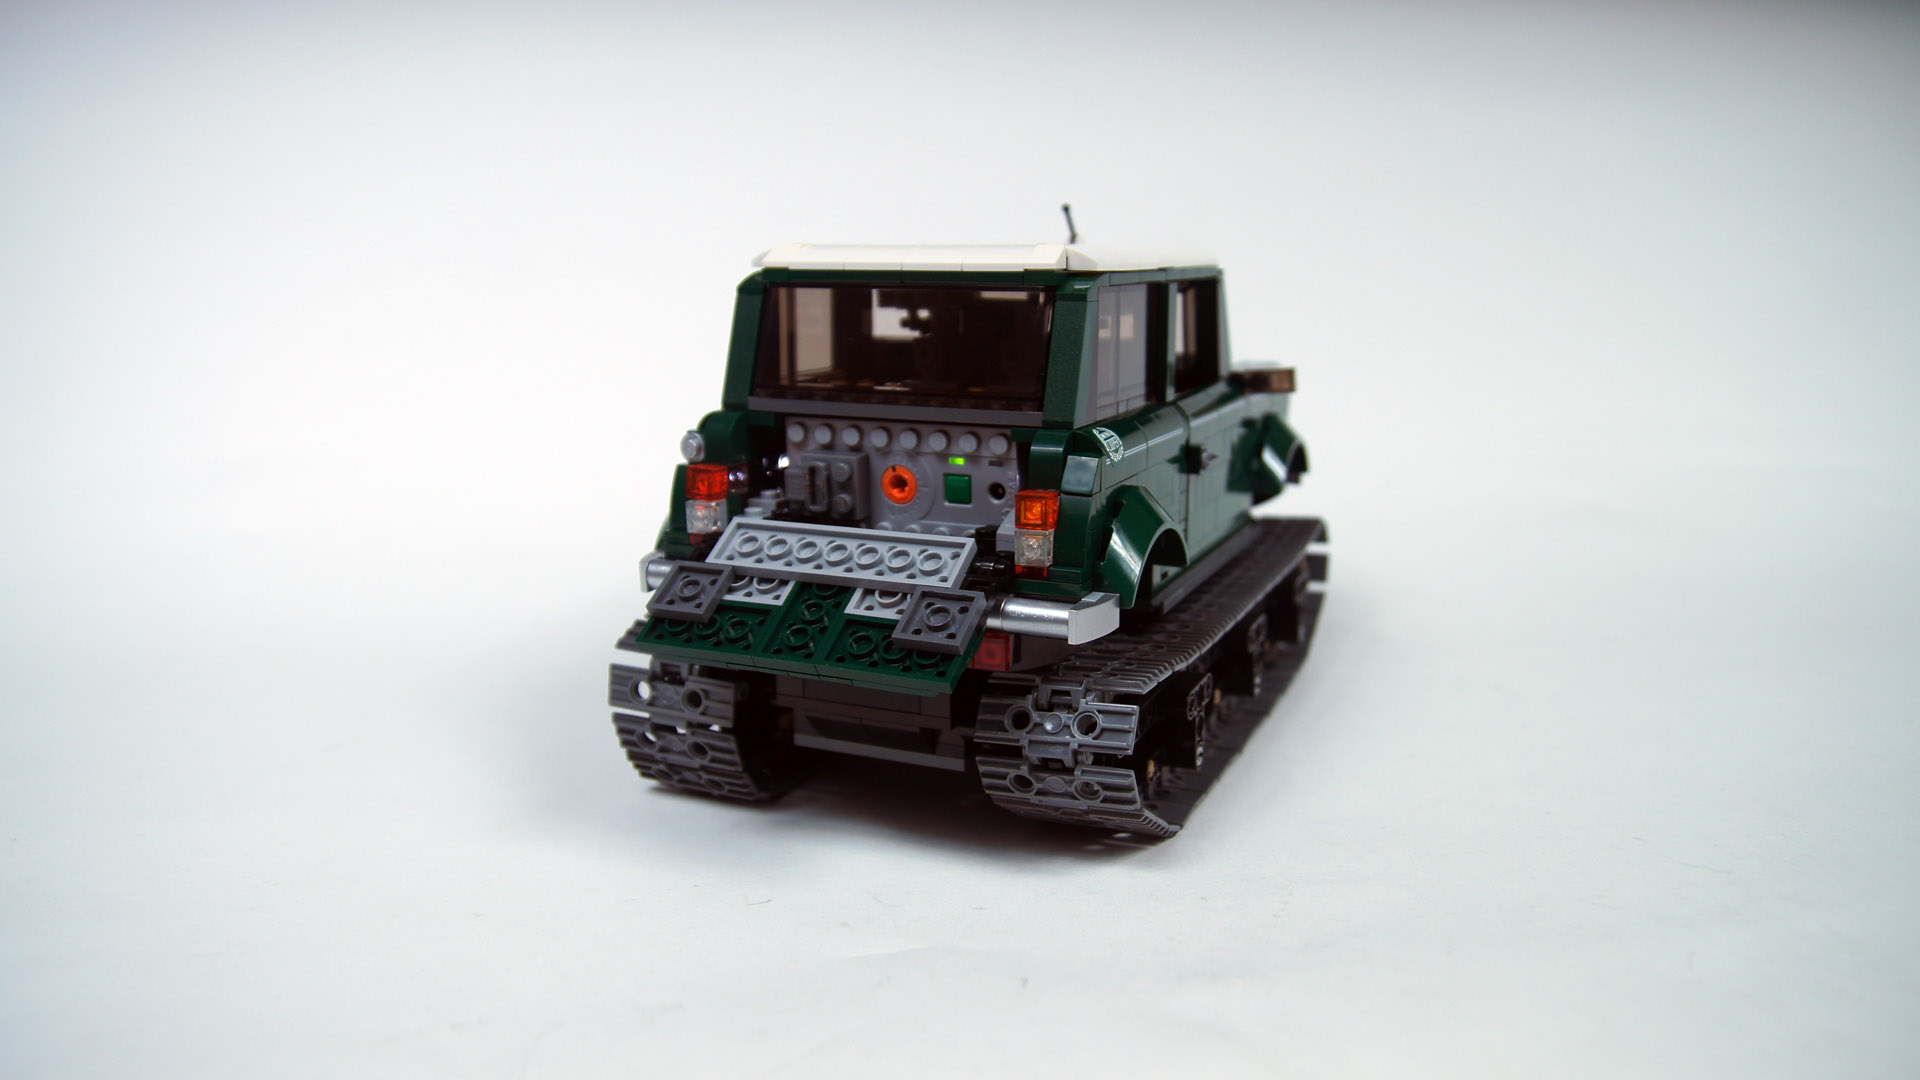
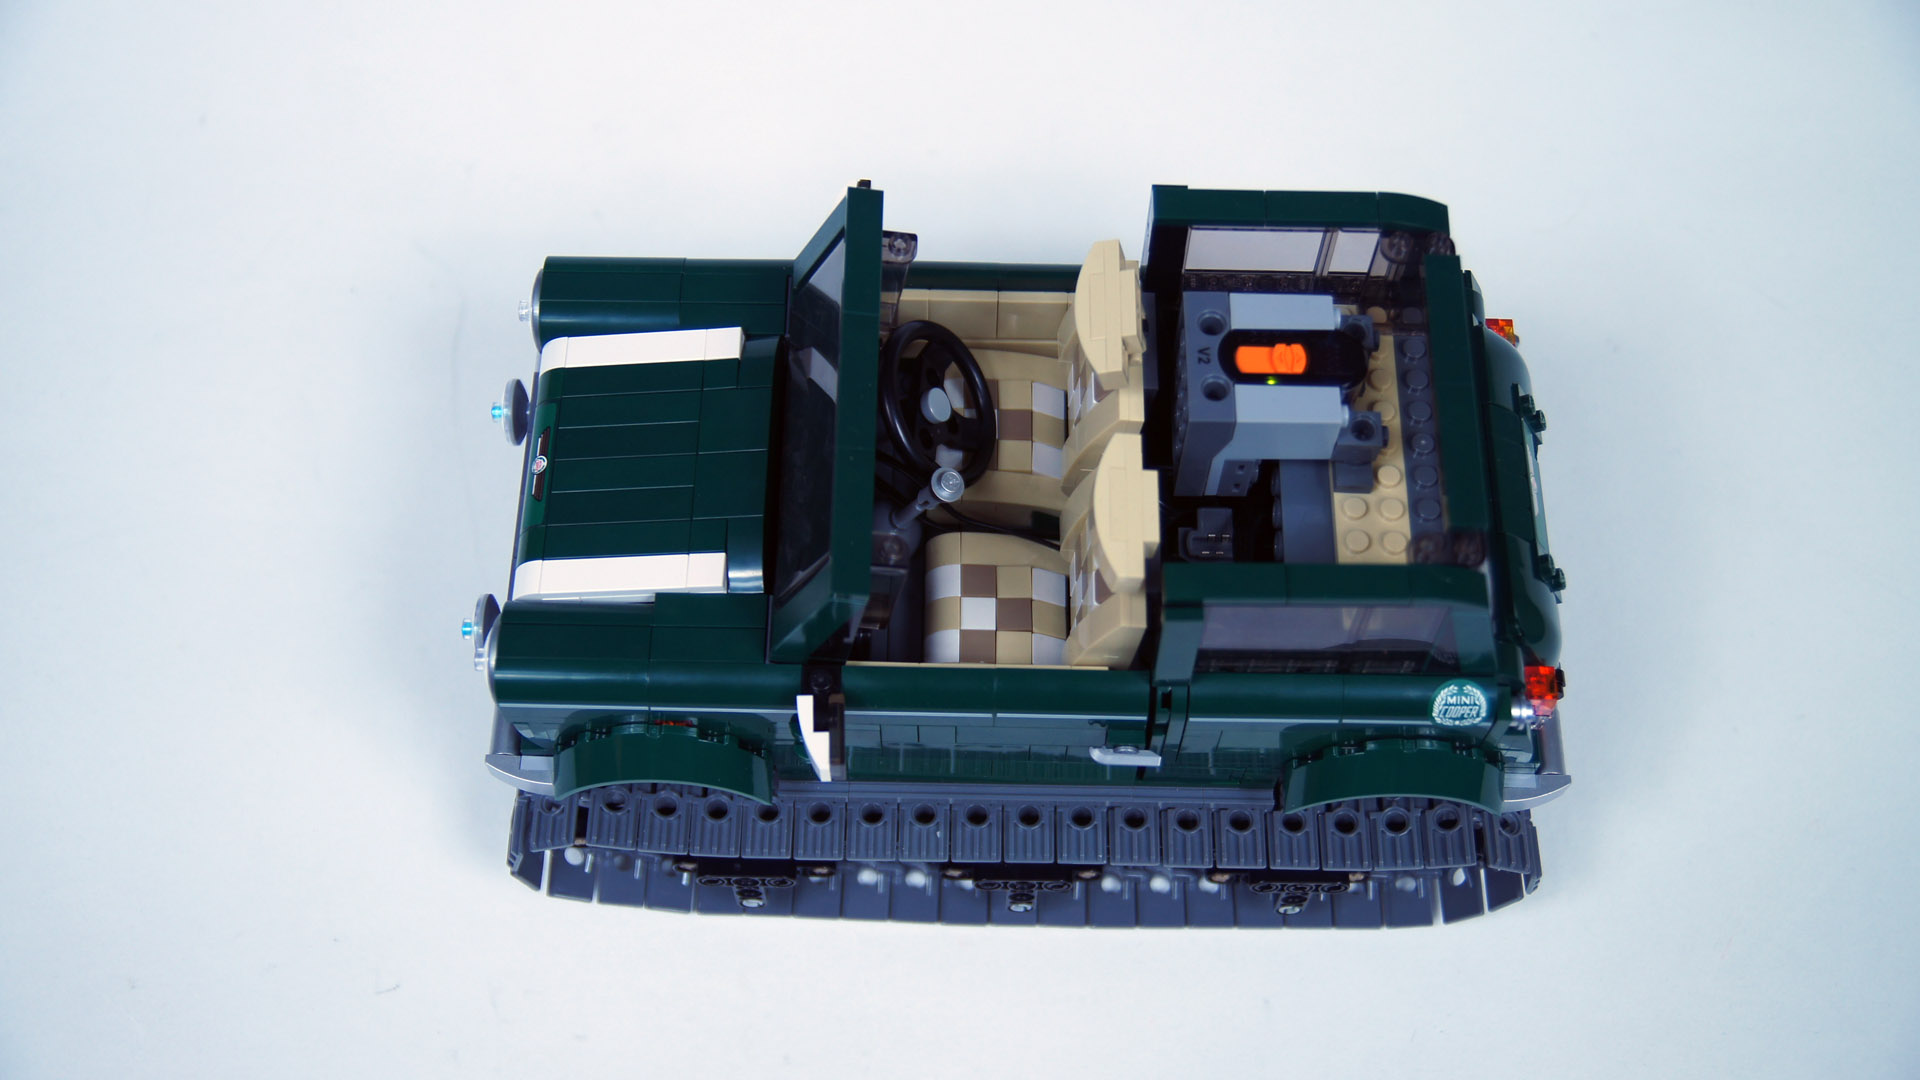
My goal was to build a vehicle capable of pulling a simple sled through snow while keeping changes to the original 10242 minimal. In the end, other than removing wheels and installing tracked chassis under the body, I have removed the rear couch and replaced it with the 8878 battery (which could be accessed by simply opening the trunk) and a PF IR V2 receiver pointed at the rear windshield (LEGO IR remotes work through the LEGO “glass” perfectly well and this way the receiver was protected from snowfall), and I have installed one pair of LEGO LEDs in front and another in the back. I couldn’t find any way to install LEDs in headlight without altering their look, so I put them in the lower headlights instead. The model of engine under the bonnet was kept intact, it just had two wires running on its sides.
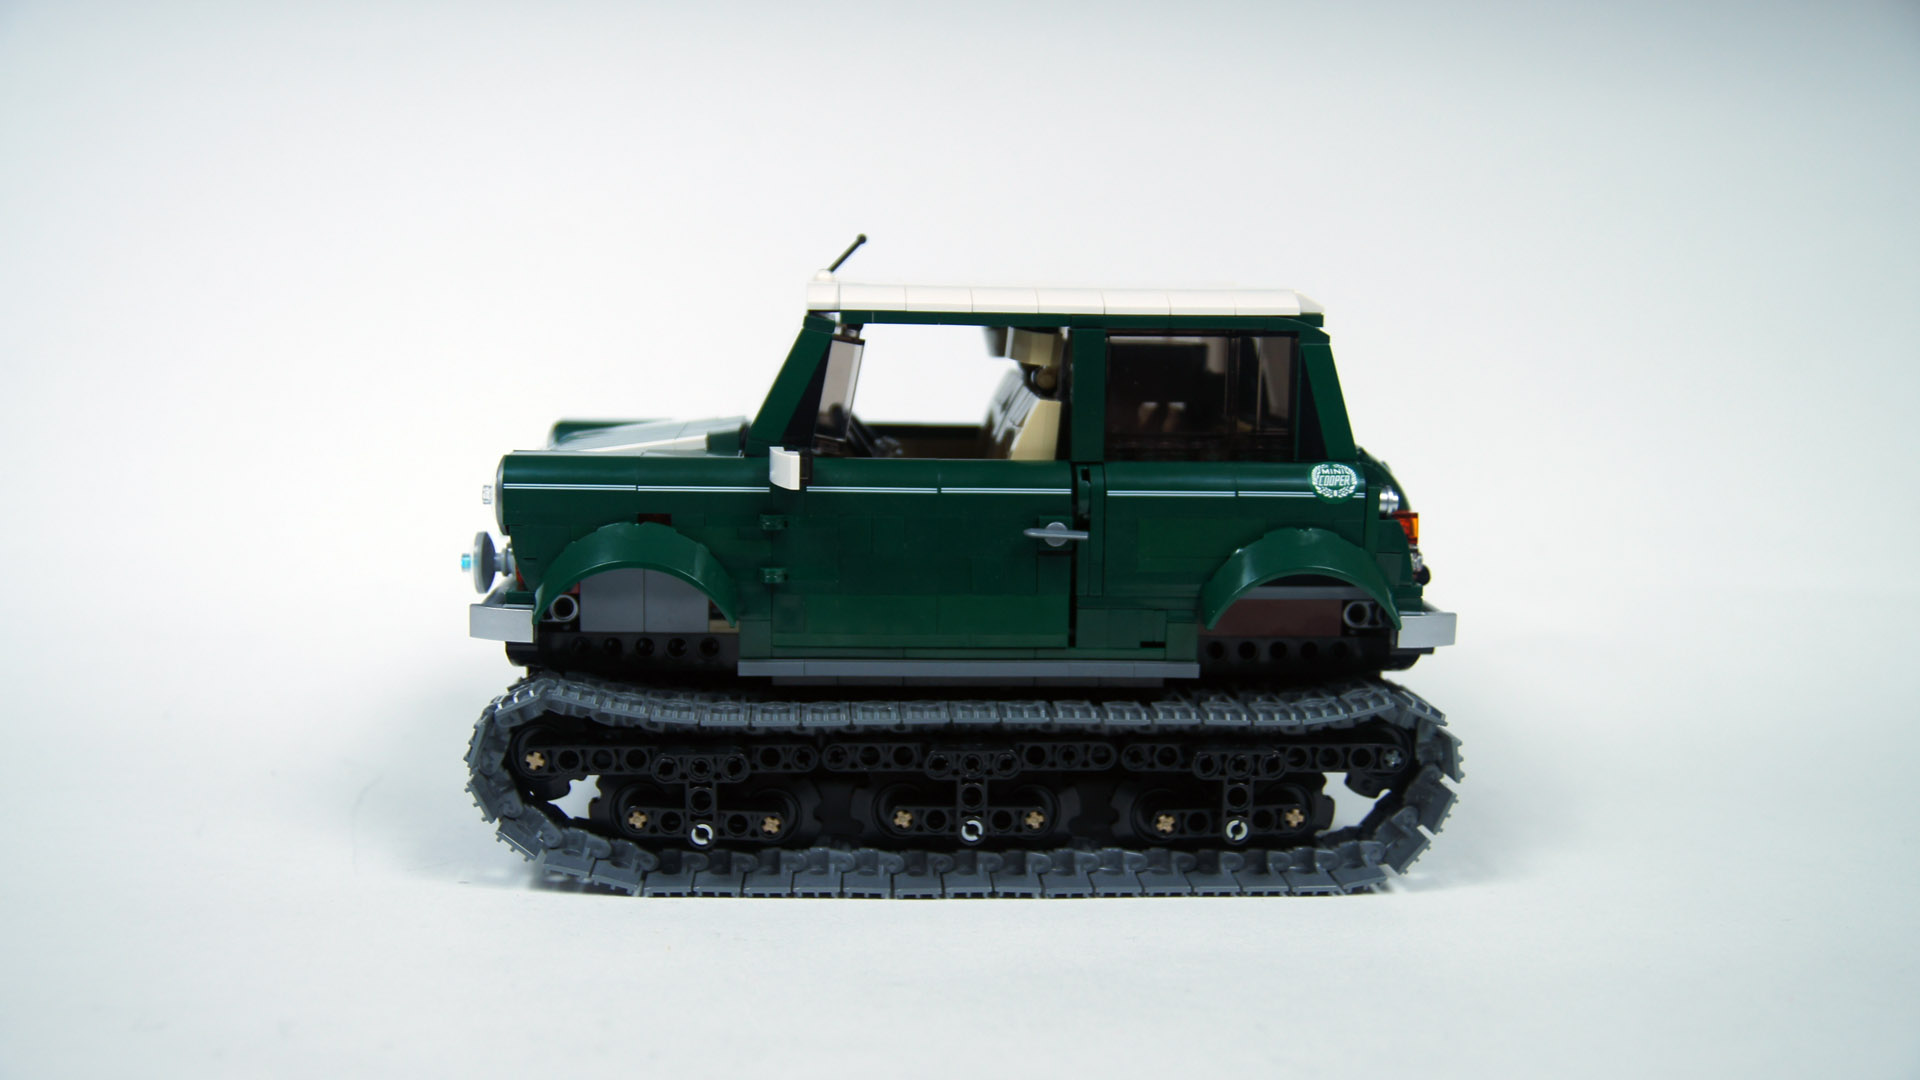
In attempt to make the tracks fit the body visually, I made them low and placed them very close to the bottom of the body. In each track there were three oscillating bogies, each with two road wheels. Between the tracks was a simple hull housing two PF L motors with 1.6:1 gearing each – one of the motors drove left front sprocket and the other drove right rear sprocket. Interestingly enough, I have initially spaced tracks just 6 studs apart, making them exactly as wide as the body. But it looked weird and I was concerned about sideways stability, so I set them further apart.
The resulting vehicle proved to be essentially capable of operating outdoors in winter conditions, but it was struggling with several difficulties. Most of the resulted from low tracks, which didn’t roll so smoothly and which limited ground clearance, making the snow collect on the bottom of rear part of the chassis. Driving slowly over fresh snow also made it accumulate on the tracks and between tracks and body, eventually stalling the motors. Higher gear reduction and larger ground clearance were clearly needed.


It always amazes me how you squeeze all the mechanisms at such a tight space and manage to maintain the looks intact. Magnificent work!
@EV3fan
Maybe, but it also slows the motors down. It was fresh snow, very sticky.
Just watched the video and I have to say: the puling power of this thig is awesome! Maybe the snow adds to traction?
Wonderful tiny thing! I love this! 🙂