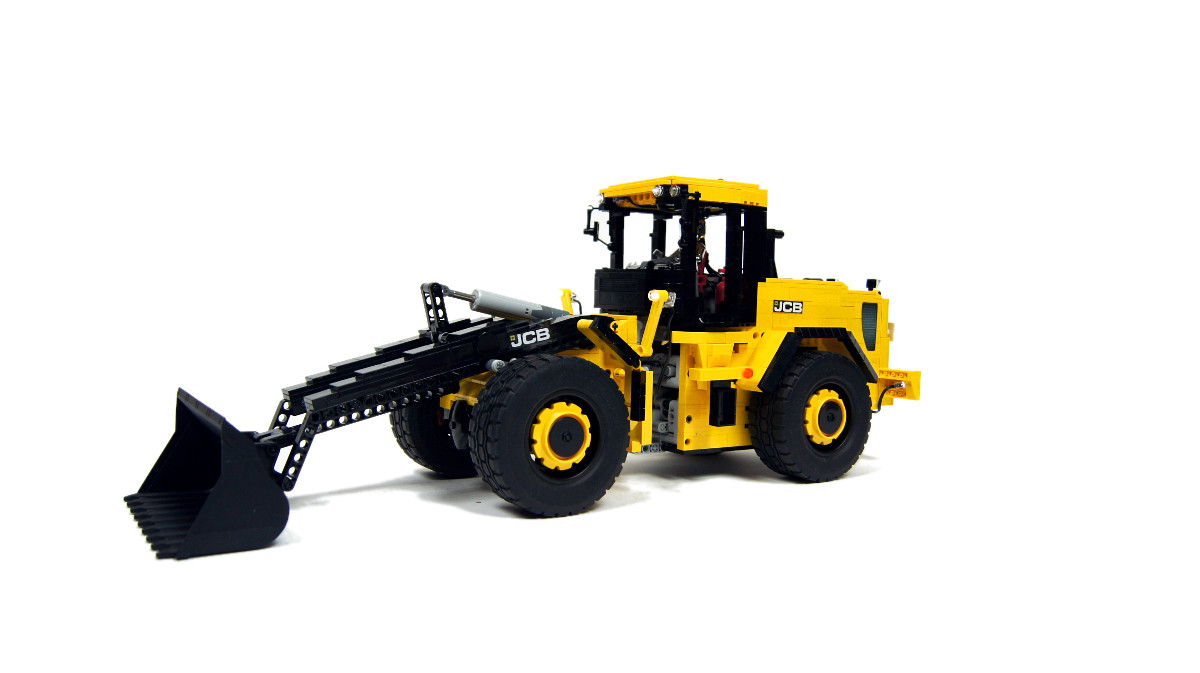
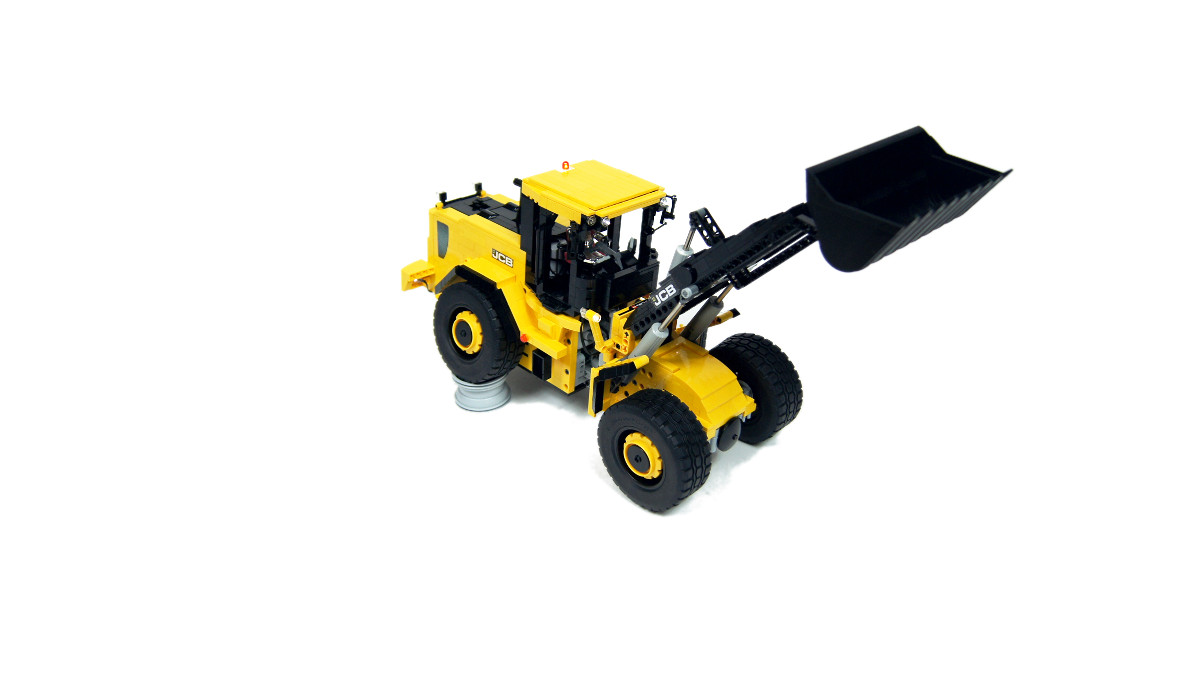
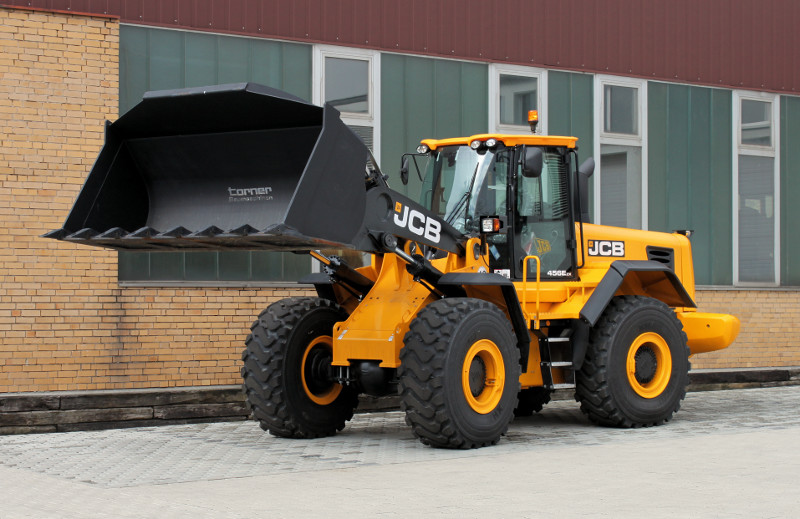
JCB 456 Front End Loader

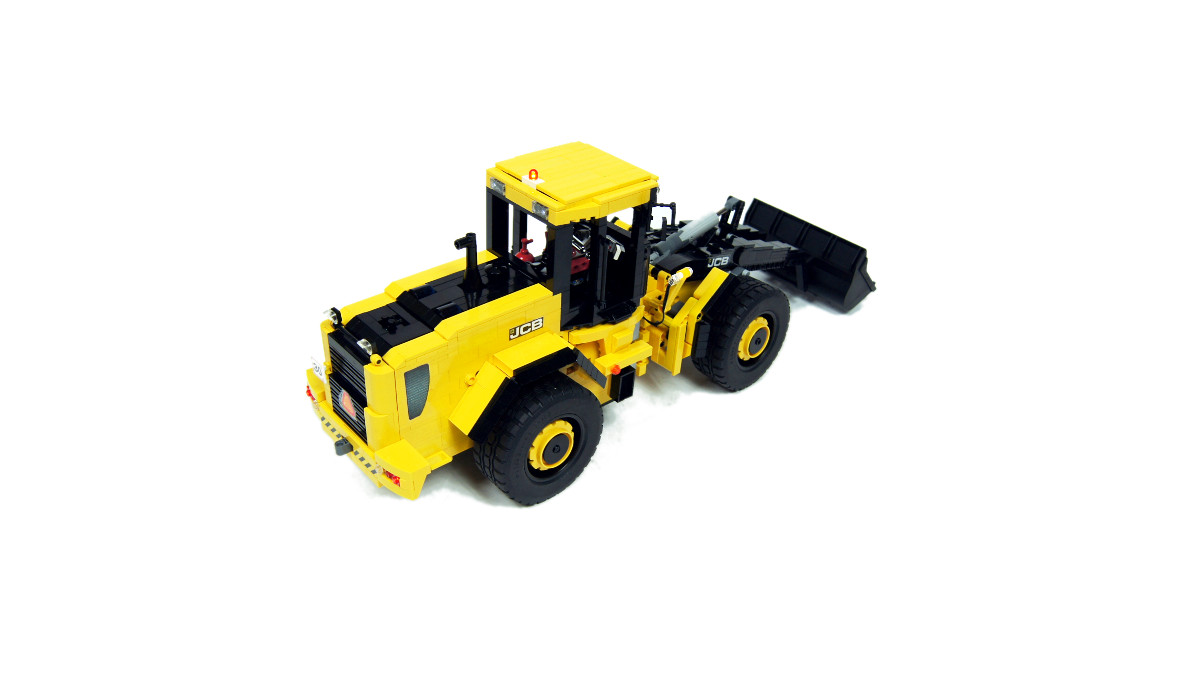
Model of an articulated JCB front loader. Features a 4×4 drive, suspension, arm and steering controlled with linear actuators, lights and custom stickers.
Datasheet:
Completion date: 07/10/2012
Power: electric (Power Functions)
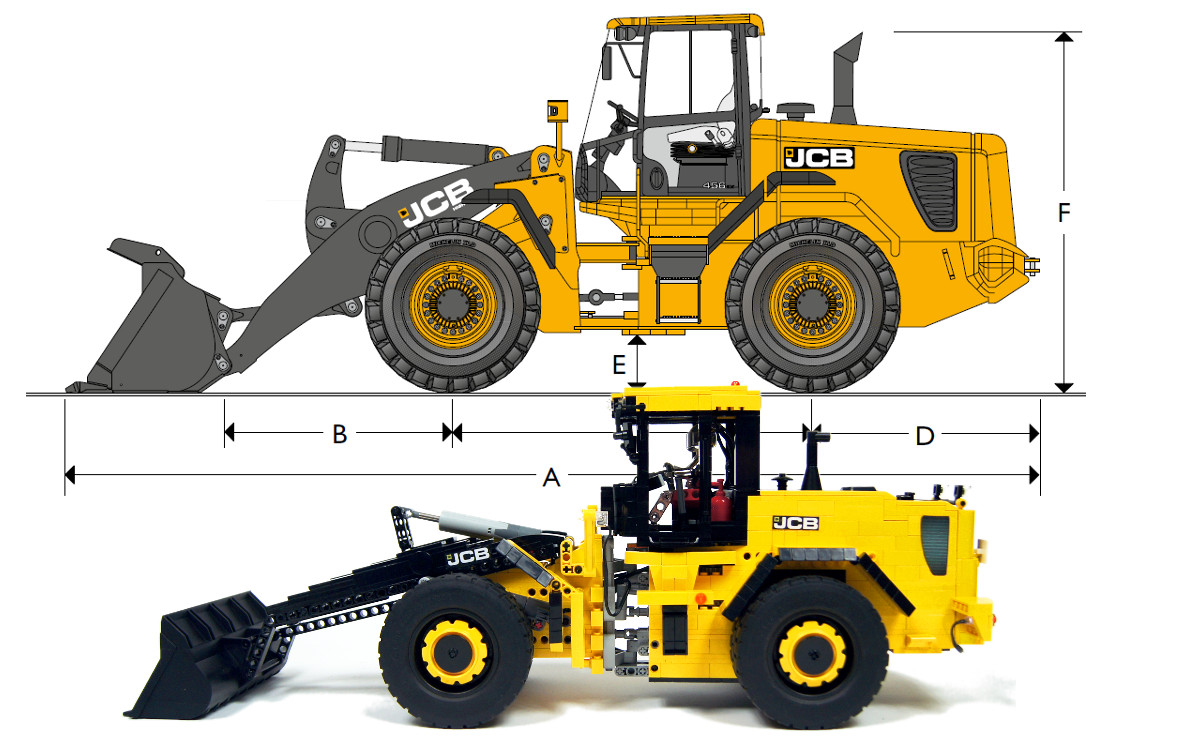
Dimensions: length 72 studs / width 20 studs / height 27 studs
Weight: 1.94 kg
Suspension: front – none / rear – pendular
Propulsion: 2 x PF L on all wheels
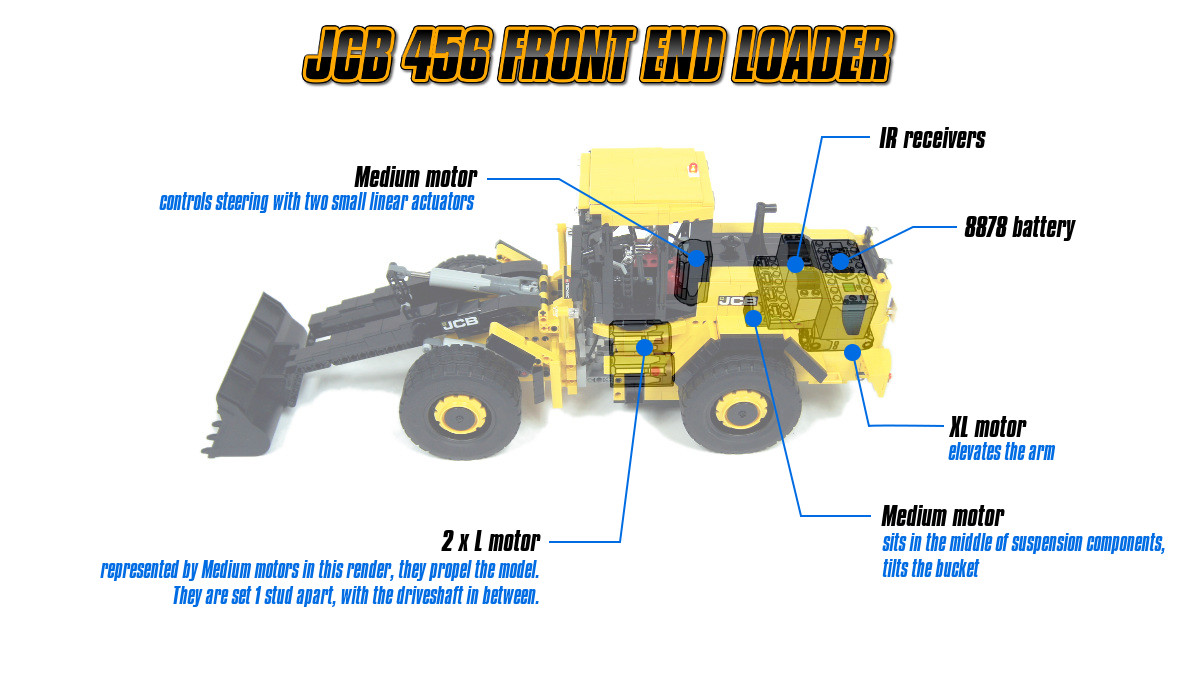
Motors: 1 x PF XL, 2 x PF L, 1 x PF Medium
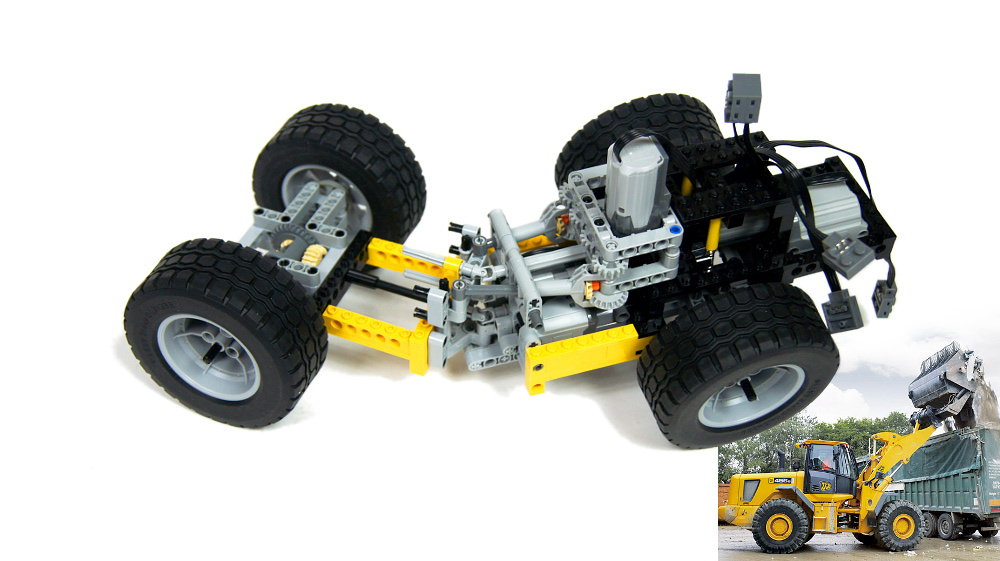
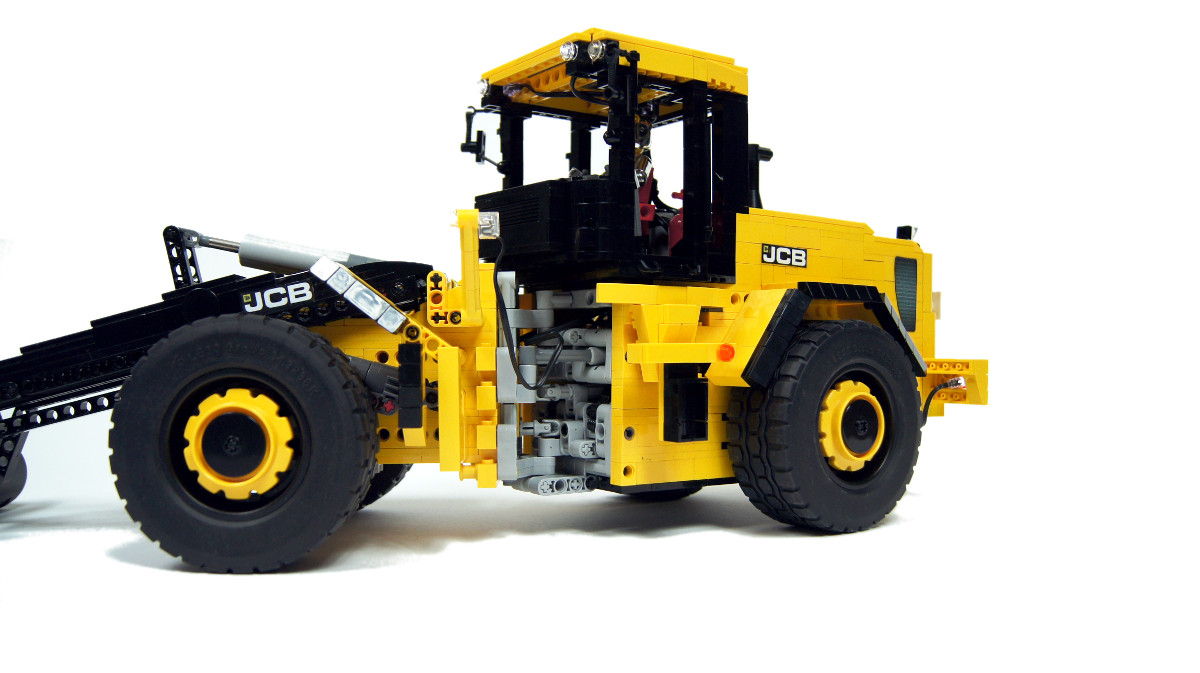
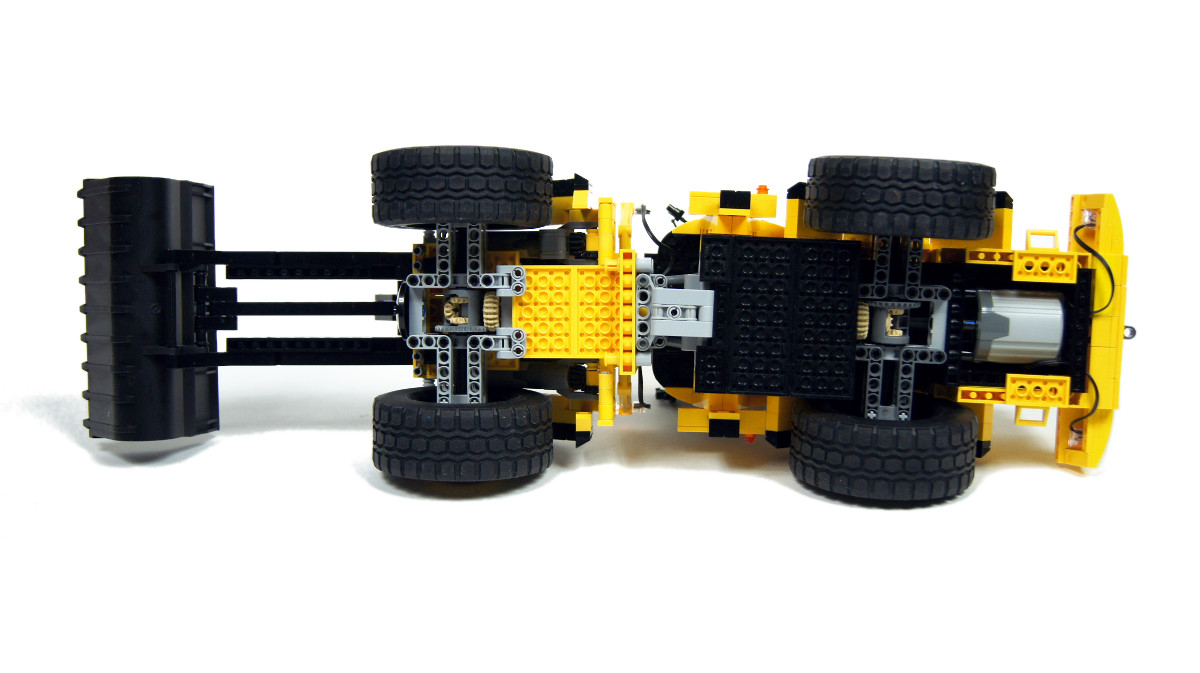
I apparently have a soft spot for articulated front end loaders, because this was my fifth. Yet mechanically, this was the first I can call properly built. This was because this model had all the motors in the rear part of the hull, just like the real machine – there was no electric components in the front part other than LEDs. This was my basic goal when I started to build it, and it was possible thanks to the PF L motors, two of which provide almost as much torque as a single PF XL motor does, while being much easier to fit inside the chassis.
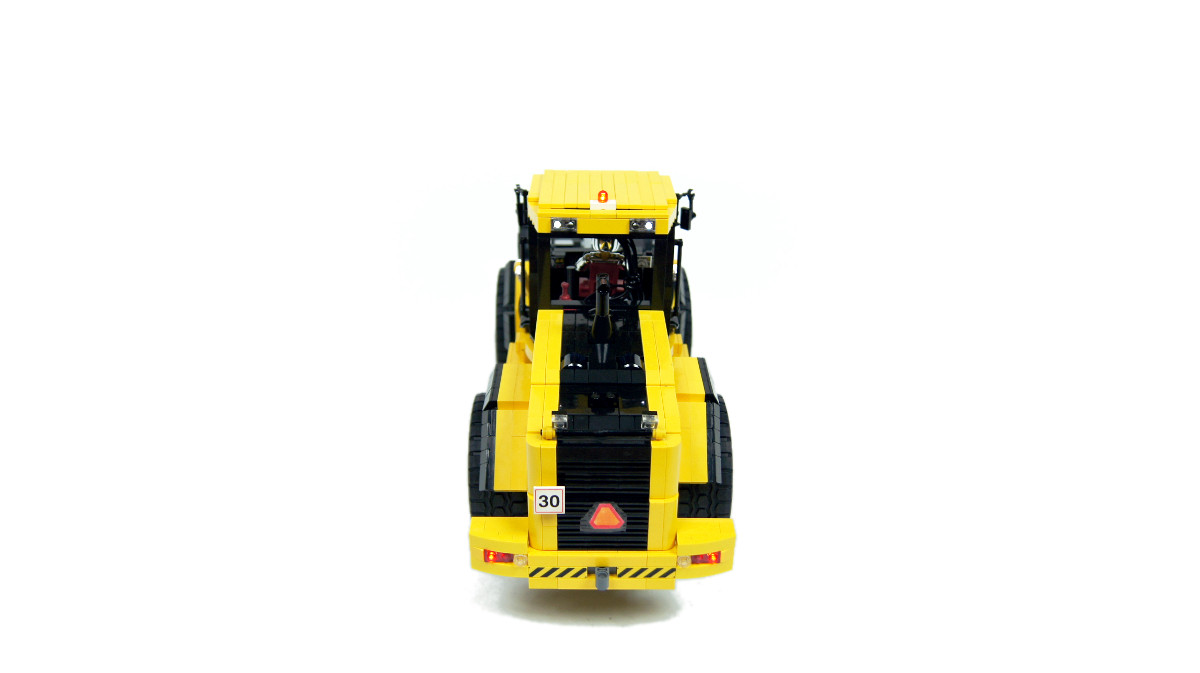
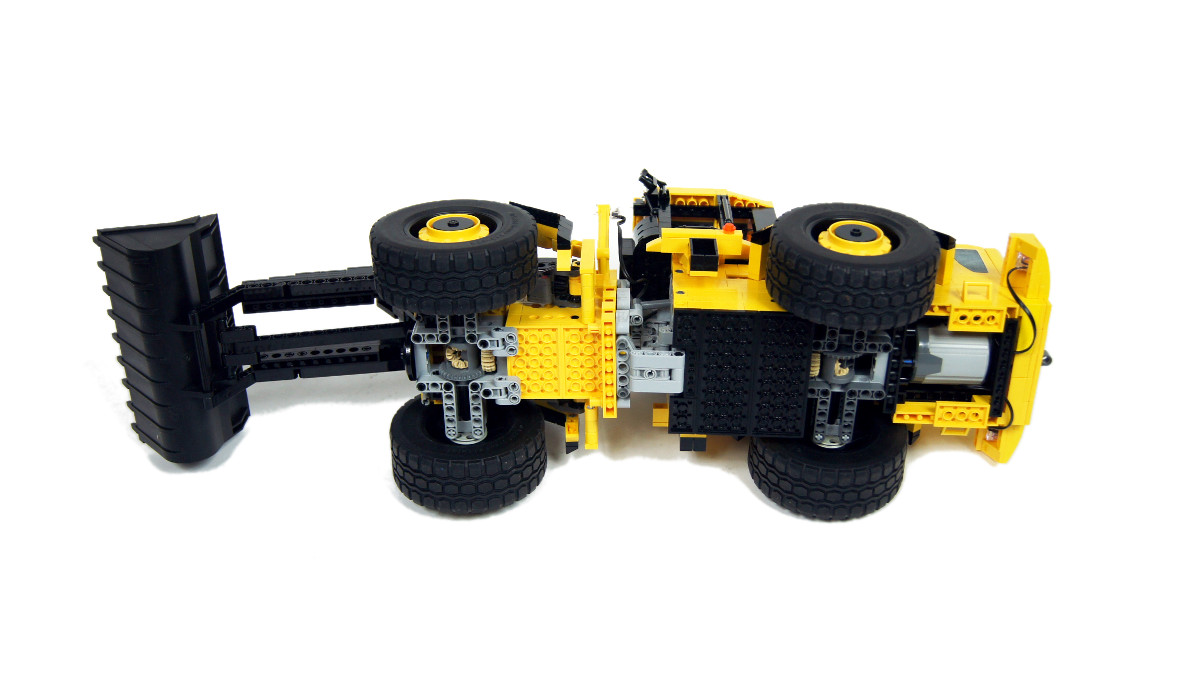
There were 5 motors total in the rear part of the hull. The two L motors that propel the model were located between the rear axle and the central joint, 1 stud apart, with the driveshaft between them. It would not be possible to fit the XL motor there, and two Medium motors would probably lack the torque for the task. The two L motors proved well up to the task, and they even made model a little too fast for the lack of space for a sufficiently high gear reduction. Other than that, there were two Medium motors in the back – one for steering, which was carried out with two small linear actuators and that made it realistic too, and one for bucket tilt. Finally, there was one XL motor for elevating the arm, carried out by two large linear actuators, two IR receivers and the 8878 rechargeable battery. There were also several meters of wires stuffed in the back, and the pendular rear suspension stabilized with two shock absobers, meaning that the whole construction was extremely compact. It had two downsides: first, there were small openings in the sides of the hull below the cabin to accommodate for some horizontal gears inside, and second, the body shell in the back required bricks of specific lengths, connected at specific points in order to stay together. Because of this I was unable to model grills on the sides of the rear end of the hull with black pieces, and I had to resort to creating stickers.
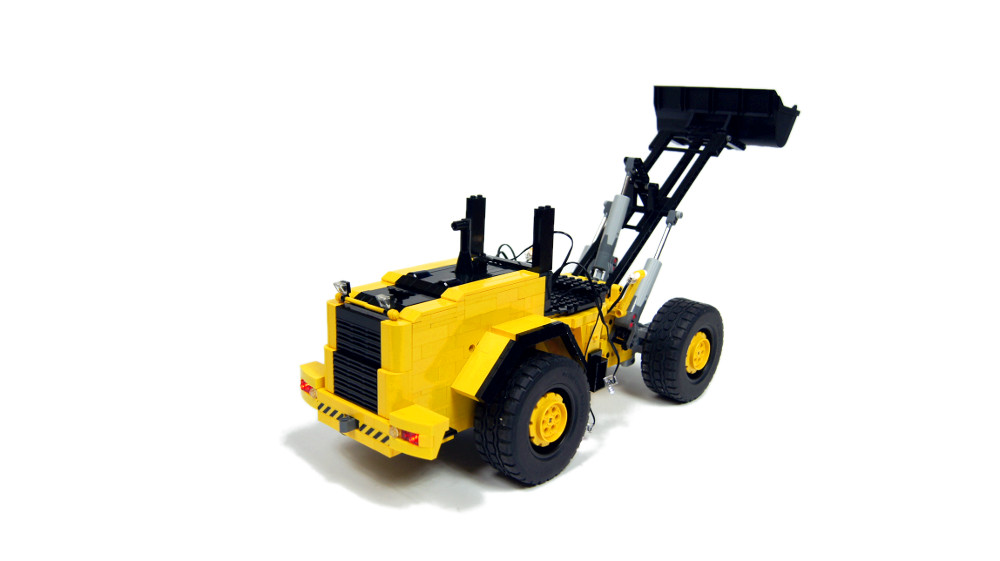
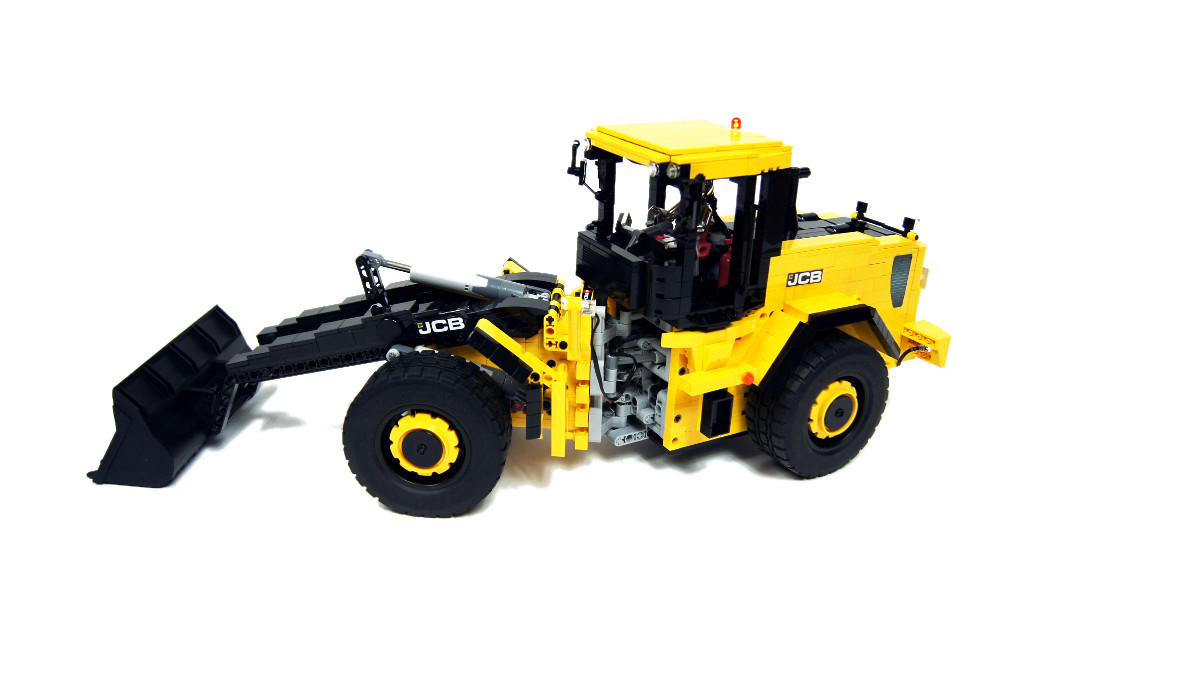
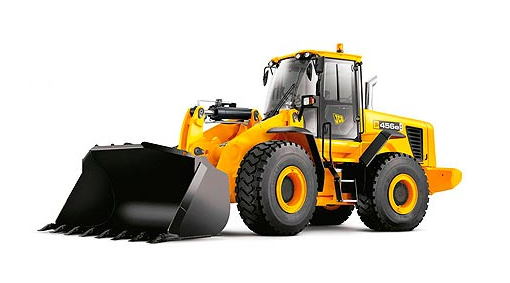
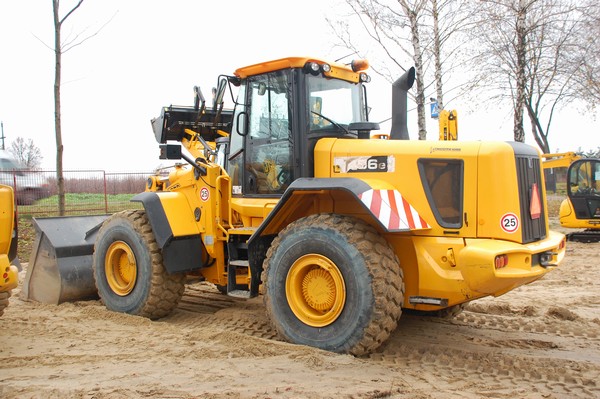
As for the look of the model, it’s important to realize that this particular machine comes in dozens of body variants. There are variants where cabin windows go all the way from floor to roof, and where they go from roof to driver’s waist. There are variants with black strip of the rear grill extending on top of the hull (like in the model), or to the sides of the hull, or not extending at all. There are variants with rear mudguards made of two, or three planes, variants with wheel rims yellow or black and yellow, variants with the arm yellow or black, and probably some more variants I’m unaware of. So while working on the model, I was trying to pick up the most interesting details from many available.
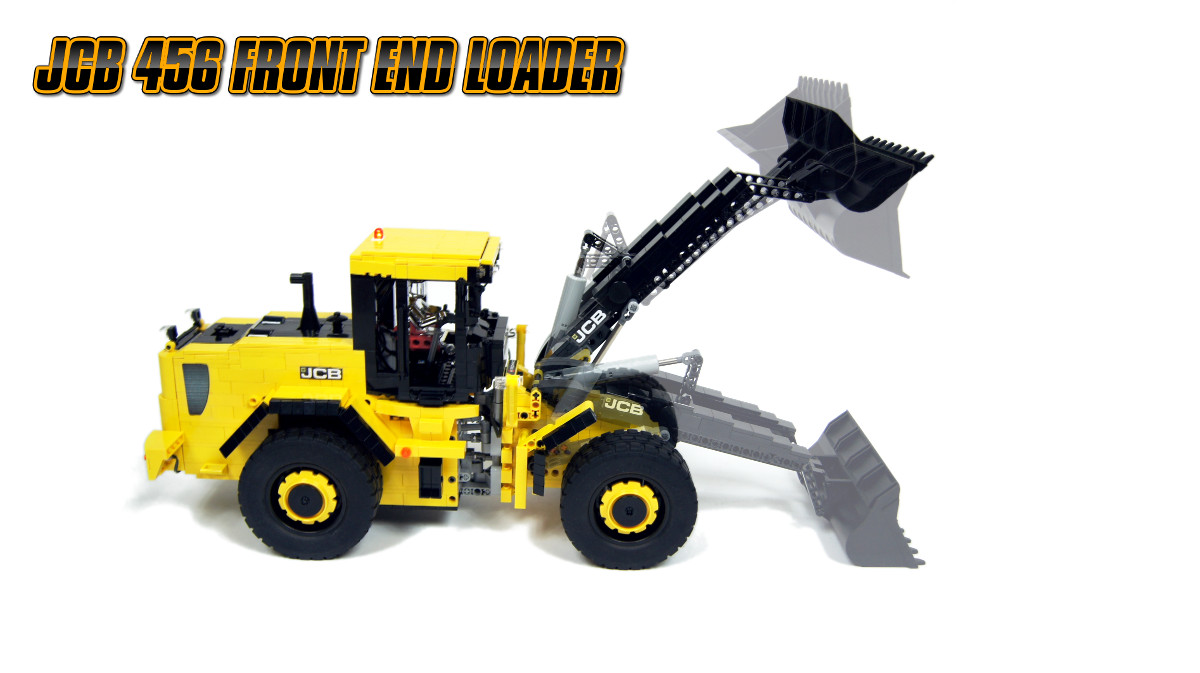
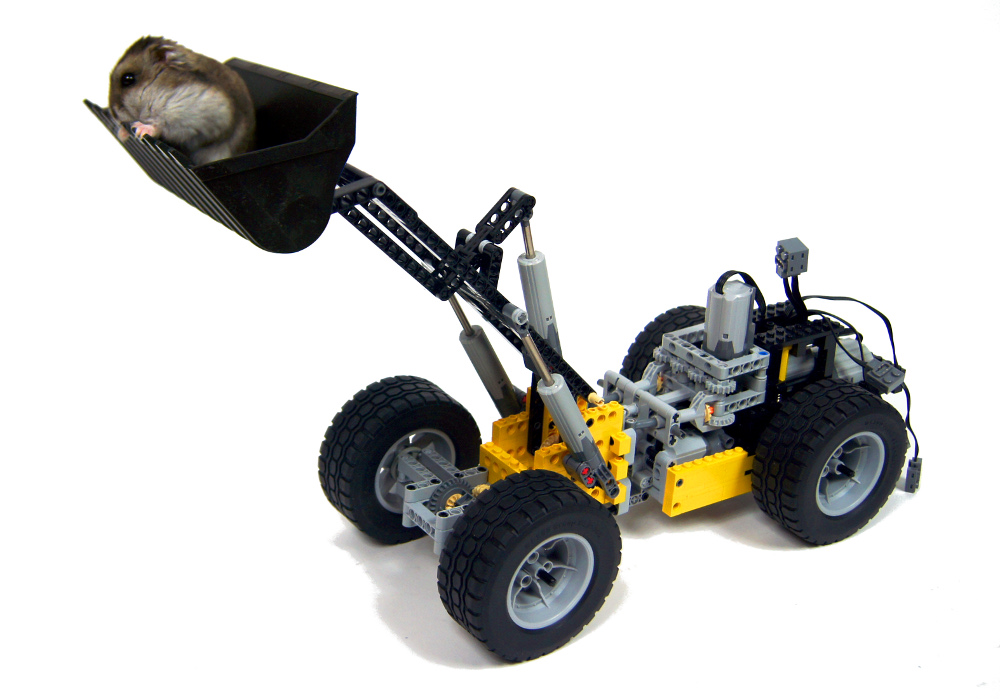
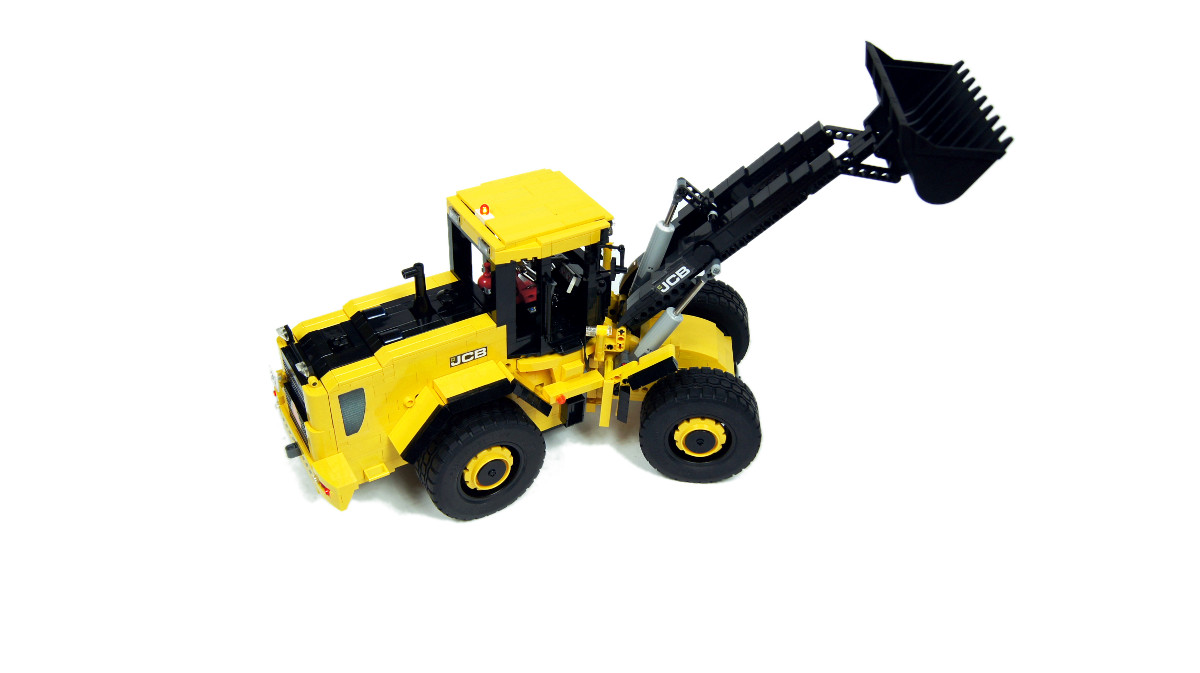
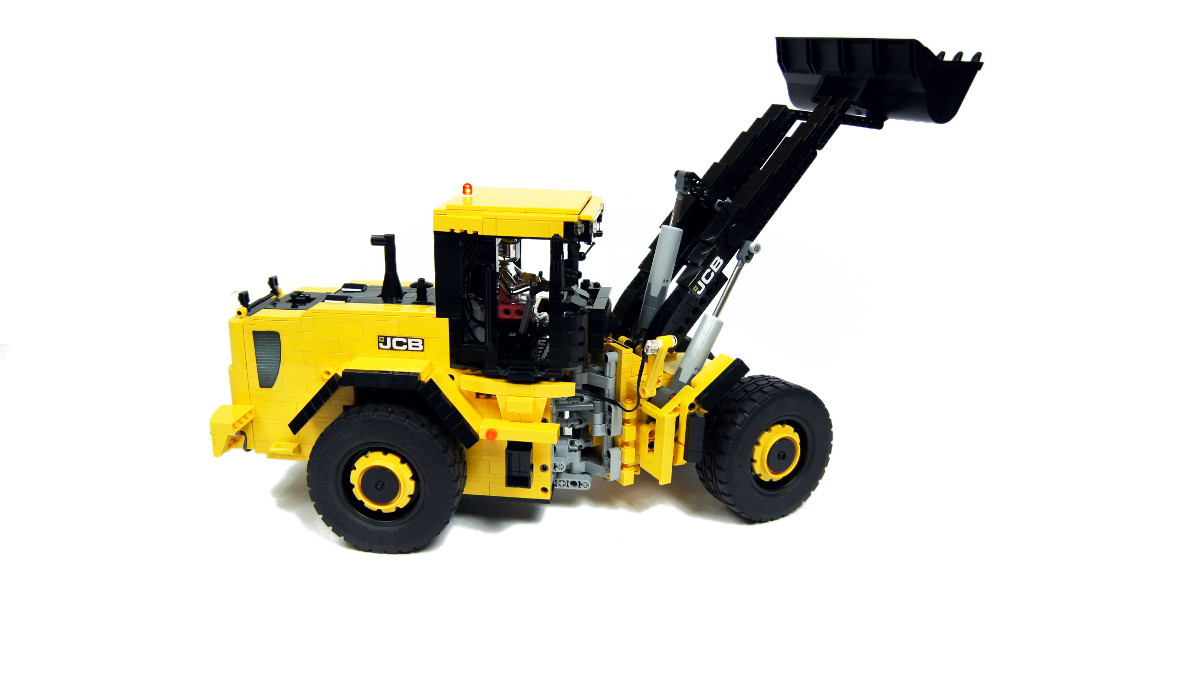
It’s also important to realize that JCB offers this loader with a high reach arm available, and I chose to model just such variant. I wanted to challenge myself creating a model with a good load capacity, and it was more challenging with longer arm. In the end, the load capacity was over 800 grams – that is over 40% of model’s own weight – and it was limited only by the clutches in the arm’s linear actuators. And the movement ranges of the arm and the bucket have been modeled very carefully.
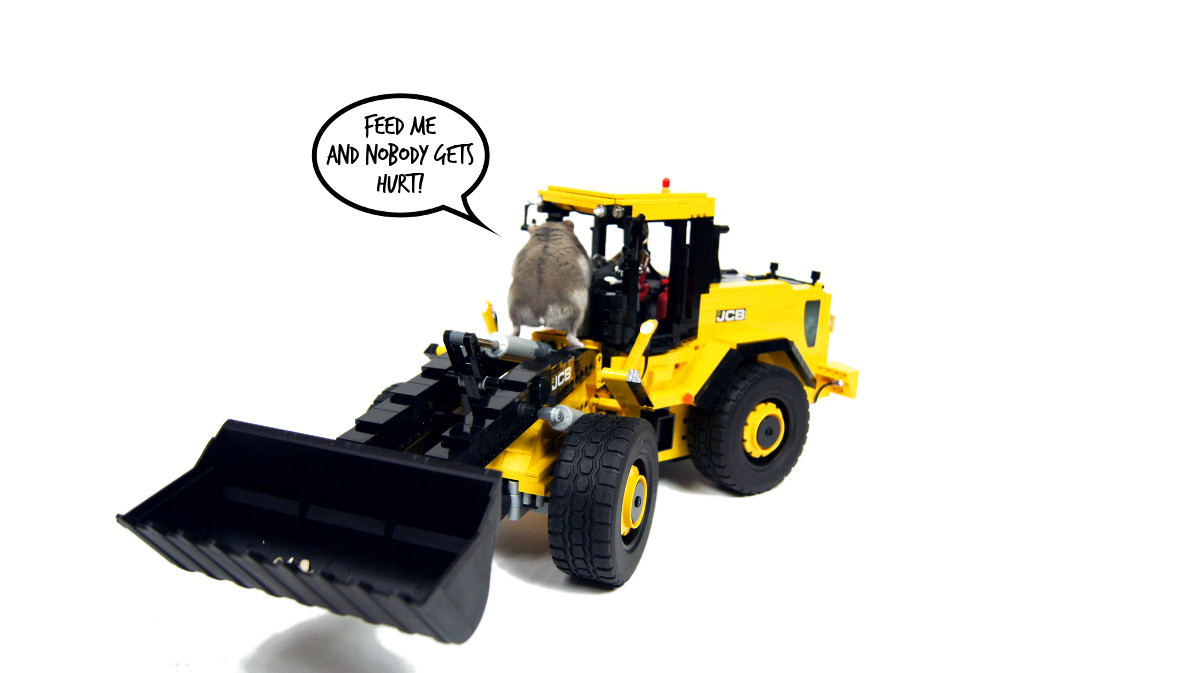
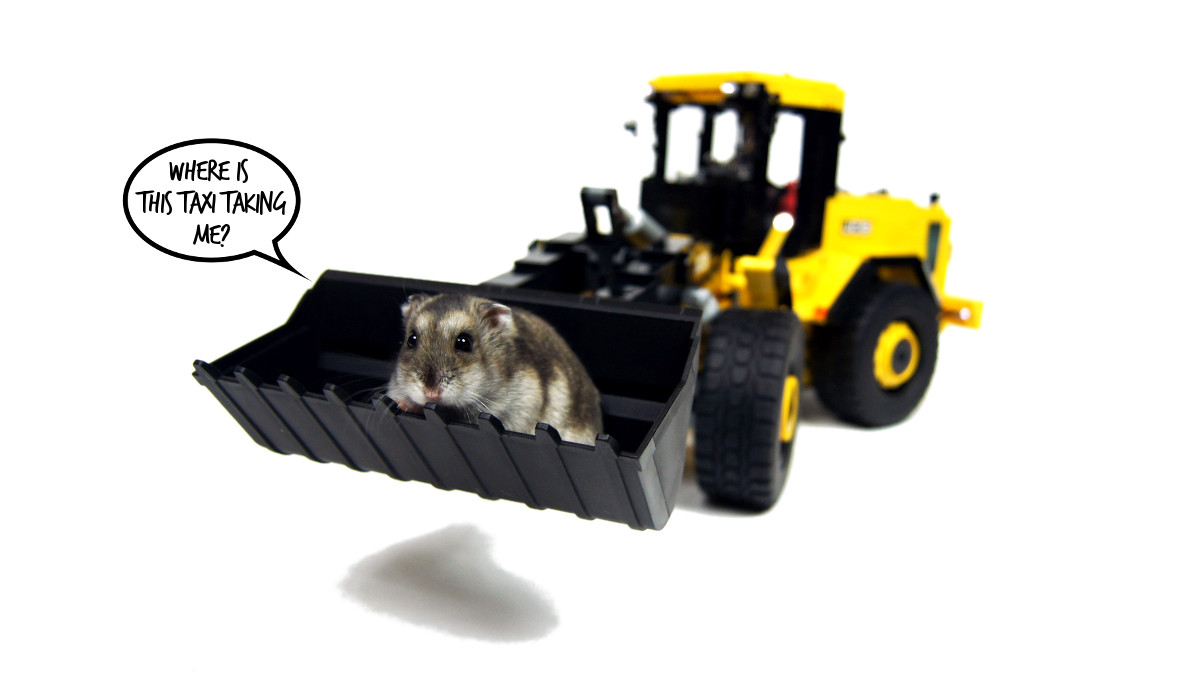
The model proved agile, and offered a surprisingly high precision when loading and unloading stuff – I managed to reload two buckets full of beans without spilling a single one at the very first take. The steering was very reliable and tight, although it was somewhat slow when compared to the propulsion. It was not possible to gear it up though, because the Medium motor responsible for steering was already struggling. All in all, the model was very pleasant to drive around, except for one case of hijacking.
I was happy with model’s functioning, which has been my priority and which surpassed that of my many earlier front loaders. At the same time, I did not like the look of the arm, whose angles were too subtle to be modeled with slopes, and whose bottom side had to be kept flat to allow the loader to lower it all the way to the ground. Also, the ready-made LEGO bucket which I chose for its matching look and color was 2 studs narrower than the model itself, while in reality it should have been exactly as wide.
Work in progress photos:
Photos:


Video:
Media reference:
8studs (Polish only)

@Stan
Sure, with credits it’s fine 🙂
Hi Sariel.
I have to say this model got me so inspired that I made my own version of it – it took me over a month to build. I tried to copy as much as I could using your work in progress photos, but I made a quite a few errors. I used a few parts from Unimog set: ball joints and portal axles – all turned out to be silly ideas. I also used less studded beams than you, which resulted in reduced rigidity, also the movement of bucket tilt and rise is far from perfect… Nevertheless the thing works somehow XD All in all I am quite pleased with my version 🙂
Would it be OK with you if I show my version, which is somehow a blatant copy of your model on a lego forum giving you the credits?
@Thiadrik
No.
I realy like this model!
is there anyway to get or buy some building instructions or more pictures of this model?
thanks in advange
Thiadrik
@Tony Stone
Yup.
I’m guessing that you used the wheels from the unimog u-400 right?
@Sariel
Sorry, I should write “…stress you any more”, I’m not the better English speaker in the world
@Sariel
I read it, but early I started to feel bored and I returned watching your Mocs (they’re interesting! XD). And I didn’t want to offend you. Ok I’m beginning to make use of the sadly famous Jeremy Clarkson’s English humor, sorry. However I’m going to read it again, so I won’t stress you again with my stupid questions
@gabry
I don’t keep any of my models. Perhaps you should read the FAQ section.
@Sariel
Do you spend a lot of money for Lego bricks? And when you buy models, do you usually keep them built or you take parts from the sets?
@gabry
Not really, besides I wouldn’t call it advertising. People are asking where I get chromed parts from, so this is just an information. There are basically two shops with custom chromed parts, and I’m buying from one closer to me.
Does Chrome Block City pay you for advertising? I’m not interested to the money, but I’m curious XD
I used your steering mechanism for a log loader (the project failed, but I’m still thankful for your mechanism)
@Aijaz
Yes, I can teach. That’s why I wrote a book that you can buy.
I’m guessing you used some parts from 9398 and 8110, and it appears to have a sturdy build, can you teach where to start building a vehicle like that?
@Nick
Thank you. Linear actuators are definitely better than pneumatics here, they are much more accurate and that matters a lot in steering.
Well, you have a very interesting front loader. I really like the appearance of it! I was wondering though, is it better to use Pneumatics or LA’s to steer a loader? I noticed the motor kind of struggling to keep up with the weight, is that normal? Finally, I think you should create instructions for this model because I really want to replicate one for myself, thanks!
could you do some instructions cause everytime i try i fail miserably.
plus that thing is COOL
@Matt
Thank you, I corrected that.
You might want to correct the data sheet, it looks like you built this a year ago! maybe that explains how fast you built it 😉 Great model though Sariel…
I love it!
And your movies are becoming more professional each time. Too bad about the autofocus not playing along sometimes (no manual focus option?). I love the graphics.
But the model itself is just perfect! Wonderful!!!
@Erick villa
I’m just looking for machines that are interesting to me.
@Beauer
The drivetrain is geared 2.33:1. The linear actuator simply tilts the bucket as you can see in the film, and it’s connected to a Medium motor in the back.
great reproduction great mechanic. I have a question How work the linear actuator for tillting the bucket in the front of the loader. If is possible to view a picture of the mechanic and one of the how the drivetrain gearing.
srry construct no, build
wow, very good, how do u select the things that u will construct?
very cool, I like it very much! You have done a GREAT GREAT GREAT job.
Awesome!
Loved the:
Beans spilled: 0
Beans spilled: Still 0
*Victory circles*
Nice build, I love it <3
cool sariel!