Automated Rotary Railroad Dumper & Belt Loader
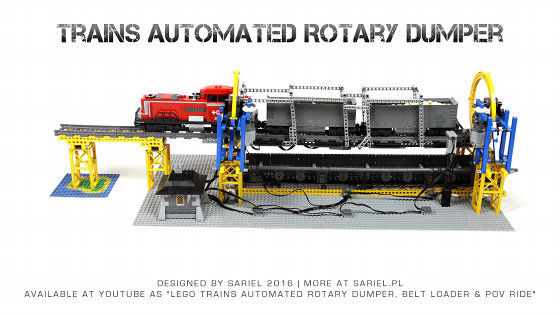 Another Trains creation, featuring a rotary dumper automated using SBrick Plus and a conveyor belt loader automated using Technic Control Center.
Datasheet:
Completion date: 06/09/2016
Power: electric (Power Functions / Technic Control Center / SBrick Plus)
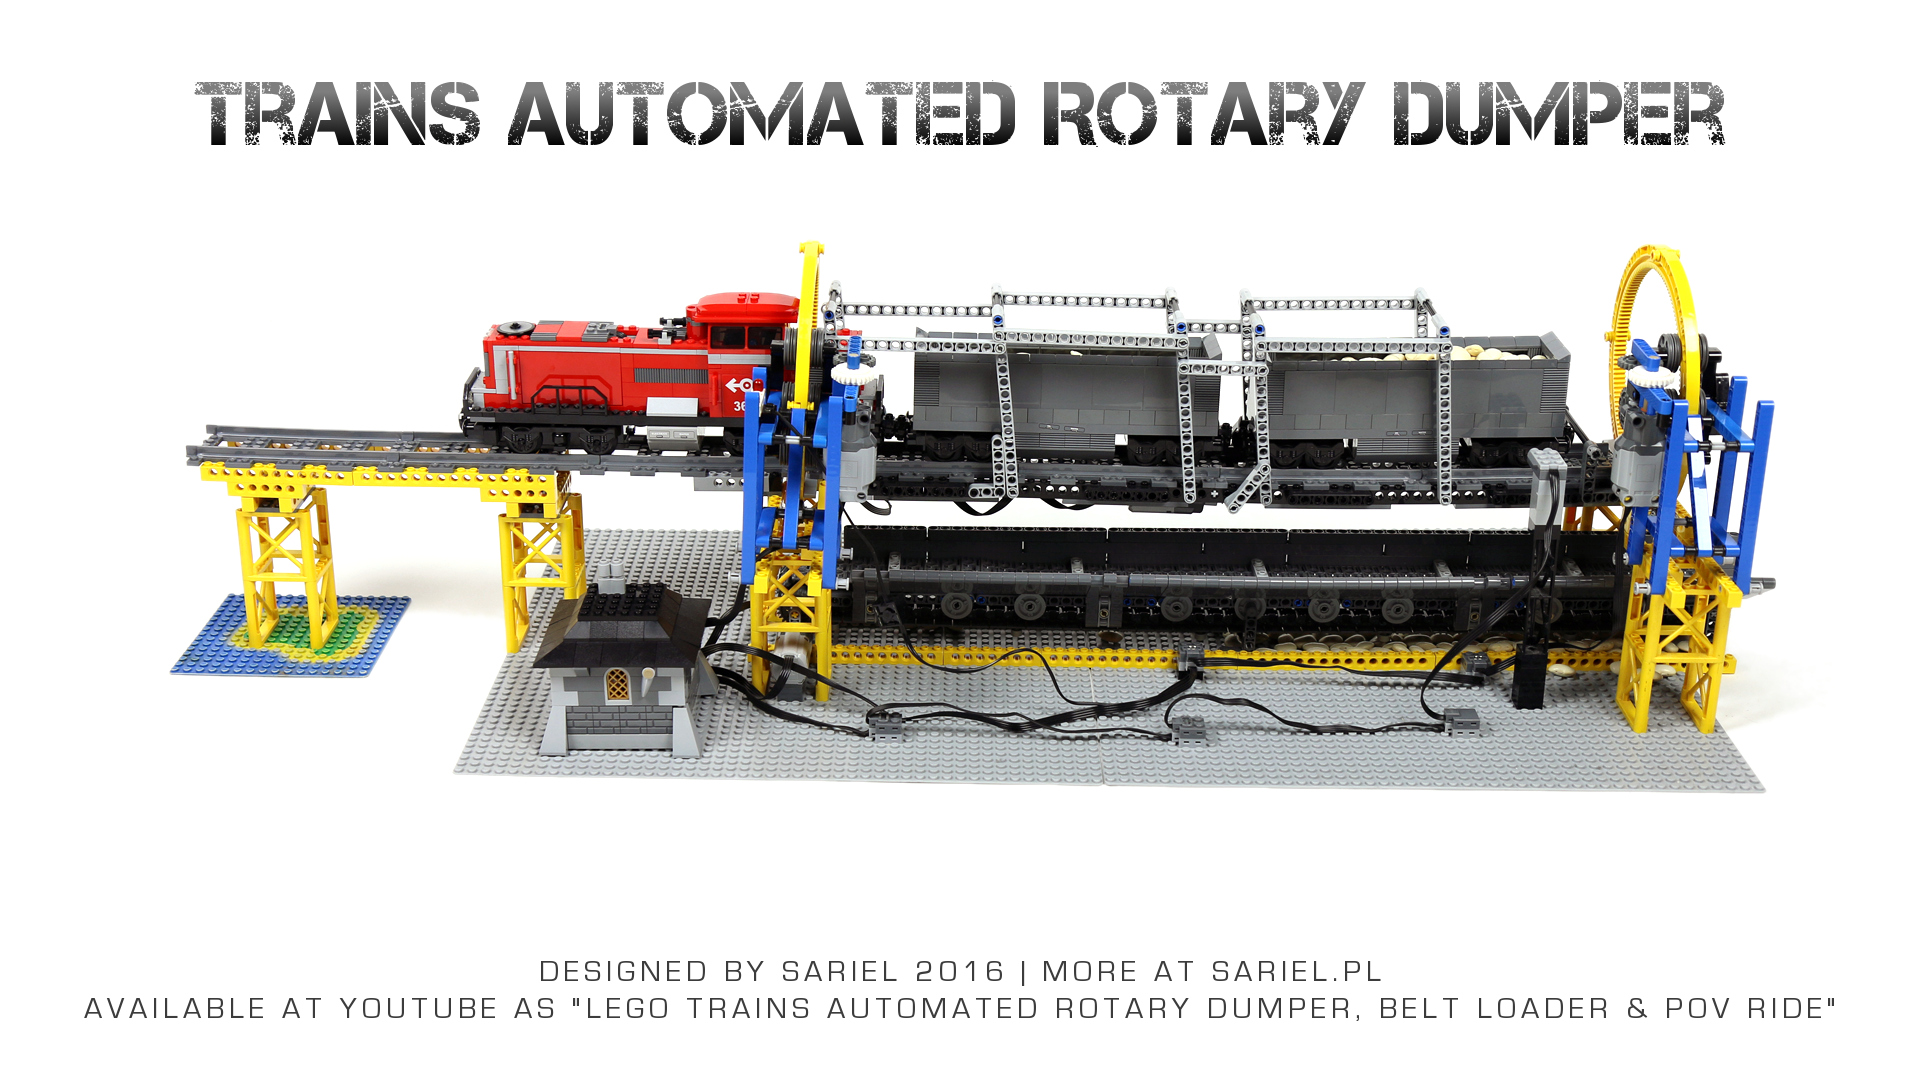
Weird as they may seem, rotary railroad dumpers have existed since 19th century. Modern versions usually process the entire train car by car, without the need to uncouple cars, as the pivot point goes right through the couplings. Some versions can process two or three cars at a time. I’ve seen one such a mechanism in action a few years ago and wanted to build it ever since. When the LEGO 42055 set was released with new annular gear ring pieces, I saw it as my chance to do so.
My rotary dumper could accommodate one or two cars and required the locomotive to be uncoupled manually. I’ve chosen this solution because the Lego train cars are very close to each other when coupled, and to rotate one without uncoupling would require fitting the ring gear with all the bracing within 1-2 studs wide space, or else the cargo would be dumped on the ring gear. Alternatively, the cargo bay on the car itself could be narrowed to create some “buffer space” on its sides, but since the cars were already kind of short, I didn’t like this idea. The key feature was automating the whole mechanism using SBrick Plus – a new version of the SBrick device, distinguished by its ability to work with LEGO WeDo sensors. Inside the dumper, there was a WeDo motion sensor which would detect a train car and start a sequence pre-programmed using SBrick Profile Designer. The sequence would run for a little over 1 minute and control 3 motors: one for driving the conveyor belt at dumper’s bottom, one for locking the cars and one for rotating the dumper. At the beginning and the end of the sequence there were pauses when only the conveyor belt would be running, to allow for manual decoupling of the locomotive at the beginning and for removing the cars at the end, to prevent the sequence from being re-initiated by a car still waiting inside the dumper. There was a minor problem with stopping the dumper, because it would not always stop with the tracks inside it perfectly aligned with the tracks outside. This could be solved by either finding a perfect timing for the rotation motors (which is unreliable, as it could be affected by e.g. weight of the load), or finding a way to safely block the dumper at its lowest position without damage (which was problematic since it was rotated by 2 significantly geared down PF L motors, and thus operated with enormous torque), or resorting to Lego Mindstorms and motors with rotation counters.
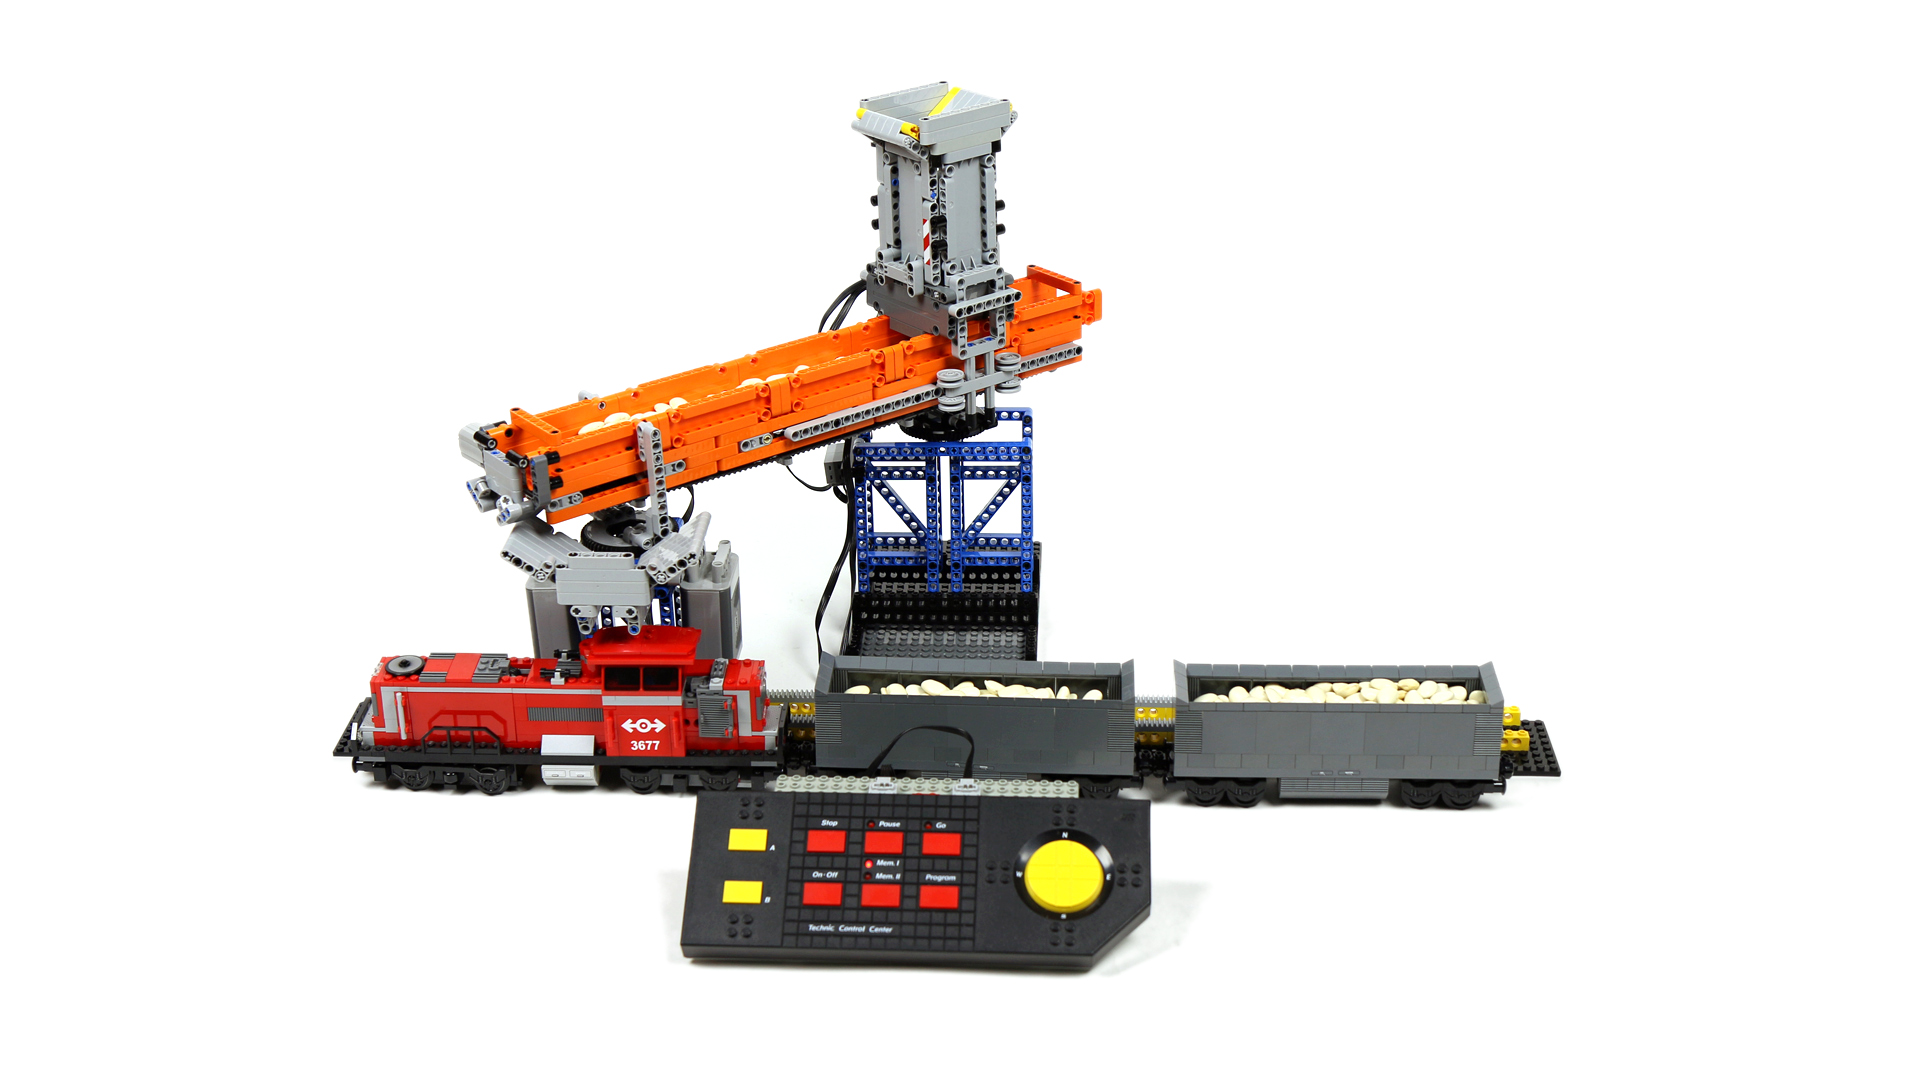
Having an unloading mechanism called for another one that would load the train, so I’ve decided to try to recreate a mechanism I’ve once seen in a port cargo terminal. The mechanism included a conveyor belt that would dump cargo directly into ships’ hulls, and move from one ship to another along the pier while always staying aligned with its end above the ships. I don’t know how exactly it worked but I’ve reverse-engineered how I thought it worked. In my version, there was a single long conveyor belt section resting on two turntables. One turntable was located atop sort of a car which drove forward and backward along the train and it could rotate left or right. The other turntable was located under a cargo silo which fed the belt, and it was built so that it could rotate left and right, but at the same time the conveyor belt section could slide through it forward and backward. Thus as the “car” moved, it pulled or pushed one end of the belt section with it, forcing it to rotate but also to slide – when the “car” was near either end of the train, the belt section was forced to slide out to reach the train; when the “car” was near the middle of the train, the belt section was forced to slide in as the distance between the “car” and the cargo silo was reduced. Note that I had to put two battery boxes on the car to make it heavy enough to pull and push the belt section without derailing itself. Alternatively, I could put it on some sort of a track that would keep it locked down and upright, but making it heavier was simpler.
The loading mechanism was automated with the use of a LEGO Technic Control Center which has the ability to record a series of command and then to “play” it back. When the empty train arrived, I would only need to start the pre-recorded program and the whole mechanism would then proceed on its own. It was also possible to stop it at any moment and to control it manually instead – which I would sometimes do when the automated loading left some free room in the cars. Note that there was some spillage of the cargo while loading, due to imperfect alignment of the conveyor belt’s output end above the train. It could be aligned perfectly if it ended exactly above the turntable atop the “car”, and dump cargo through this turntable to some kind of a chute that would then send it into cars. This could be done rather easily, but it would make the entire mechanism taller and would require complex connection between the belt section and the “car”, so I went with a simpler but imperfect solution.
All in all, both mechanisms were purely proofs-of-concept and I cared only about getting them to work, with little regard for aesthetics of some final polish. But they proved very enjoyable and I was happy seeing principles from real world’s mechanisms recreated with reasonable precision in the world of LEGO.

I had the exact same thought about the gear rings, but was going to use them on a T-1 Cunningham turret instead. I thought you would probably also have an awesome use for them, so I checked out your channel and the train systems truly blew me away. Thank you for making available your inspiringly amazing content! -MW (CheetahCrazy)
@Konsti
You should probably look for info at manufacturer’s website. I even put a link in the text for you.
@Sariel: Where I can get a SBrick plus?
@Darian
He probably refers to SBrick Plus.
1. Sure, you could try Hailfire Droid wheels which are like 100x more expensive and rarer than 42055’s pieces (which sell at Bricklink for a few euros each).
2. Because I had to put a camera in it somehow.
3. Late October. I will announce it soon.
@Boston: I am sure you are referring to the new BuWizz right.
@Sariel:(1)Do you know what else can be used in place of the 42055 turnable as I don’t have one.
(2)Why was you lego bullet train engine missing some pieces.
(3) When will your new book be released I mean the old book with new pages.
Thanks
@Boston
SBrick 2? Never heard of it.
Wow, this is super cool, where do you go to get an Sbrick 2? It seems super cool!