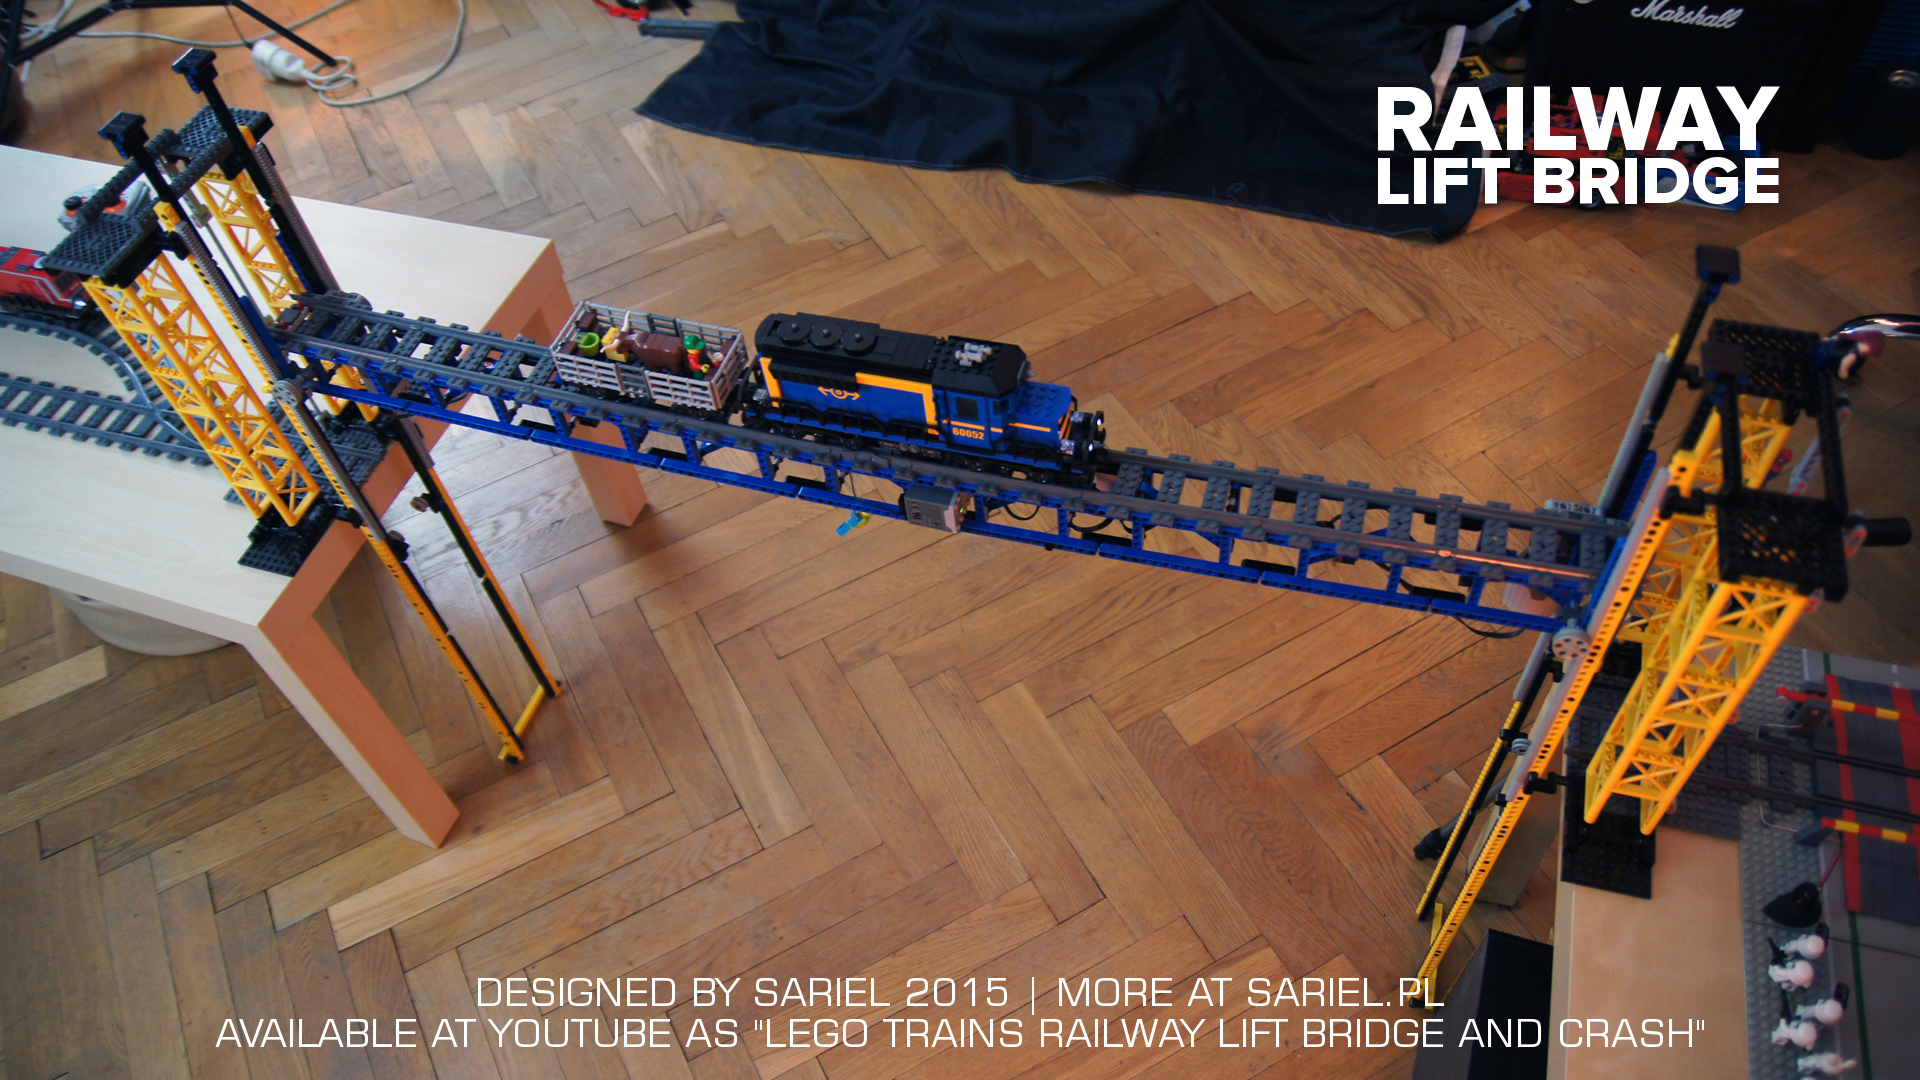
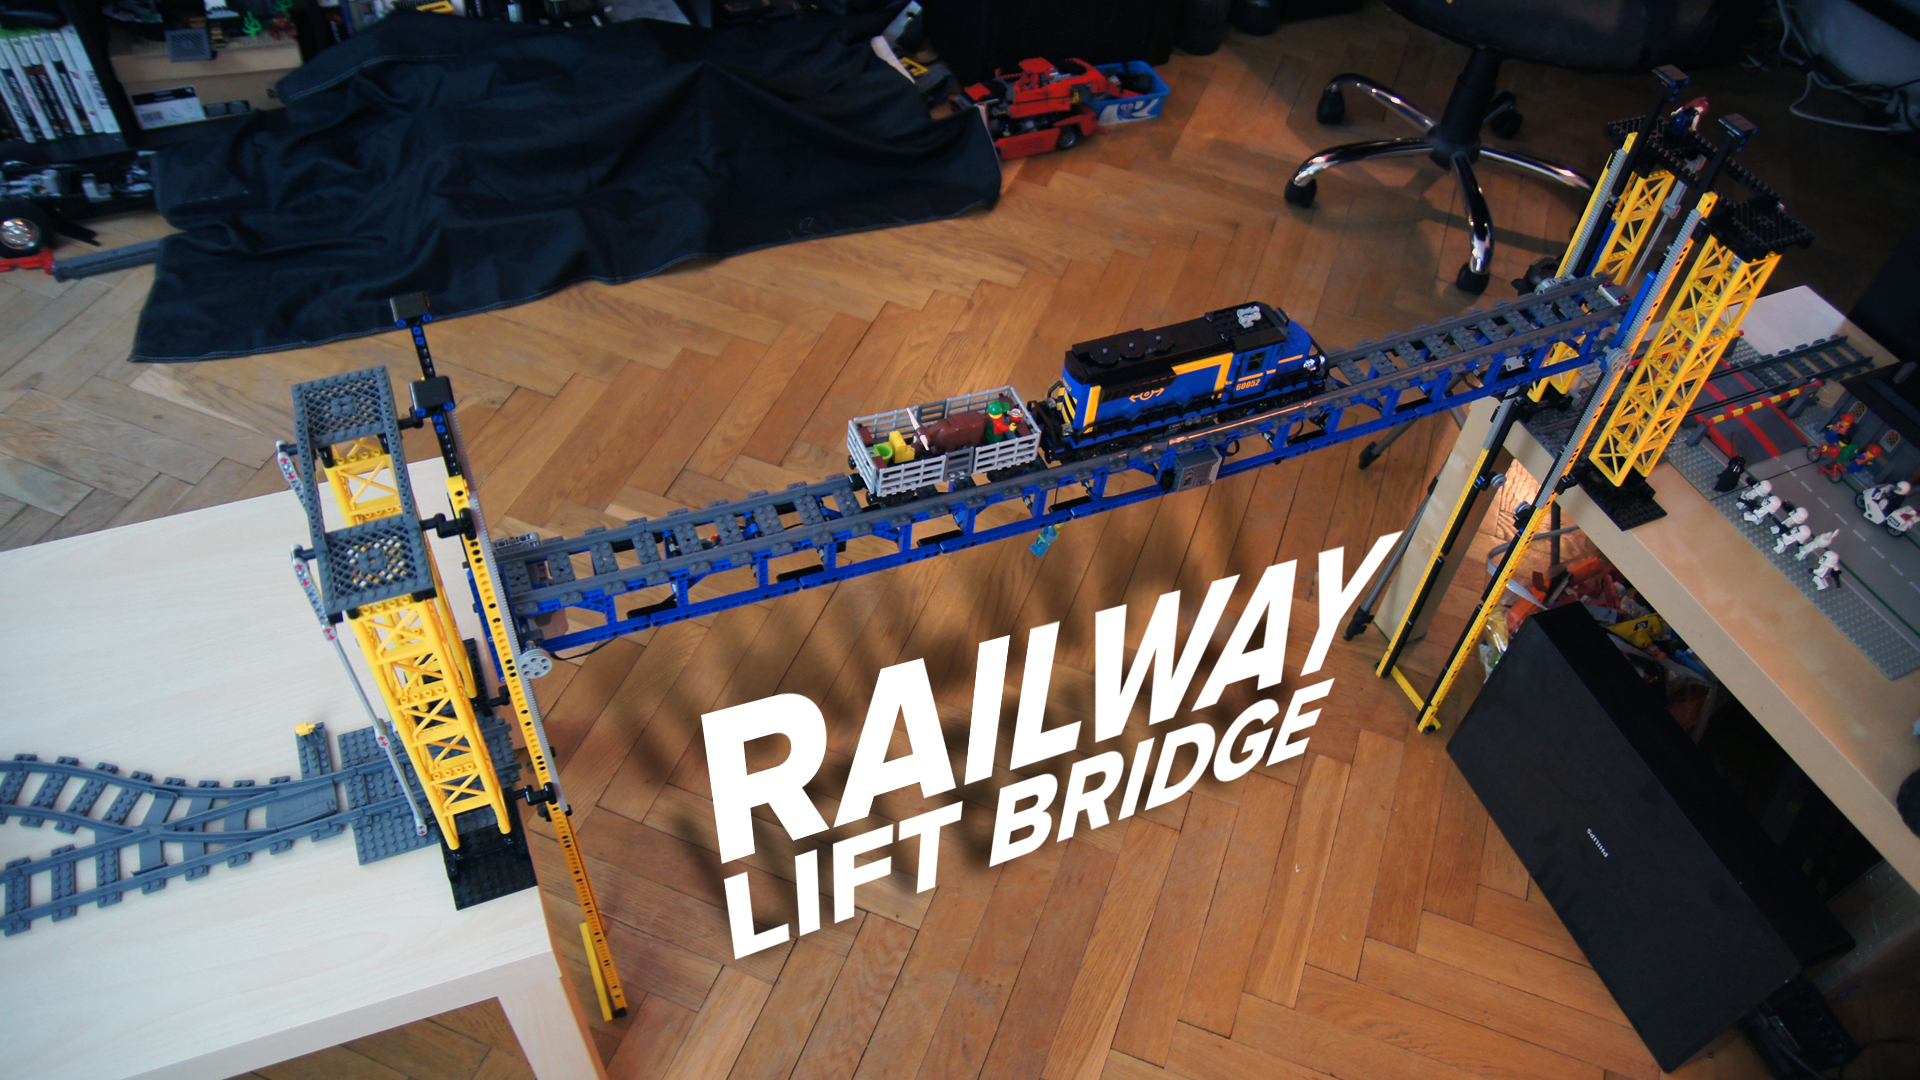
Railway Lift Bridge
 My second Trains creation, featuring a vertical-lift bridge and a crossing with working barriers.
Datasheet:
Completion date: 31/08/2015
Power: electric (Power Functions)
Vertical-lift bridges used to be quite a popular solution a few decades ago, and many of them remain functional to this day. Their key advantage is economical – the longer the section of the bridge that needs to move, the cheaper the vertical-lift solution is when compared to alternatives. Vertical-lift solution is particularly popular in railway bridges and I was thinking of building one for quite a while. My original plan was to build a Monorail bridge, but the Monorail track proved to require absolutely perfect accuracy to allow driving across the bridge. The Trains track was much less restrictive and so I decided to build a bridge for Lego trains.
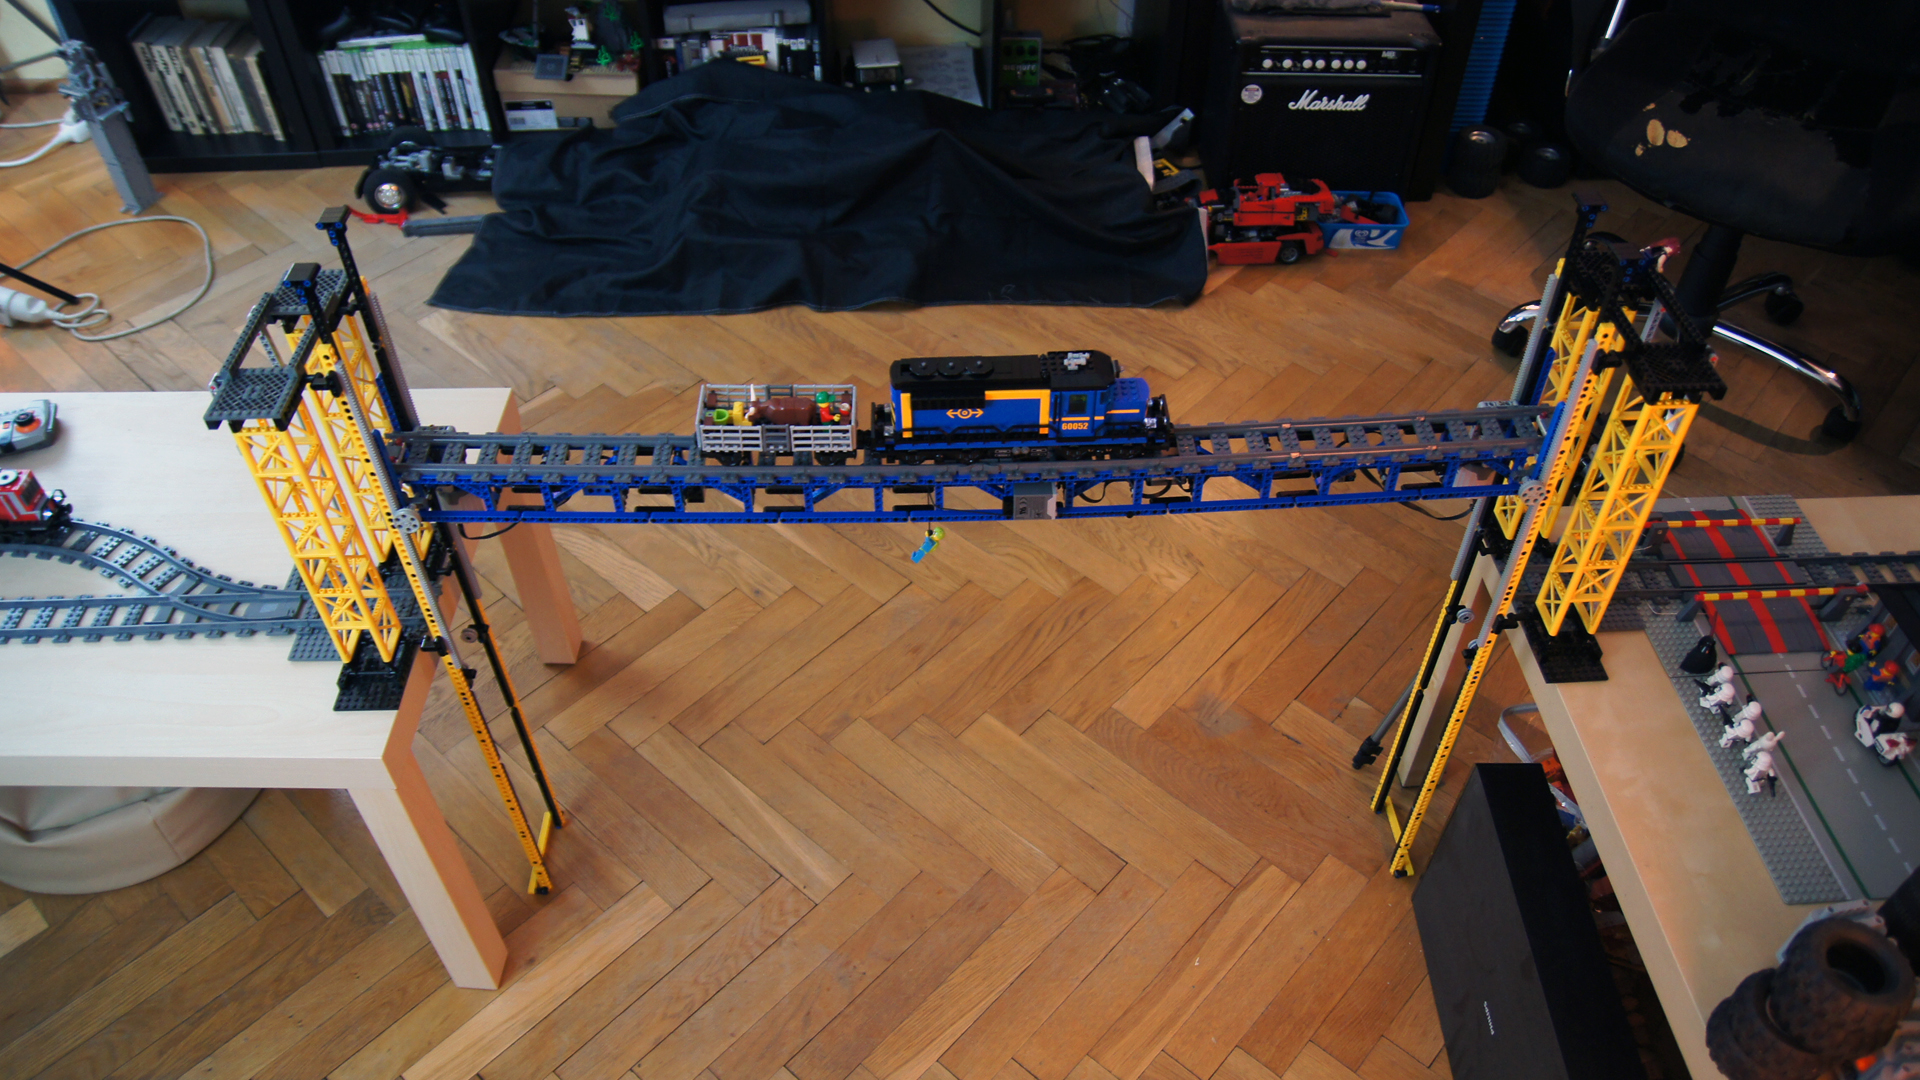
The moving section of the bridge was built using 9 truss modules from the Lego 42042 set, with track simply attached on top. Inside the truss, there was a single PF 8878 battery and a PF IR receiver. On each end of the moving section there was a single PF XL motor with a worm gear providing 24:1 gear reduction. While real lift bridges employ a system of counterweights, I have chosen a much simpler solution by relying on the brute force of the XL motors. The worm gear also ensured that the bridge’s end remained locked at current height when the motors were off. The entire moving section was hanging between two vertical structures made of rails combining bricks and beams, attached to two towers and ending up roughly 90 cm above the floor. There was a track between the towers on each side, meeting the track on the bridge’s moving section, without attaching to it – essentially, the two sections of the track were 1 stud apart, which left a small gap between them, quite easy for a train to cross over.
The moving section of the bridge proved somewhat flexible, which was understandable given its very sparse structure. Thanks to both ends remaining locked at all times, this affected only the middle of the bridge and did not cause any derailings as the trains were driving across. Long beams connecting the moving section to the vertical rails enforced right angle between them. This helped to limit the effect of moving section’s flexibility on the position of the vertical rails – I wanted to prevent the vertical rails from being pulled towards the middle, which could lead to collapse of the whole structure.
The length of the entire track was severely limited by my furniture. I did manage, though, to add a simple crossing on one of the side tables, with barriers being raised by pulling two strings by a motor located inside a watchman’s house. The house included both the motor, a battery box and a switch, and it needed to be first turned on by pressing the chimney. Then, a small lever on the back of the house allowed to control both barriers. The entire mechanism worked smoothly, the only problem was that it was very difficult to synchronize both barriers perfectly due to one of them being activated by a much longer section of the string than the other.
The bridge performed flawlessly from the first attempt, without a single collapse or any other problem. It did suffer from one obvious flaw, that is two independent motors driving its both ends. After going up and down a couple of times, one end of the bridge was usually 2 teeth higher than the other. This could be easily fixed manually, by pulling off the gears on one side of the bridge. Ideally, both motors should have been synchronized, but that would require using a roughly 130-studs long driveshaft for a high-torque application, which would have made the shaft twist so much, the synchronization between bridge’s ends would most likely get actually worse.
All in all, the bridge was a pleasure to play with and it was a nice exercise in structural engineering. I only wish my room and my furniture provided room for a longer and more complex track.


@Jim Goldstein
Sorry, I don’t.
You don’t happen to have a part list for this project do you?
My son loves your video and I’m working to recreate it.
If you don’t it’s all good. I’ll make my own version inspired by yours, but knowing the parts and any tips would make things a little easier. Thanks and keep up the great work!
@Sariel
Thanks, I guess I will have to make a estimate on how many I will buy :/
@Foster
Don’t buy them from Lego, you will pay several times more. And I have no idea how many you should get because I don’t know what you need them for. I use them very rarely myself, they mostly good for cranes and such.
Sariel, I need some tips. I want to buy some of the truss pieces that you own (not from you) but I was wondering how many to get? How many do you usually use in a creation with these pieces, what is the average amount per creation. Are they expensive? (I won’t be buying them from bricklink, instead I would buy them from Lego) Any tips?
@Ben
Sure. It’s just not what these bridges do in real life.
could you possibly build it so that it can transfer the trains to a lower track?
@Philo
Thanks 🙂 There is a mechanical stop at the lower position, and yes, it seems to help a little with desynchronization.
Nice indeed!
Is there a mechanical stop at lower bridge position? If no, how do you get precise enough height to have tracks flush on each side of the gaps? If yes, should’t this take care of the desynchronization of motors?
Nice :).