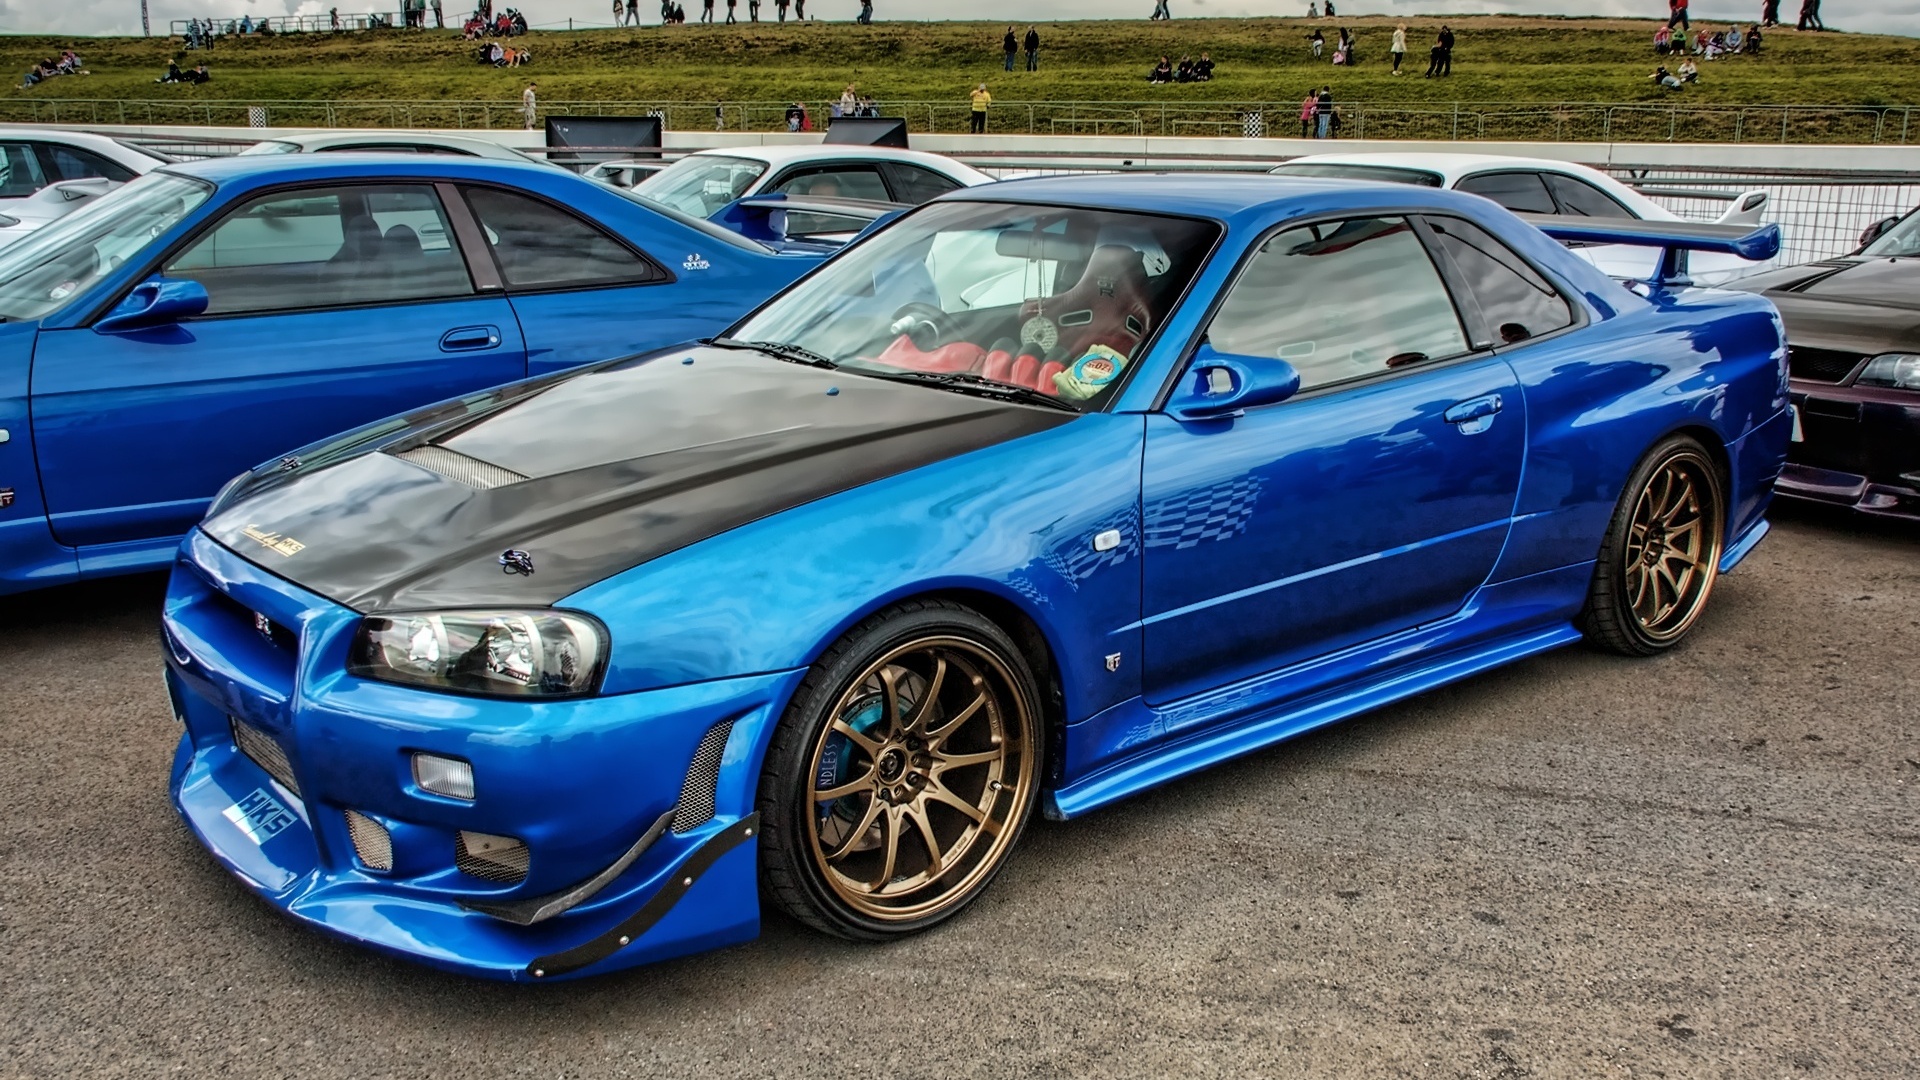
Nissan Skyline GT-R
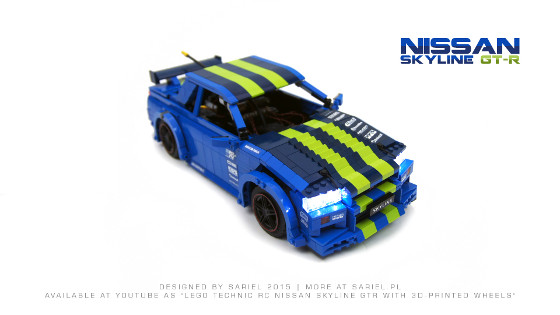 Model of the classic Nissan Skyline GT-R. Features RWD, steering, suspension, lights and custom stickers.
Datasheet:
Completion date: 11/09/2015
Power: electric (RC unit)
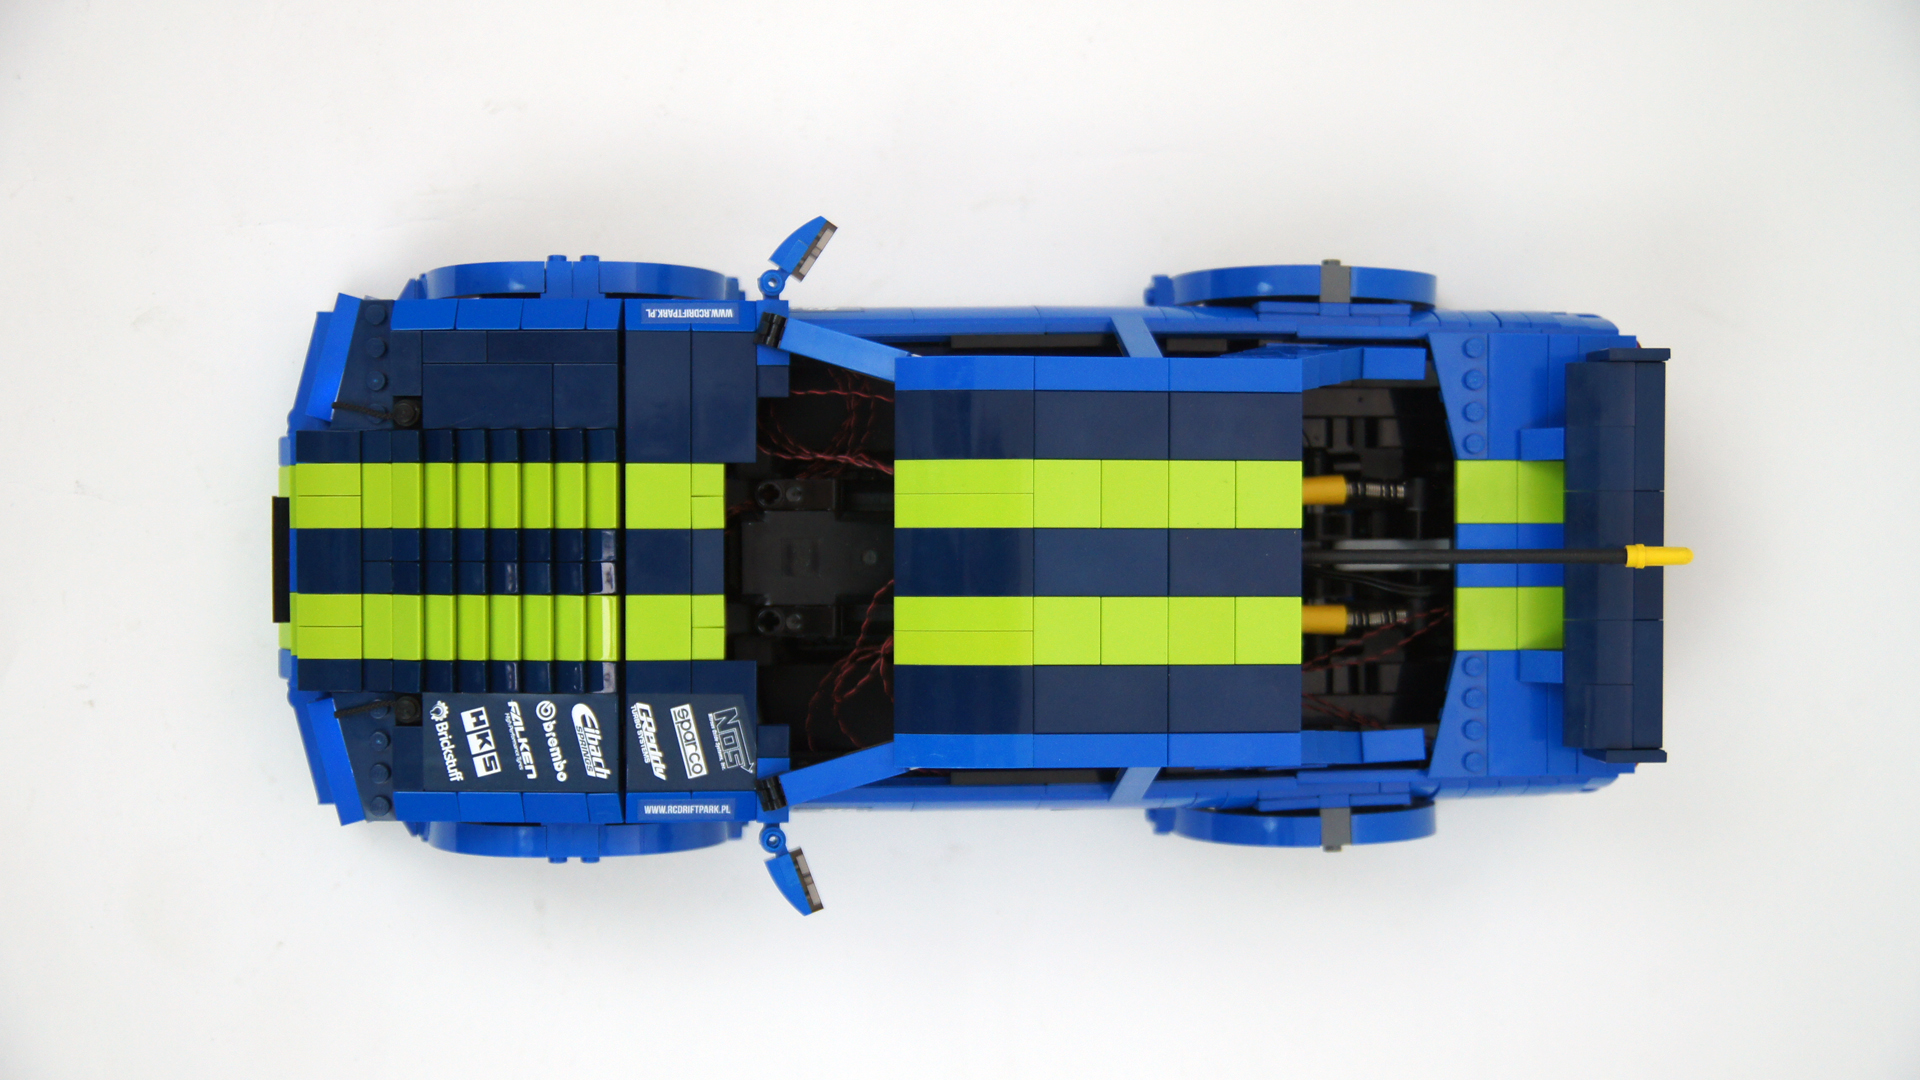
Dimensions: length 45 studs / width 18 studs / height 14 studs
Weight: 1.155 kg
Suspension: front – independent / rear – solid axle
Propulsion: 2 x RC motor directly from faster output
Motors: 2 x RC motor
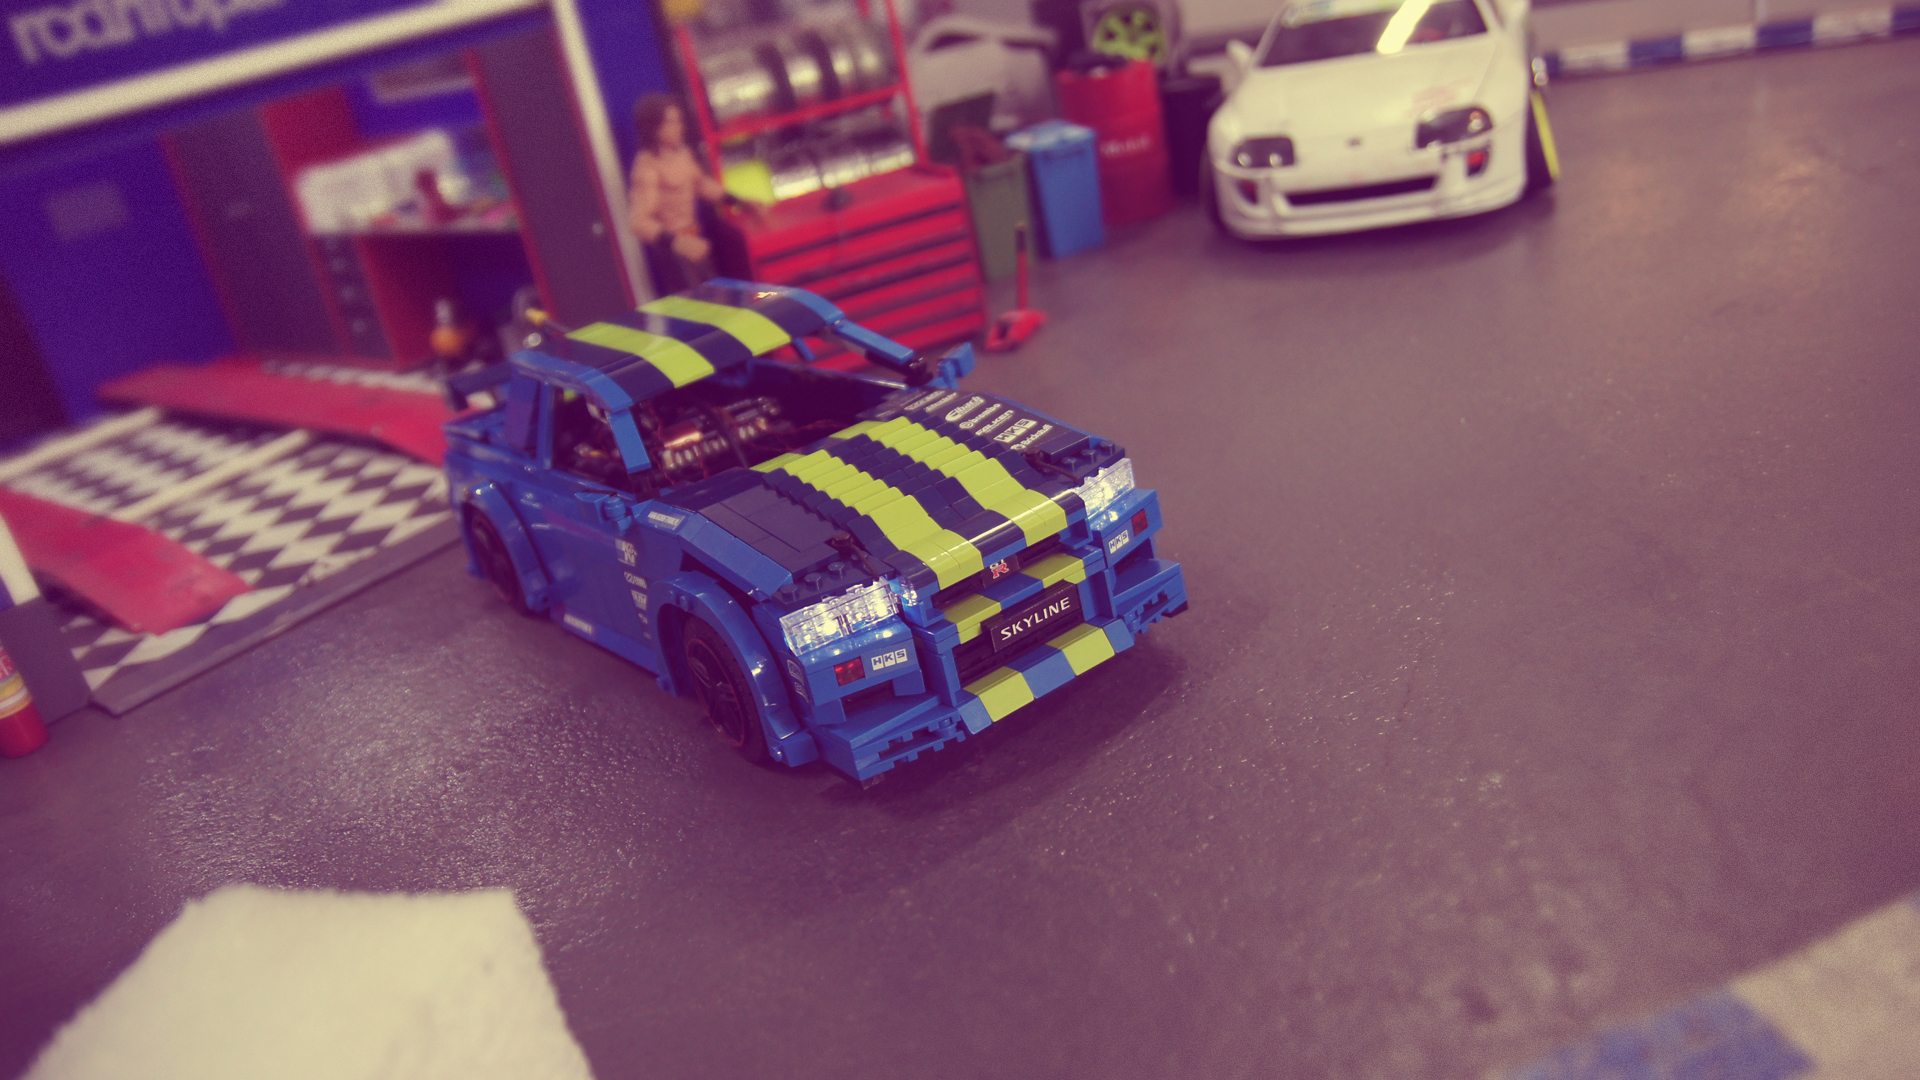
This model was built for just one purpose: to improve over my Mustang Gymkhana model in every possible aspect. The Mustang was rather unwieldy and had a turning radius worthy of a school bus, making it hardly capable of anything remotely resembling proper drifting. I have come to the conclusion that if I keep the RC unit + 2 x RC motor combination, then the only way to improve performance is to make the model smaller. Since the Mustang was already fairly small, this required unusual solutions, such as positioning the propulsion motors behind the rear axle to shorten model’s wheelbase. This meant I needed to look for a car with a sizable trunk, and the classic Nissan Skyline GT-R, fifth generation (R34) was an obvious choice. It was a car I have come to know and love through the Need For Speed series, and it had just the right proportions. Stock R34s were fitted with AWD, but rare RWD versions did exist, and the car was actually designed for a simple AWD-to-RWD conversion (as the Nissan manual puts it, all you had to do was depressurizing the front differential).
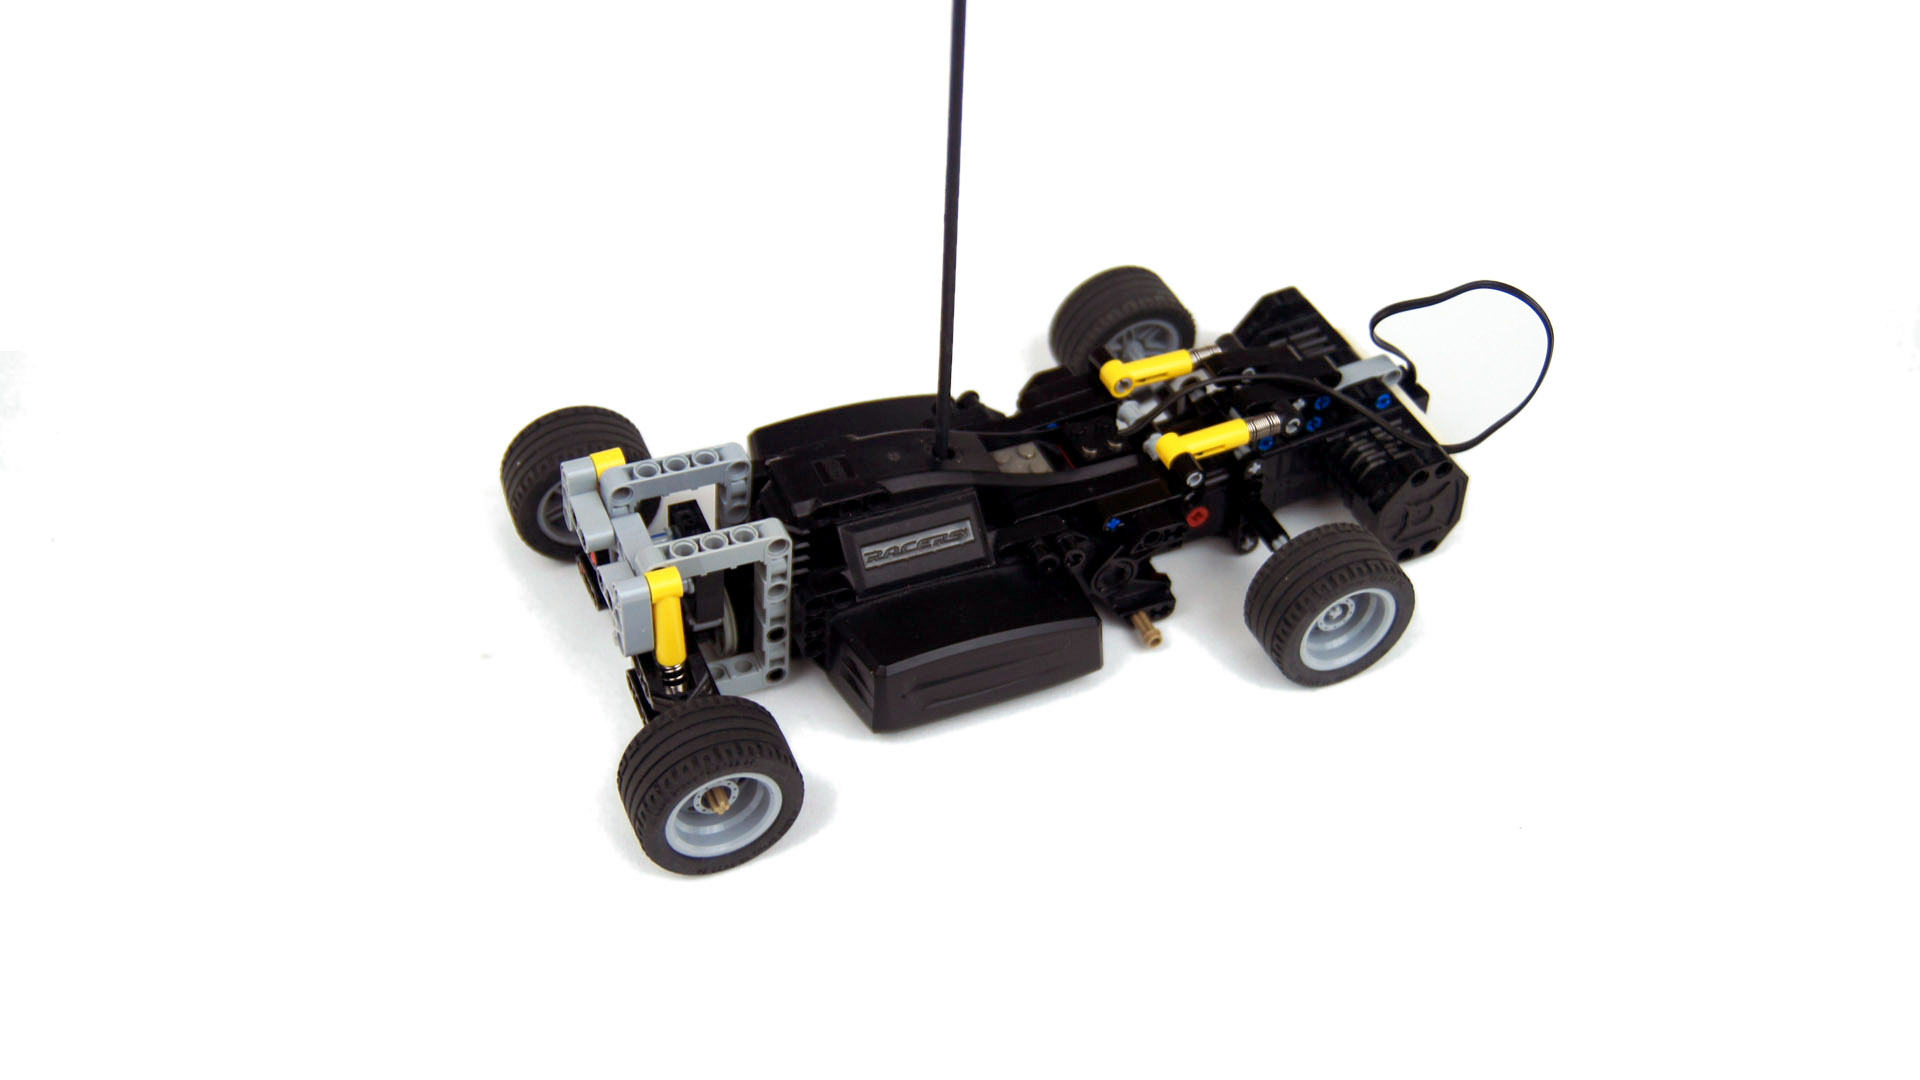
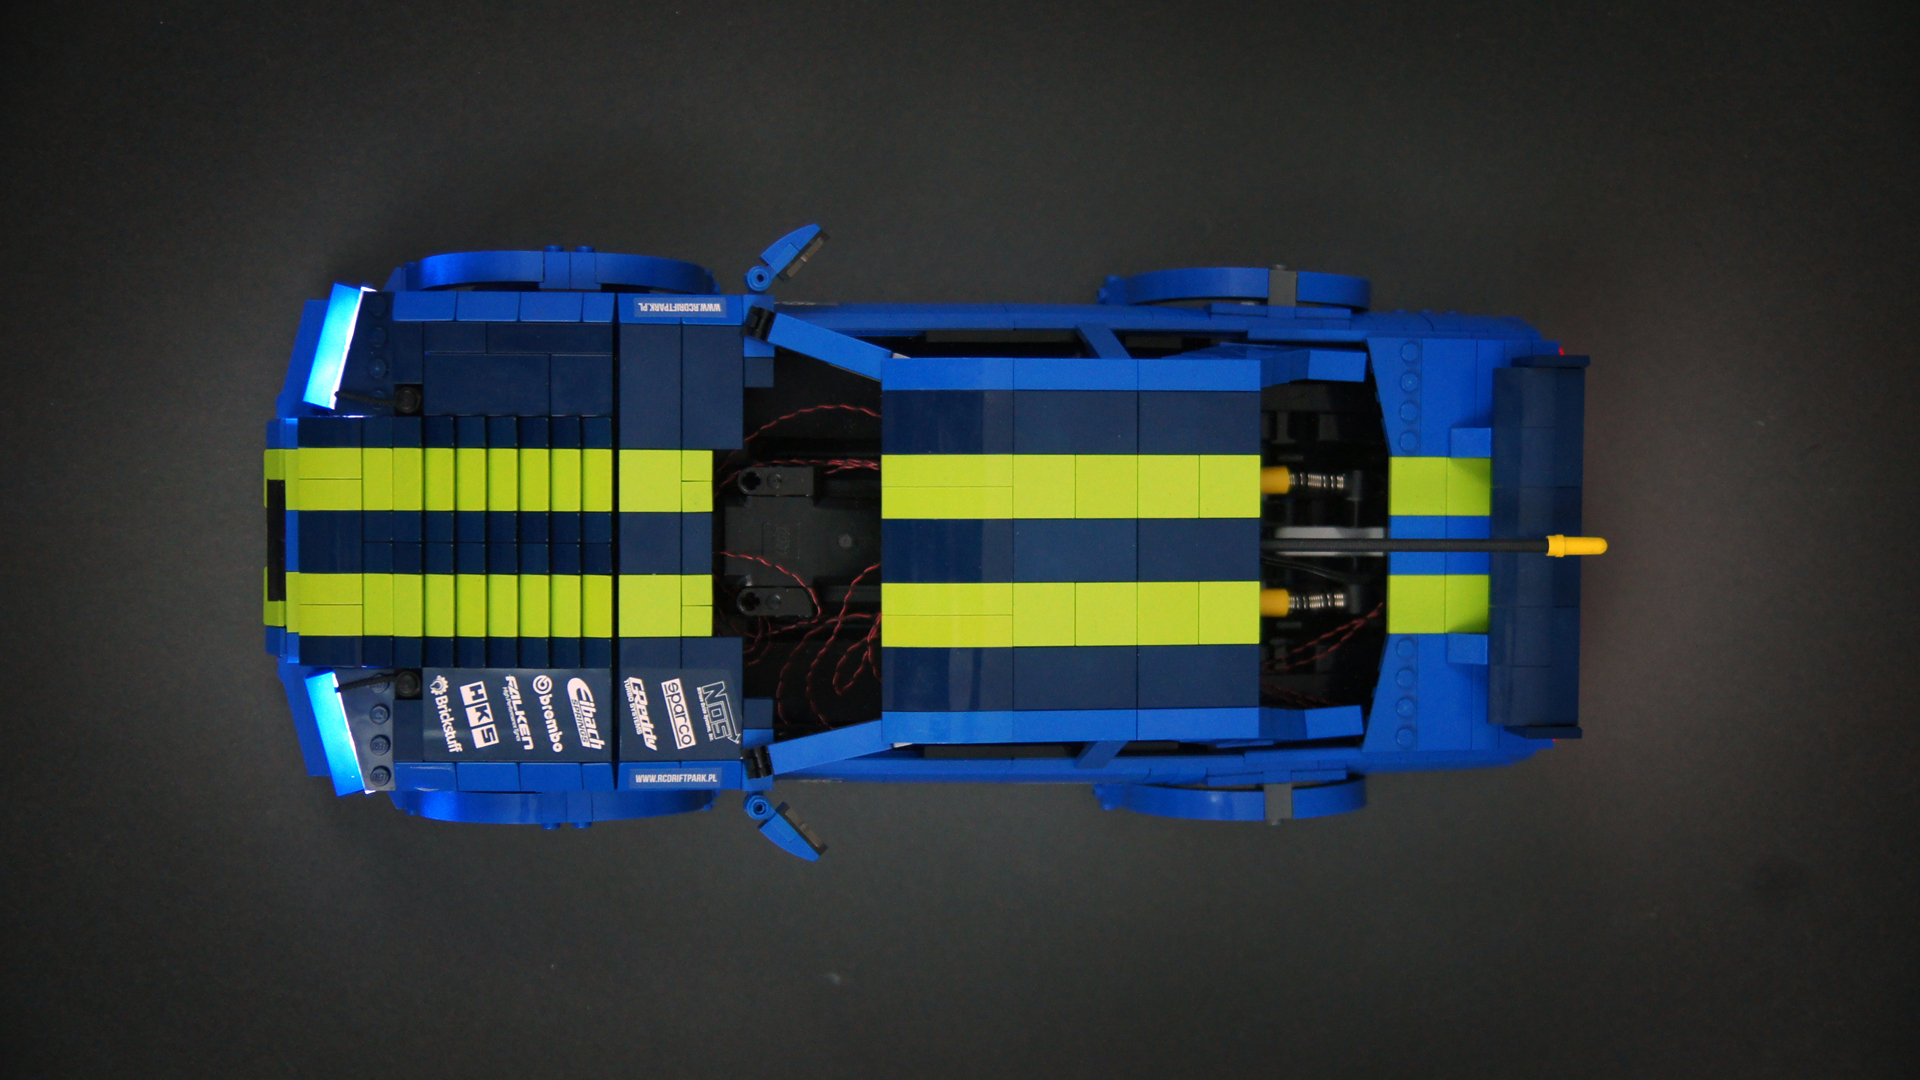
The resulting model was smaller, lighter, used smaller wheels and had an improved turning radius. In fact, it was little more than just the LEGO RC unit with motors covered with a few plates:
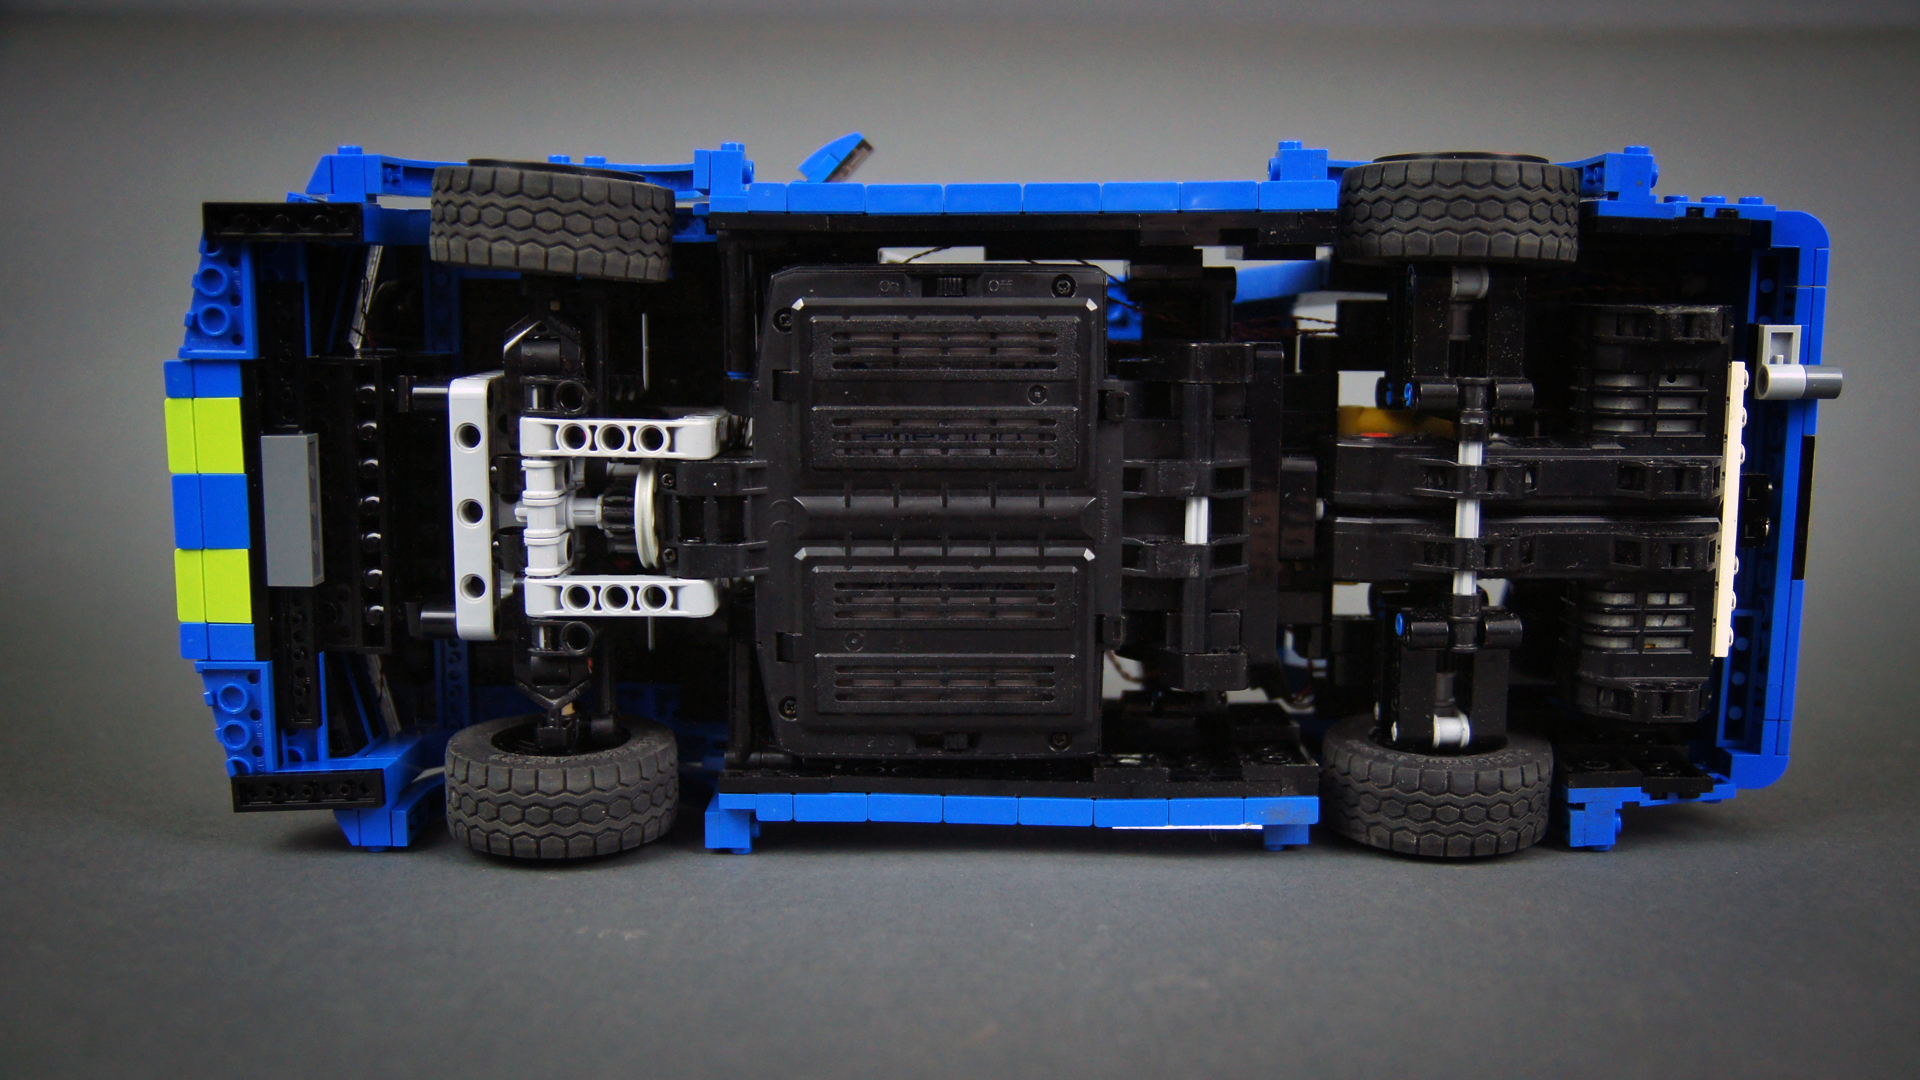
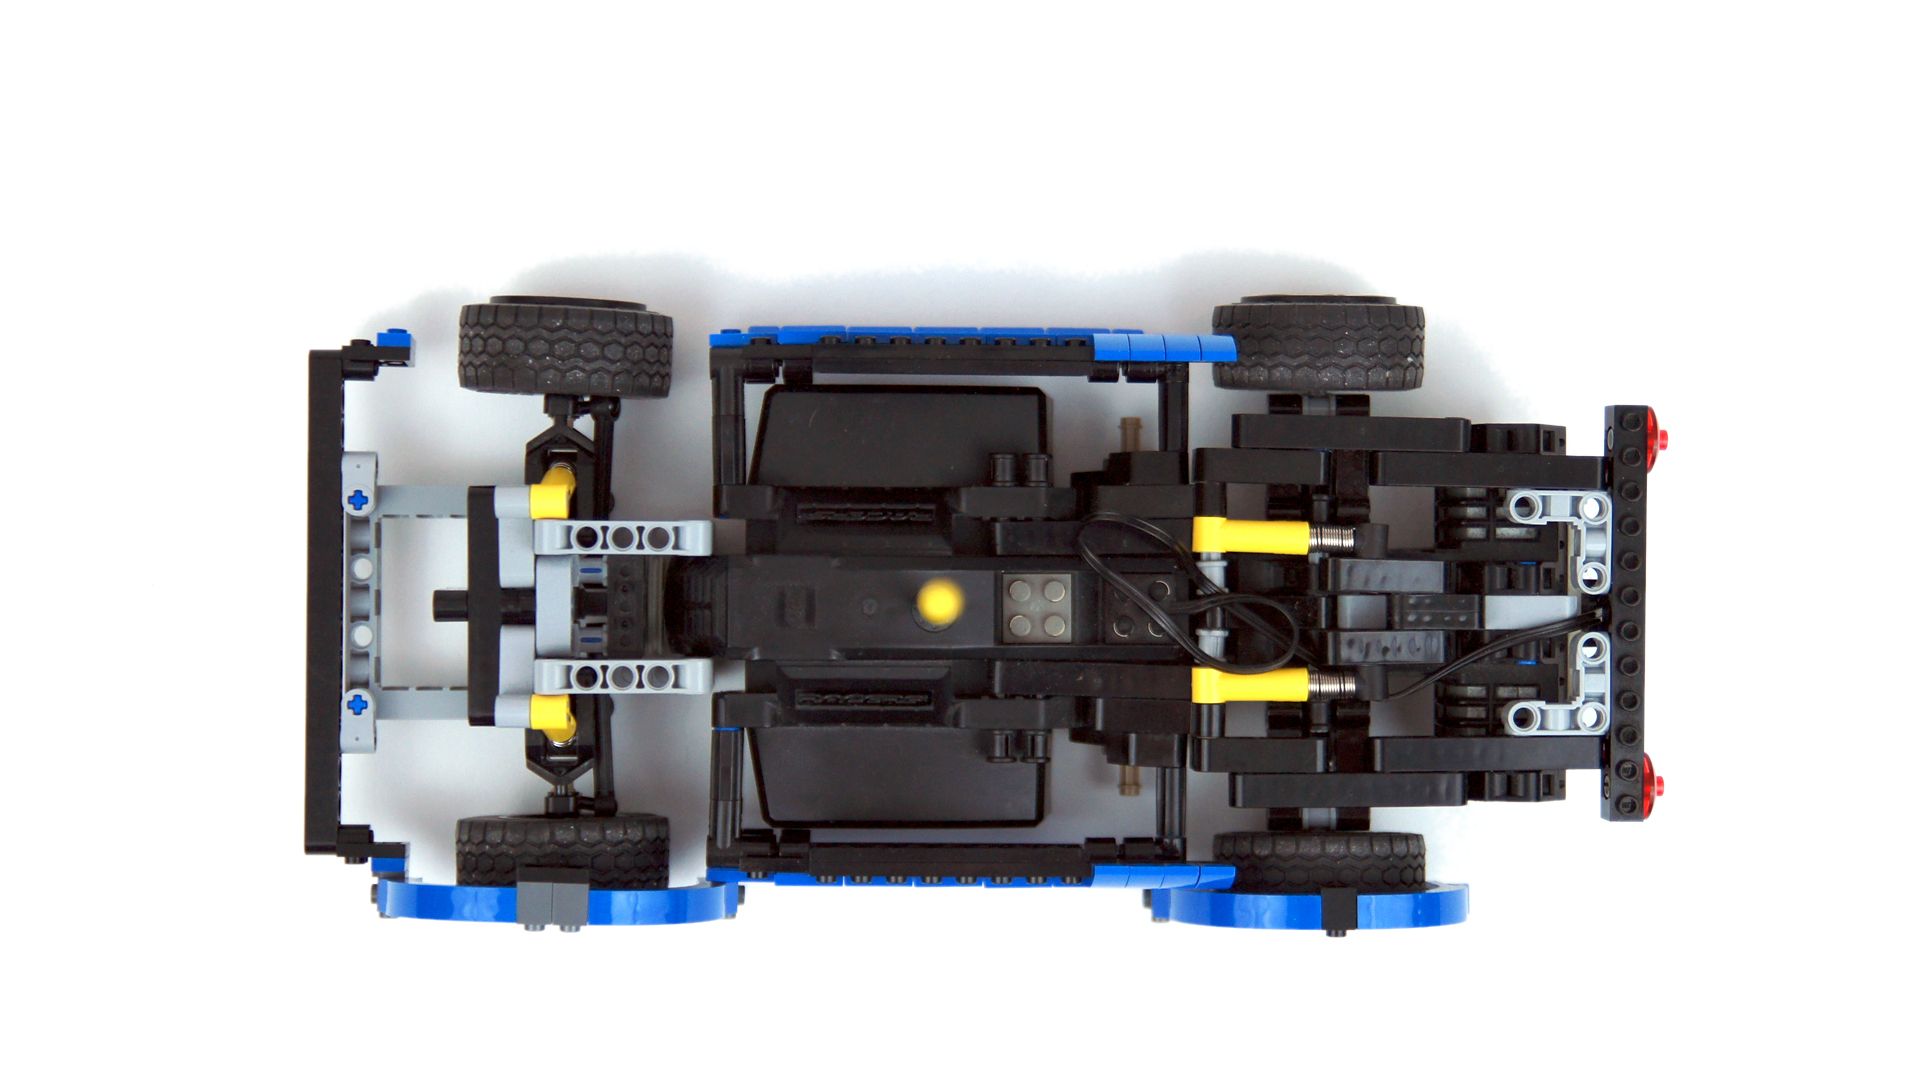
Technically, the model was even simpler than the Mustang, with steering system using RC unit’s steering output and a very compact independent suspension setup crammed under the hood. There was no differential in the back – it was replaced by two RC motors, hard-coupled and connected together to effectively act as the rear axle, with a simple joint that allowed it to go up and down, thus acting as a very basic suspension. It was not a very good solution, because the long RC motors and the small rear wheels meant that there was very little ground clearance, and the suspension was very hard and had almost no travel to prevent the motors from hitting the ground. But in the end it did ensure decent drifting capabilities and great manoeuvrability, the latter largely thanks to the heavy RC unit sitting just behind the front axle.
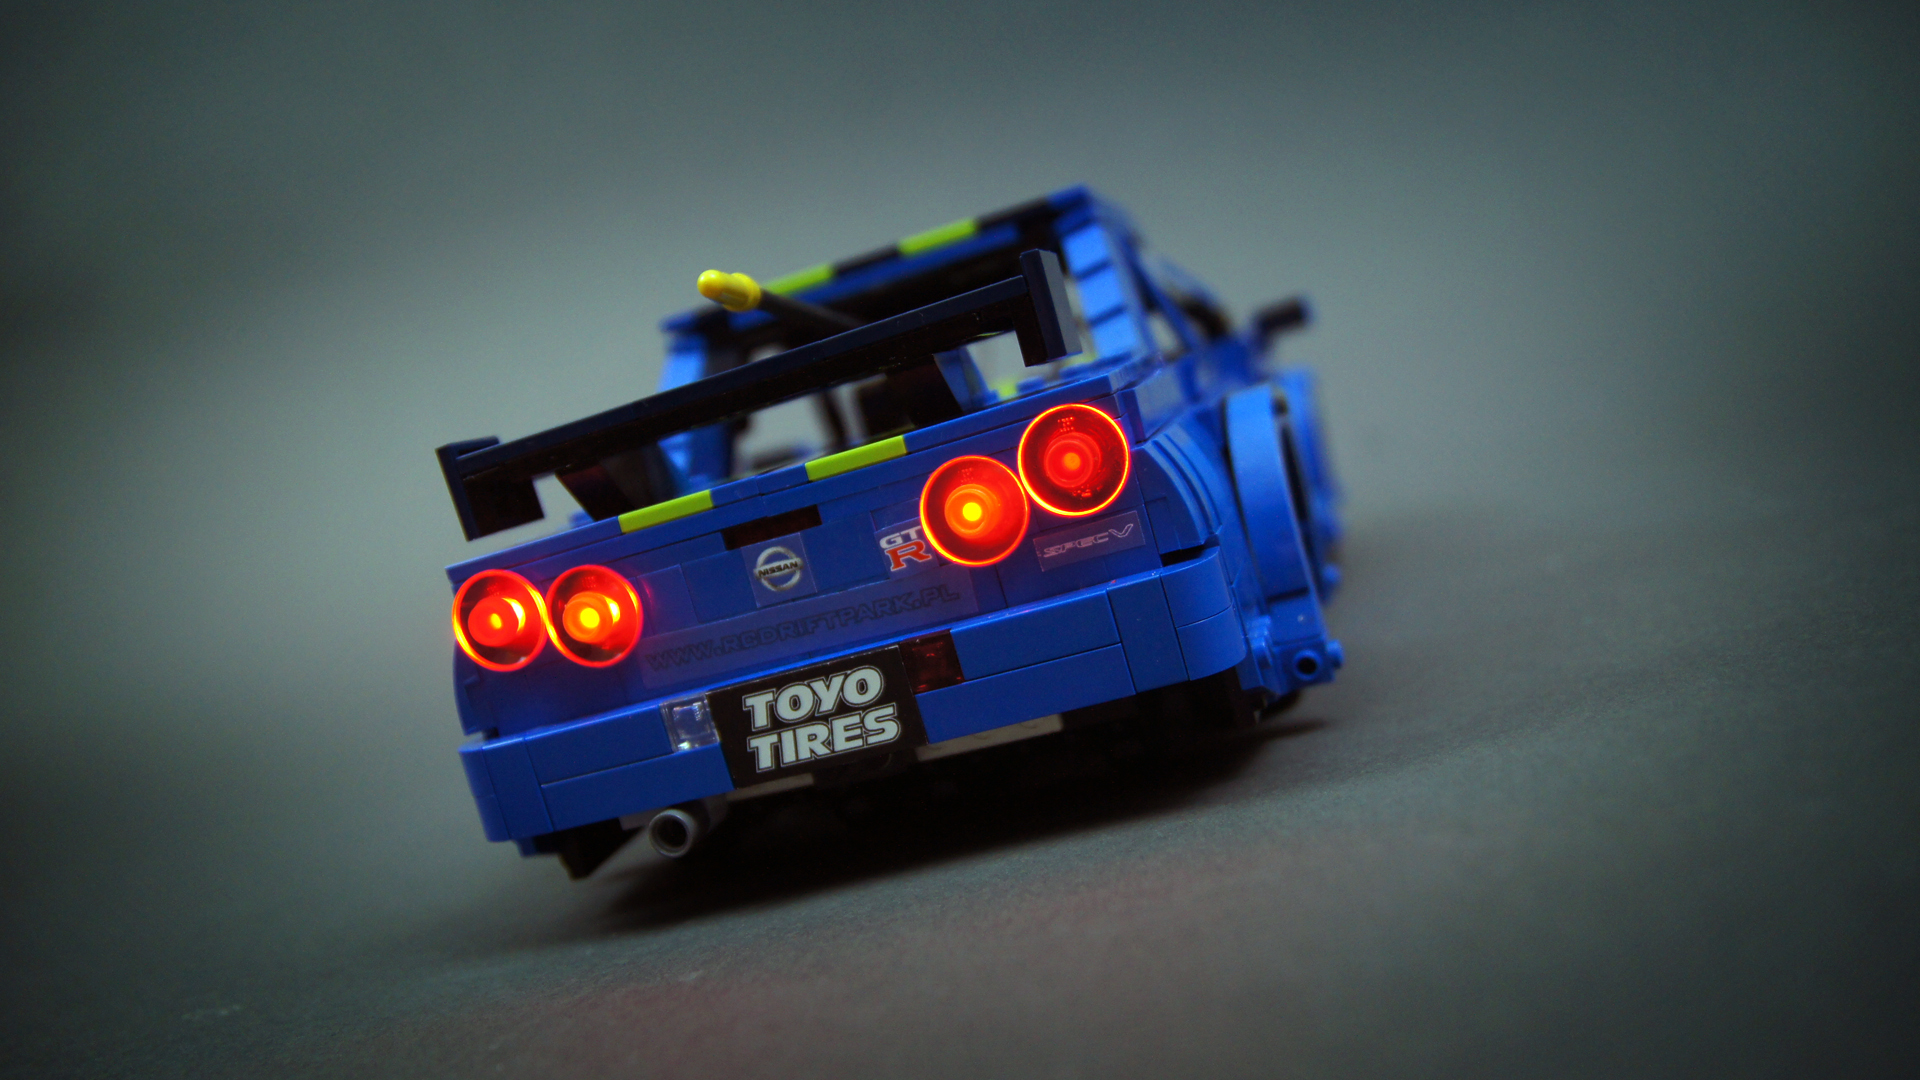
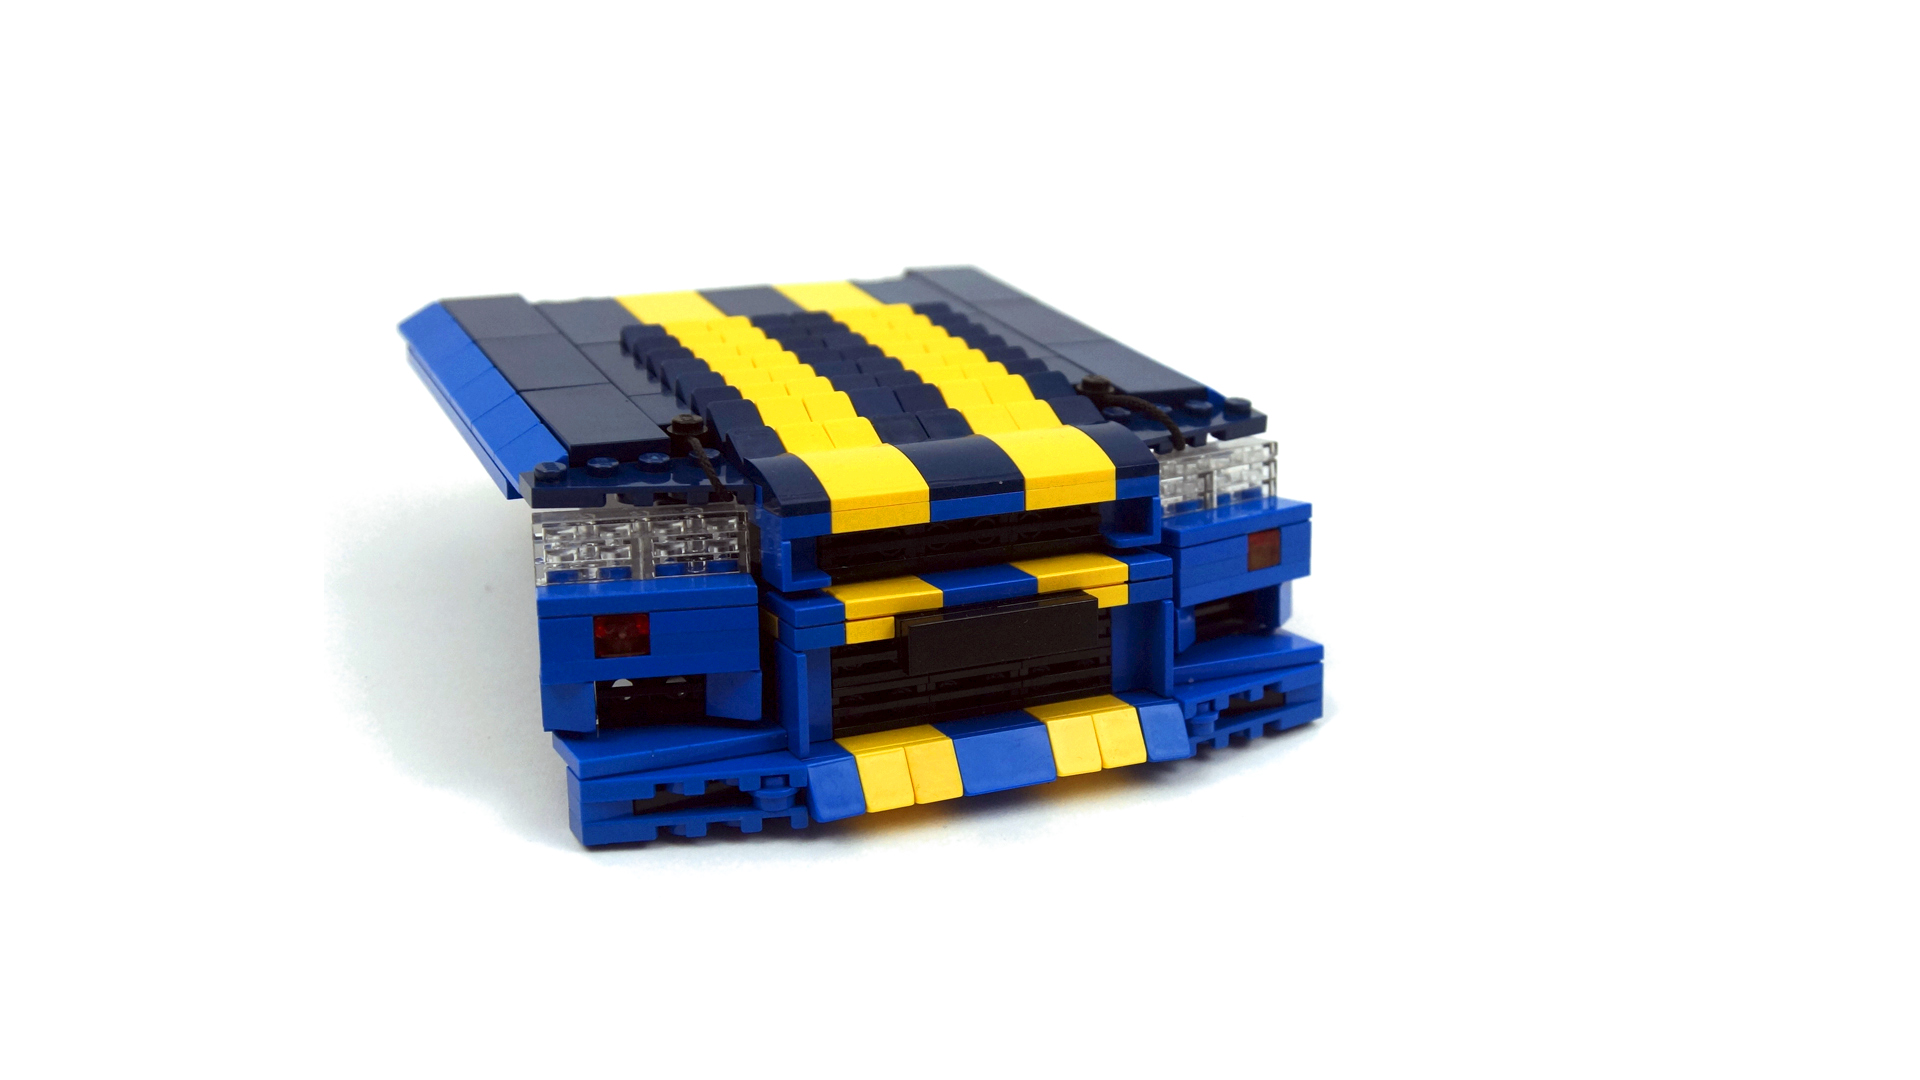
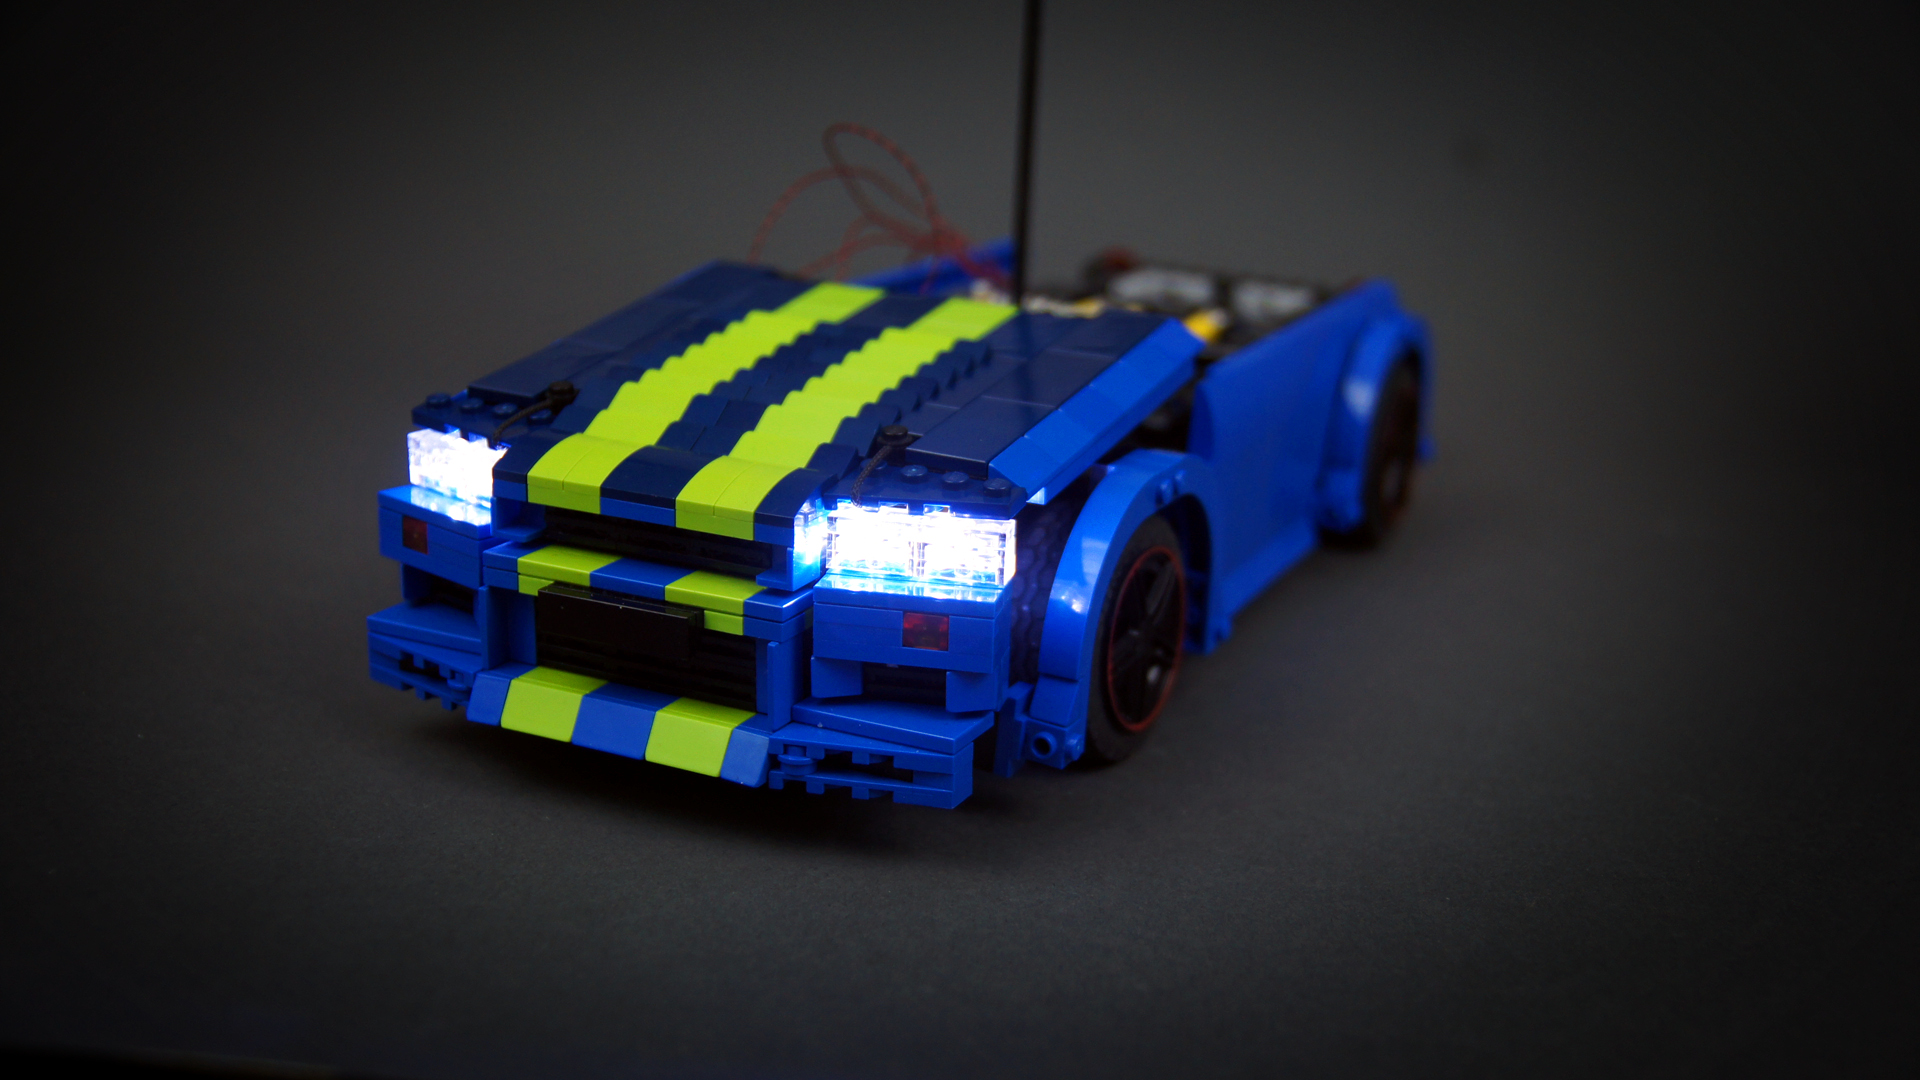
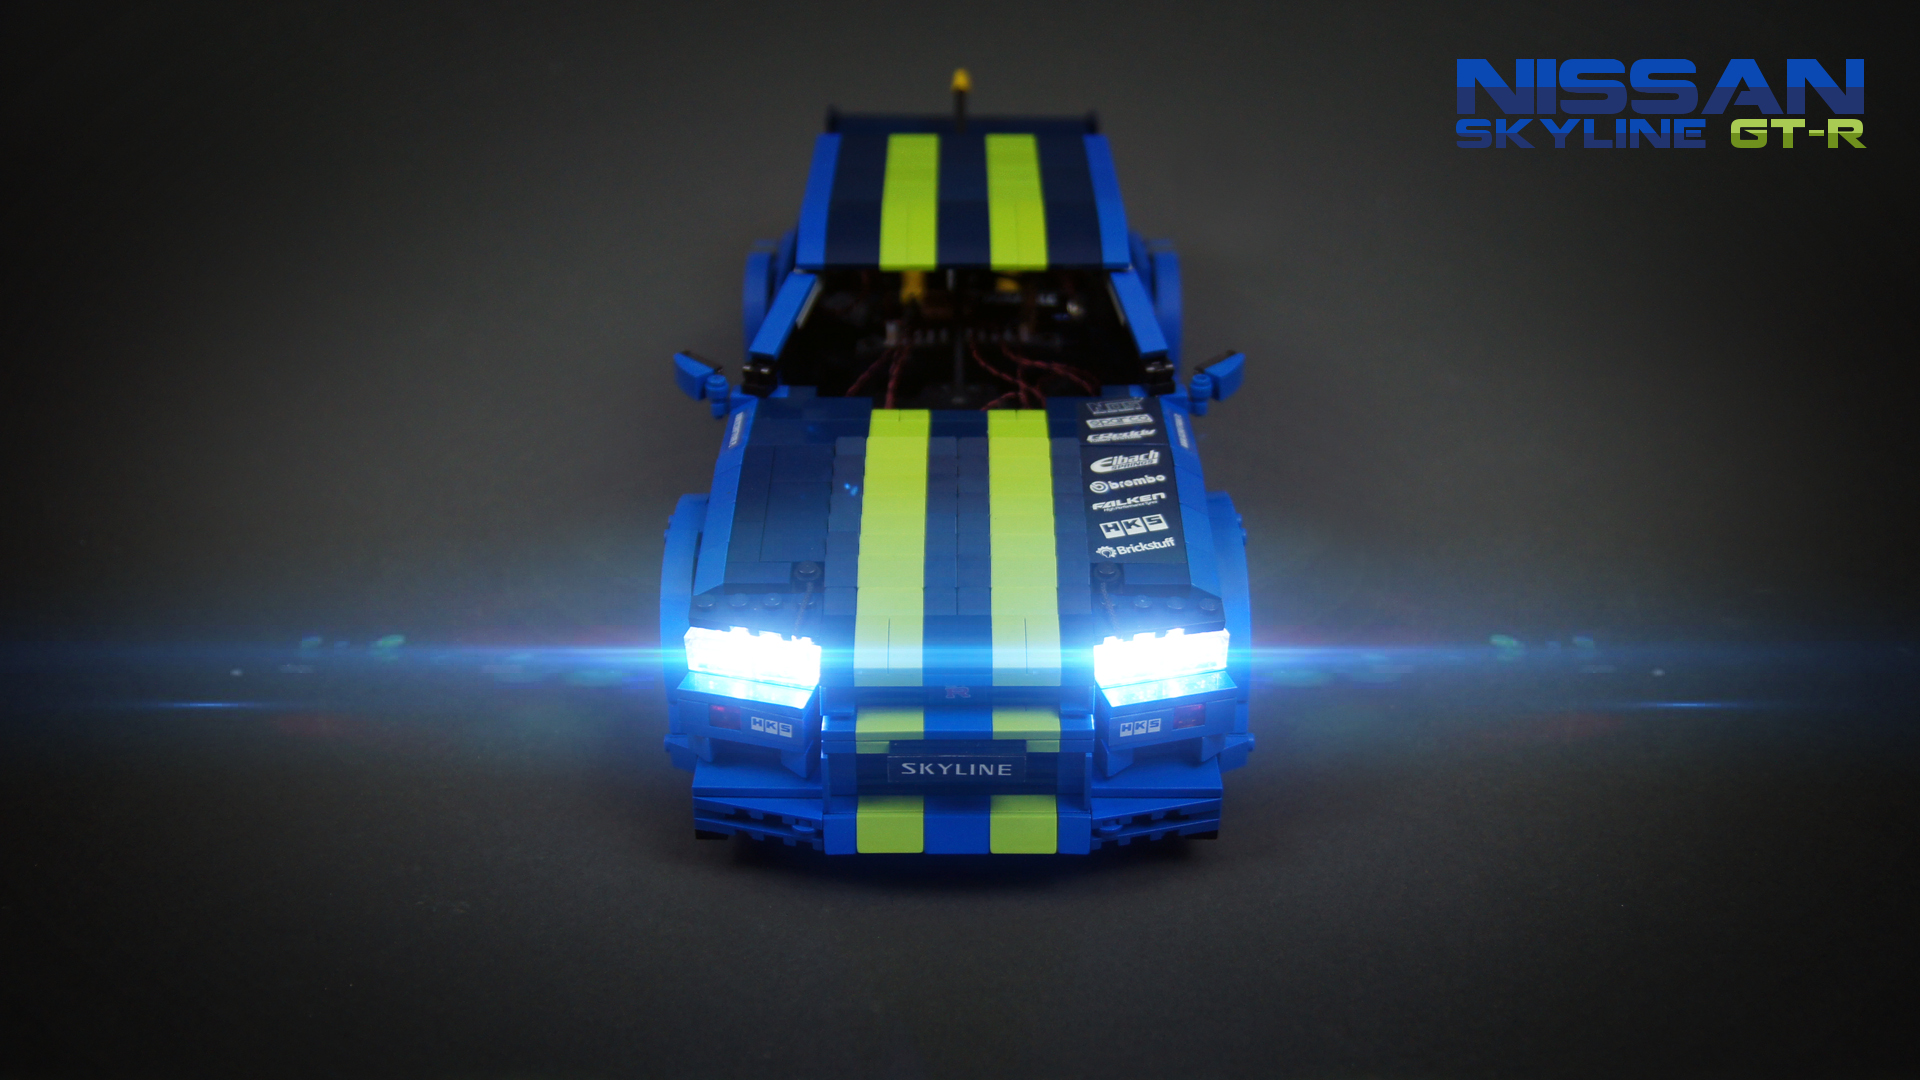
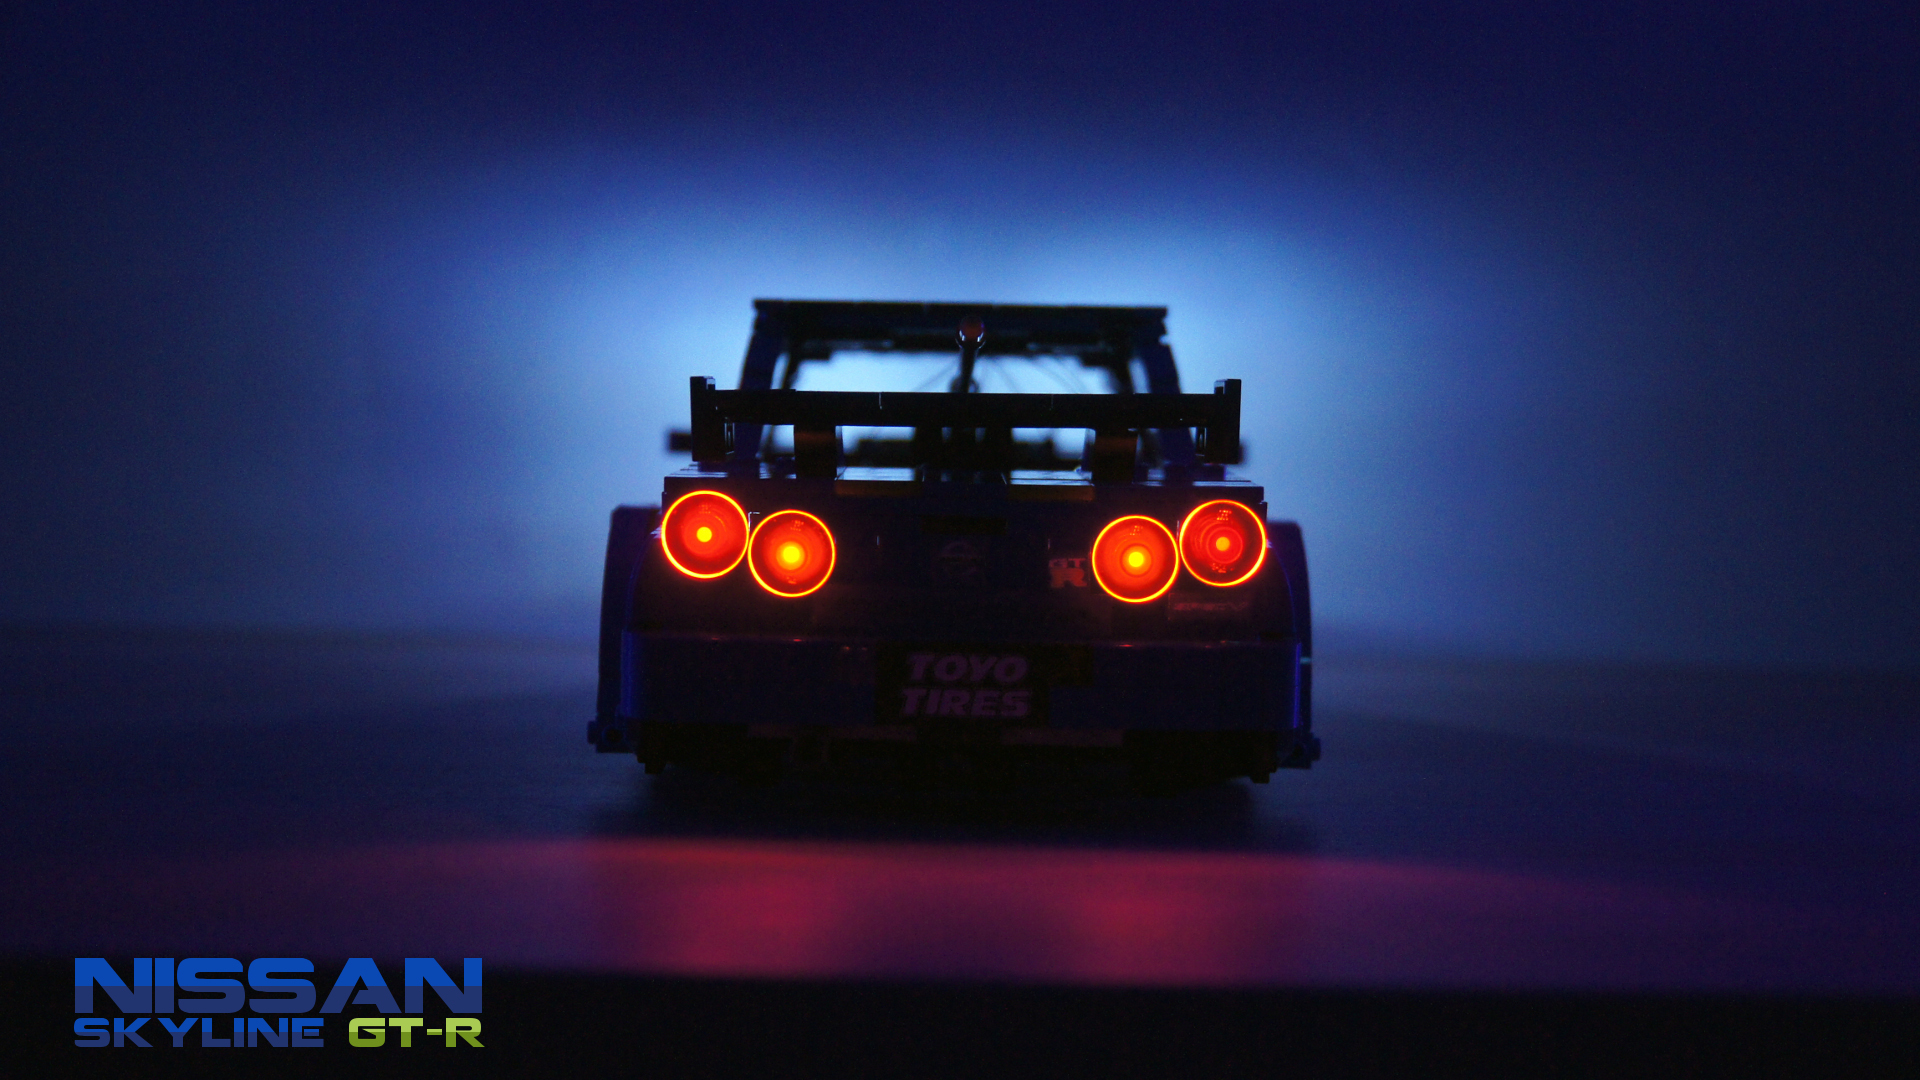
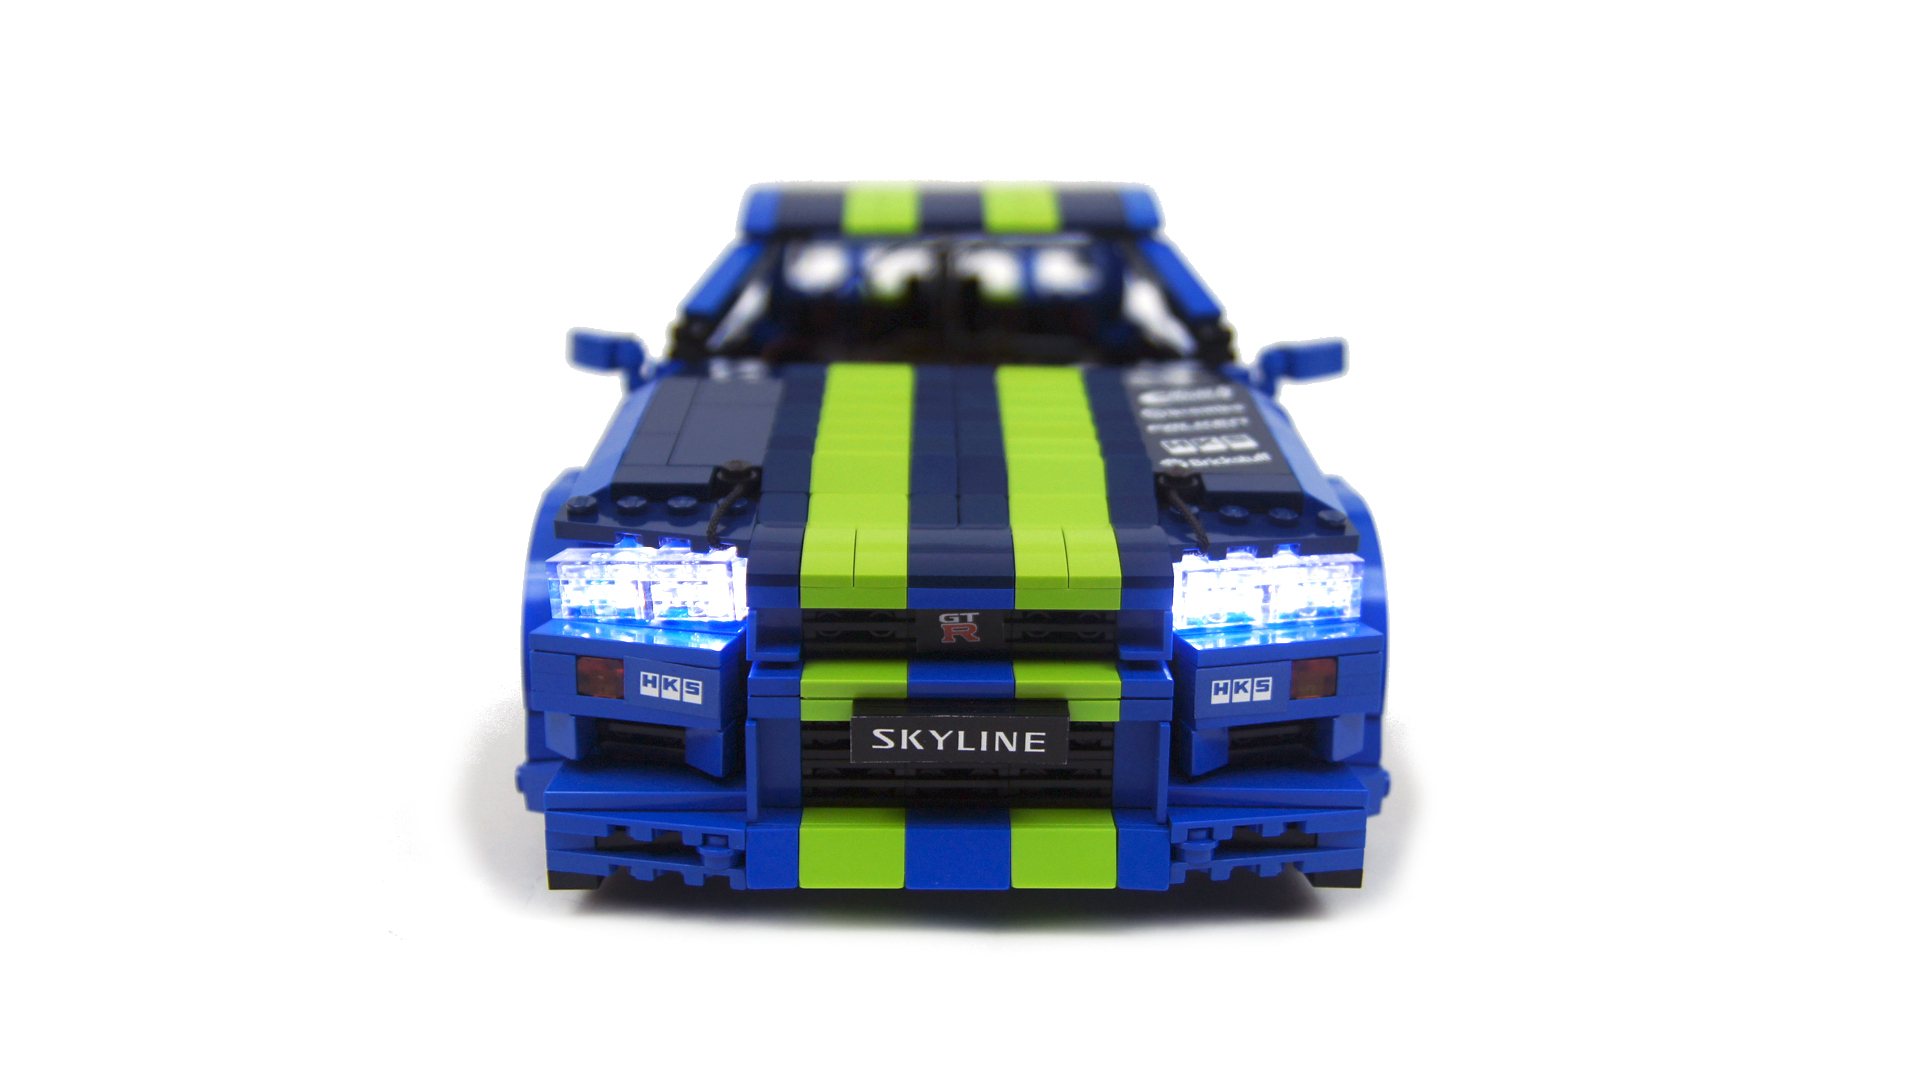
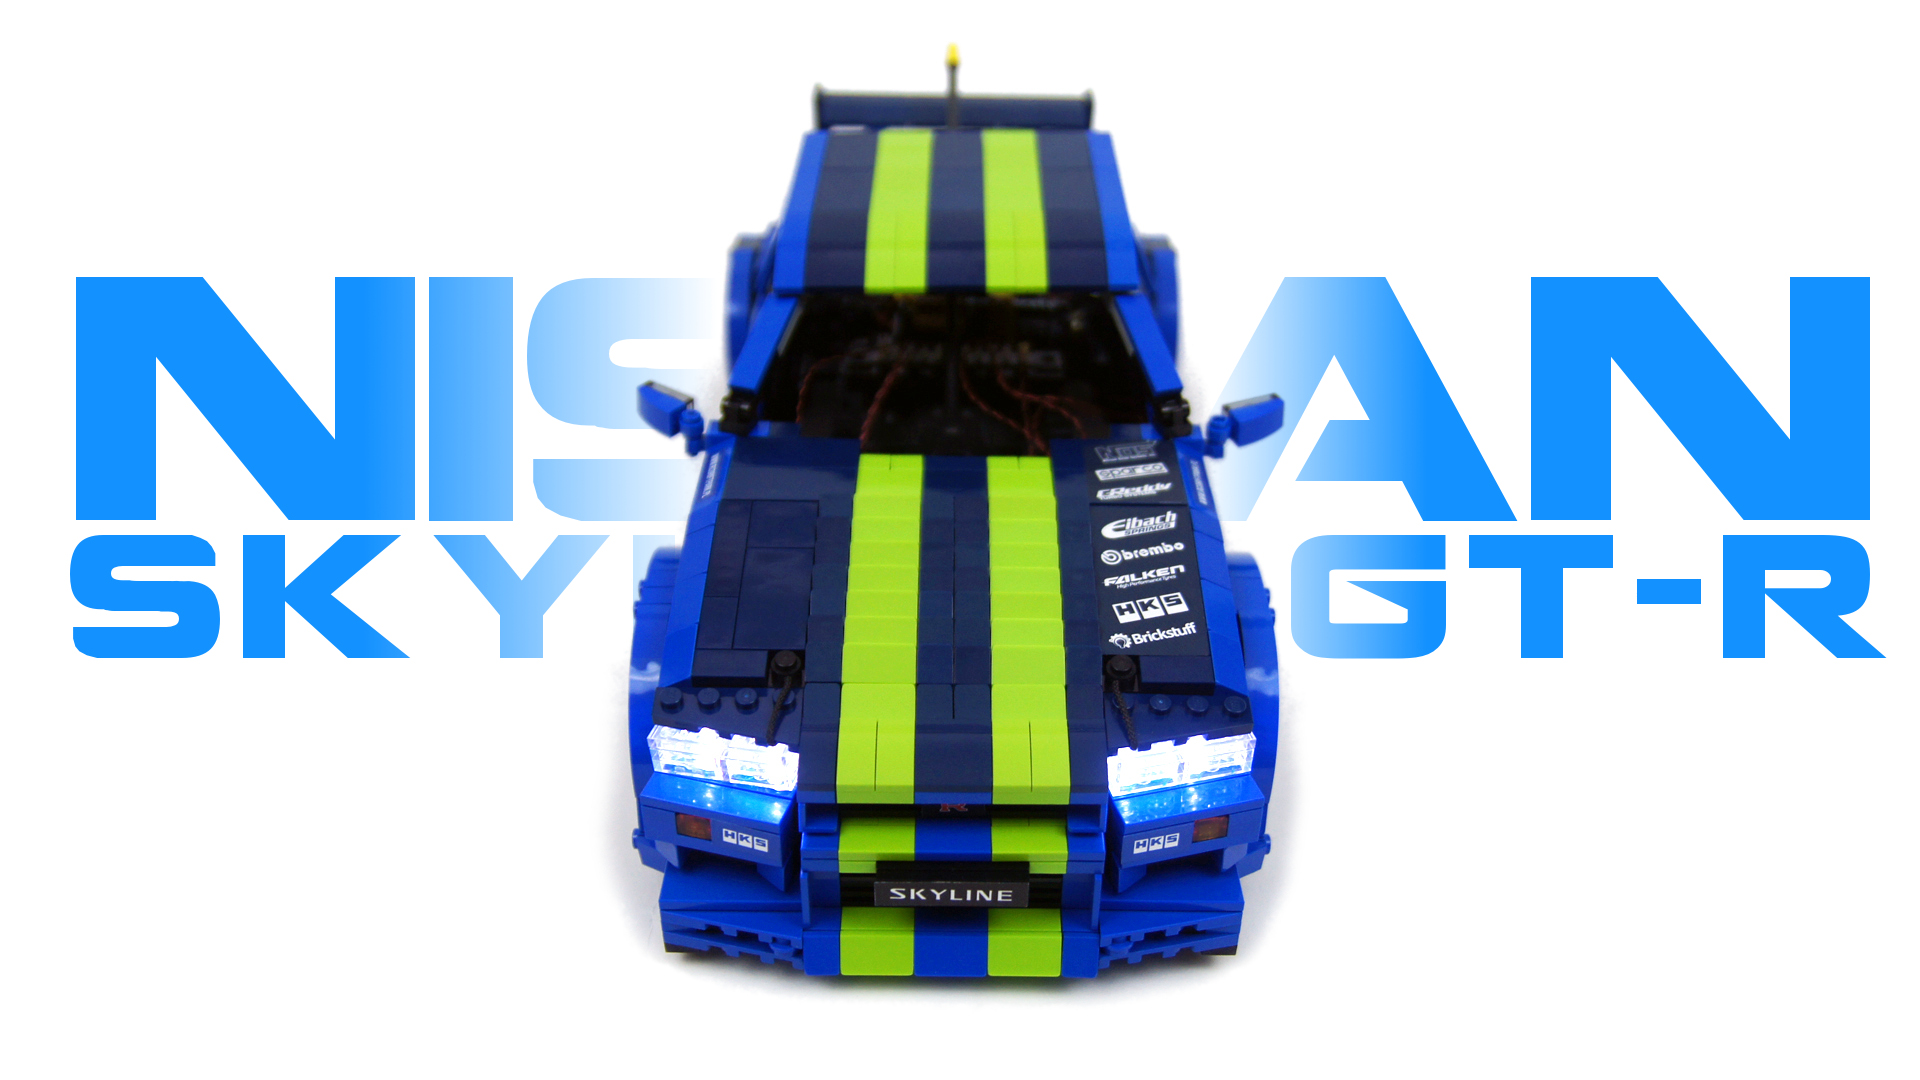
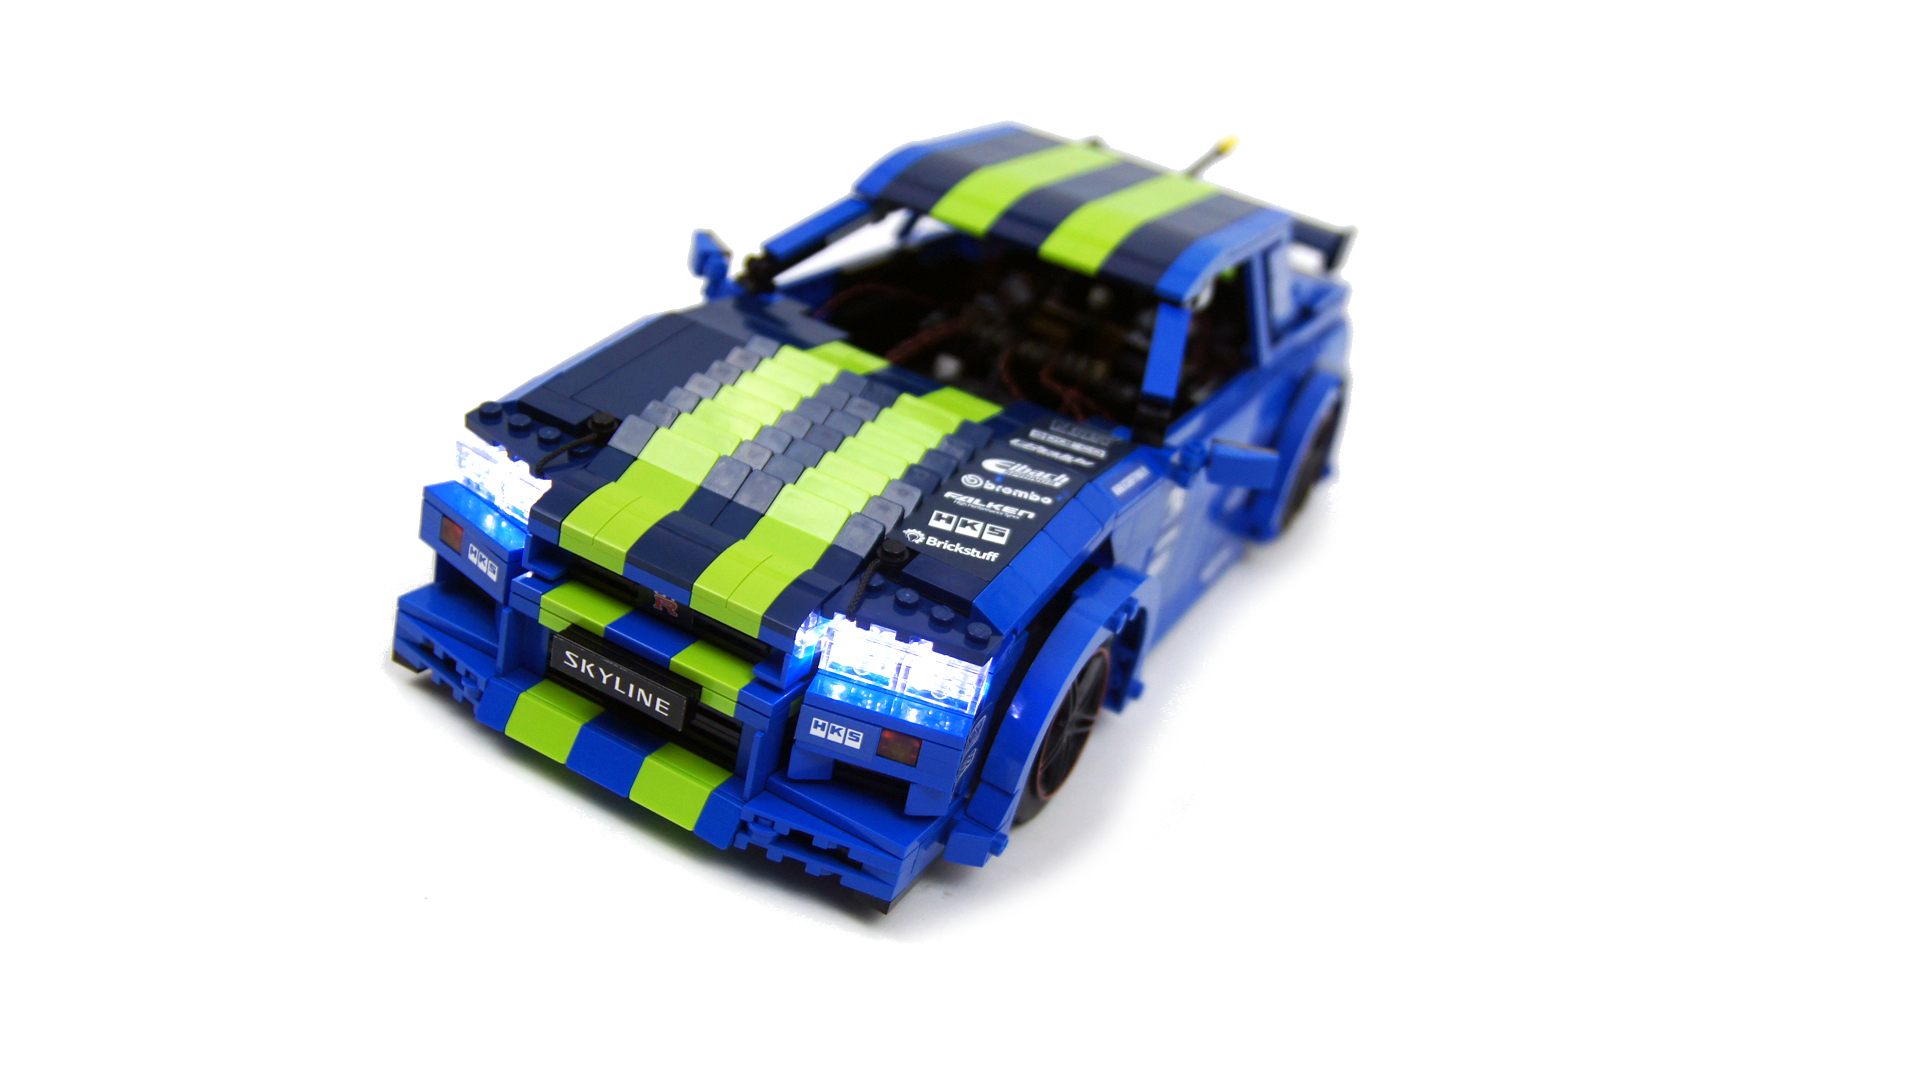
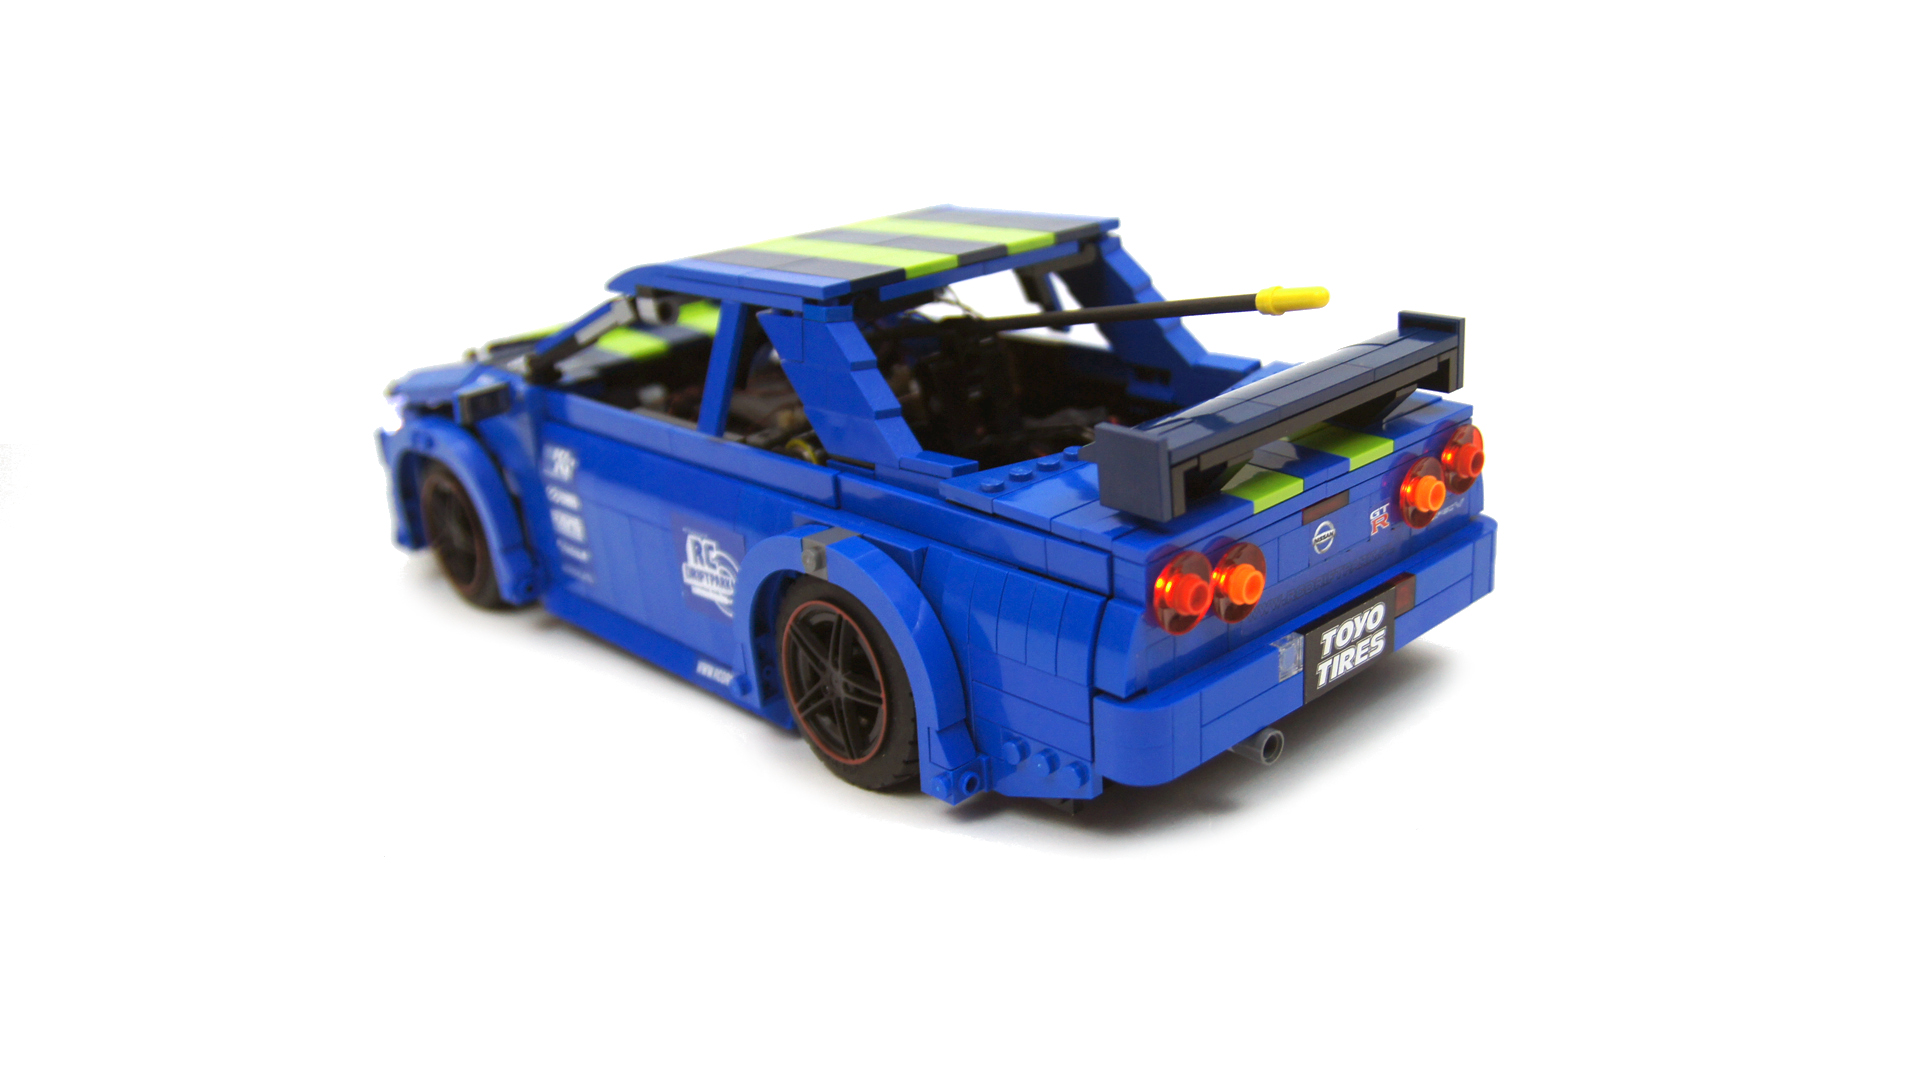
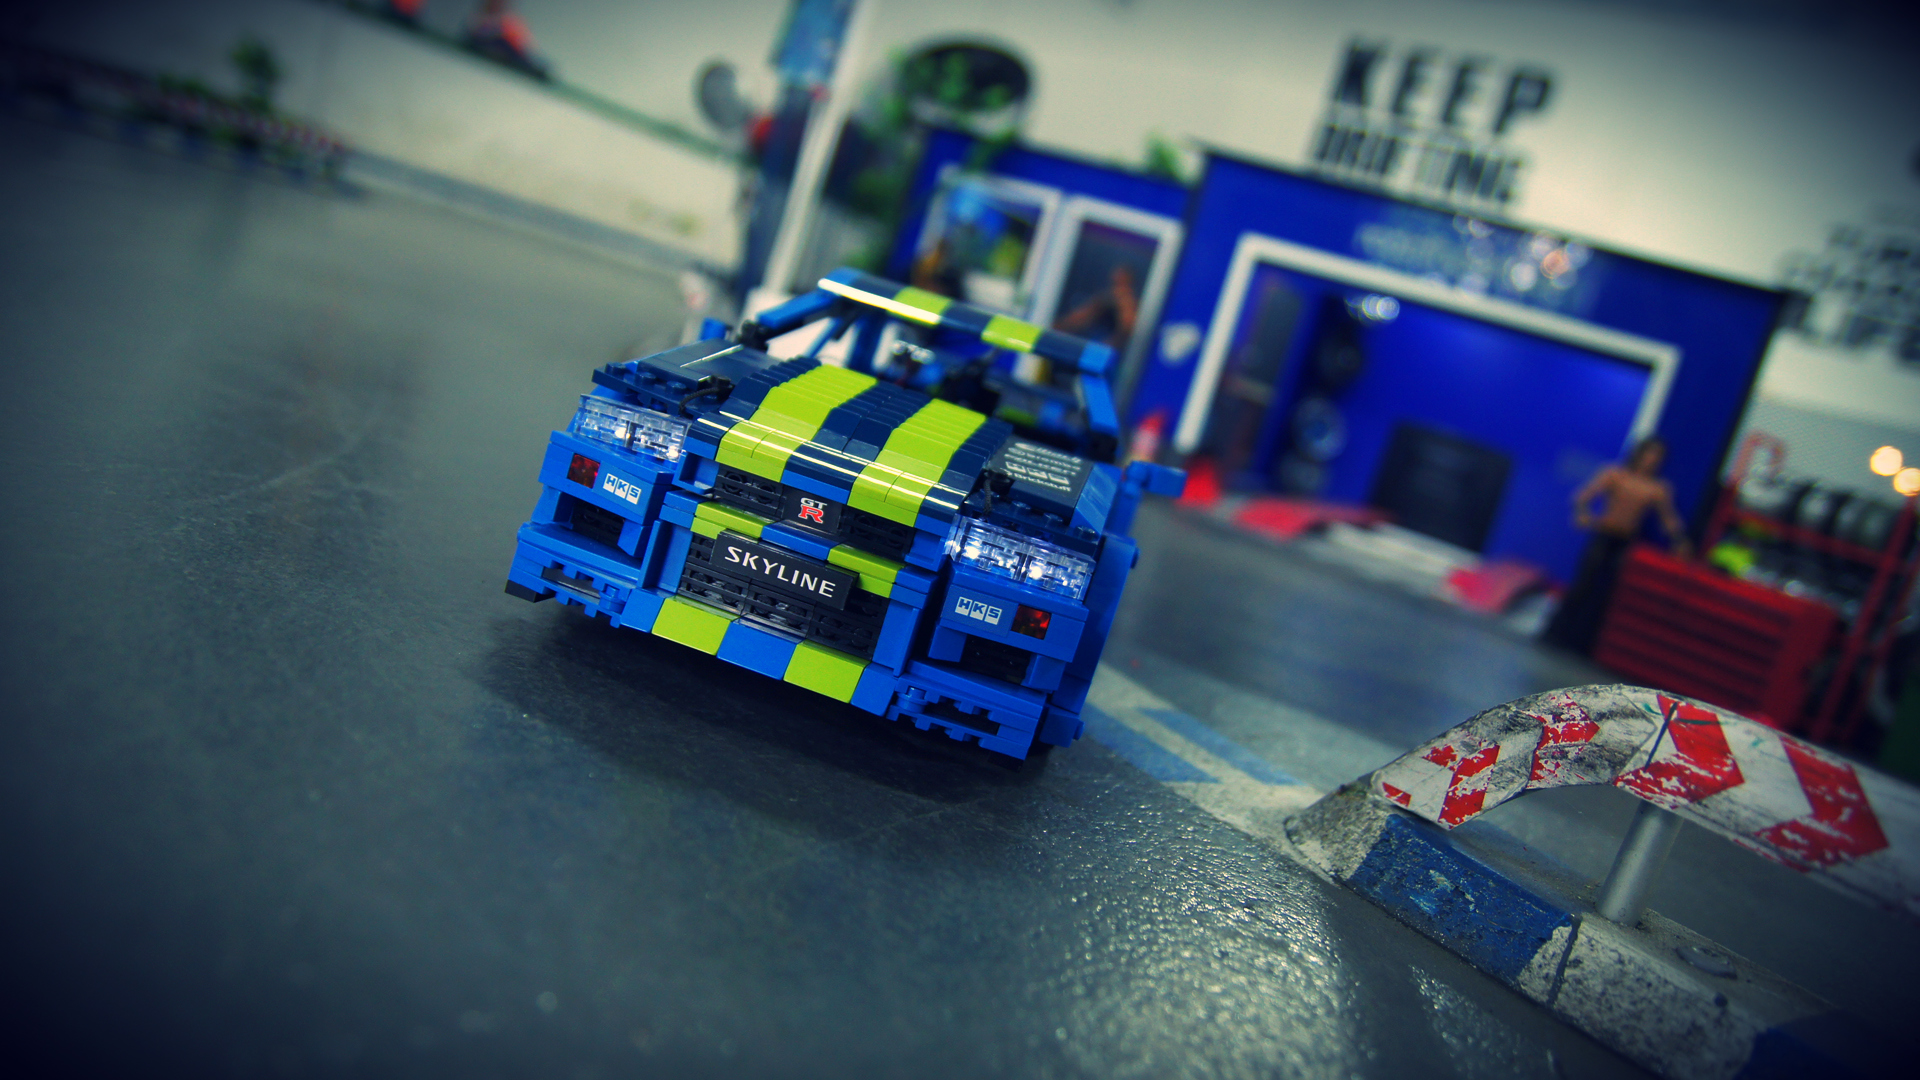
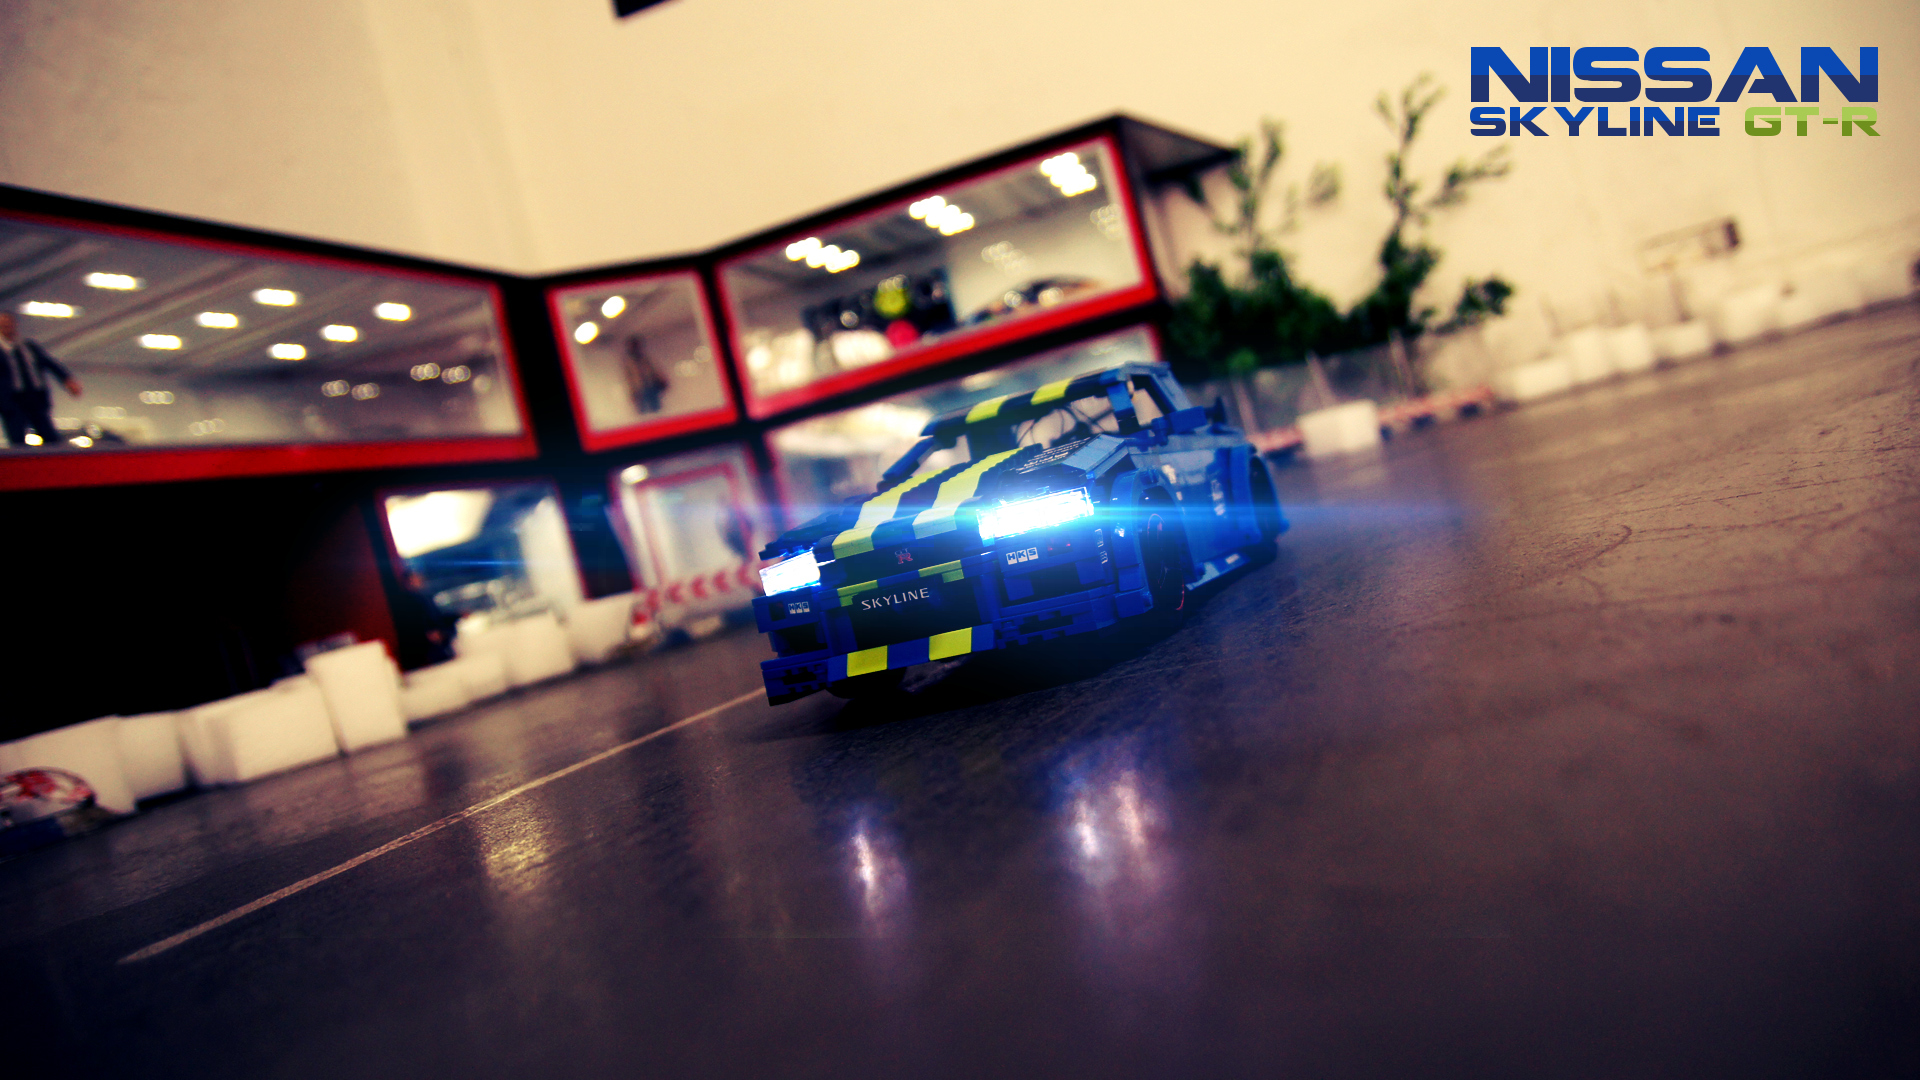
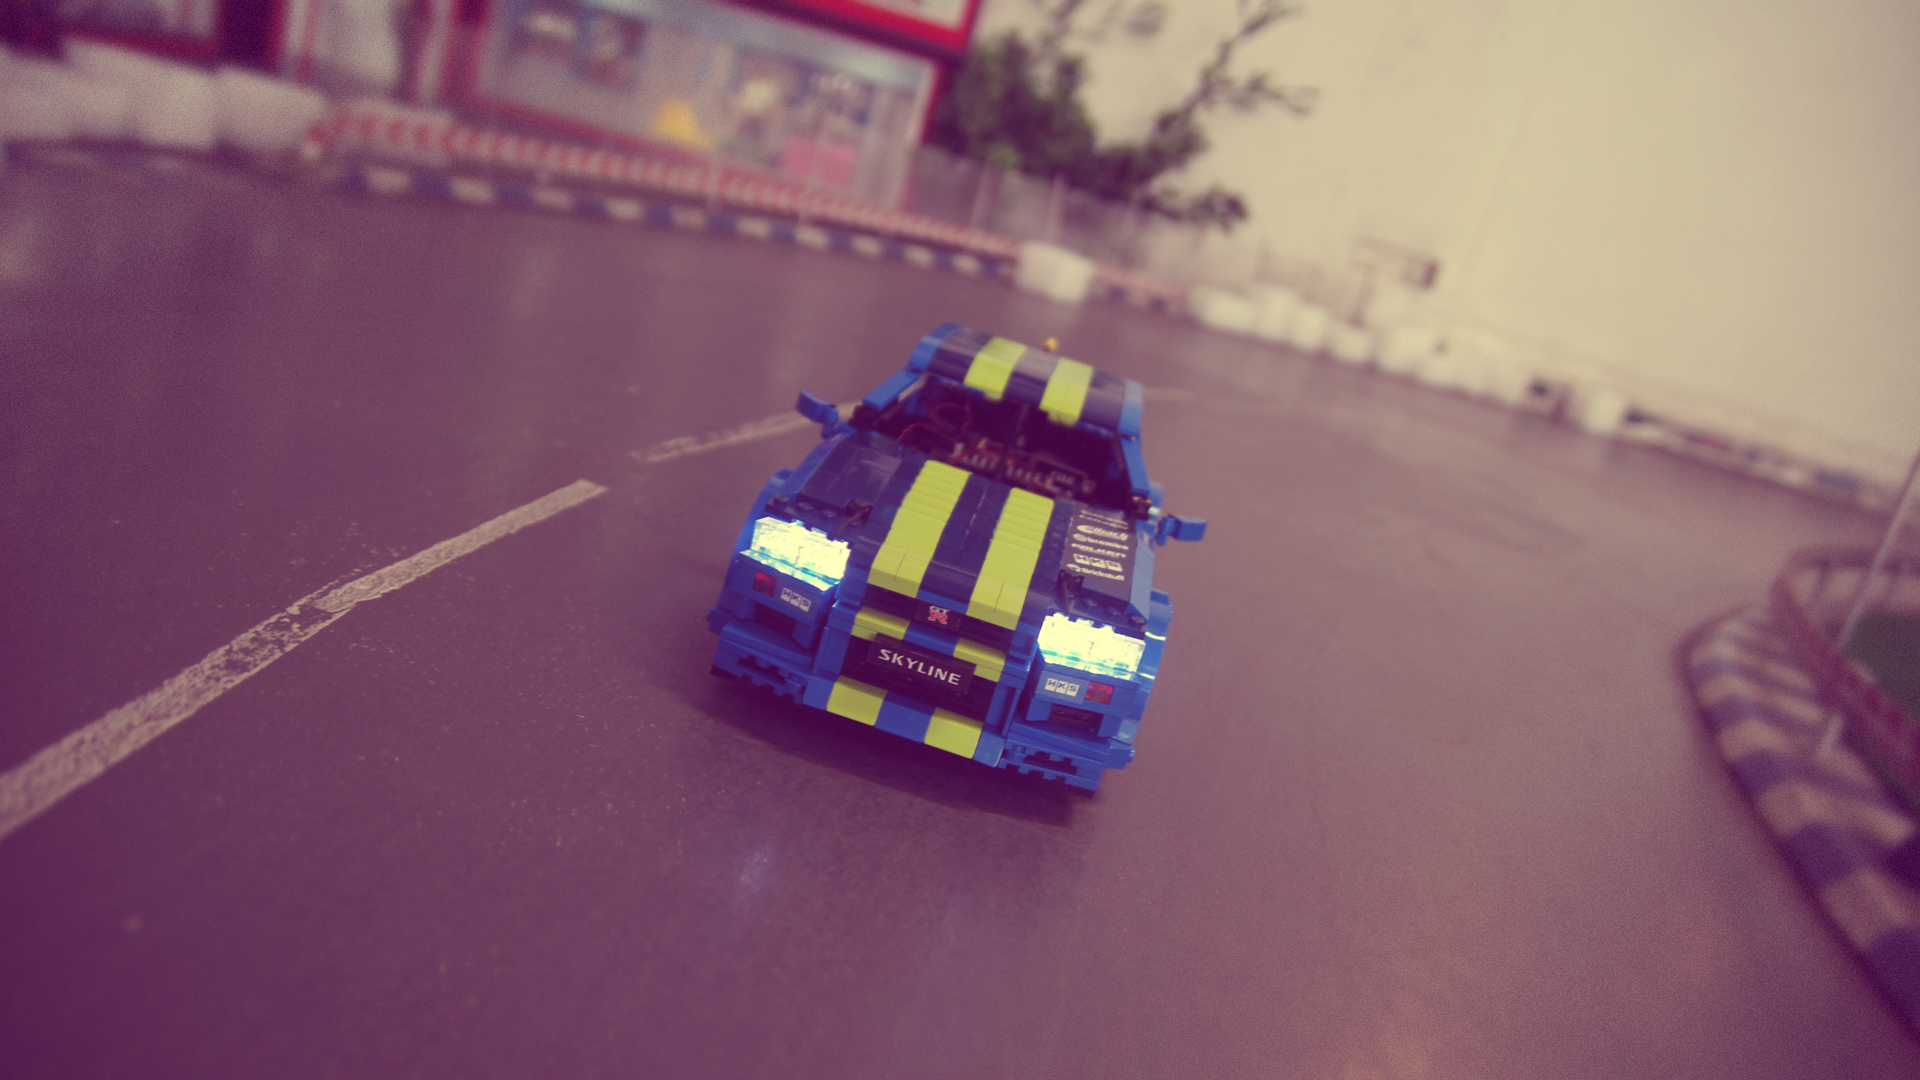
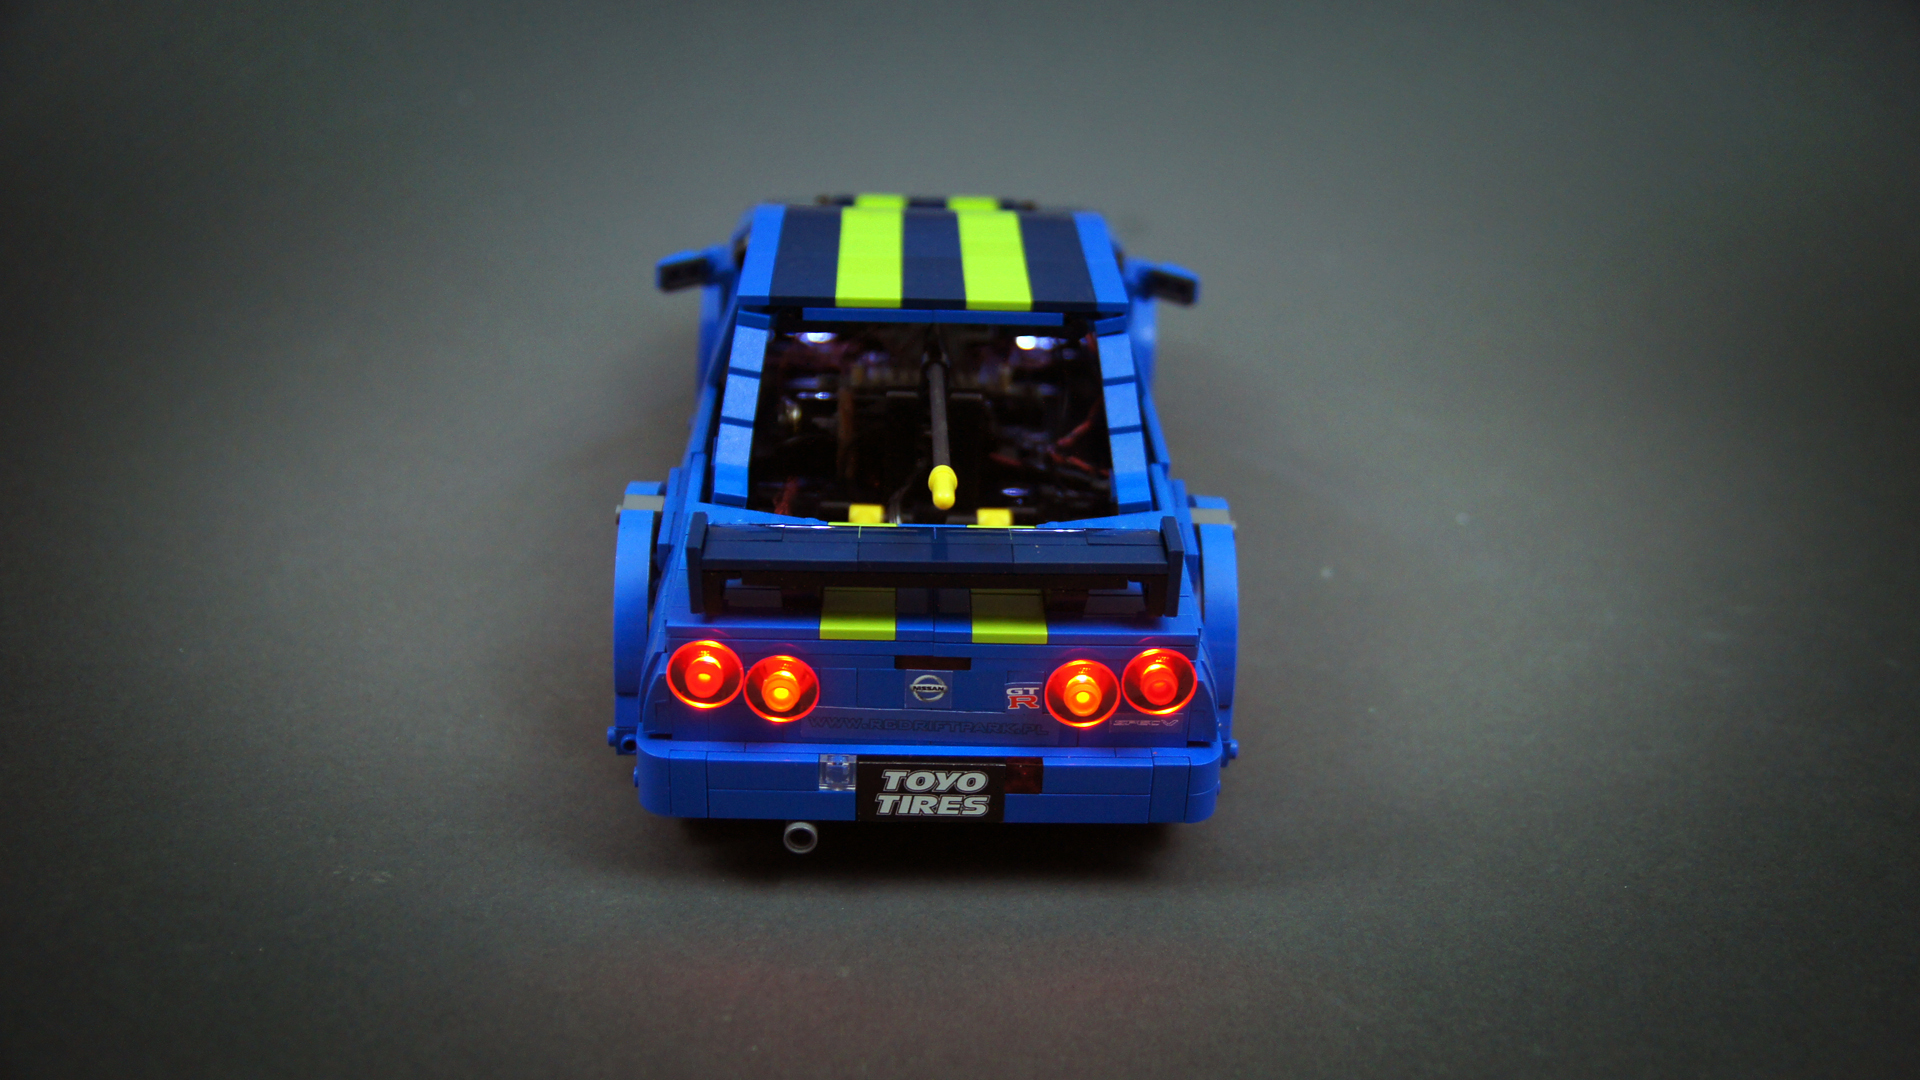
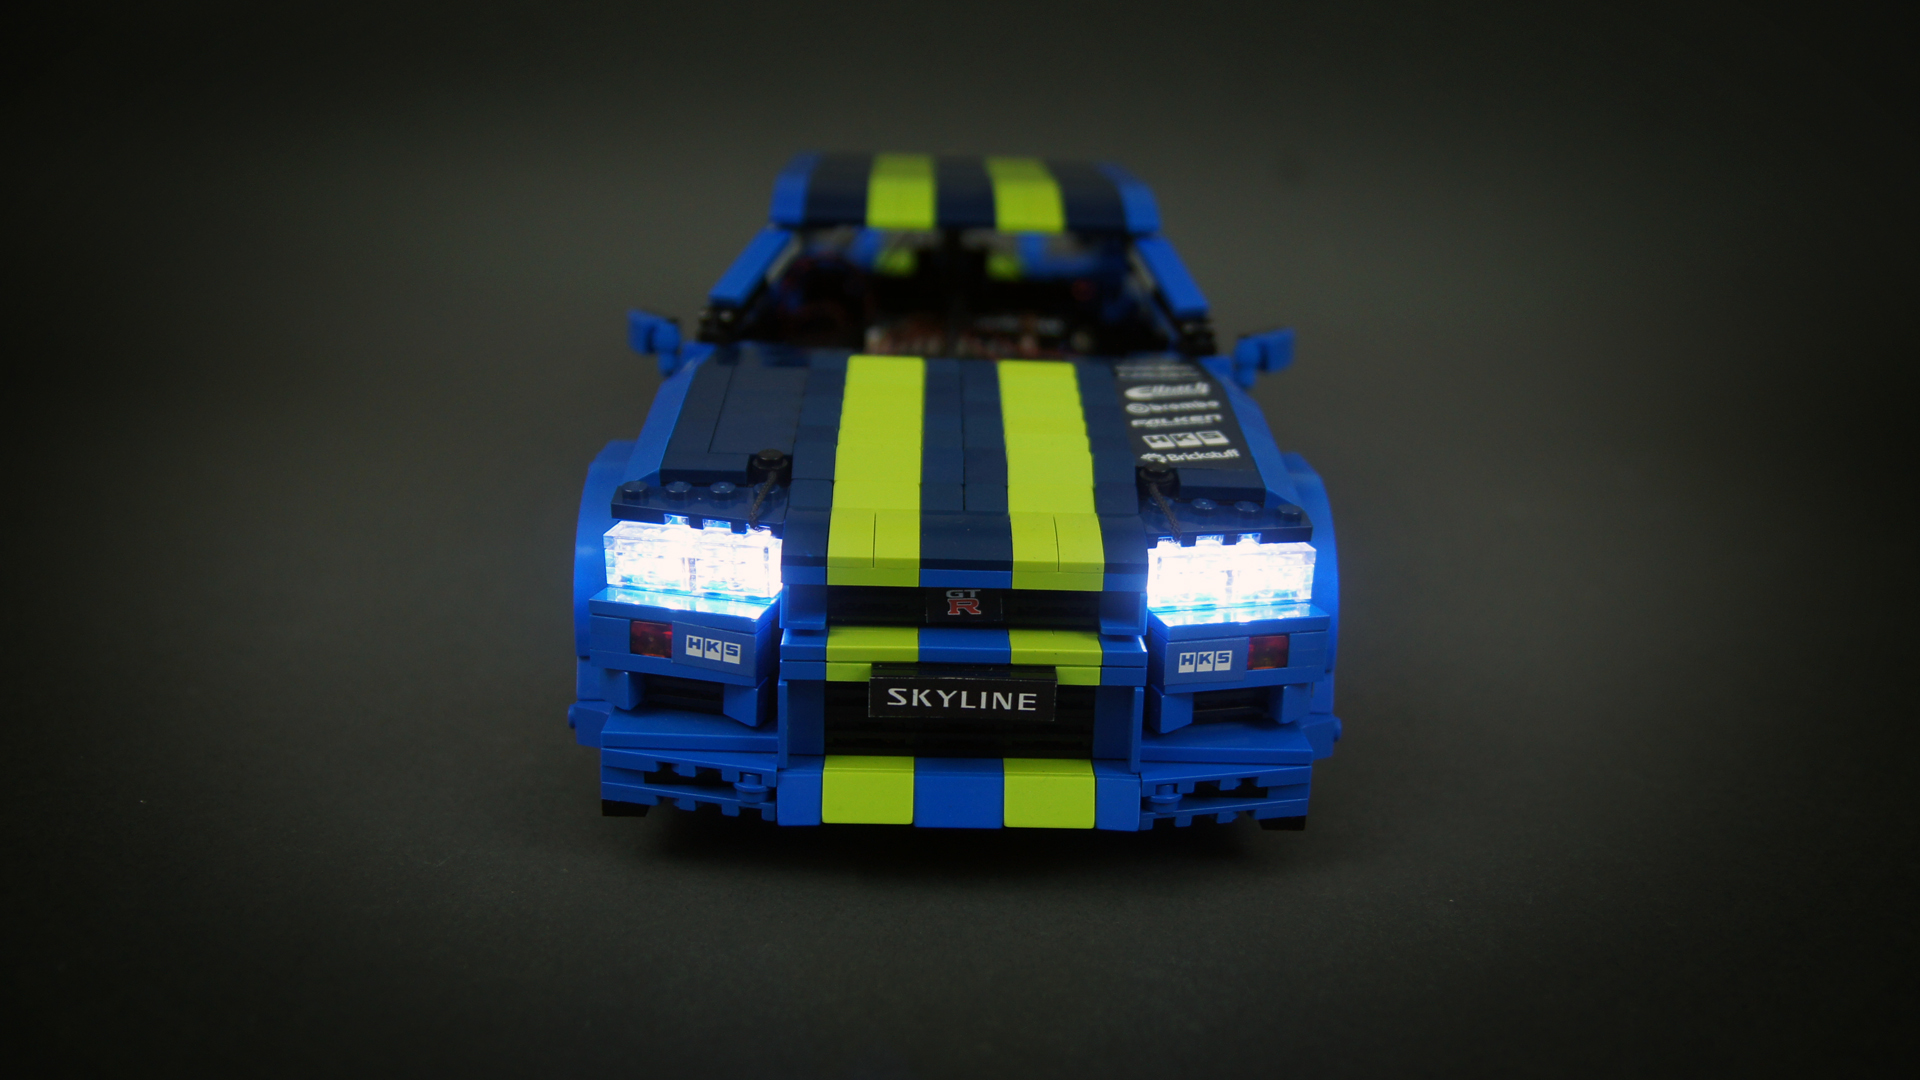
The model used 8 pico LEDs by Brickstuff, four in front and four in back. These LEDs are unique in being extremely small but quite powerful. Each of the headlights had two of these, simply inserted under it, which, sadly, resulted in a minuscule gap below the headlight, making it prone to being knocked slightly askew, as seen on some photos. I have spent quite a while working on the taillights until I’ve come up with red 2×2 red dishes inserted into pin holes with LEDs just behind them. With the center of the dish blocked by 1×1 round plate, it resulted in the entire dish being illuminated, with its edges glowing intense red. The entire setup was quite reliable and comfortable, with a small battery box housing a single AA battery powering it from inside the cabin. It did not look good exposed, though, making the inside of the cabin full of cables, electric parts, electronic boards etc. Solutions like this one have great potential, but they look best with their inner works concealed from sight. For a while I was also trying to add a blue underglow effect to the model’s body, experimenting with a number of solutions, from Lifelites’ RGB LEDs to EL wires. But each of these provided light that was either too faint or too concentrated, while eating up a lot of the precious room inside the body.
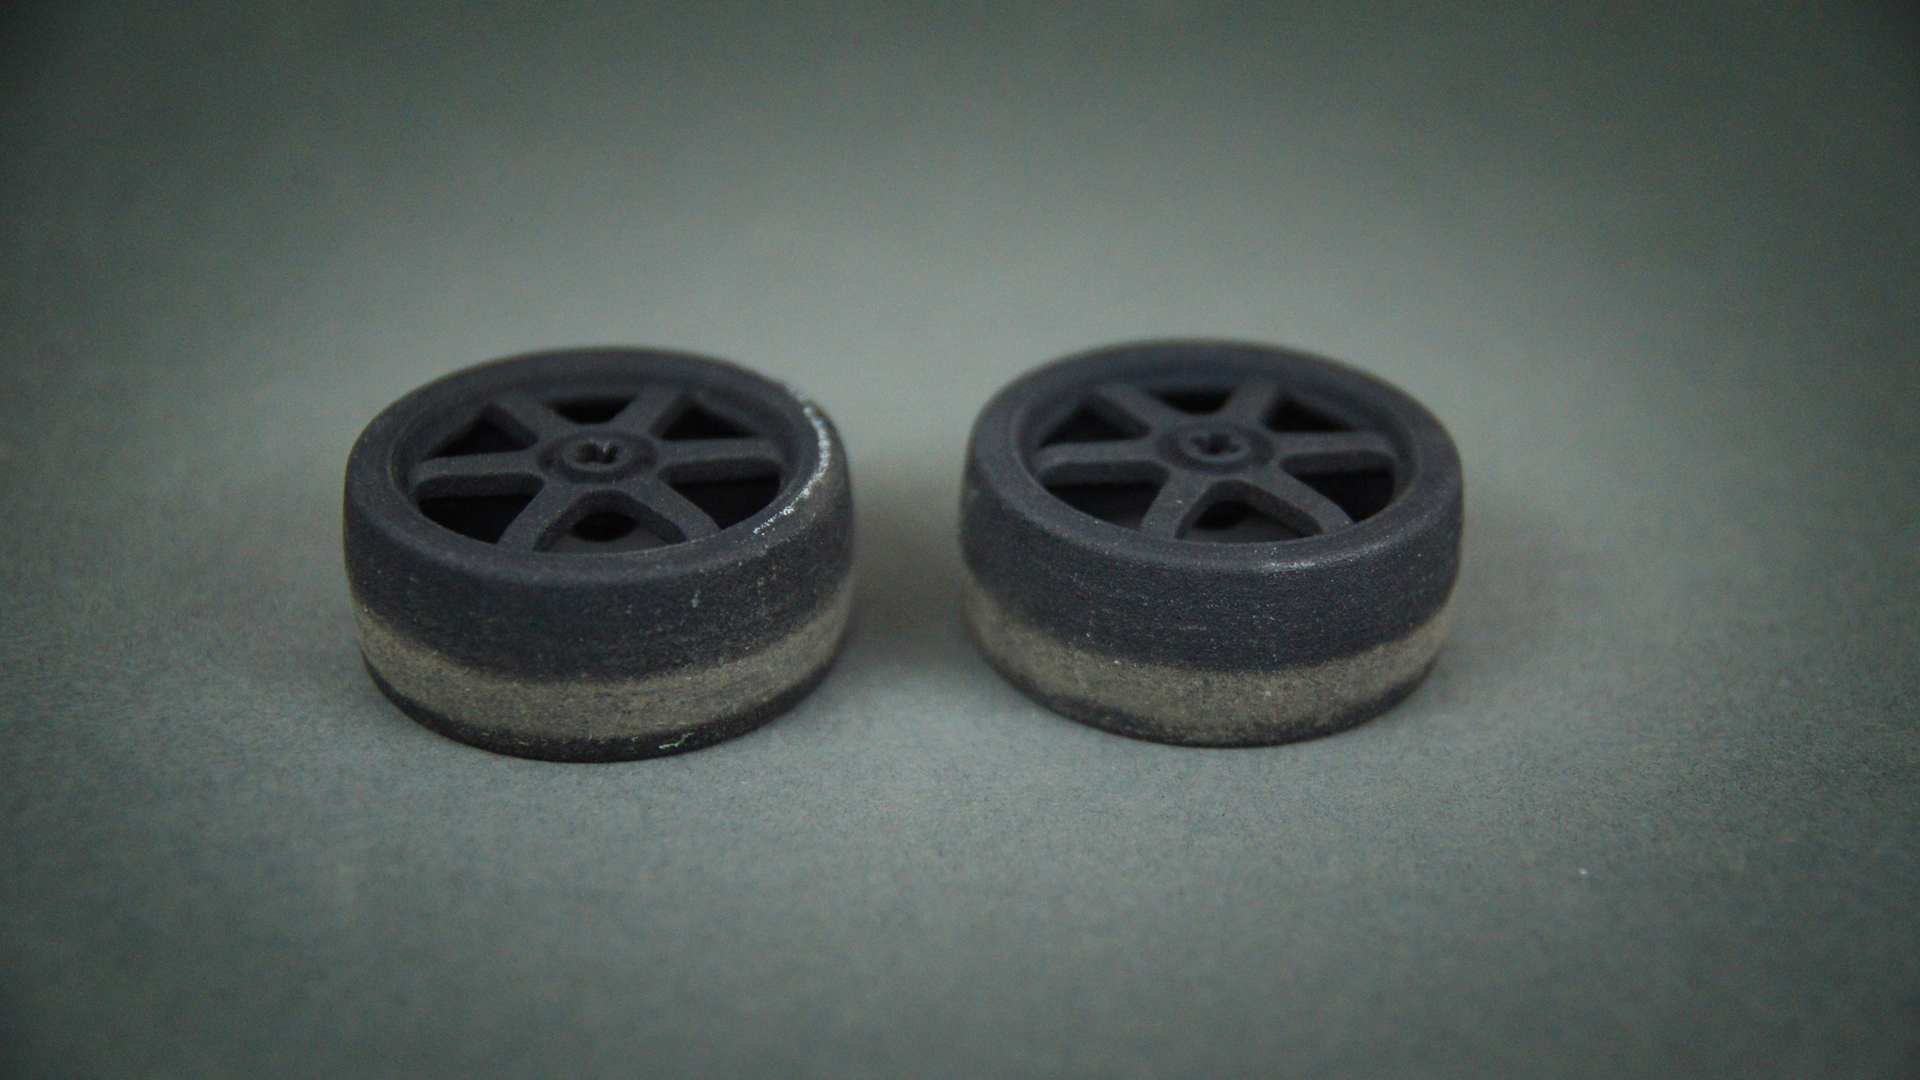
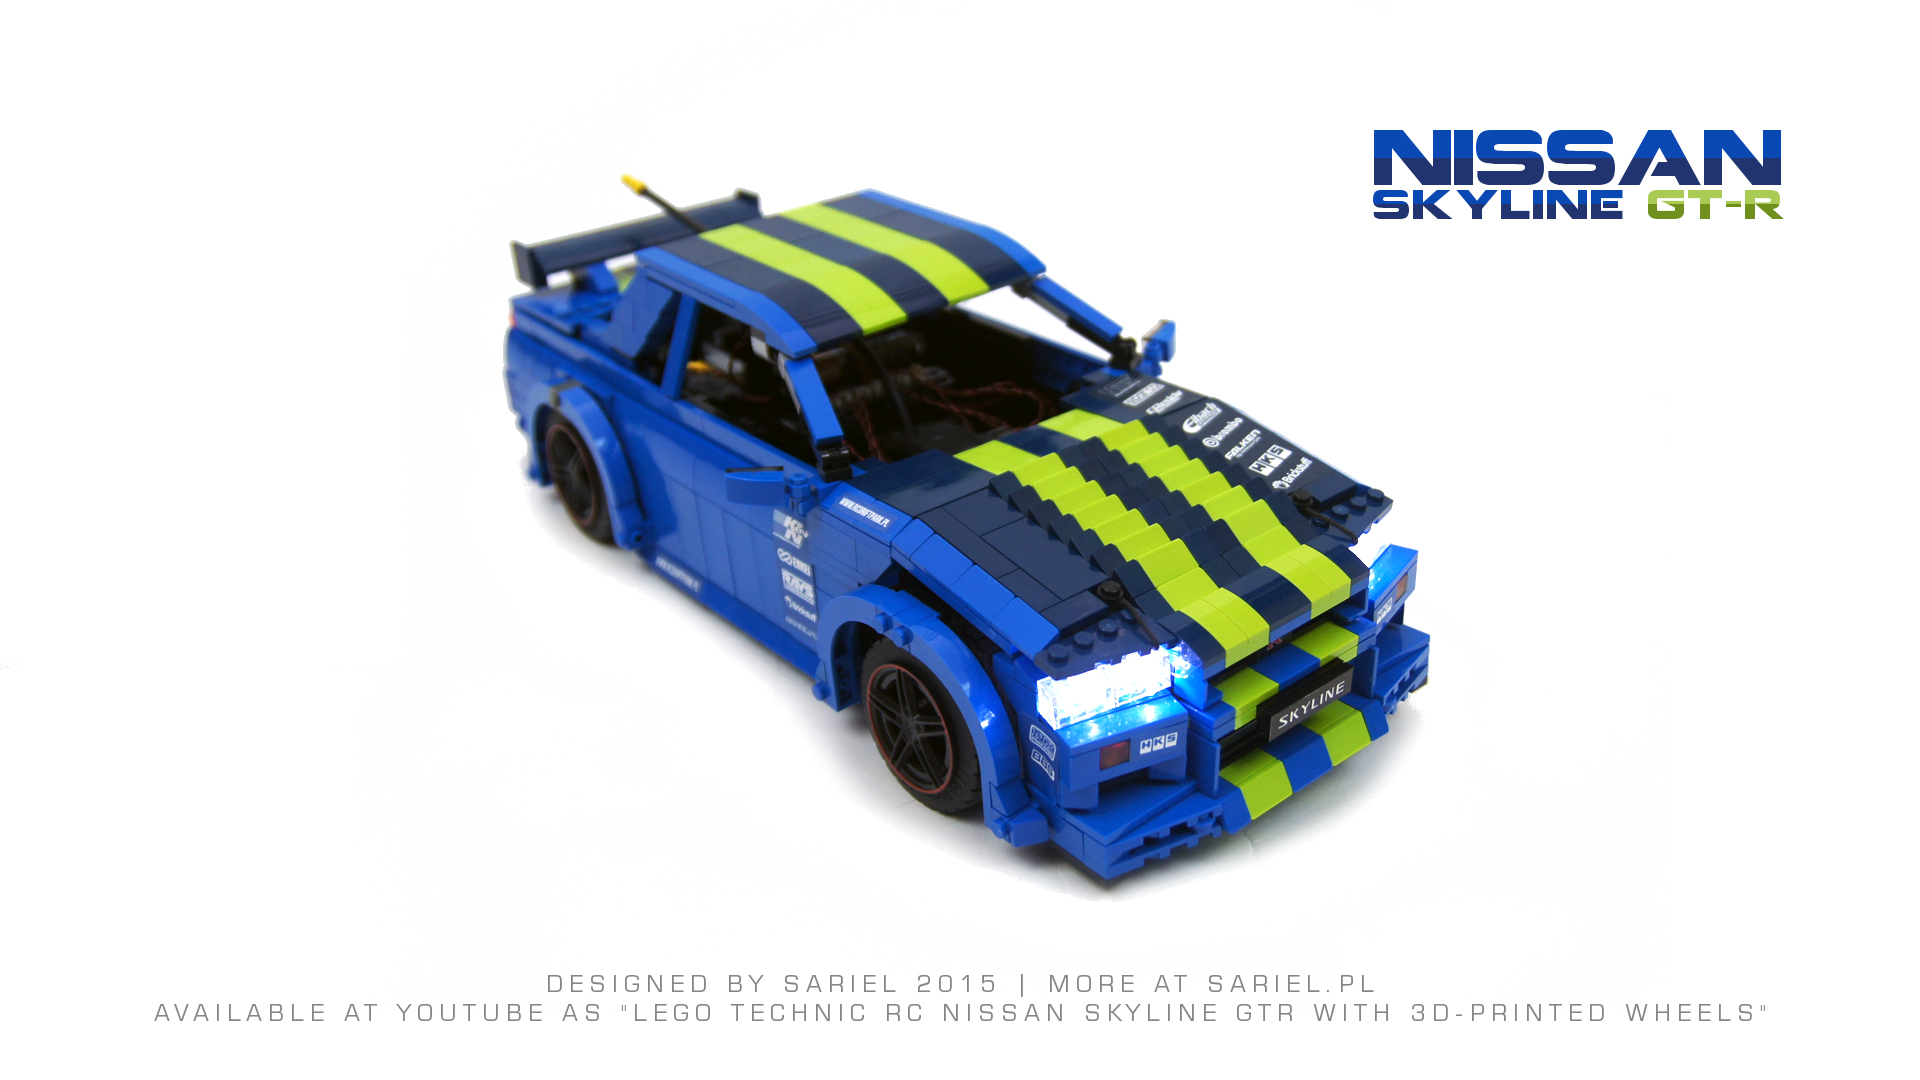
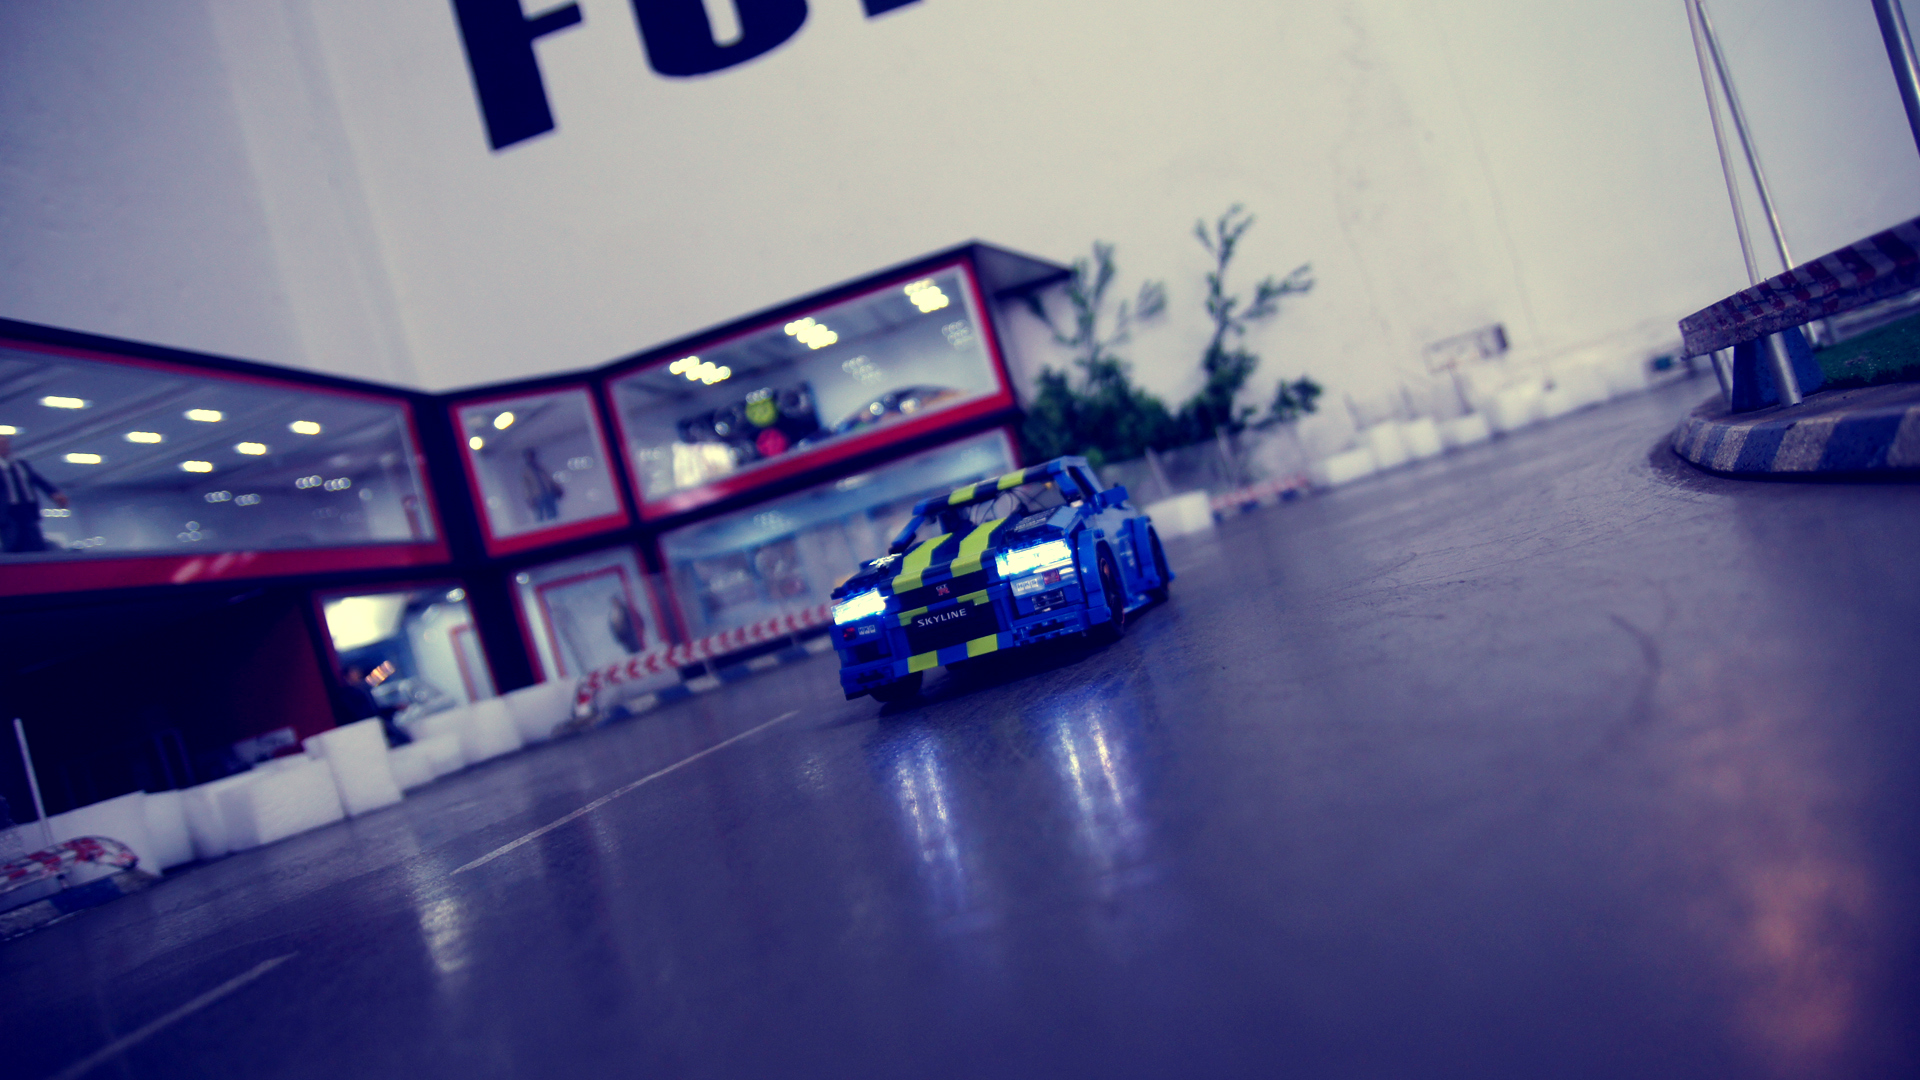
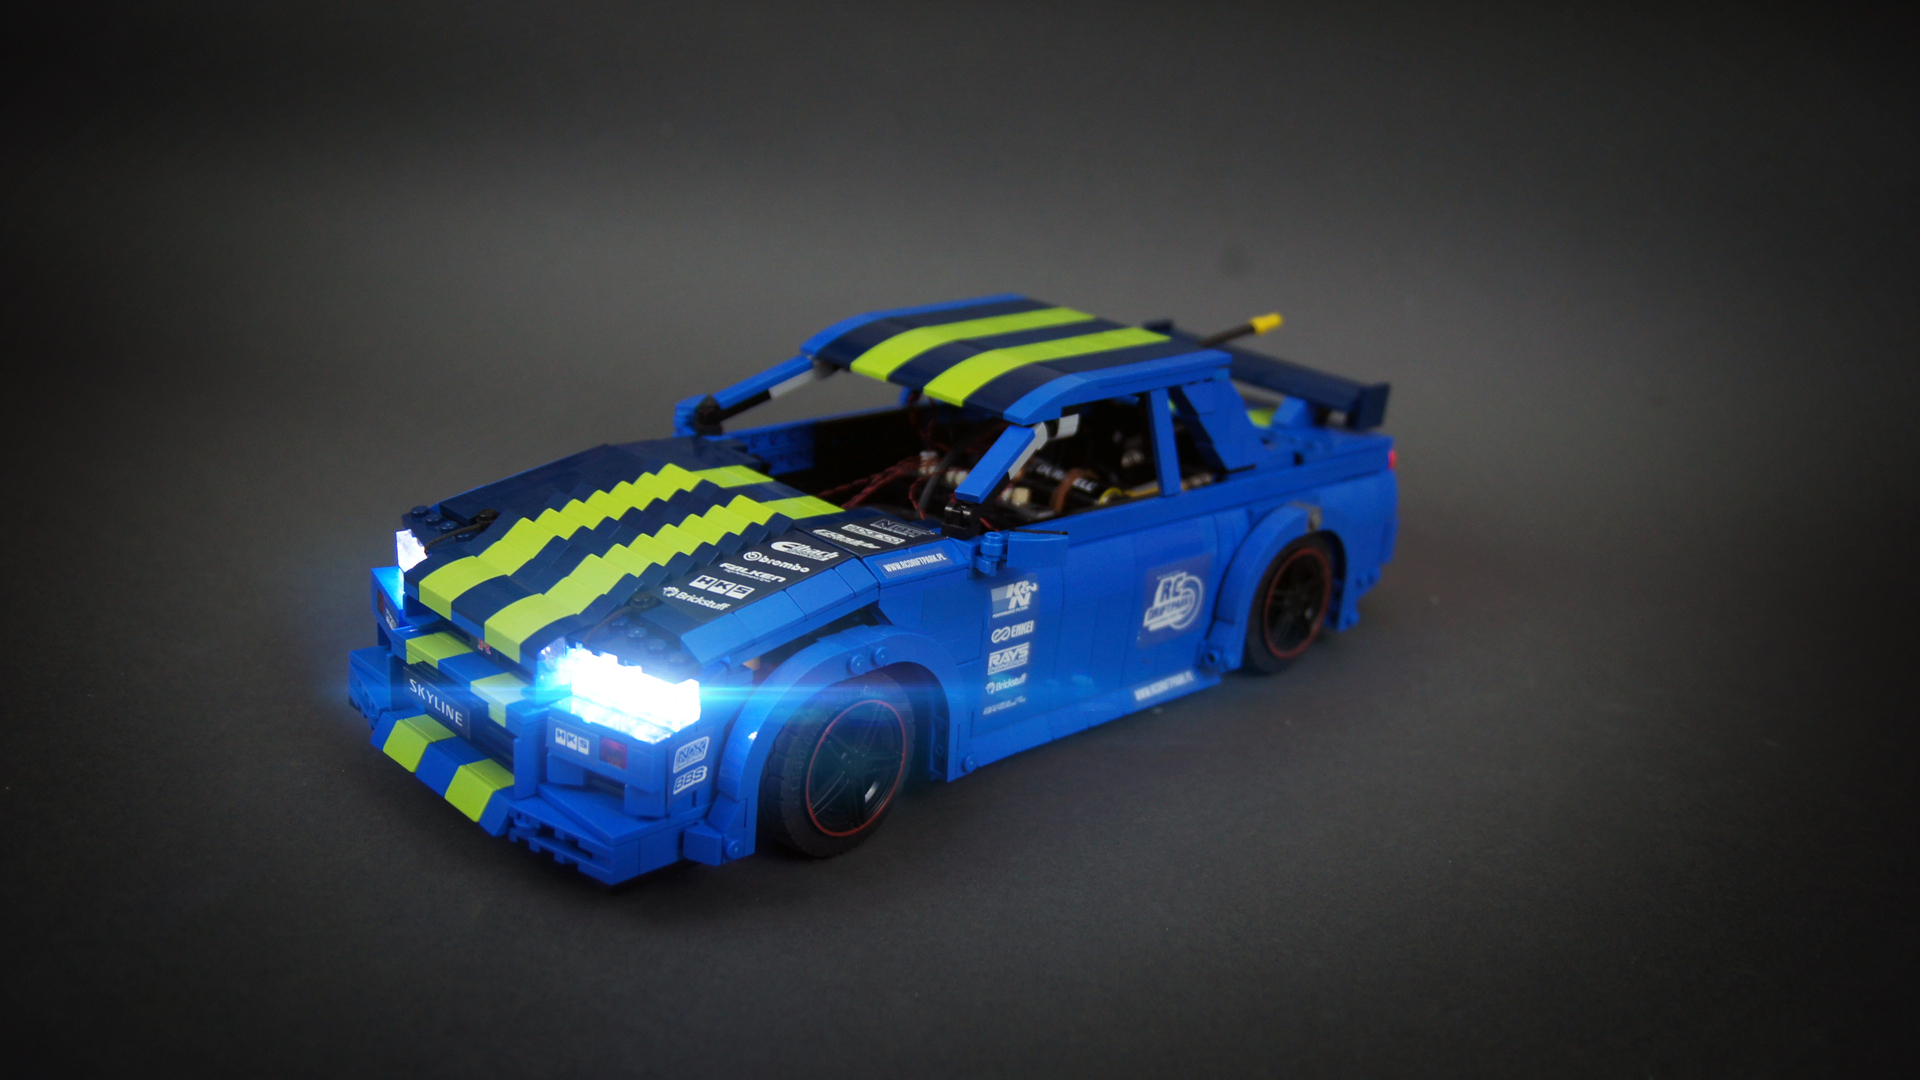
While working on the model, I have started co-operated with Seven Studs, and when trying to think of things we could print in 3D, we have quickly thought of drifting wheels for this model. Thus it was designed for two sets of wheels: Lego wheels with tires, and solid 3D-printed drifting wheels that came as single pieces, rim and “tire” together. The drifting wheels performed above my expectations, ensuring speed and acceleration equal to Lego wheels while driving straight, and resulting in immediate drift when making a turn. They also provided surprisingly smooth ride, as proved by on-board camera’s recordings, with practically no vibrations despite their initially grainy surface. As could be expected, their outer surface was heavily worn after about 30 minutes of drifting, which suggests that the durability of parts like these can be an issue in the long run.
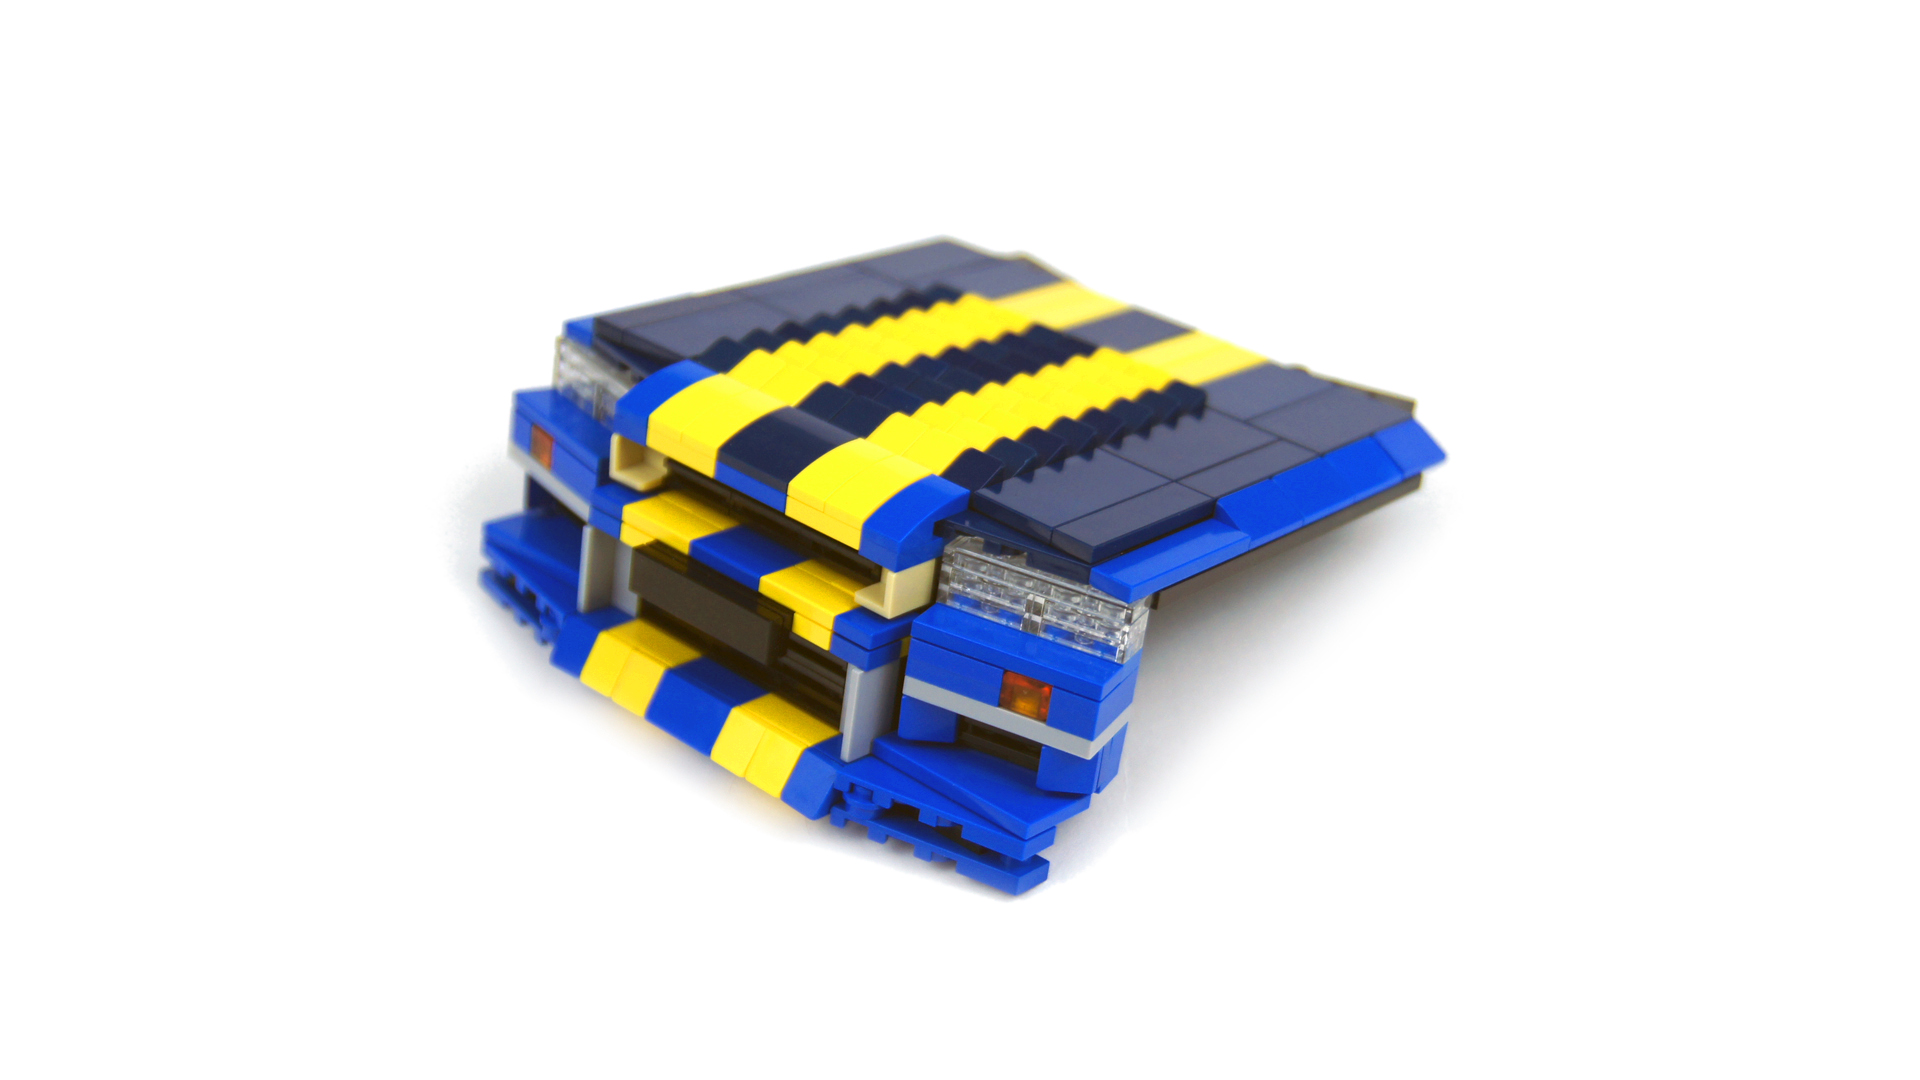
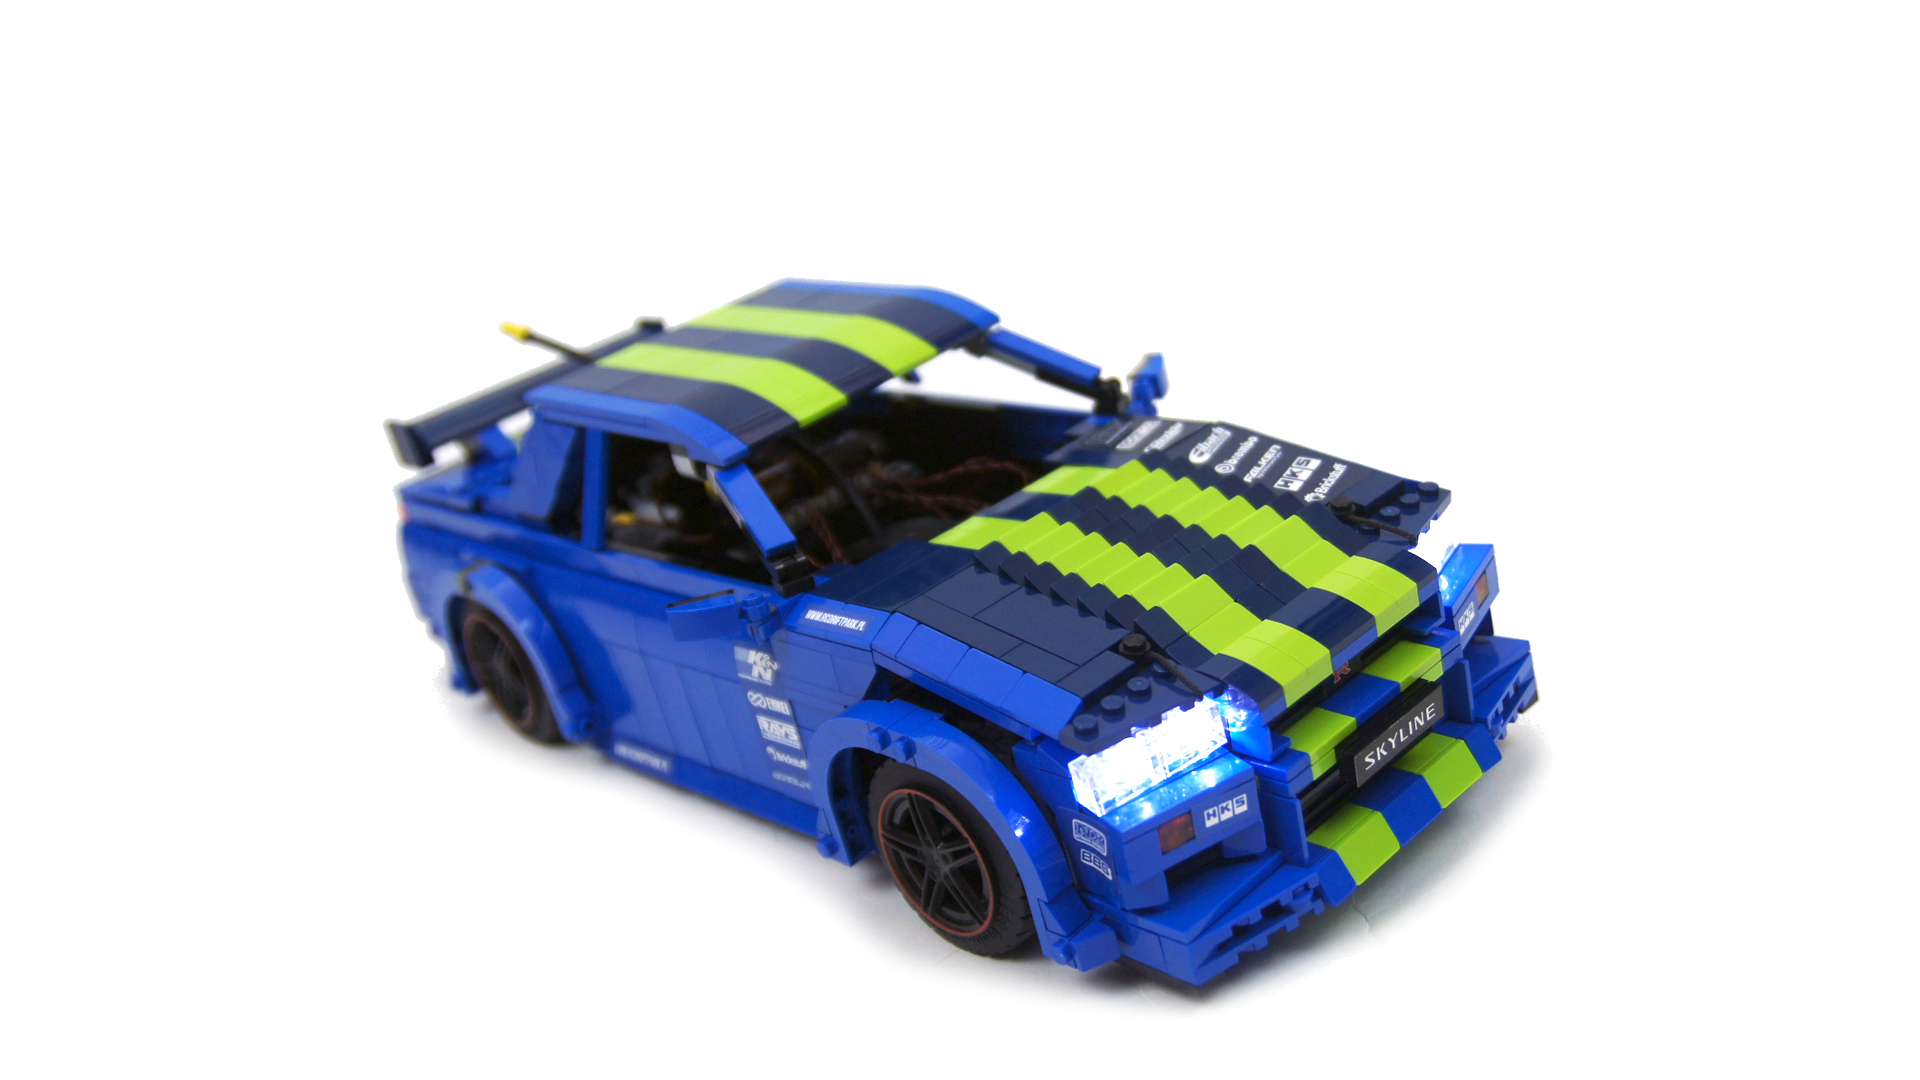
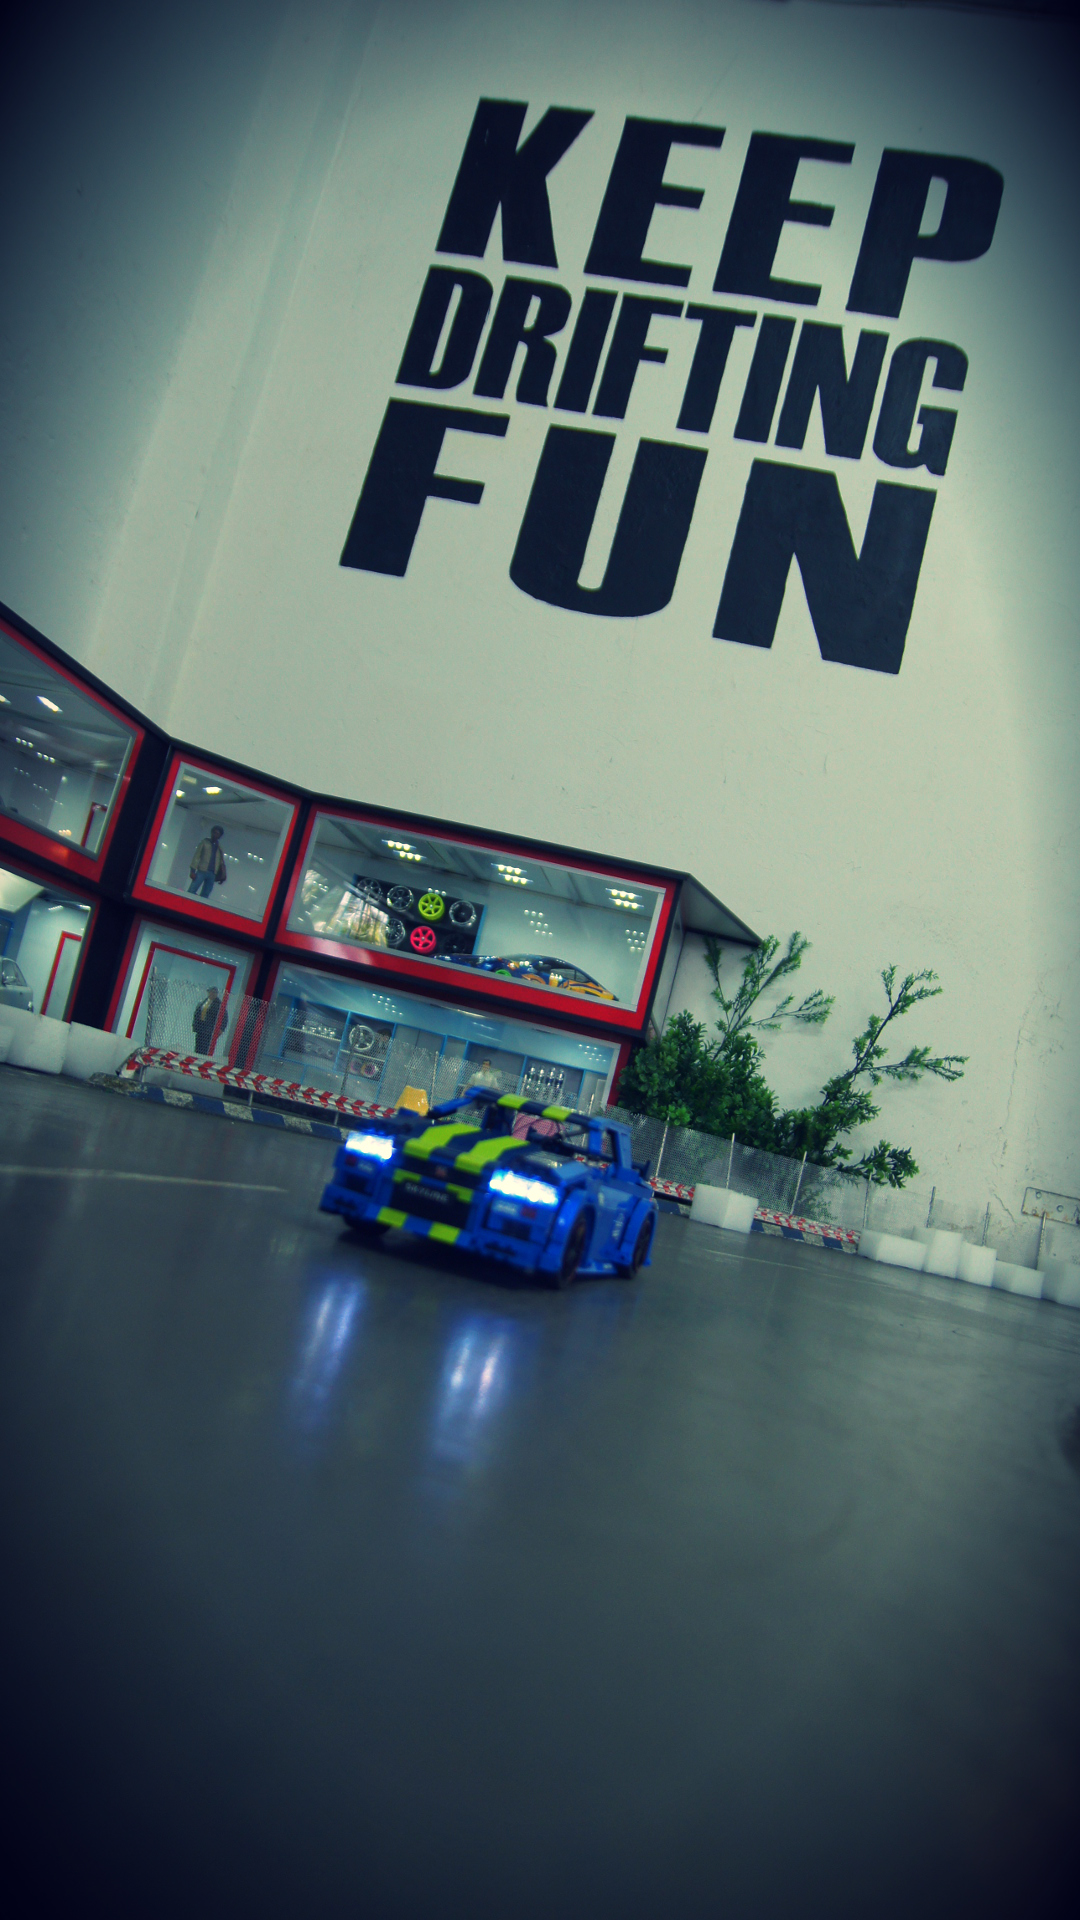
On the aesthetic side, the model benefited greatly from the body colors, which helped to distract the viewer from somewhat botched proportions. There were a lot of things I didn’t like about the body, from the hood which had to be “broken” to allow the front suspension to fit under, through the rear suspension sitting lower than the front one, all the way to the roof which looked just weird, no matter how many times I’ve checked its dimensions. Everybody knows that a proper R34 needs to be blue, and since I have a soft spot for Lego dark blue color, I decided to make the body blue with dark blue hood, roof and spoiler. This combination was complemented with lime stripes, which were yellow initially, but yellow just wasn’t unusual enough 😉 I was not happy with the looks, but in the end there is only so much you can do when the body is actually just a handful of thin plates held together by their edges around the RC unit. Al in all, the model looked best when seen from the front, as I spent no less than 2 weeks polishing its front end (but wasn’t 100% happy with it, either).
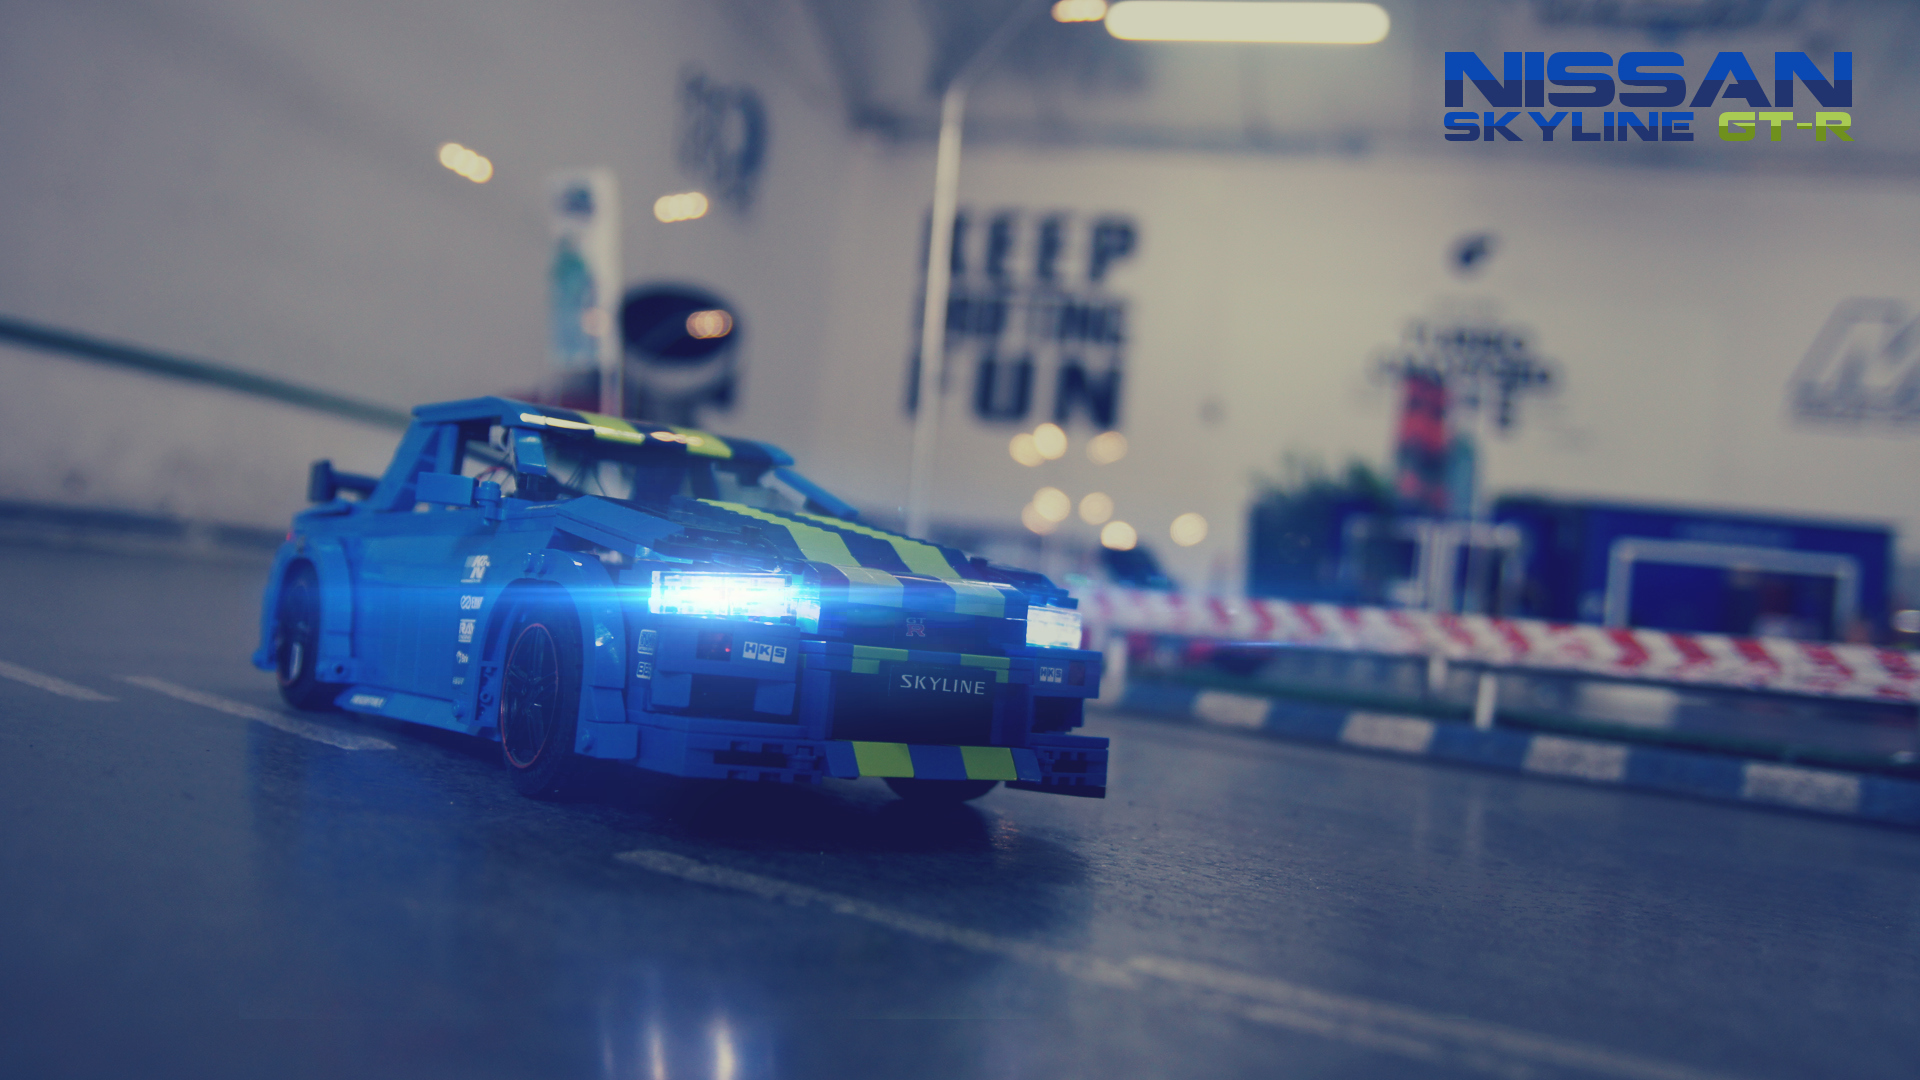
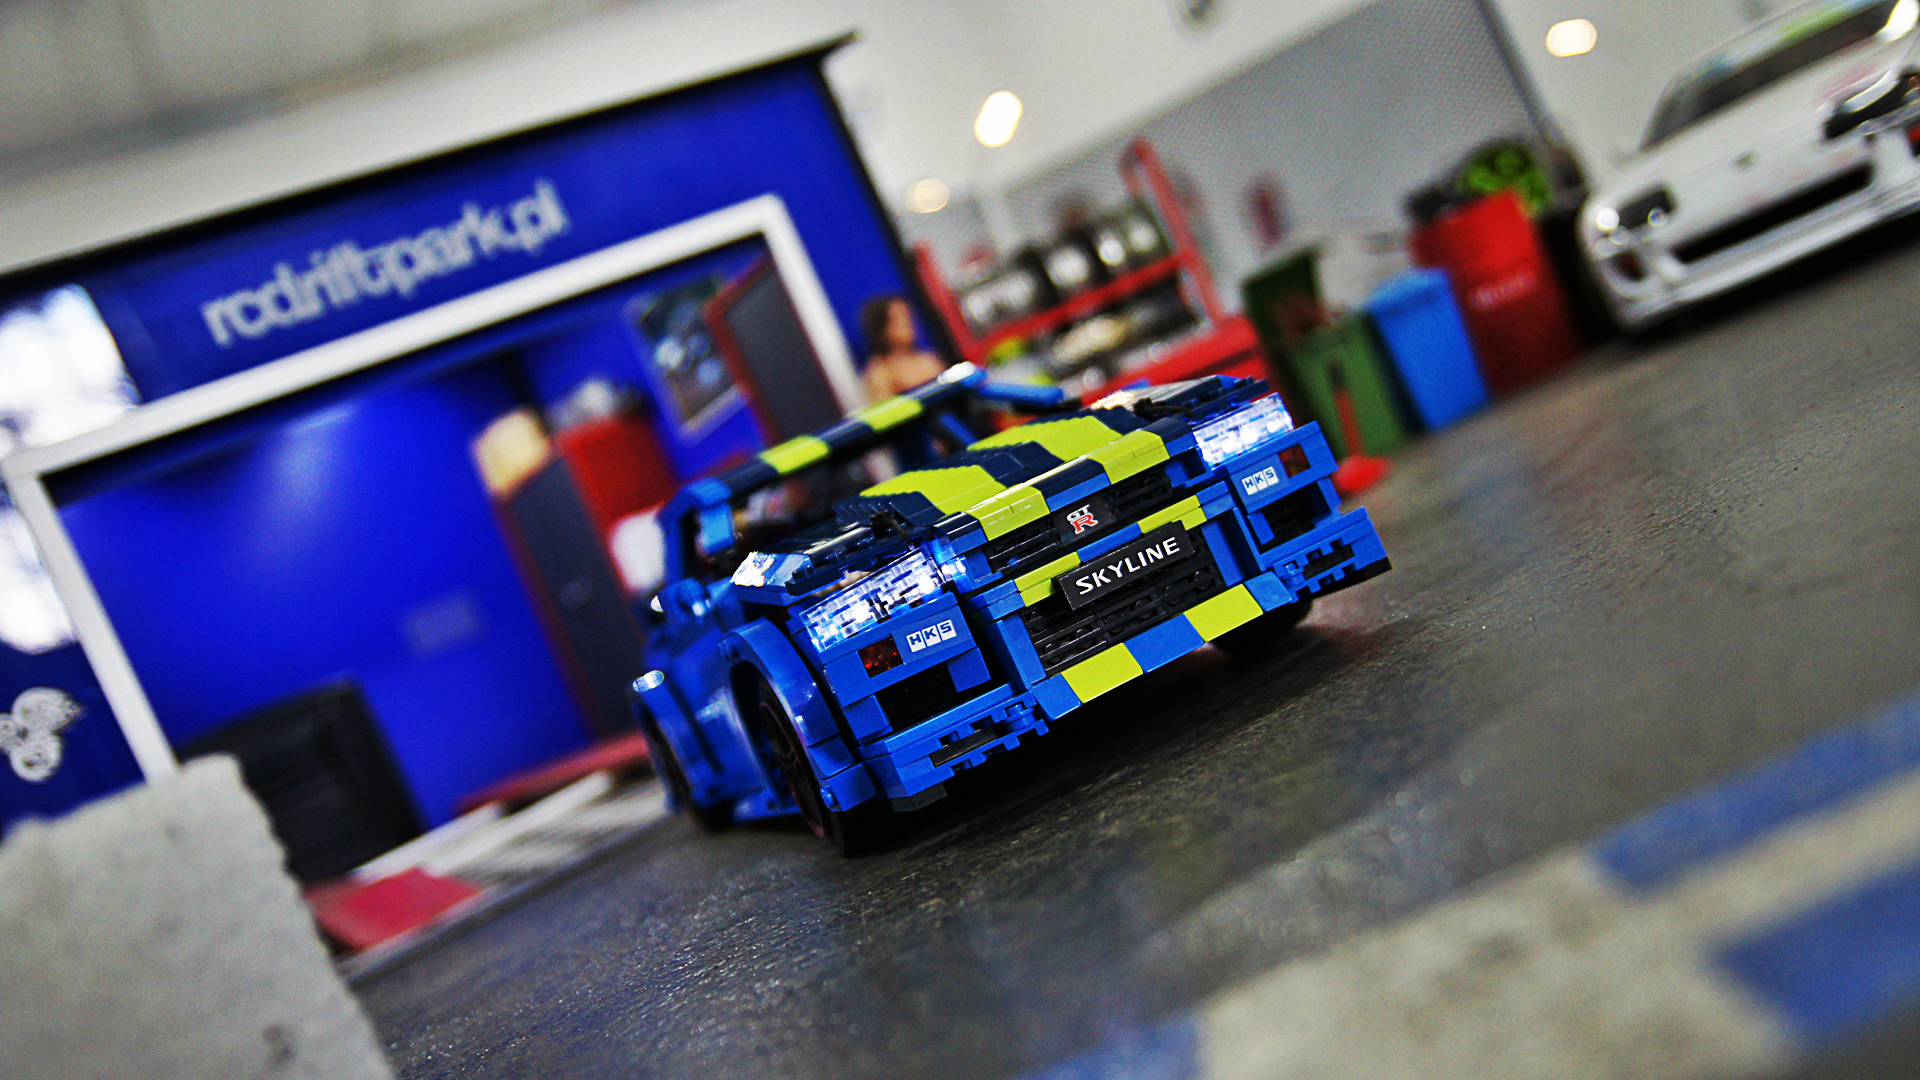
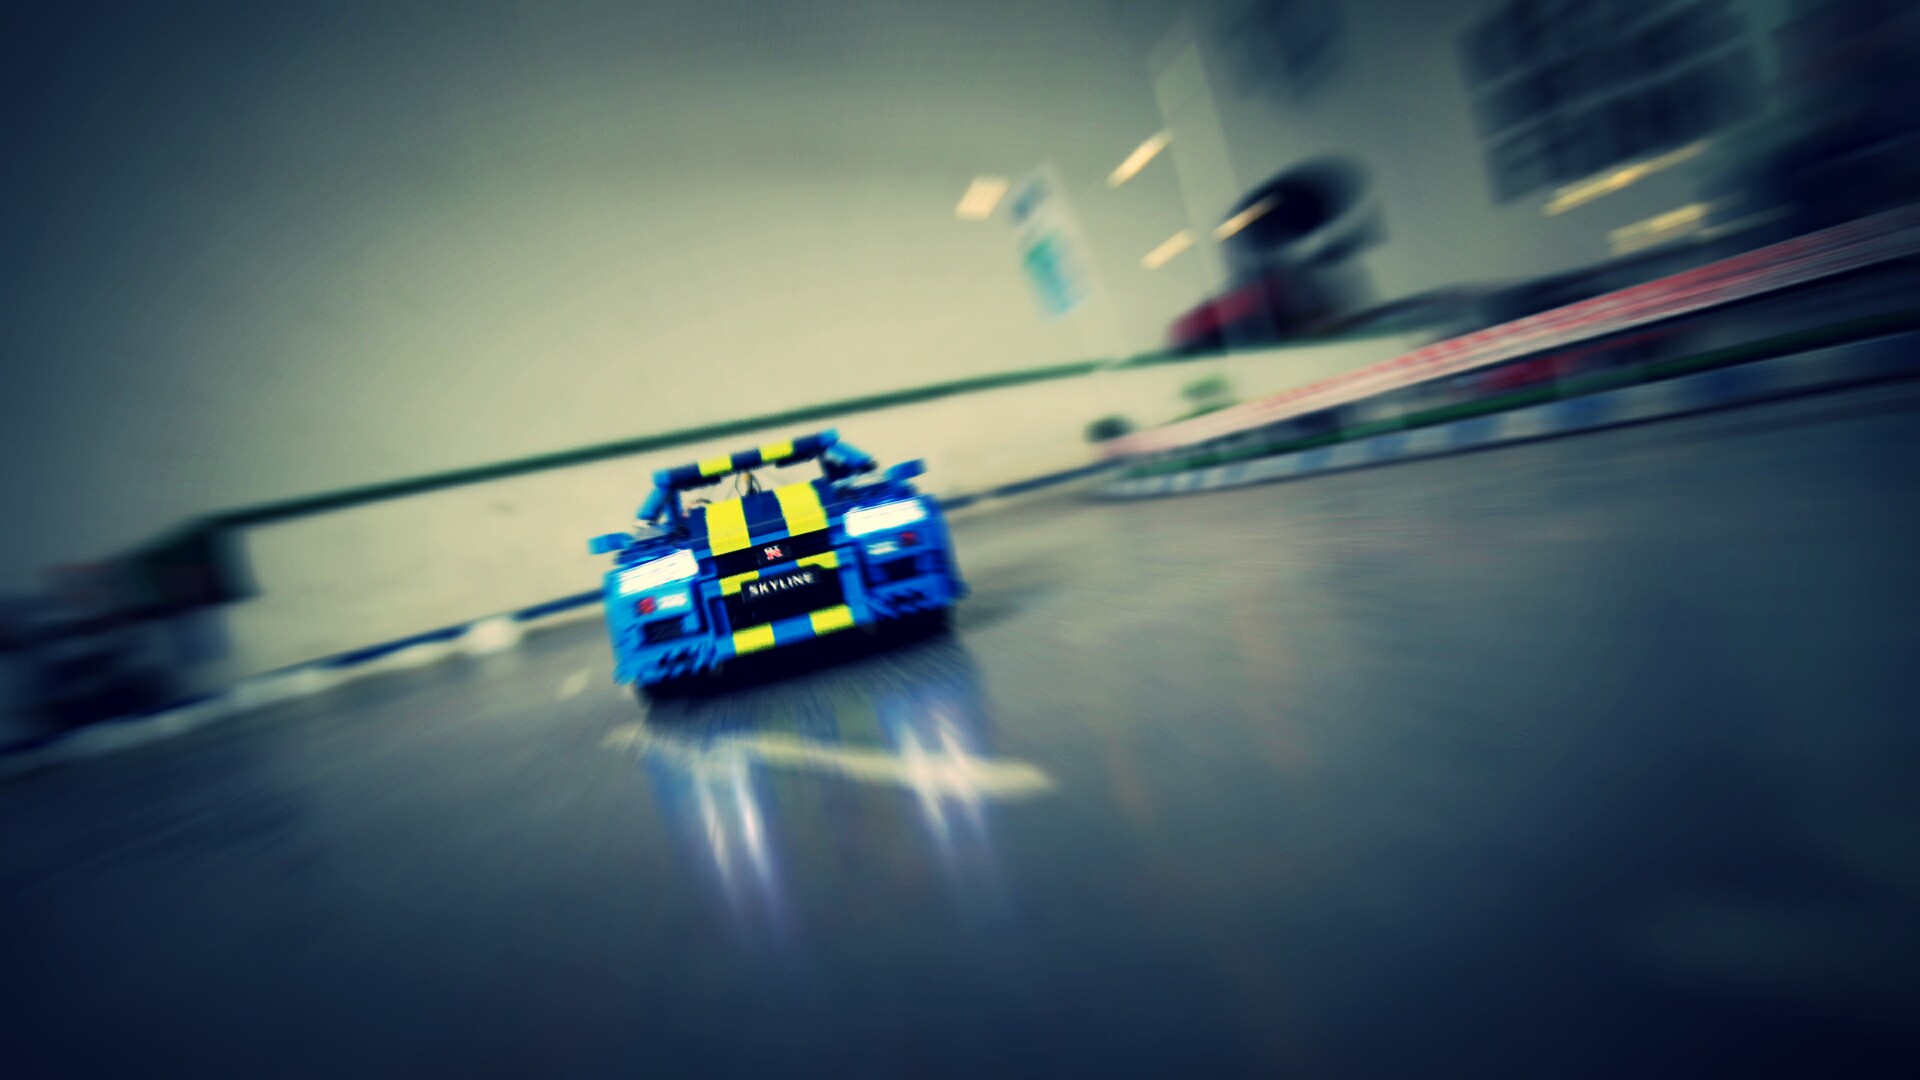
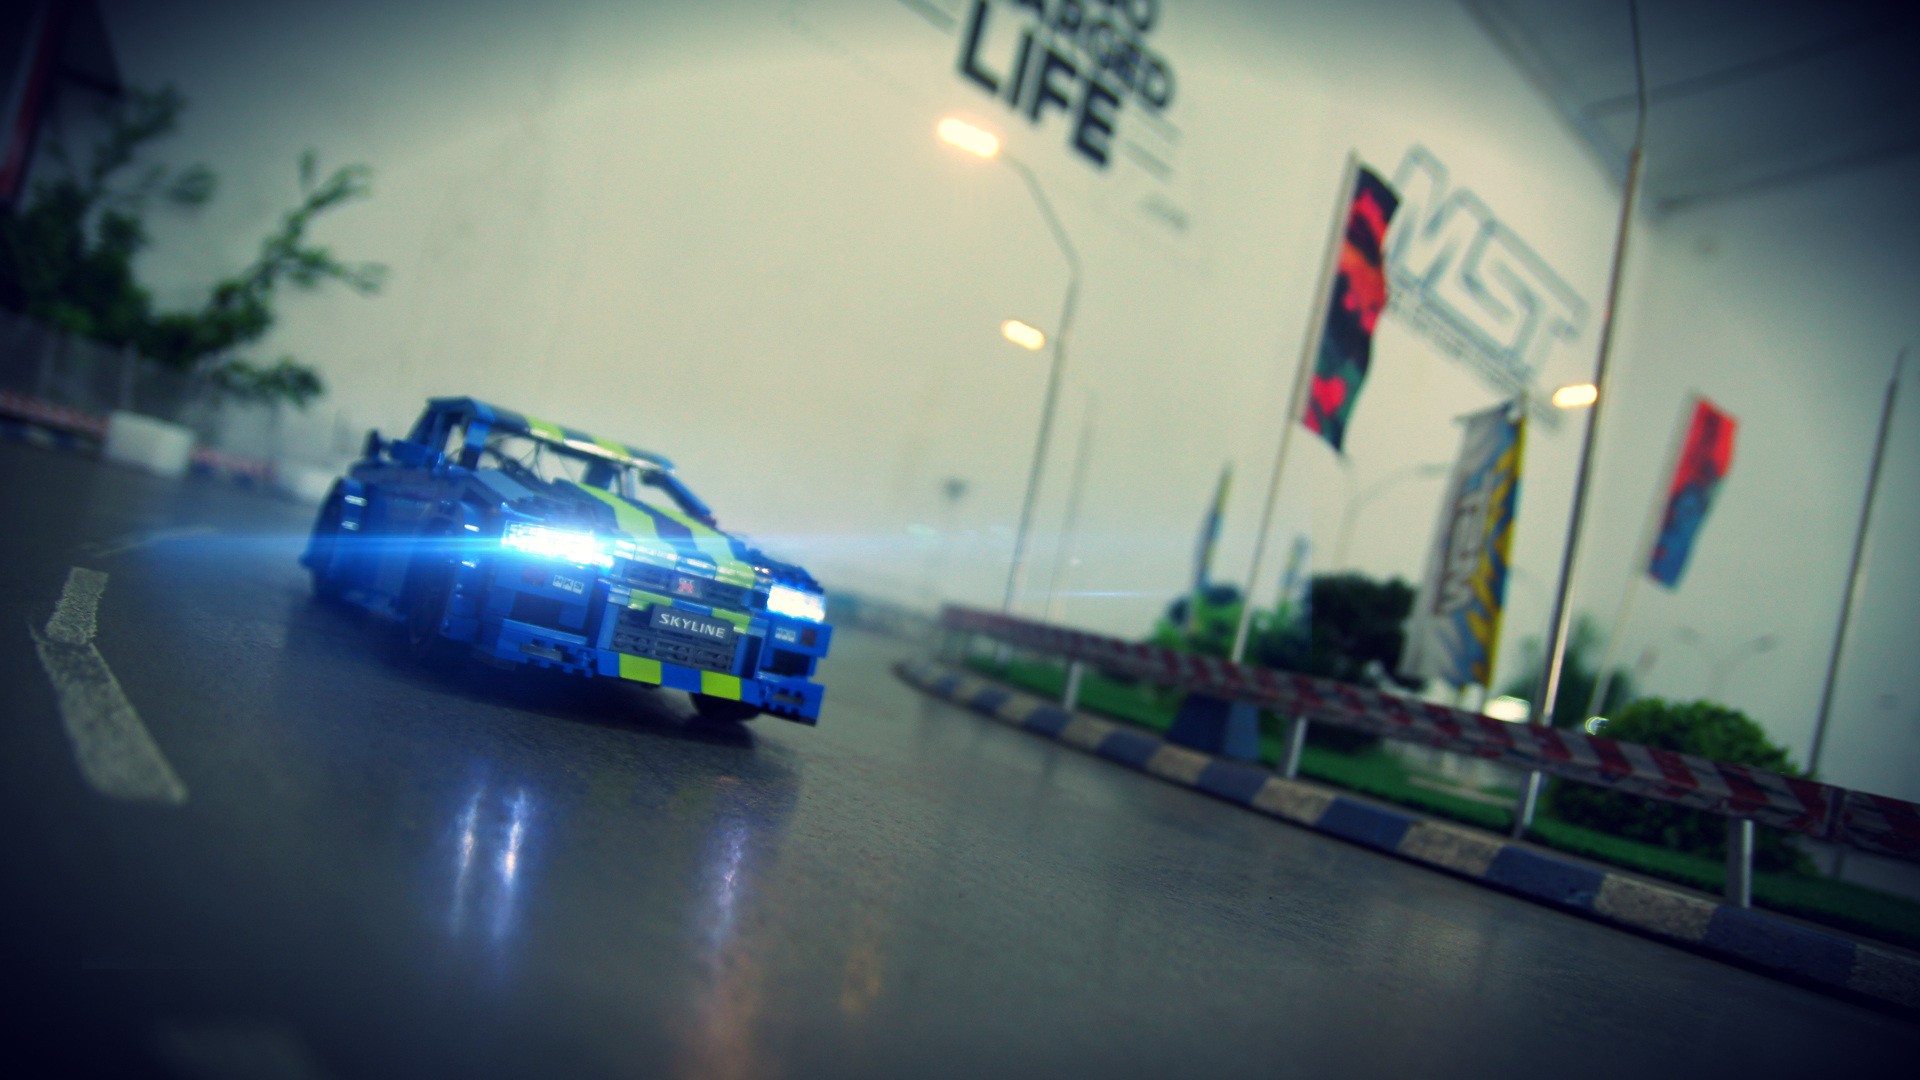
When tested on a drift track, the model proved much faster and more agile than the Mustang – so much, in fact, that I was driving it in the state of permanent panic. Suddenly the entire track was a death trap waiting for my slightest mistake, and there were literally two spots where I dared to go full throttle for a moment. The lowered weight and smaller wheels improved performance dramatically, just as expected – there is a part in the video around 1:06 where you can appreciate the sheer speed, agility and acceleration when using Lego wheels. As for drifting, the model was obviously quite crude compared to proper RC drifting cars and its front suspension wasn’t sufficiently sophisticated to allow real drifting, but it still managed to come closer to a real drift than any other vehicle I’ve built up to date – an example can be seen around 2:43 mark in the video.
I was so happy with model’s performance that I decided to take it to a park the day after drifting, and to try measuring its top speed using my phone towed on a trailer behind the model. This attempt ended very quickly, when the porous gravel-like surface caused so much vibrations in the rear suspension that model’s body literally came apart. I’ve spent maybe 2 minutes actually driving, then quite a while picking up the pieces and then I went home congratulating myself on such a brilliant idea.
In the end, the model performed very, very well, and in my opinion it was a serious improvement over my Mustang in every aspect. I was just somewhat unhappy with its look and with the video which I felt had some wasted potential. The model also made me question using the drift track in the future, because it seems that Lego models are bound to be crashed there, unless they are slow or extremely robust.


@Sariel
Ok! I’m gonna work on it.
However i find Sbrick too difficult to drive, especially the steering, I always lose the spot on the screen while I’m turning…
What about the RCBrick that you talked about on youtube? Is it possibile to find it to buy on the web? It looks interesting…
@Matt
I will try another drifting car, just not yet. And yes, the SBrick will cut the power at some point, but it’s much less restrictive than PF receivers. You probably put a lot of stress on the motors if the SBrick cuts the power, perhaps your model is too heavy.
matteo.manera@virgilio.it
Hi! Nice to meet you.
Why don’t you try another drifting model?
This one got a nice drifting:
https://www.youtube.com/watch?v=KVMrf-zidQA
I’m trying to get the same, but I find some issues with the power of the 2 RC buggy motors linked to one battery box (for driving it trough Sbrick). Does Sbrick cut off the full power?
Matt
@Boston Abrams
I can’t possibly say, I haven’t worn mine down.
The tires from seven studs on Shapeways seems awesome but they wear out really – really fast. Wish they were more durable. (would that make them worse a drifting?)
This is almost as sweet as the real thing! Nissan is awesome. Go Nissan!
@TechnoFan
Out of two GoPros I personally have the 4 Session is the better. Orange parts -> 42038
According to you which GoPro camera is the best. Do you know any technic set have a good source of orange parts.
@TechnoFan
Bricklink or Ebay.
Hey Brother from where do you buy outdated lego pieces like R/C motors,R/c remote etc.
@Elton
Not possible, I took it apart already.
@miguel
Basically yes.
So basically for road cars 42039 but for the off road I can swap the tires
@miguel
I recommend two excellent sources of parts for cars: 42029 or 42039 set. They share many common parts, but 42029 is better suited for off-road cars while 42039 will give you parts for a regular road-going car.
I have the power functions motors, ir receivers , control, and battery box already
What set do you recommend for a technic rc car for less than $150 or spend in parts
@miguel
No, I could not. The suspension was right under it, and the whole front end was kept in place by it.
I think you could make the hood open
@Elton
Which truck and what tank?
thanks, I’ve been wondering about that. I was thinking of getting a buggy motor or two, and it wouldn’t be much fun without power 🙂
@Aiden
Use the connector that is available since the beginning of the PF system: http://shop.lego.com/en-PL/LEGO-Power-Functions-Extension-Wire-8886
Nice model too. The idea of 3d printed wheels for drifting is great
With the buggy motors, if I am to use one with a regular pf battery box, what sort of connector will I need for them?
Well, the RWD versions of Skyline were more common than the AWD. Only GT-R and GT-four were AWD
GT, GT-T, GT-X were all RWD
Nice model indeed. I love the dark blue & lime color combo. Looks really good.
Also notice demonstration (when driving outside) how a car can fall apart because of vibration. Vibration can defeat traction forces between studs! That must be taken into consideration when building models for driving outdoors.
@Tristan Ableson
Thanks. I’ve used GoPro 4 Session.
Another terrific model, I really like the color combo! What on-board camera did you use to record?