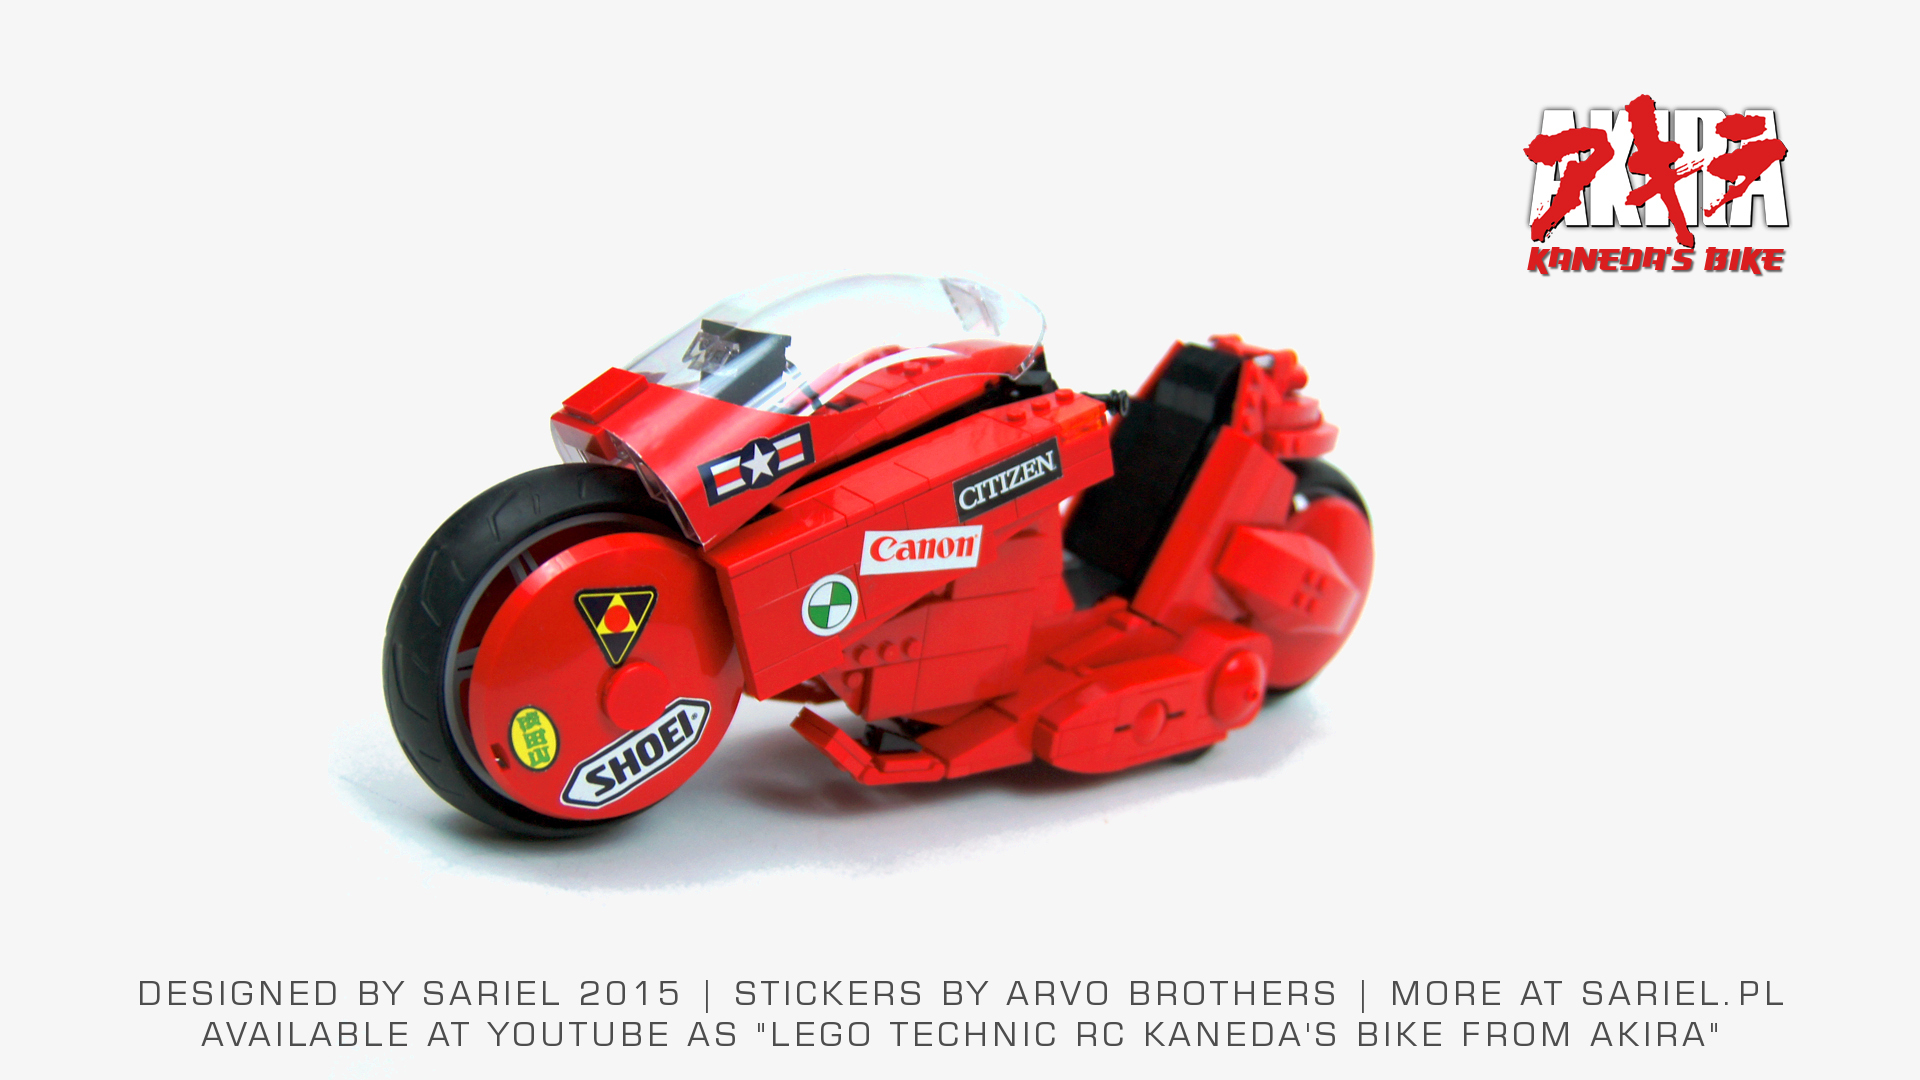
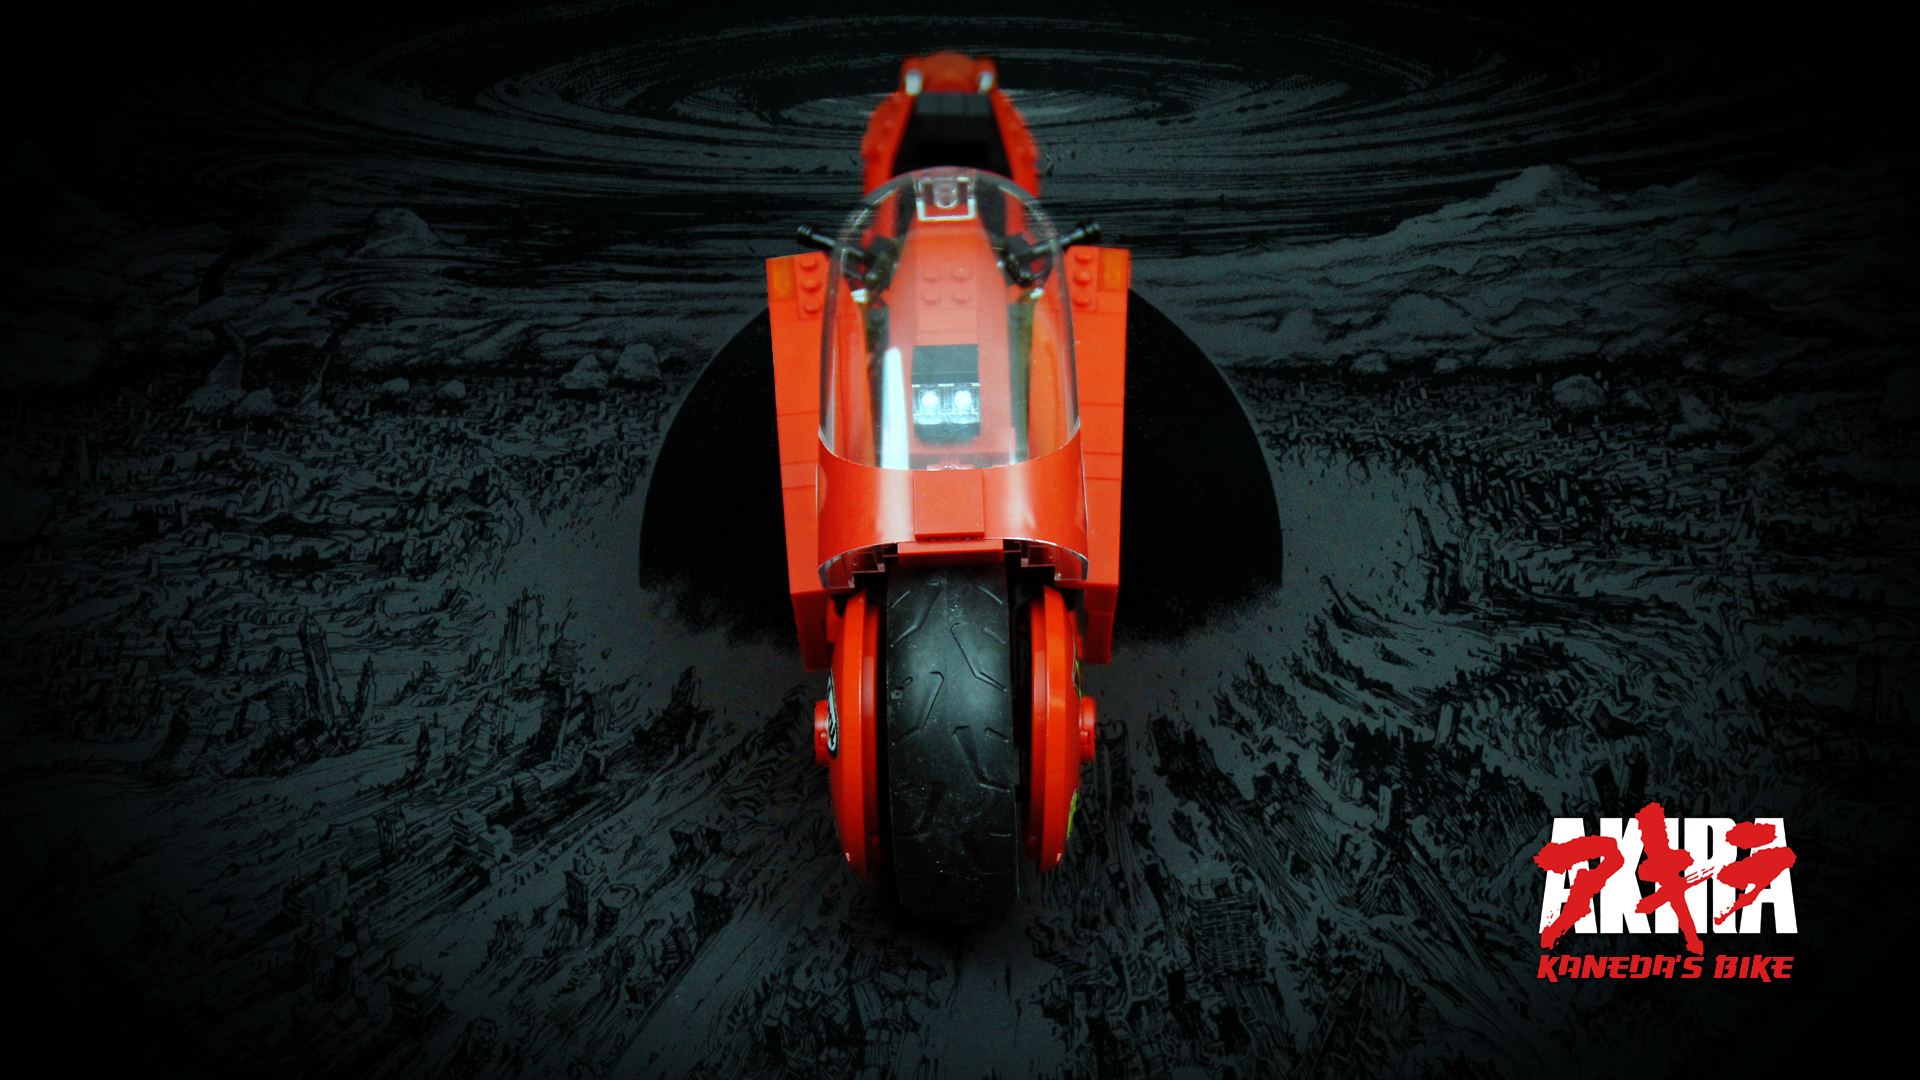
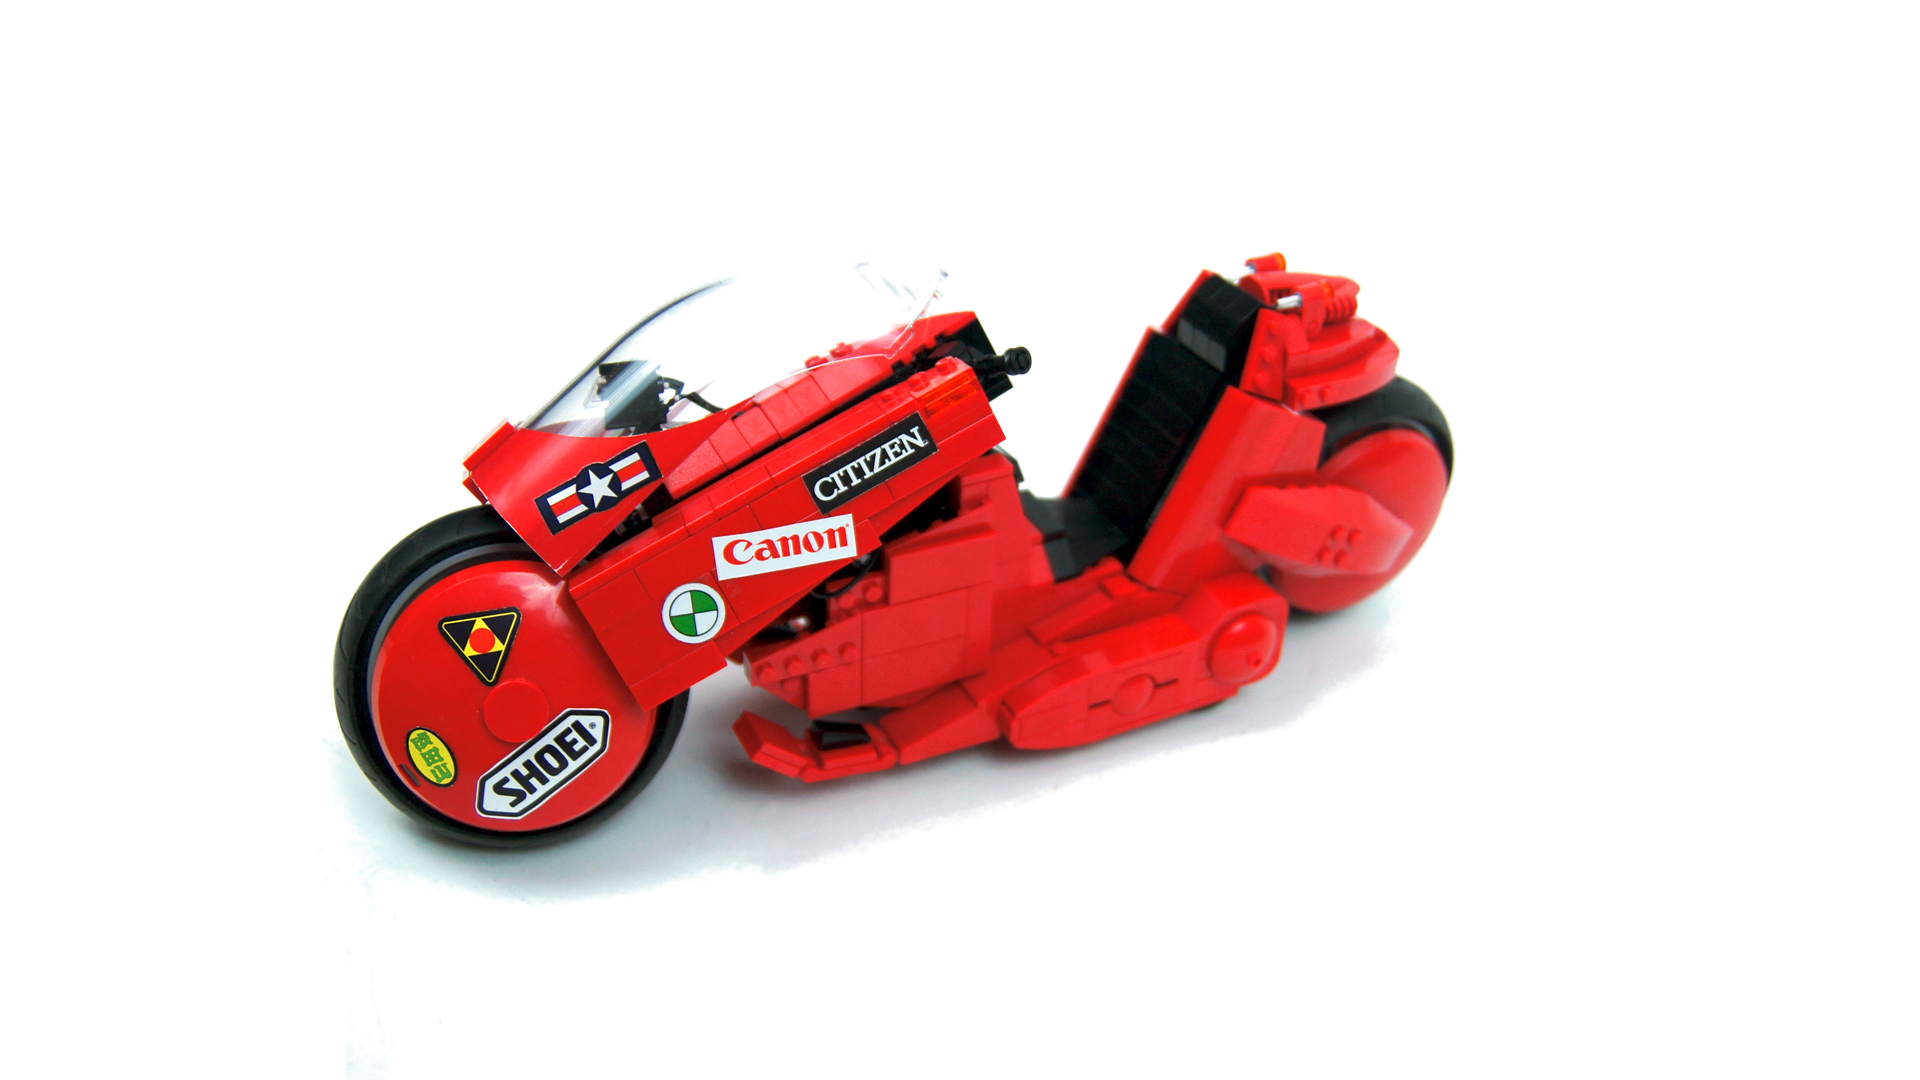
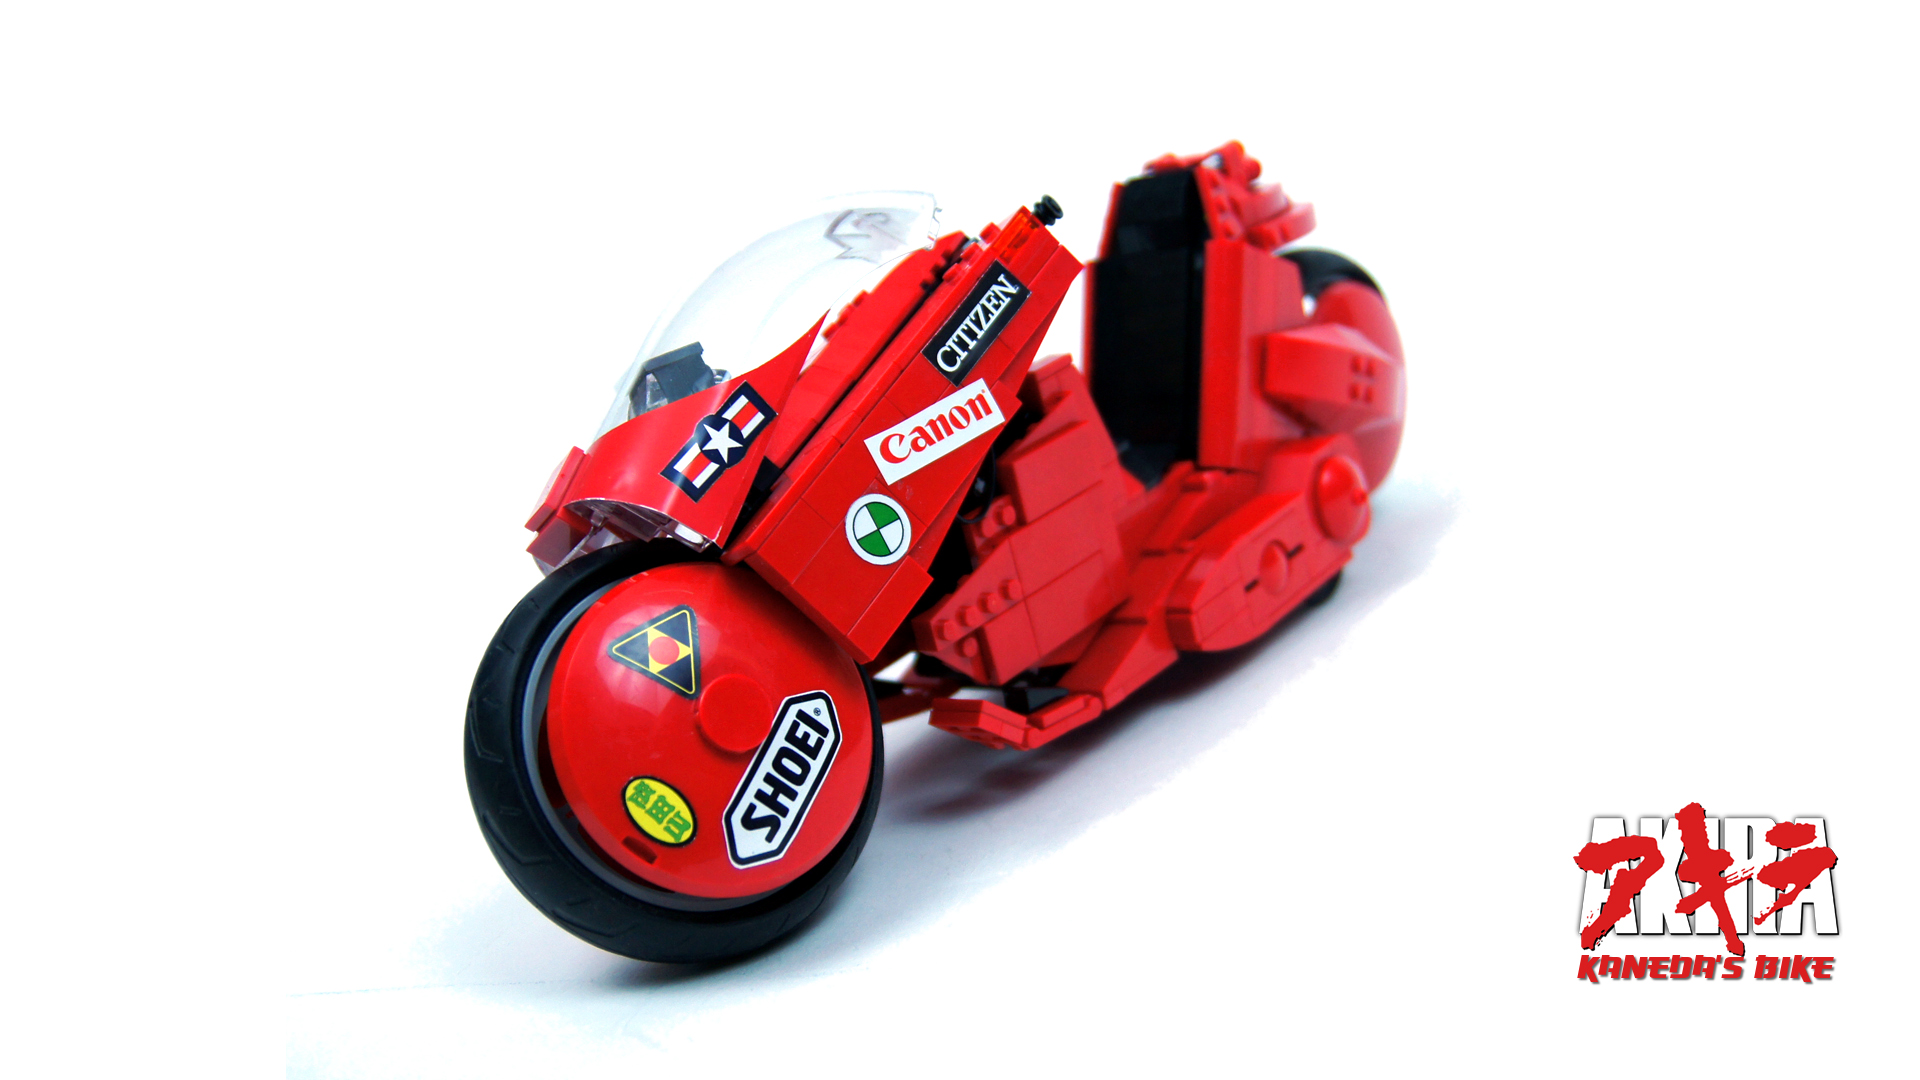
AKIRA Kaneda’s Bike

Model of a motorbike owned by the protagonist of the AKIRA anime from 1988. Features custom stickers, LEDs and drive & steering controlled by cables.
Datasheet:
Completion date: 03/05/2015
Power: external electric (Power Functions)
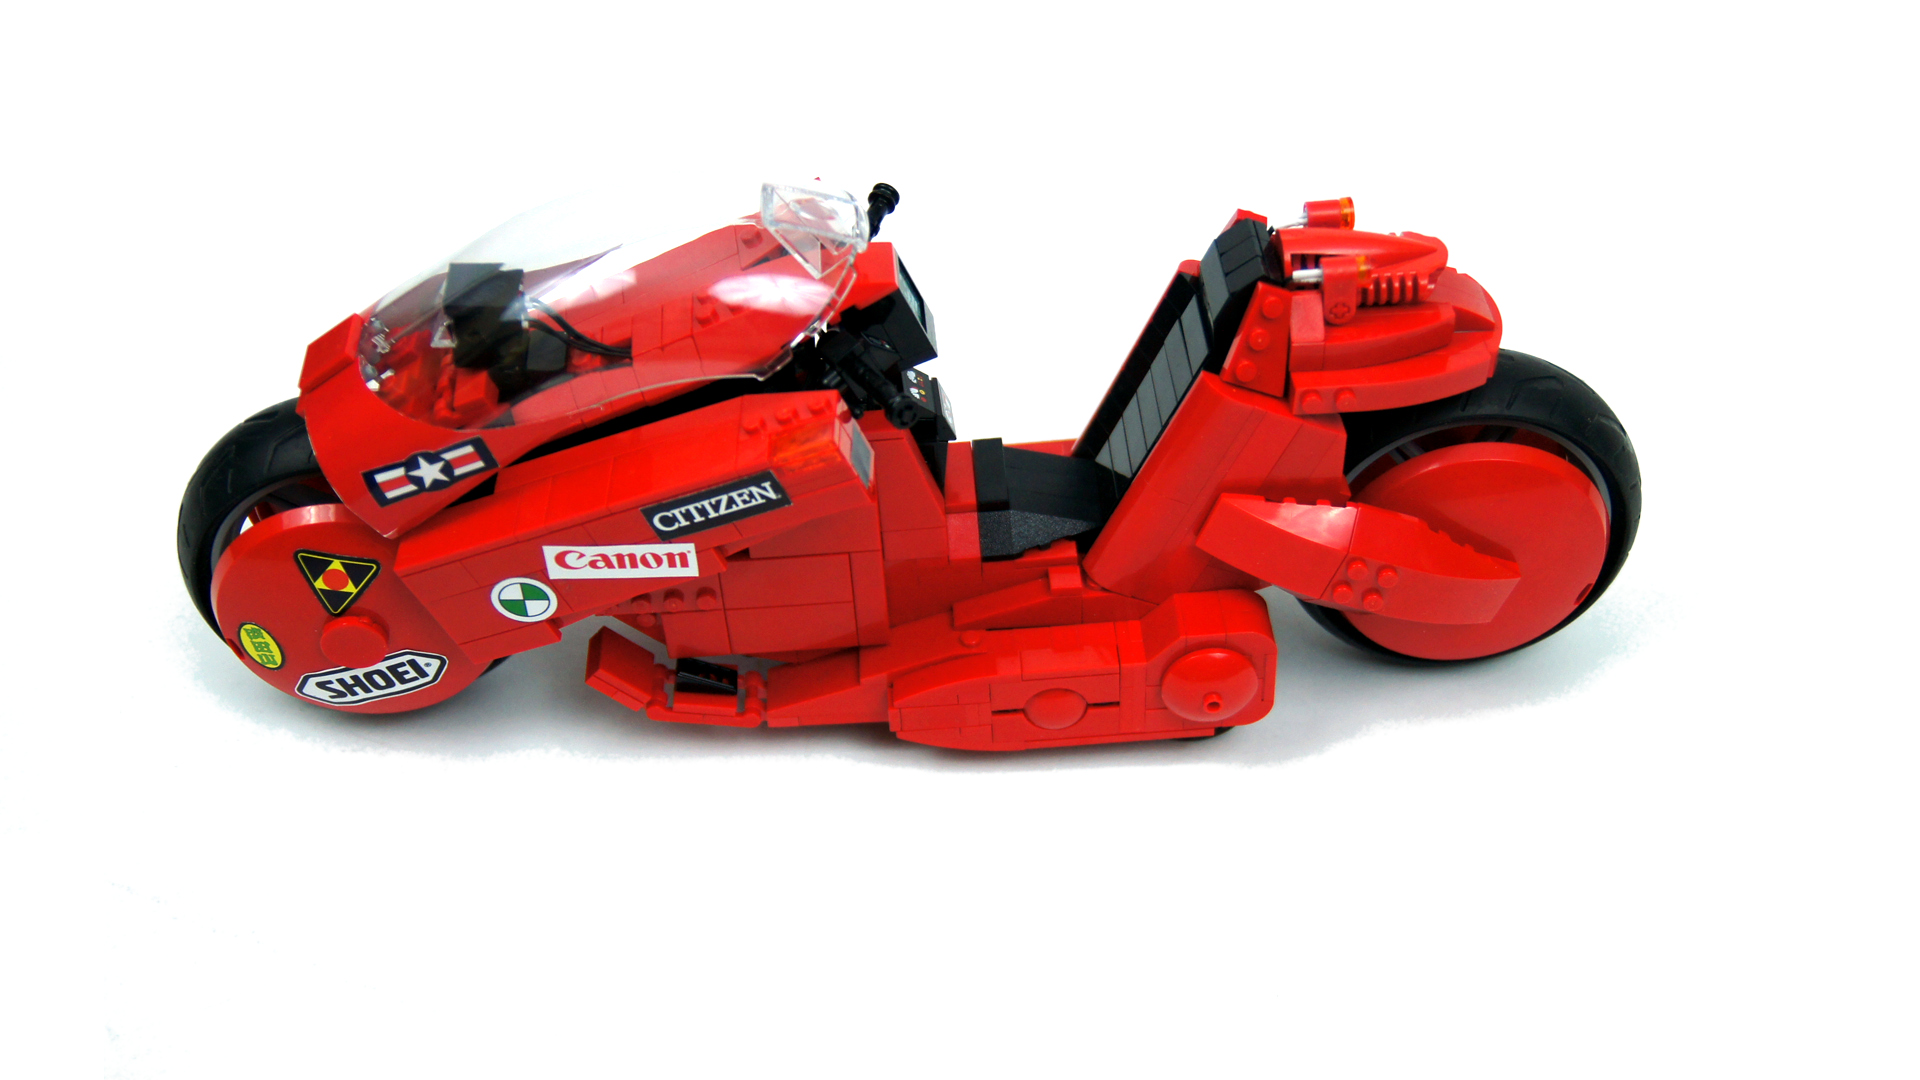
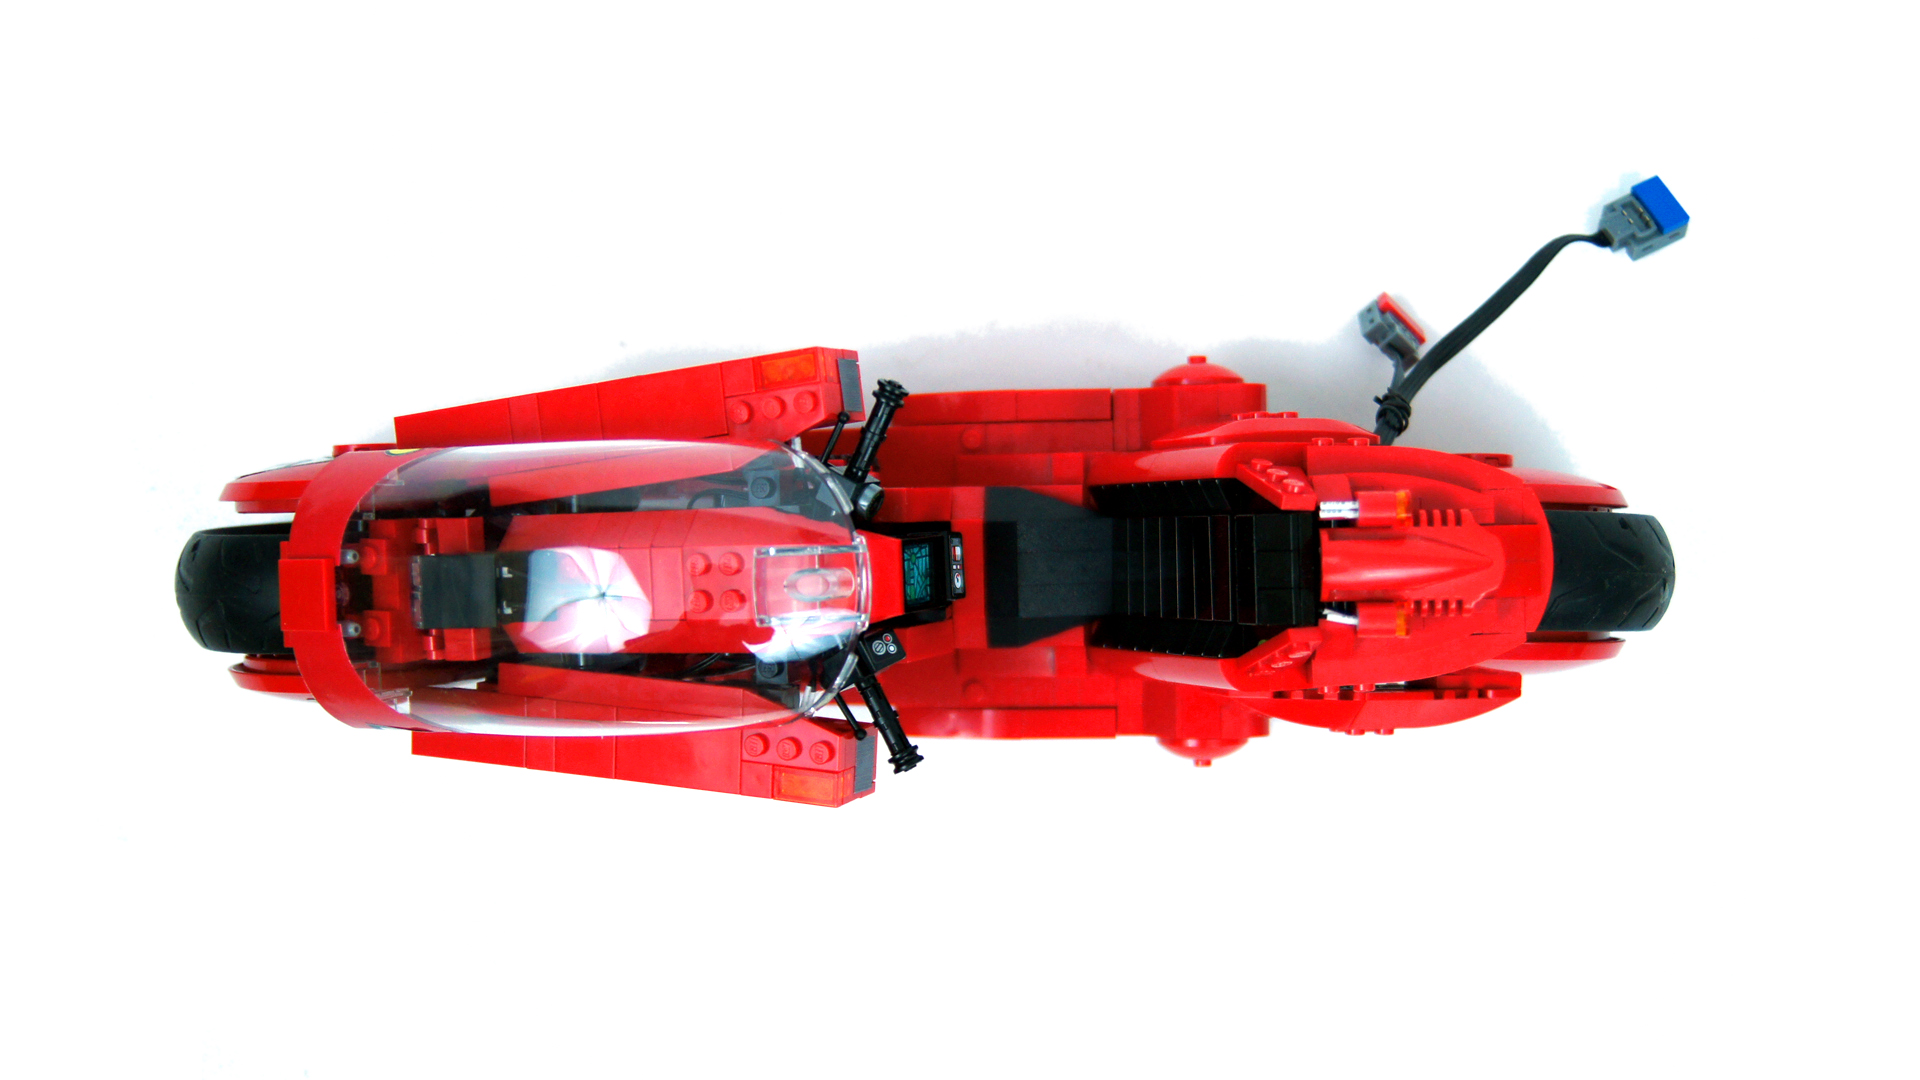
Dimensions: length 46 studs / width 13 studs / height 19 studs
Weight: 0.715 kg
Suspension: none
Propulsion: 1 x PF M motor geared 1:1
Motors: 2 x PF M motor
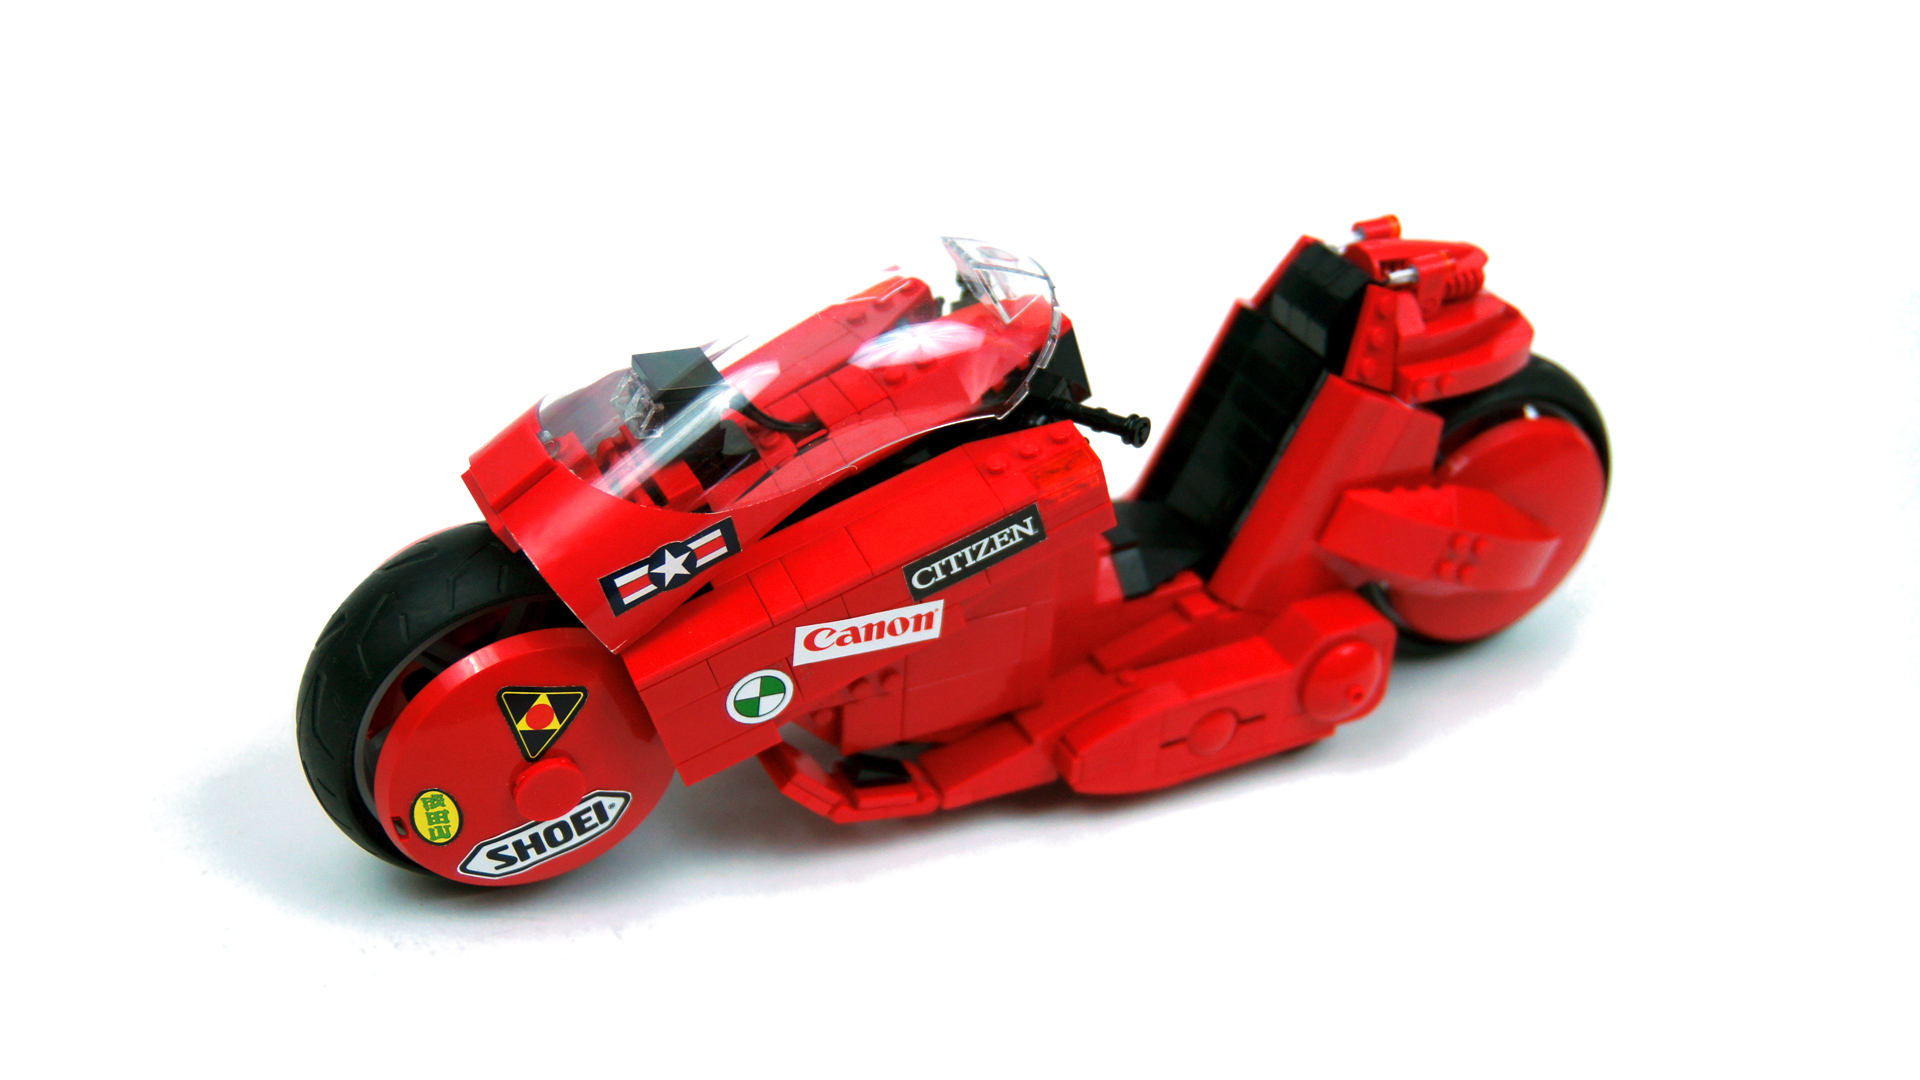
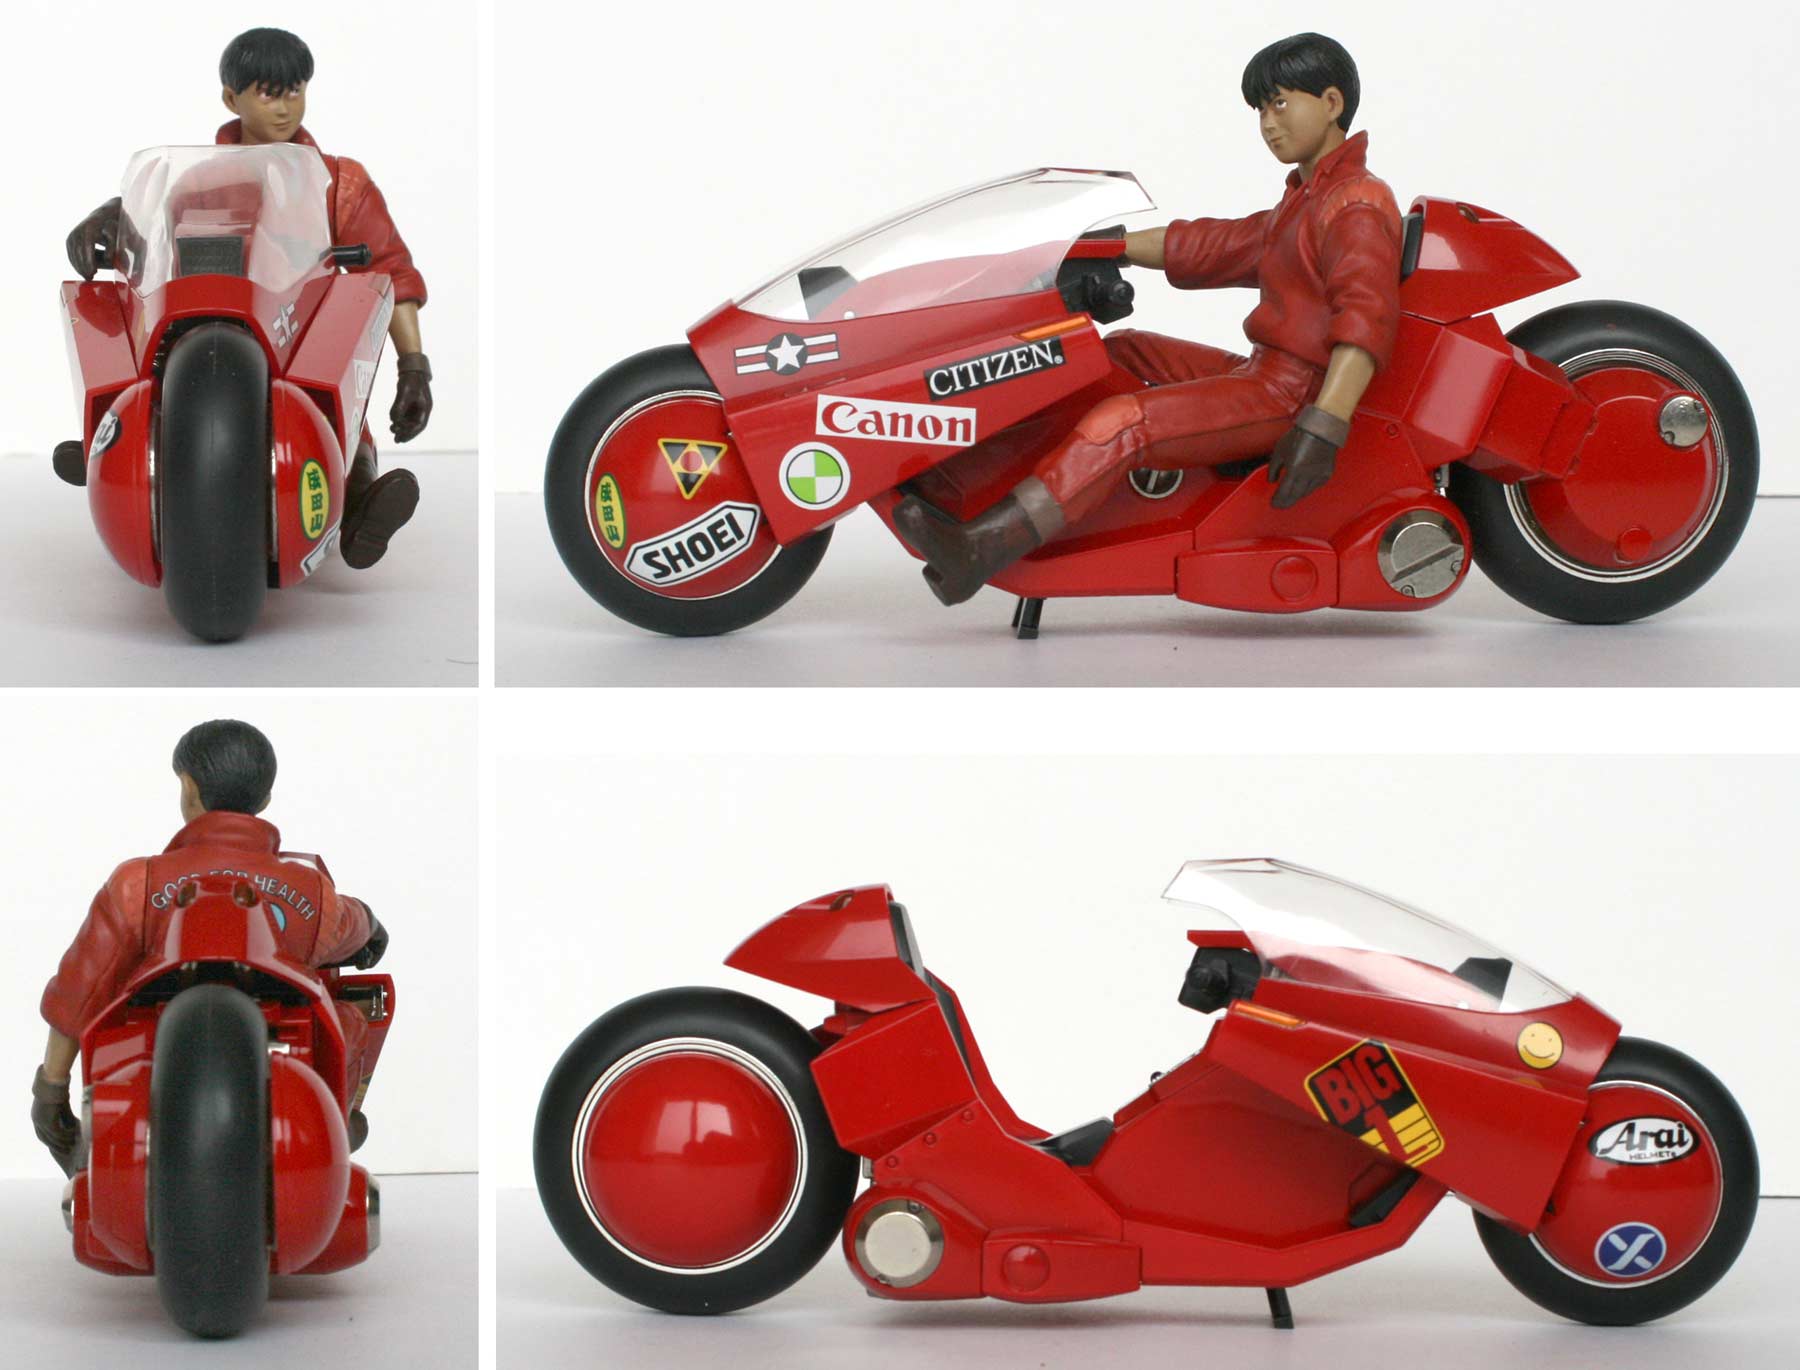
This was a model of an iconic motorbike featured both in manga and anime called AKIRA, all the way back in the 80’s. The anime is considered a classic today, and the futuristic motorbike whose design proved timeless is a popular subject for model builders, recognizable even to those unfamiliar with the movie. Which is interesting because its role in the AKIRA was rather modest, in fact we never learn what brand or make it is. It was simply designed to make the protagonist drive something cool – better: 80’s cool, which is the best kind of cool ever 😉
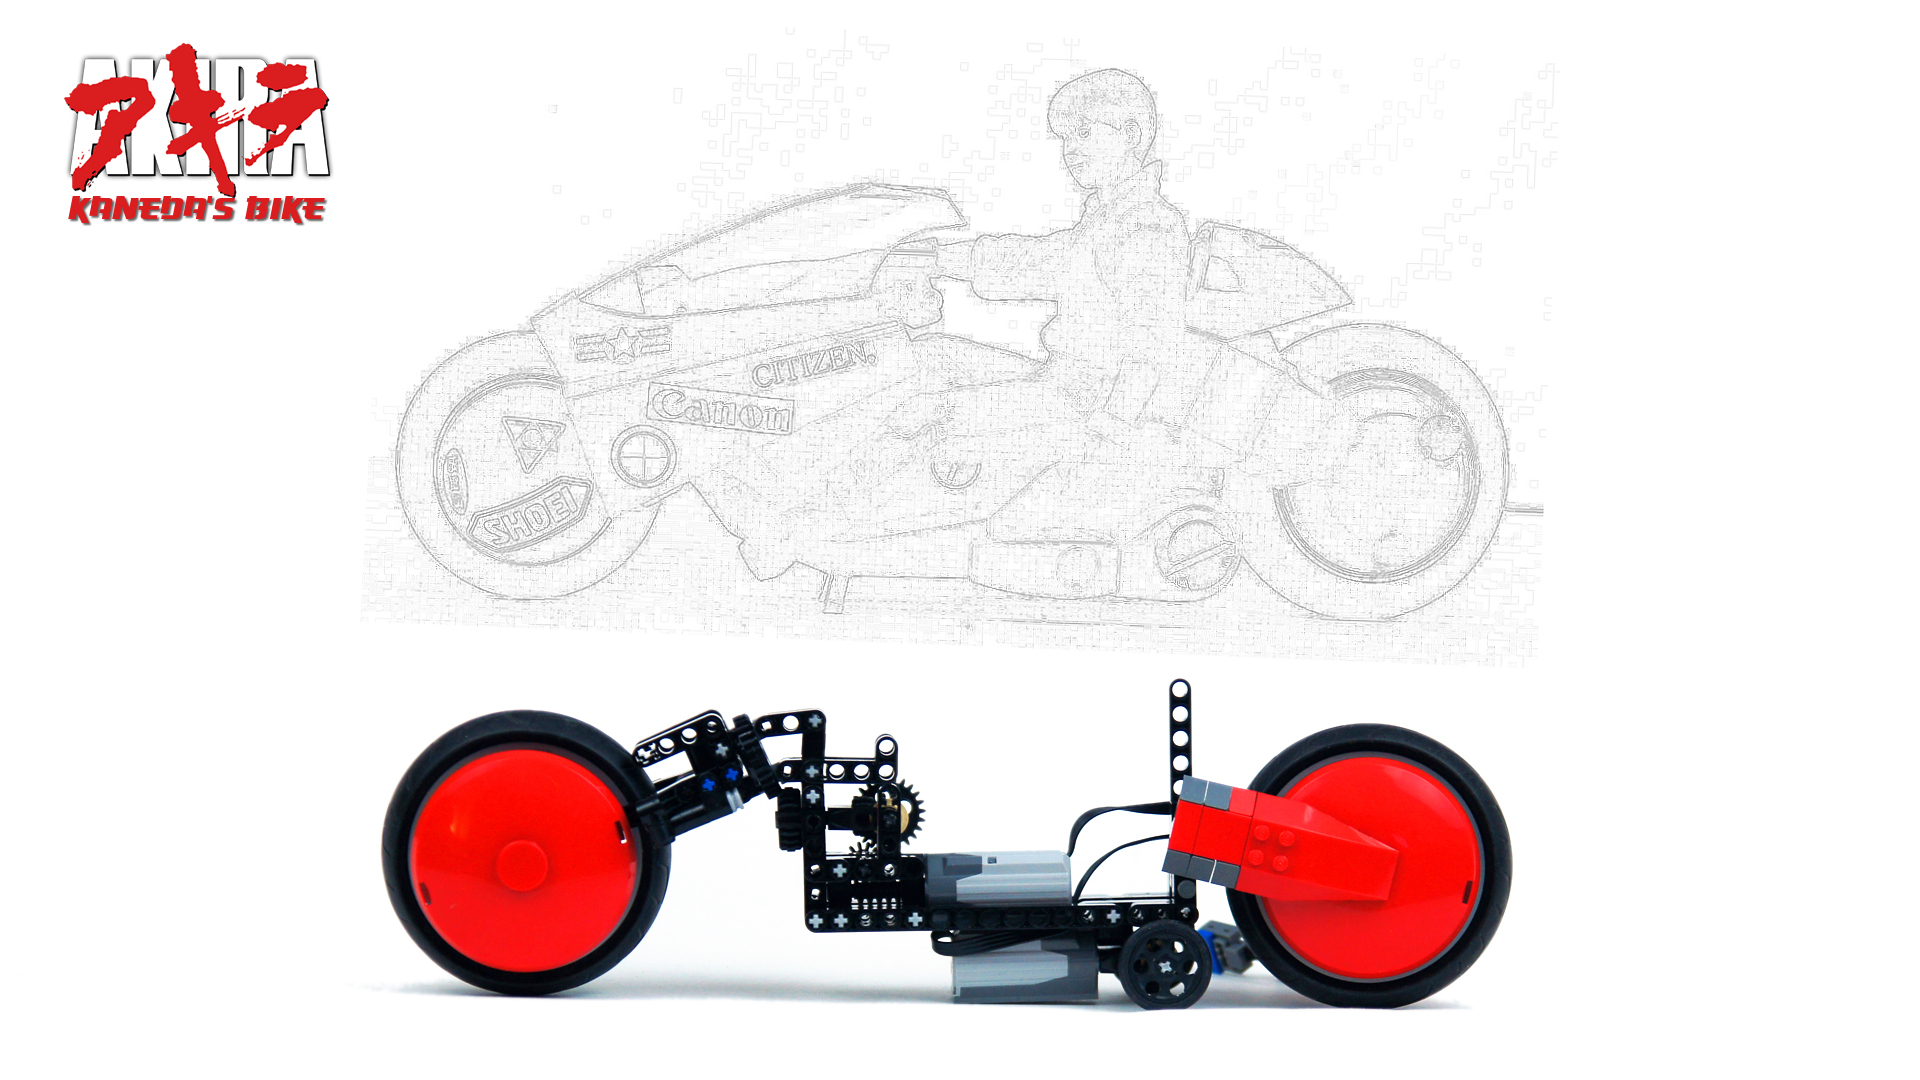
The motorbike is an attractive subject to Lego builders too, and it has been tackled many times at various scales. Probably the best and most famous are two models by the legendary Arvo brothers: the 2006 version and the 2014 version. I have started working on my model, unaware of their second model yet, but I was already assuming that their work can’t be topped aesthetically or in terms of accuracy – so I focused on making my model drive and steer.
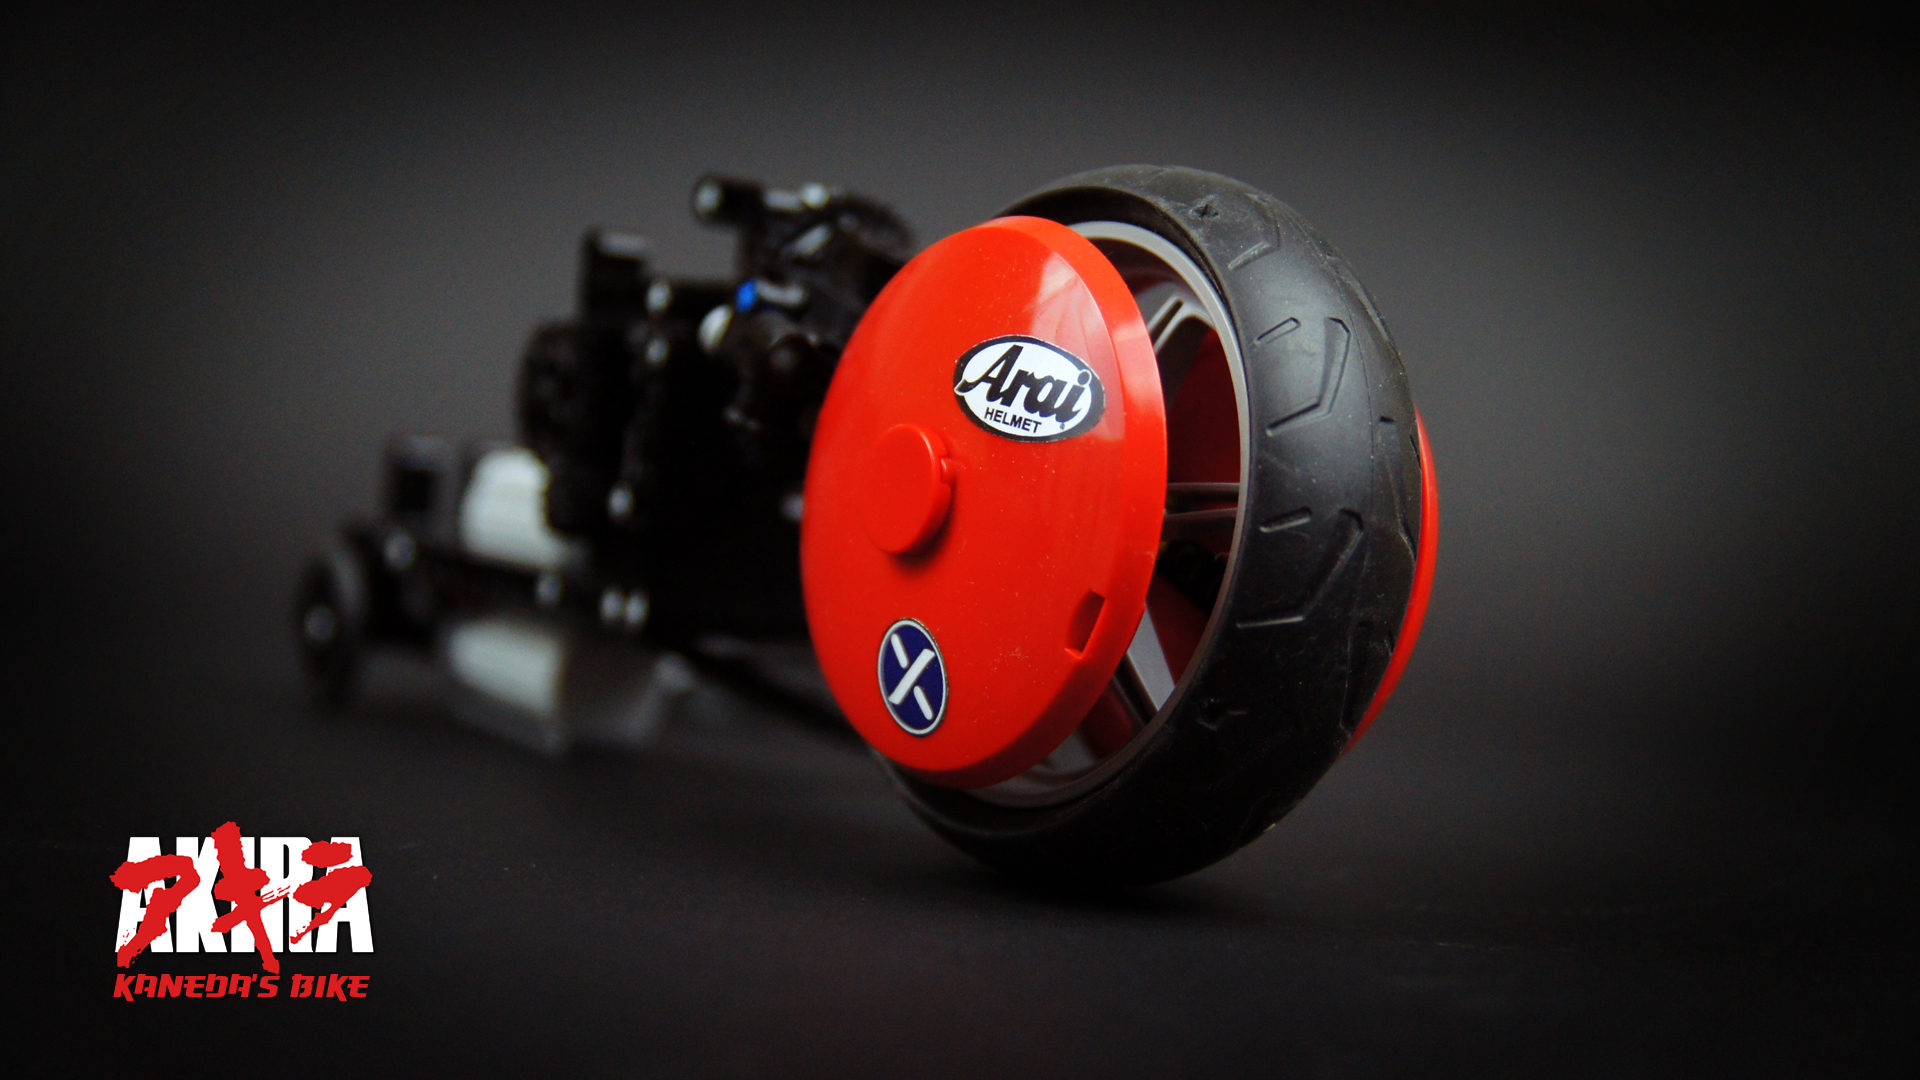
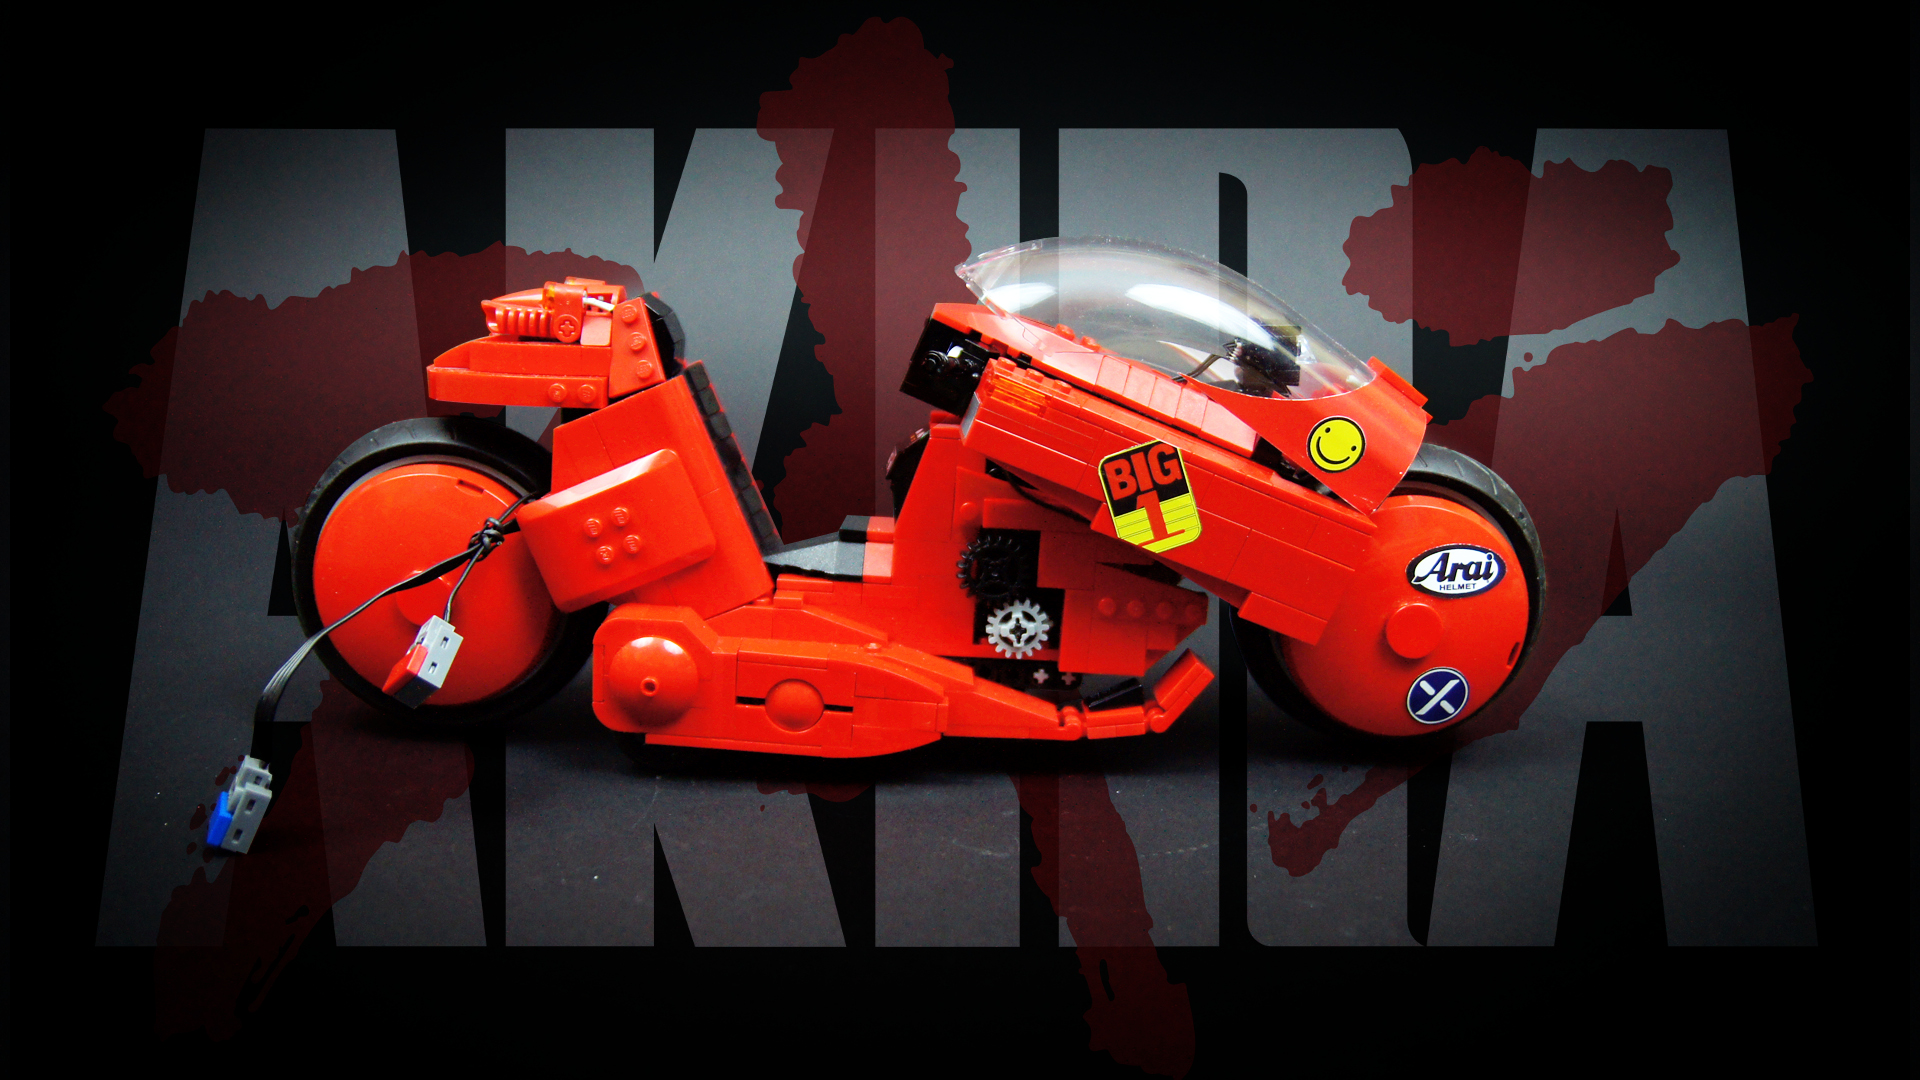
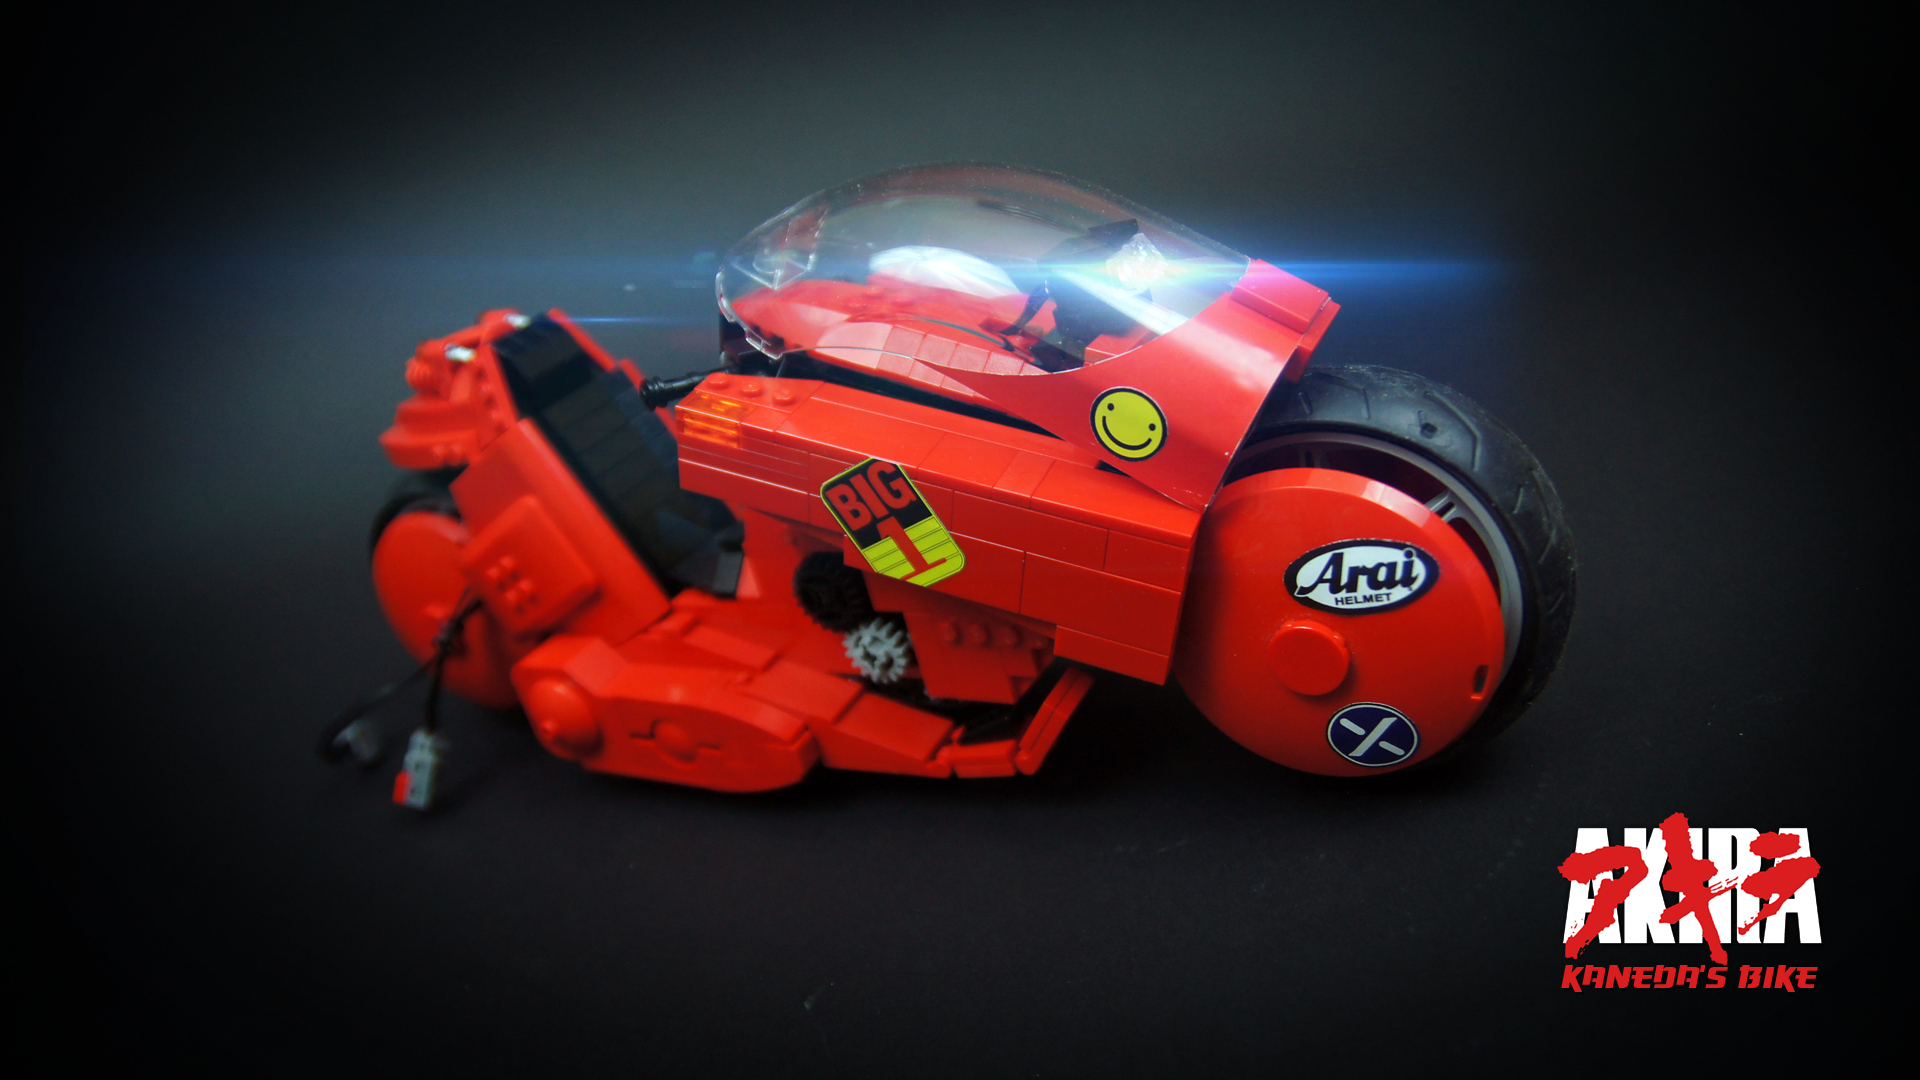
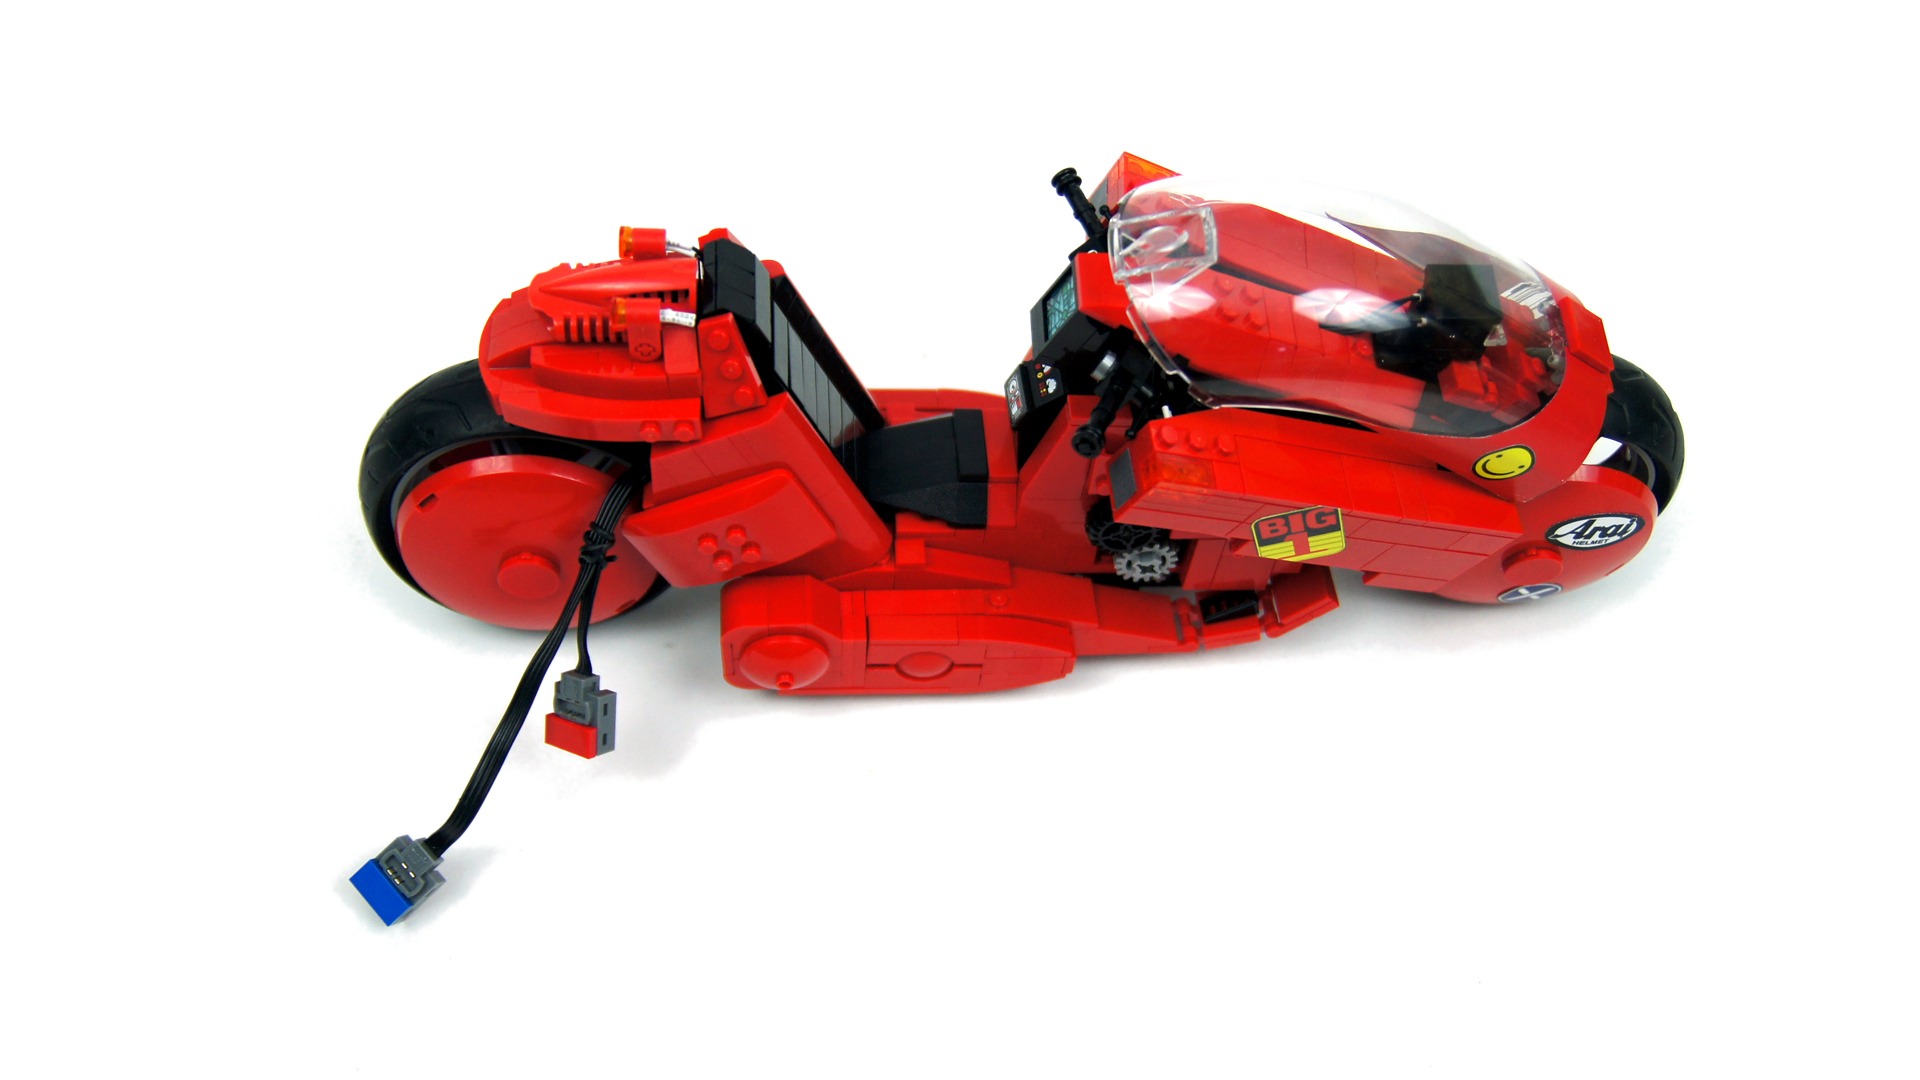
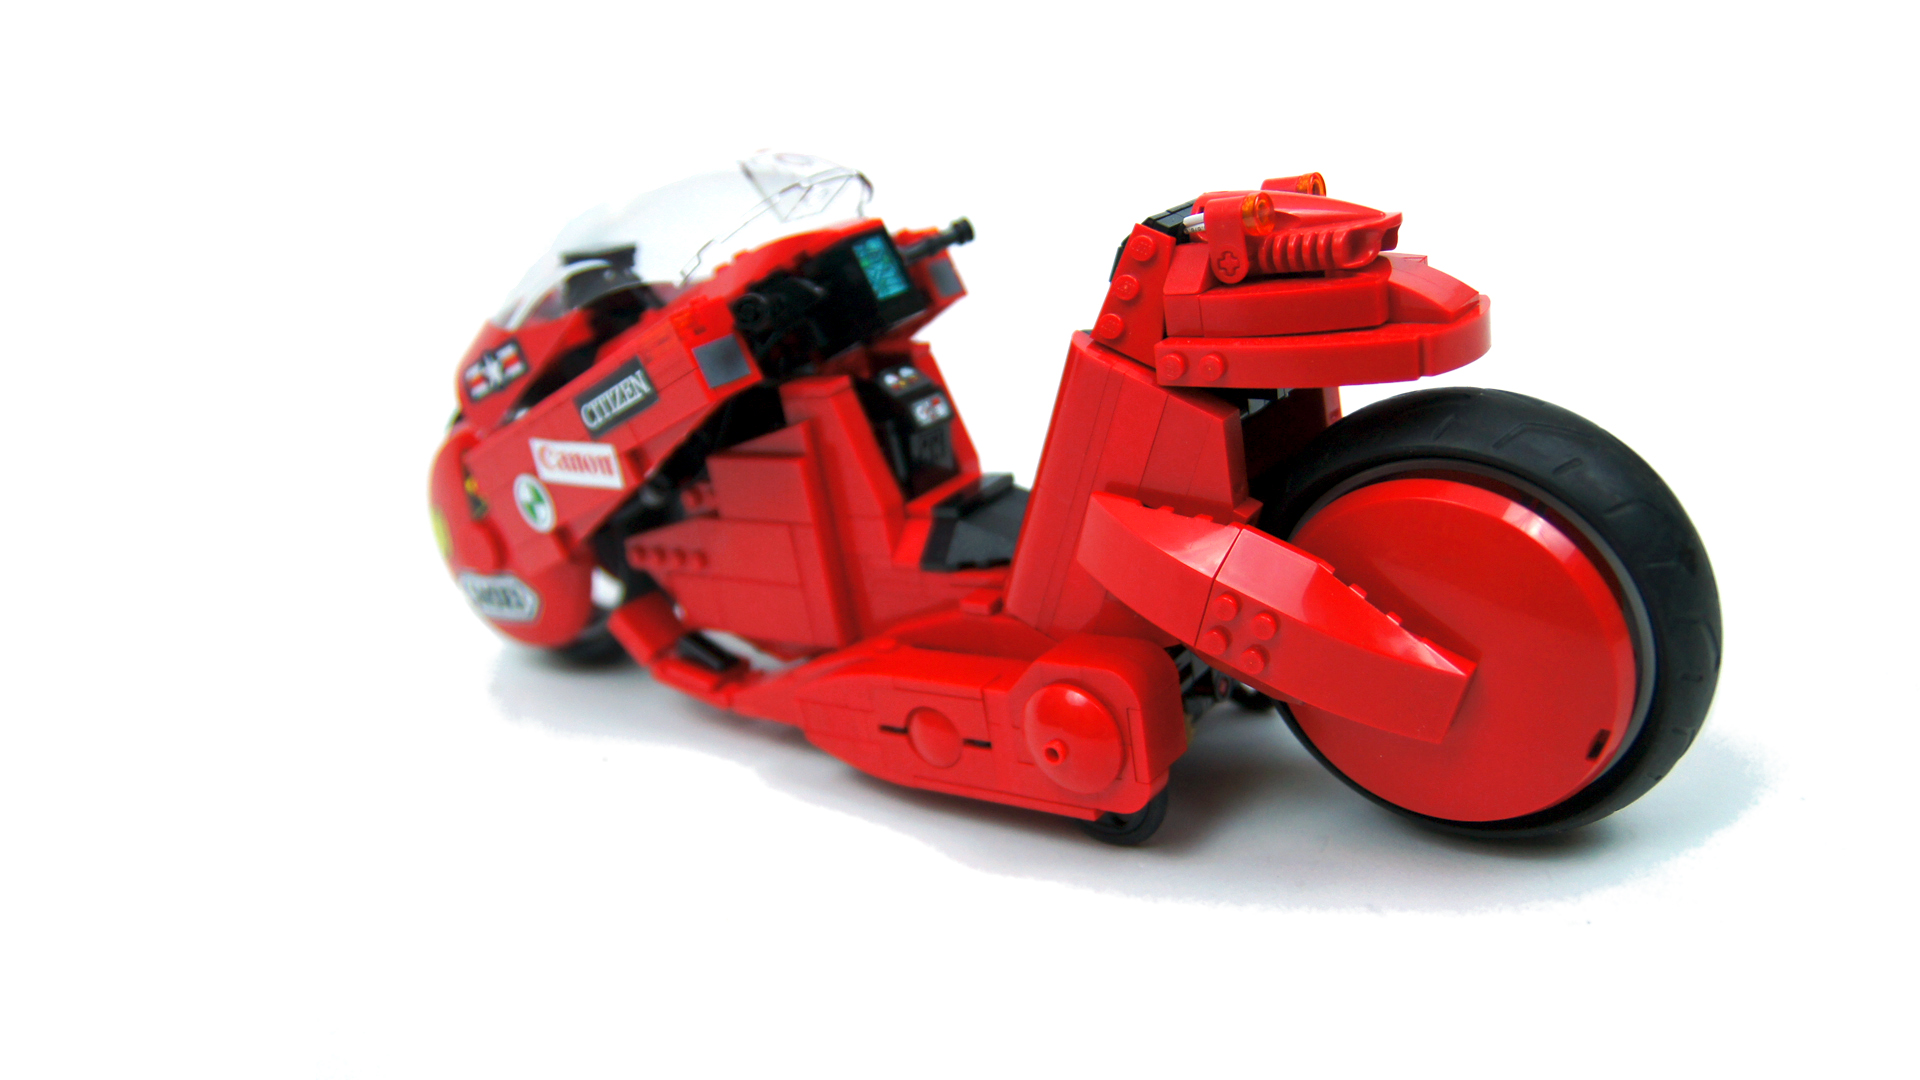
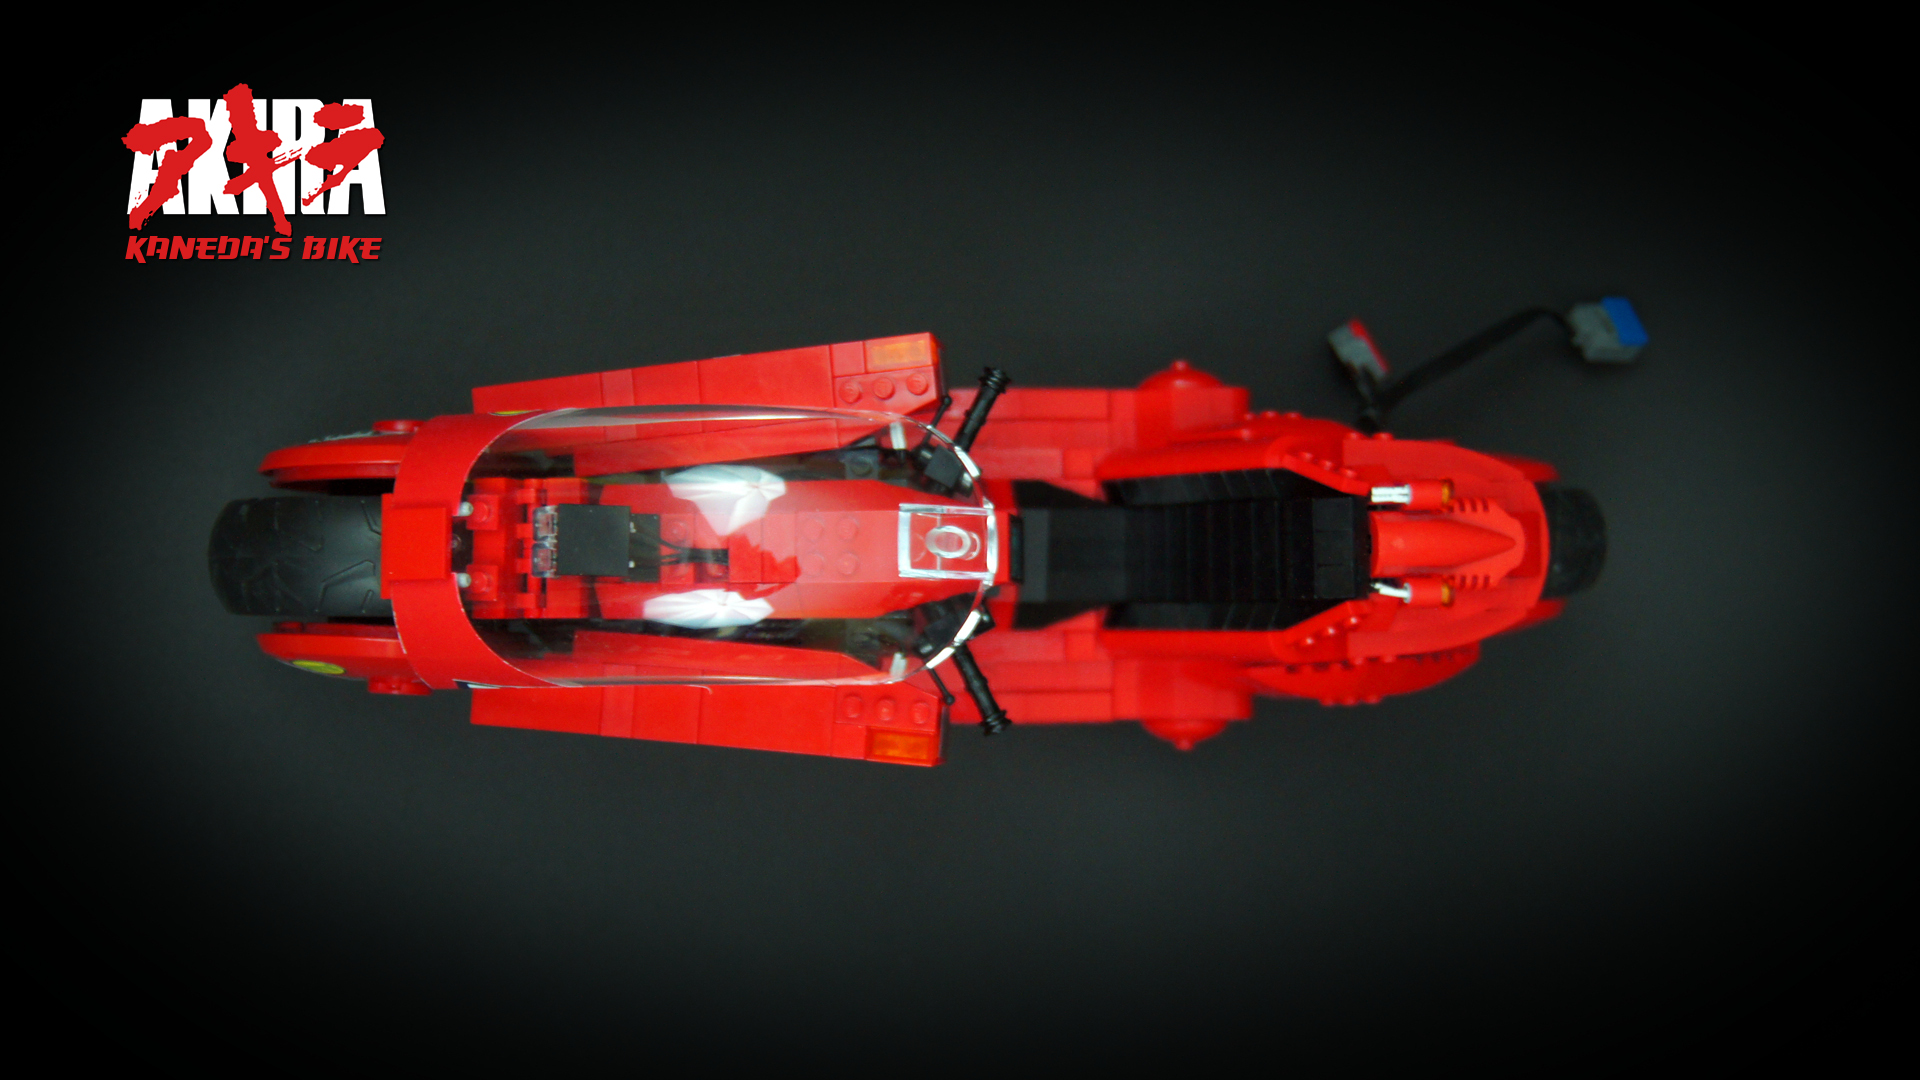
The task has proved extremely challenging, mostly due to the size of the model, limited – as usual – by the size of suitable LEGO wheels. The ones I’ve used are two rear wheels from the Lego 8420 set. The model has seen little progress until 2015, when the Lego 75060 set was released, with an enormous single-piece windshield. The windshield looked very interesting to me, especially since I always hated the “shattered glass” effect that inevitably results from combining a number of semi-transparent Lego pieces together.
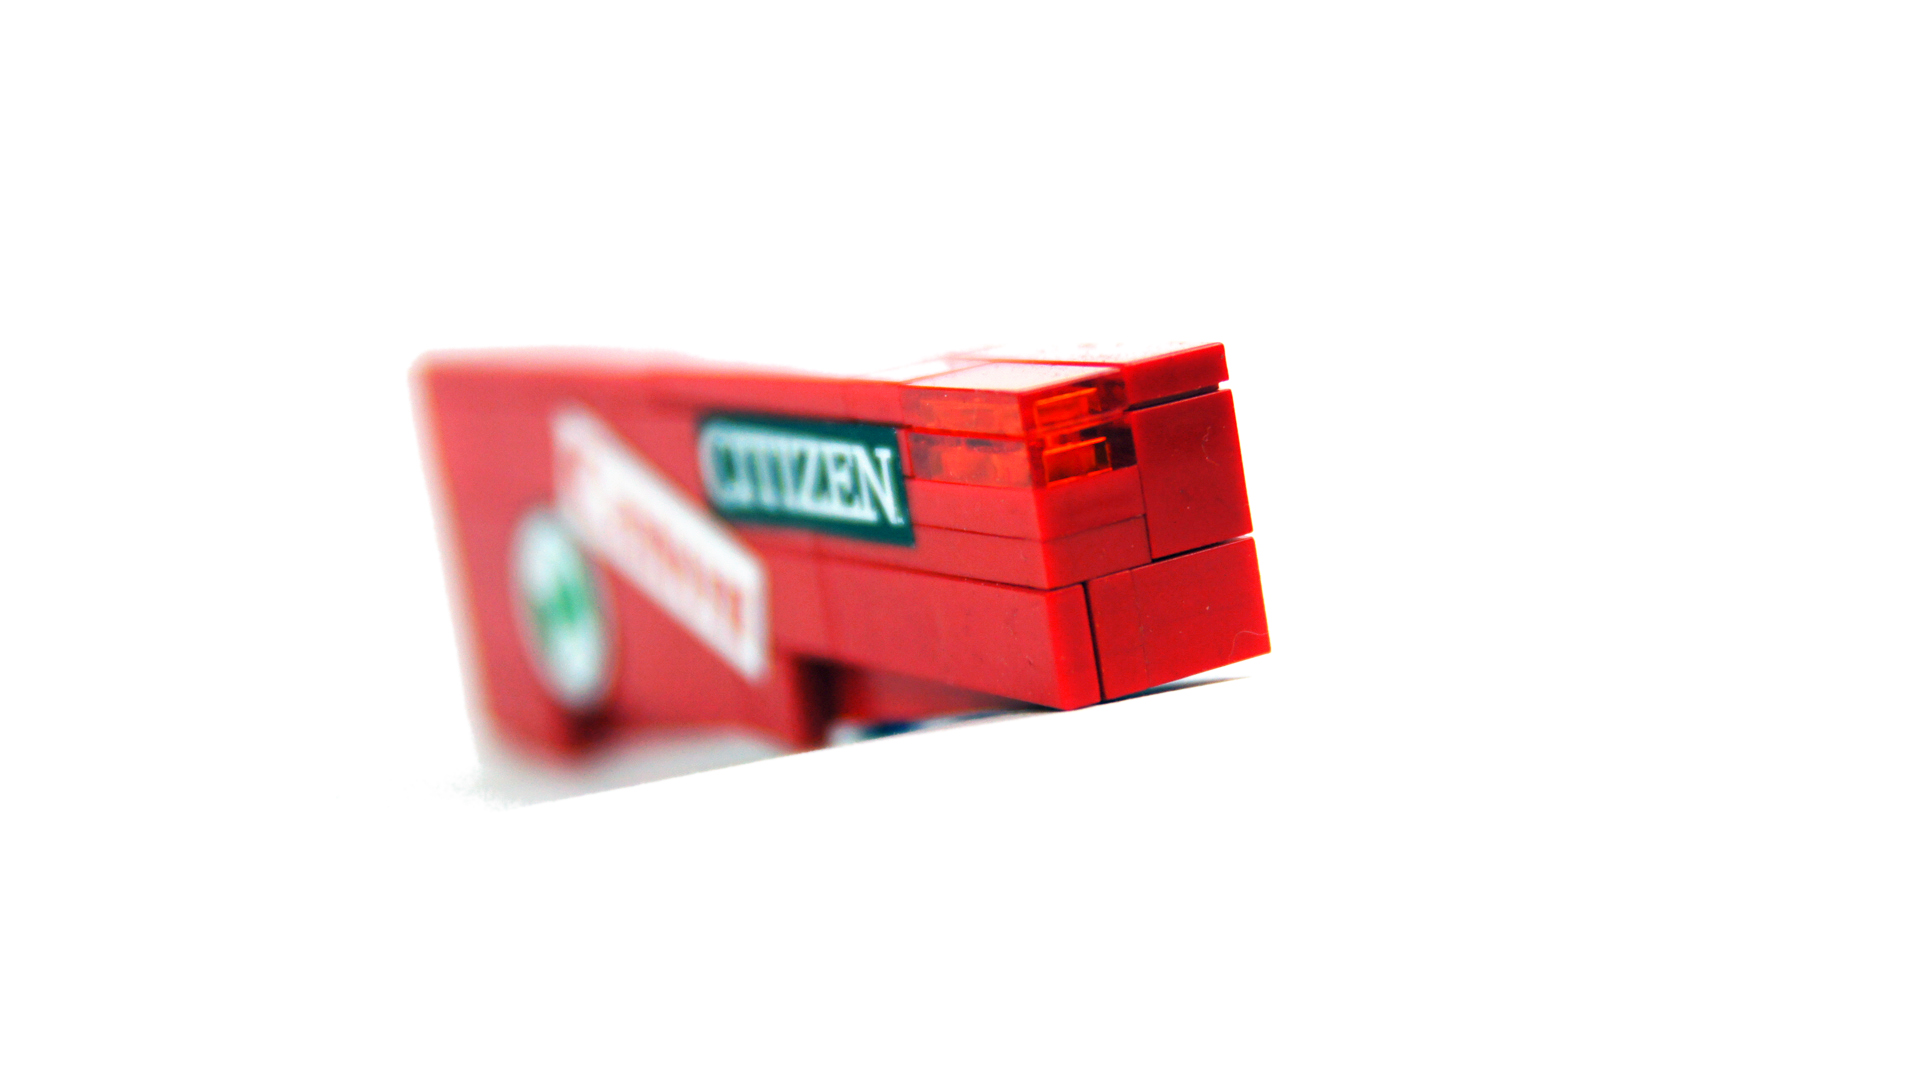
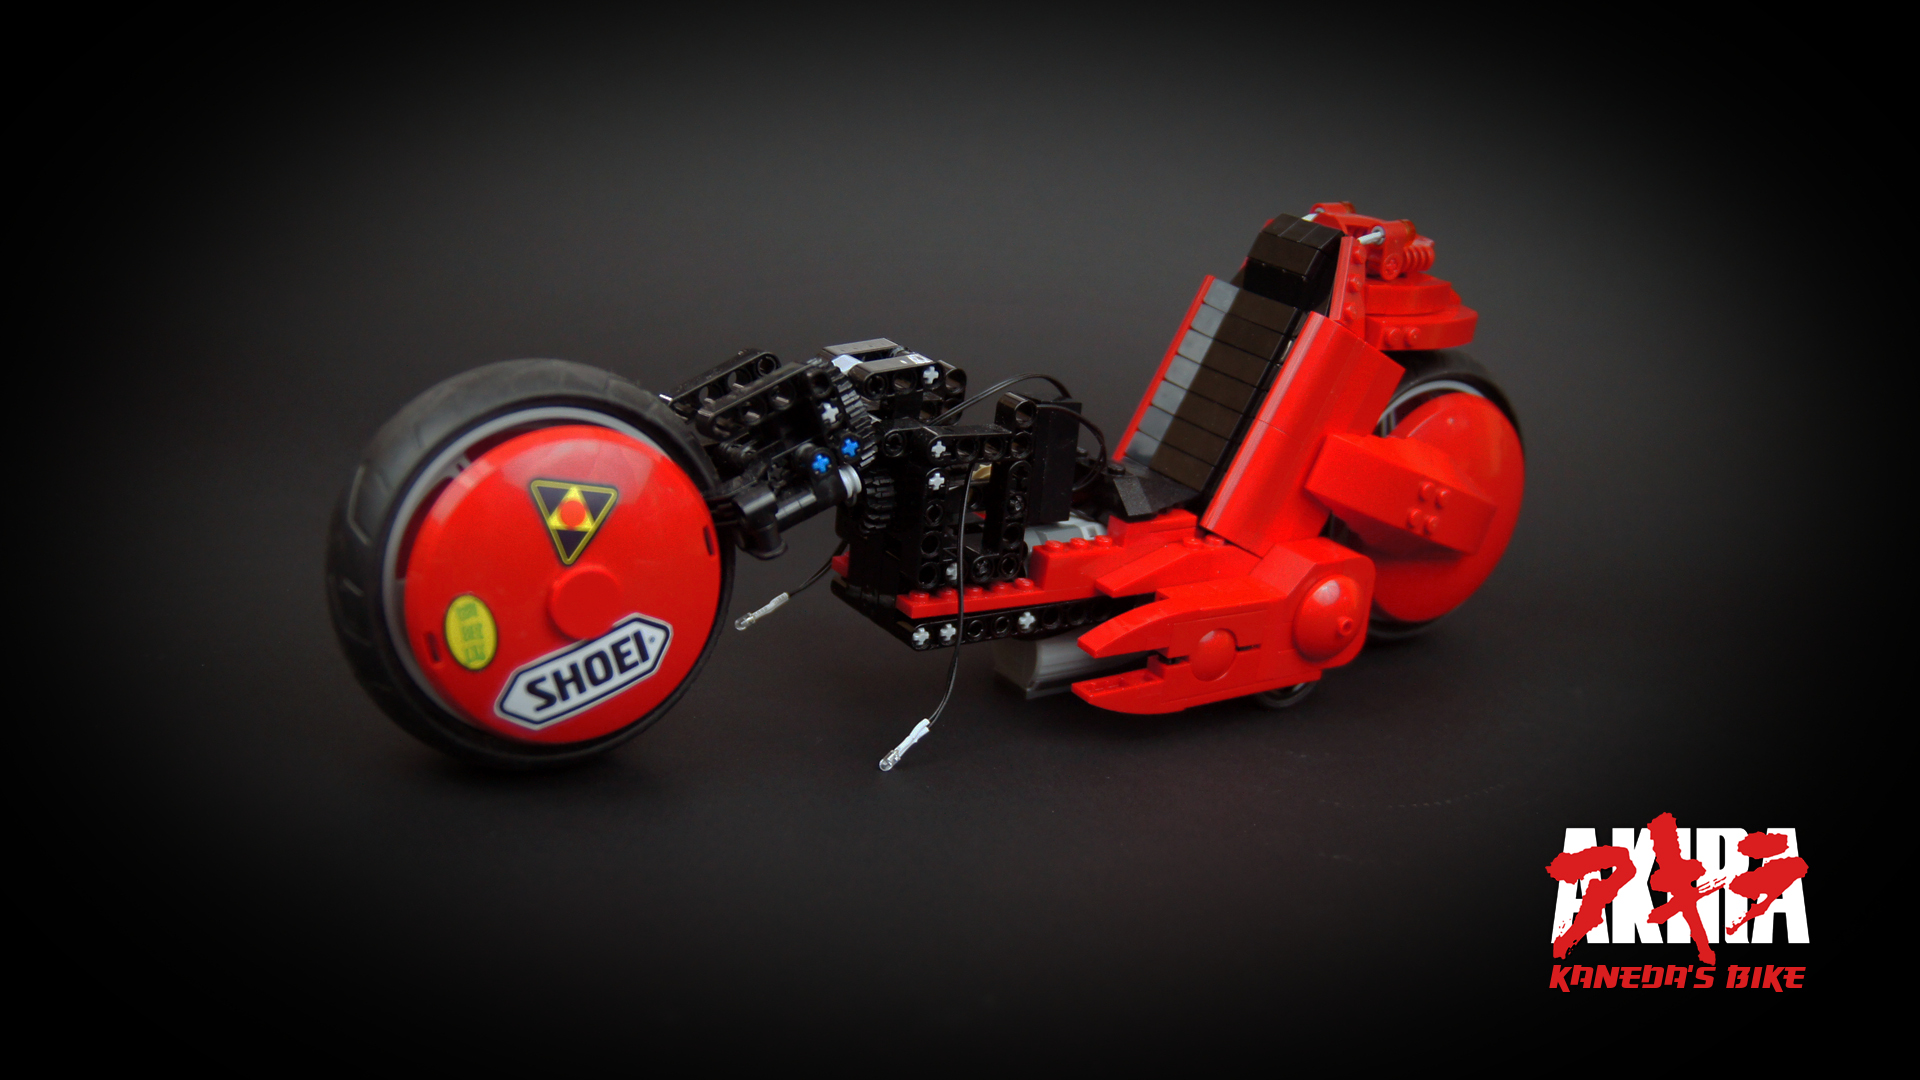
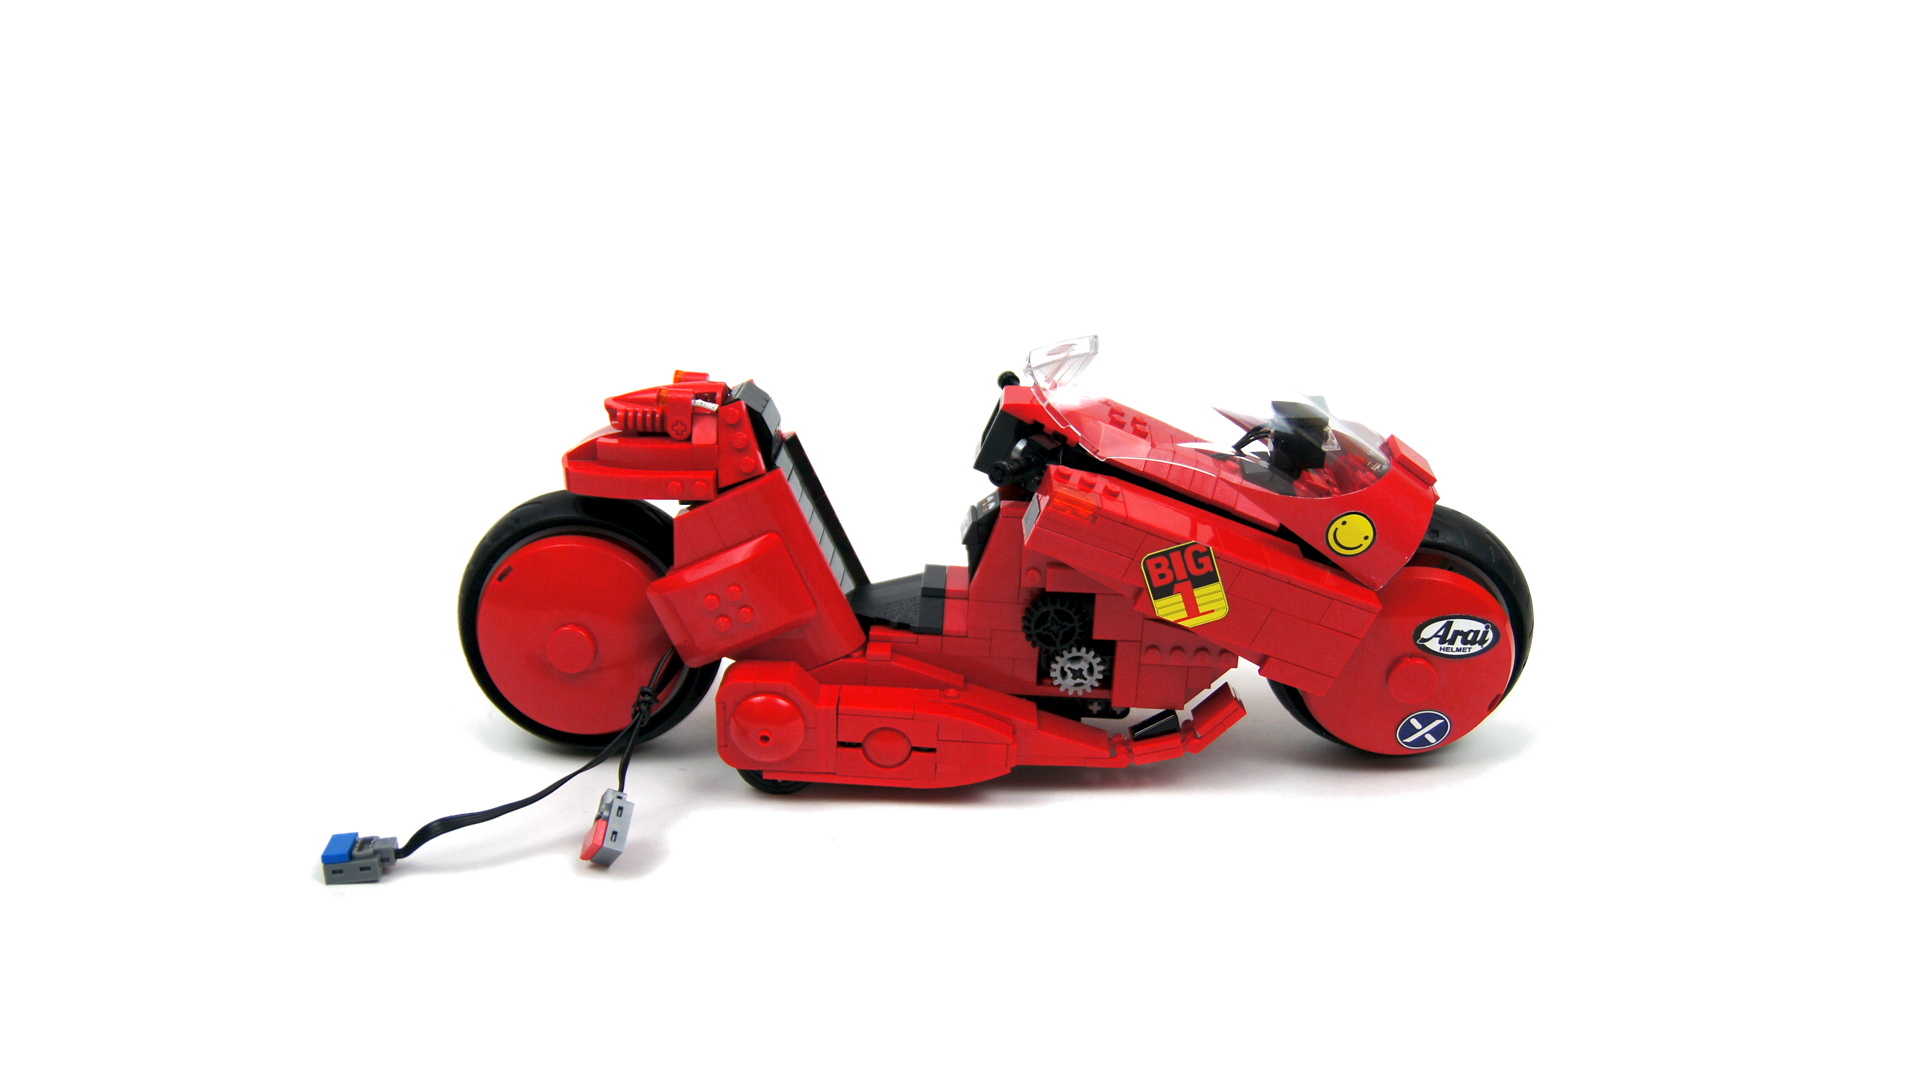
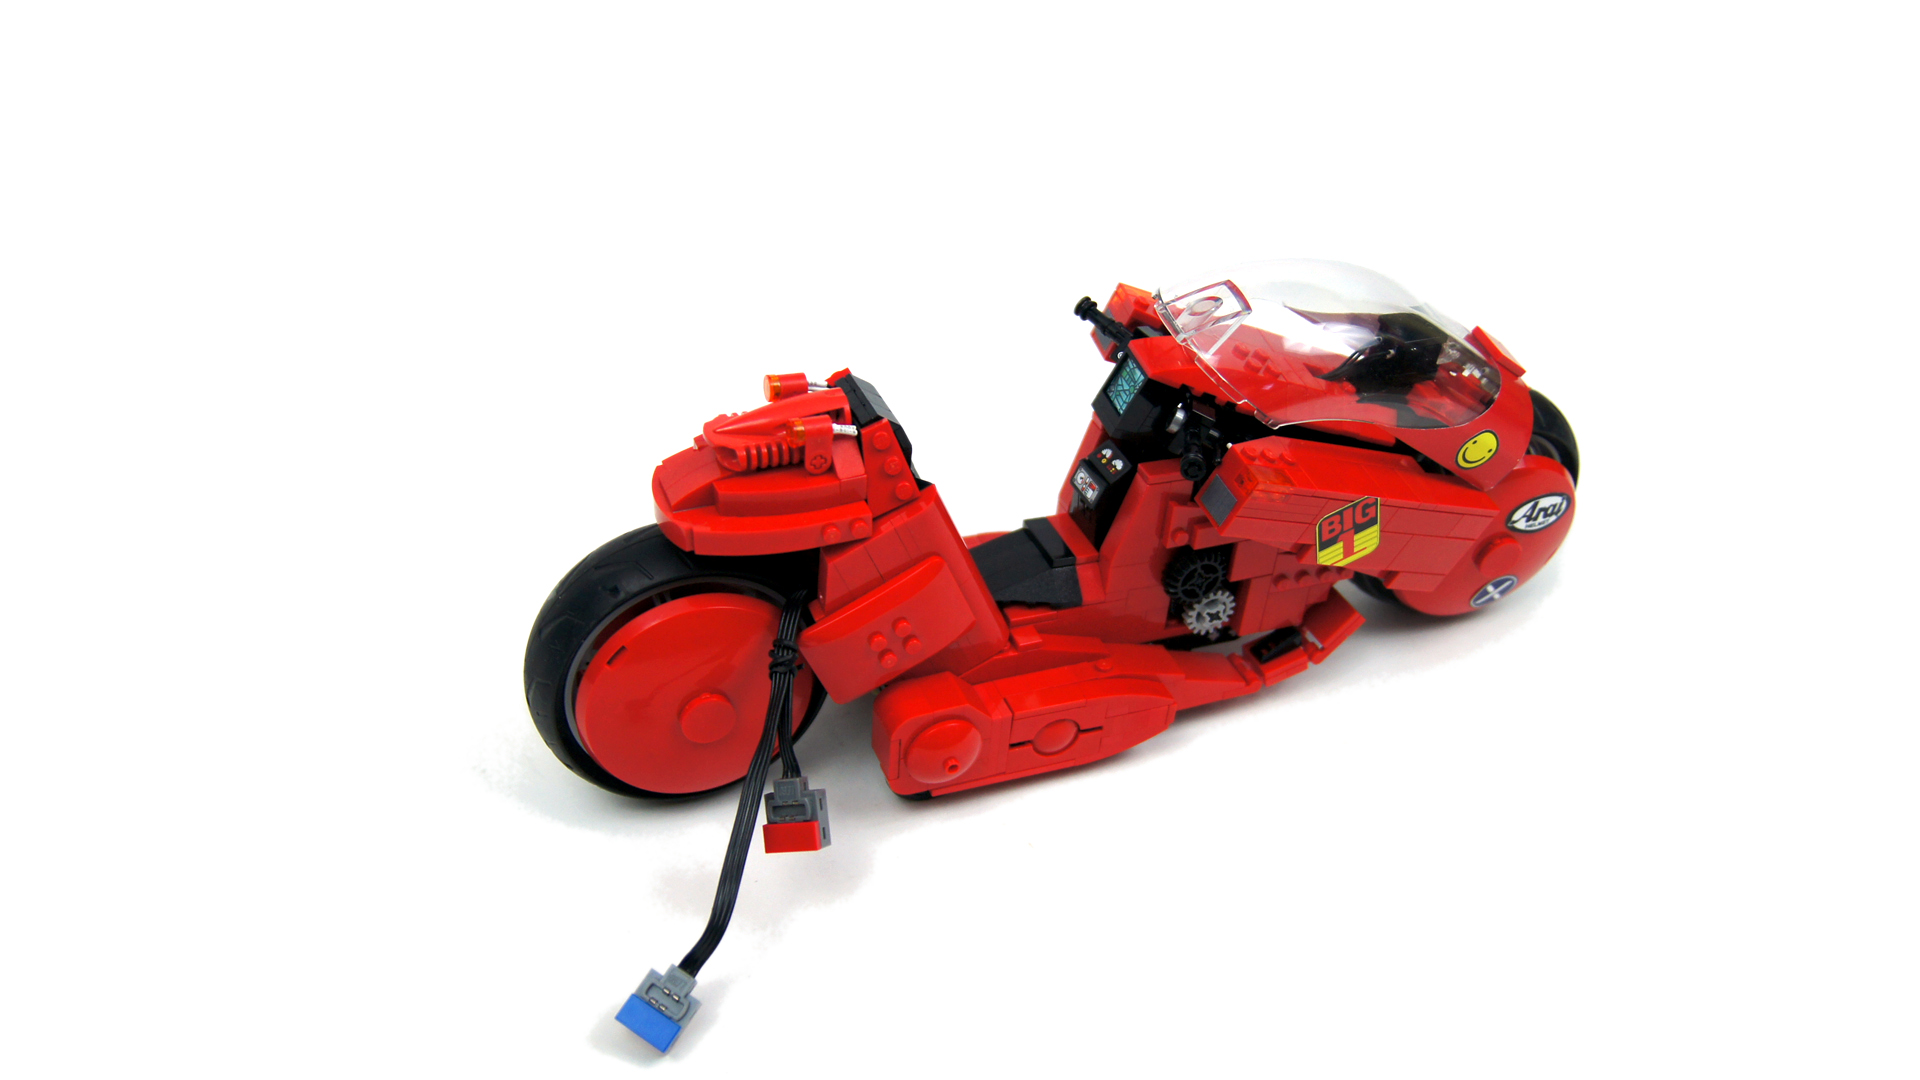
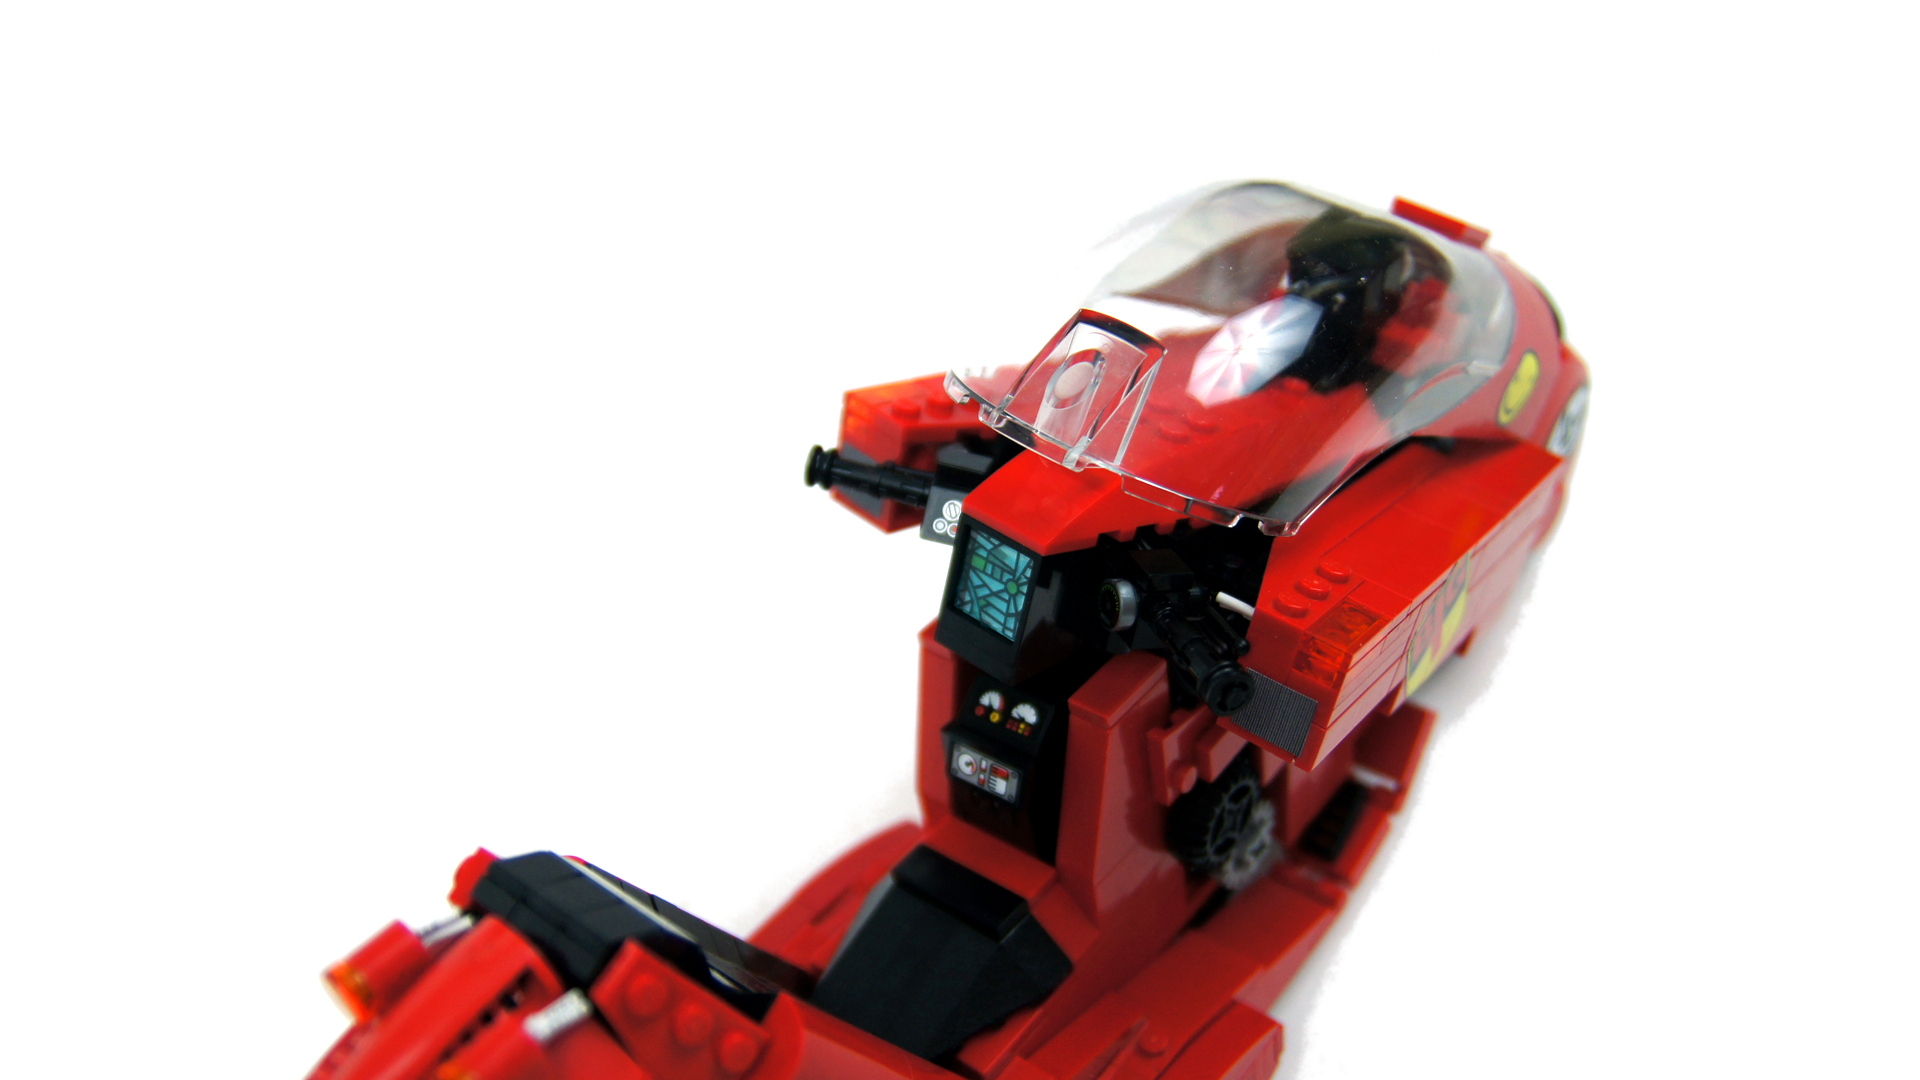
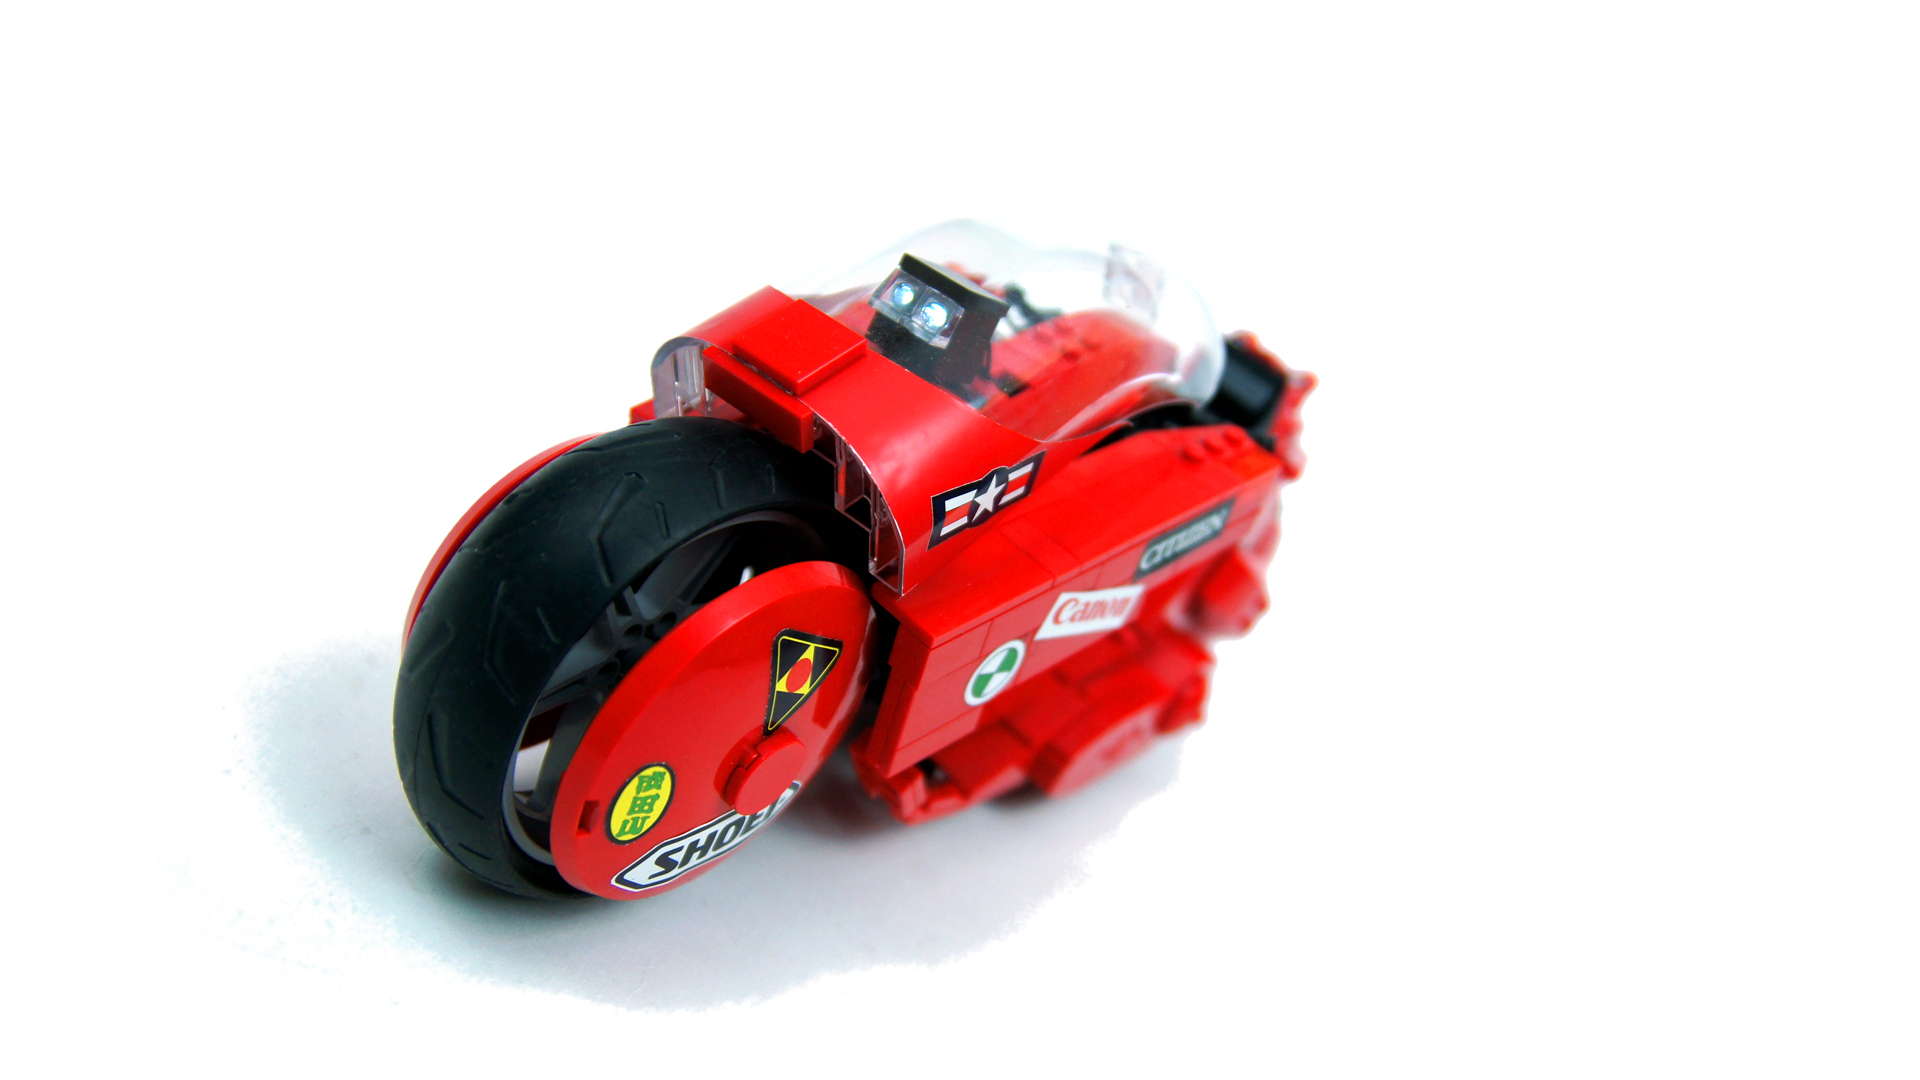
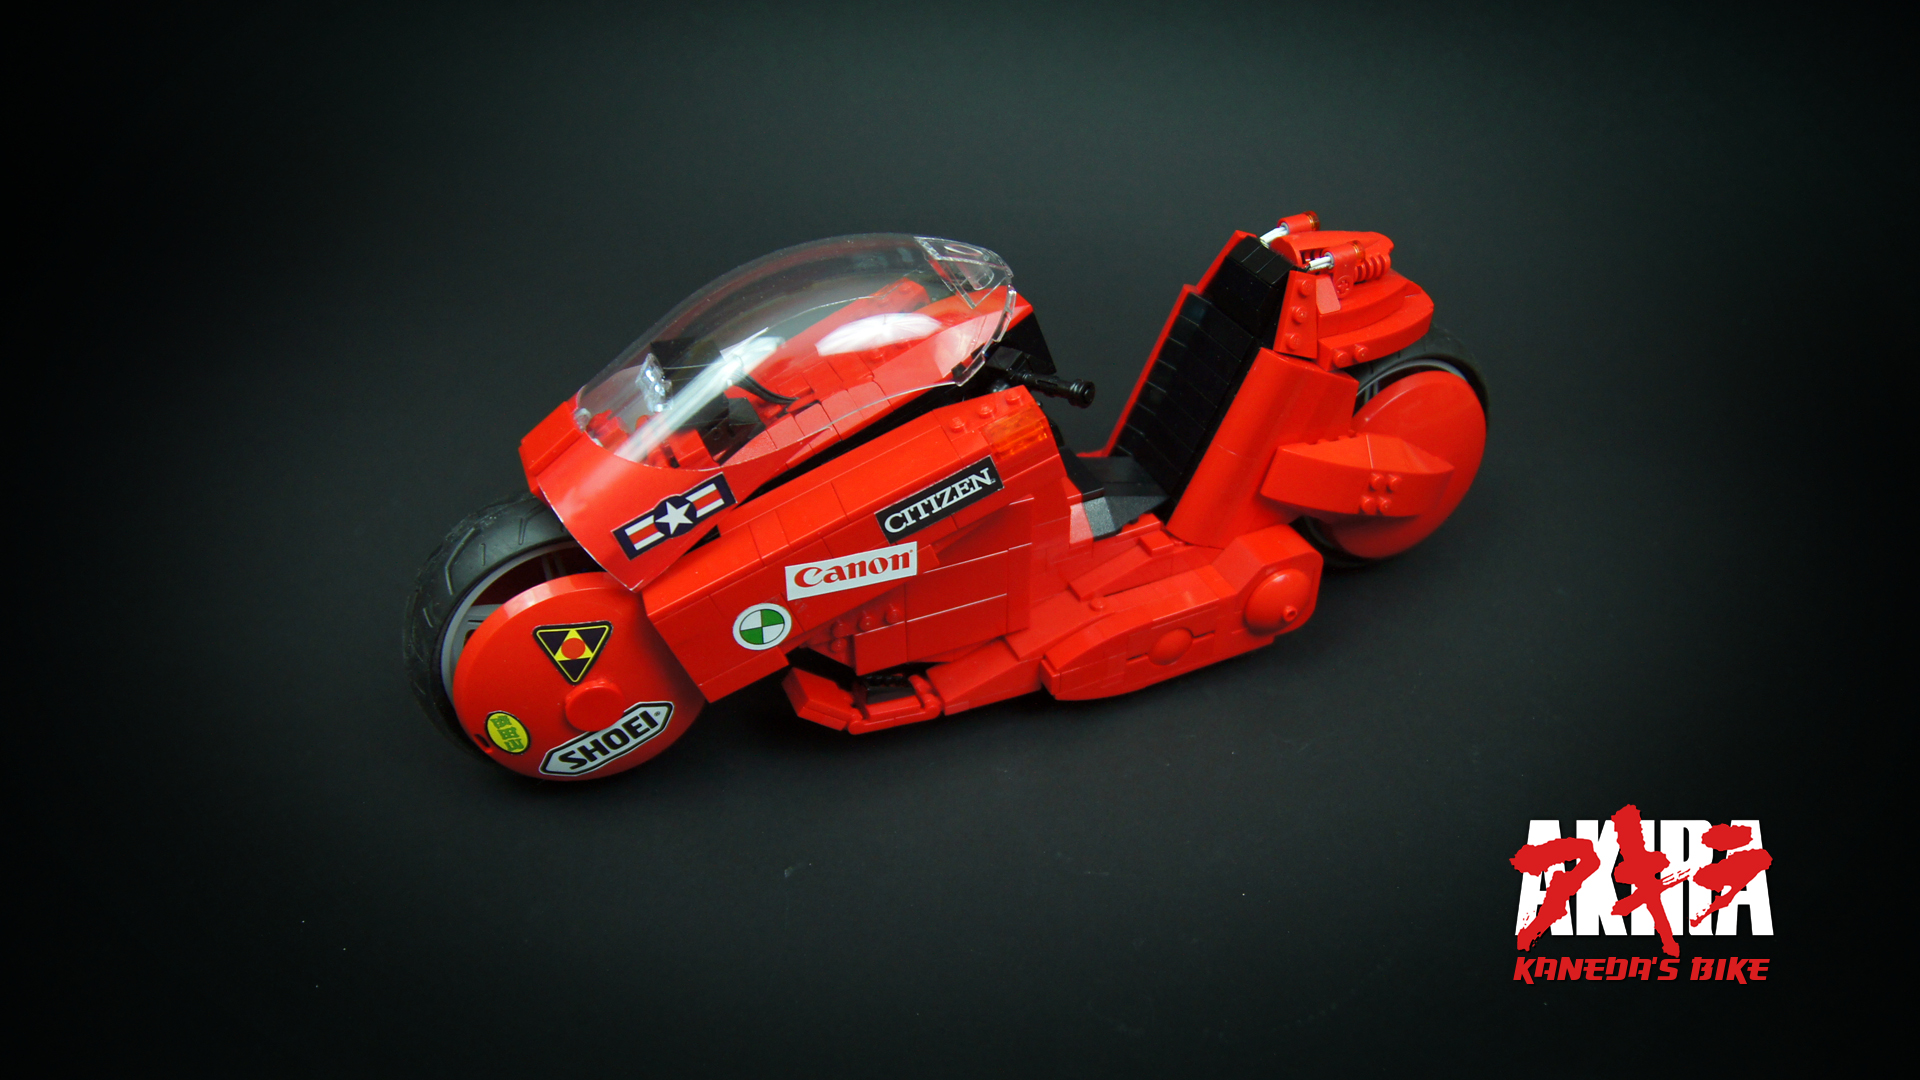
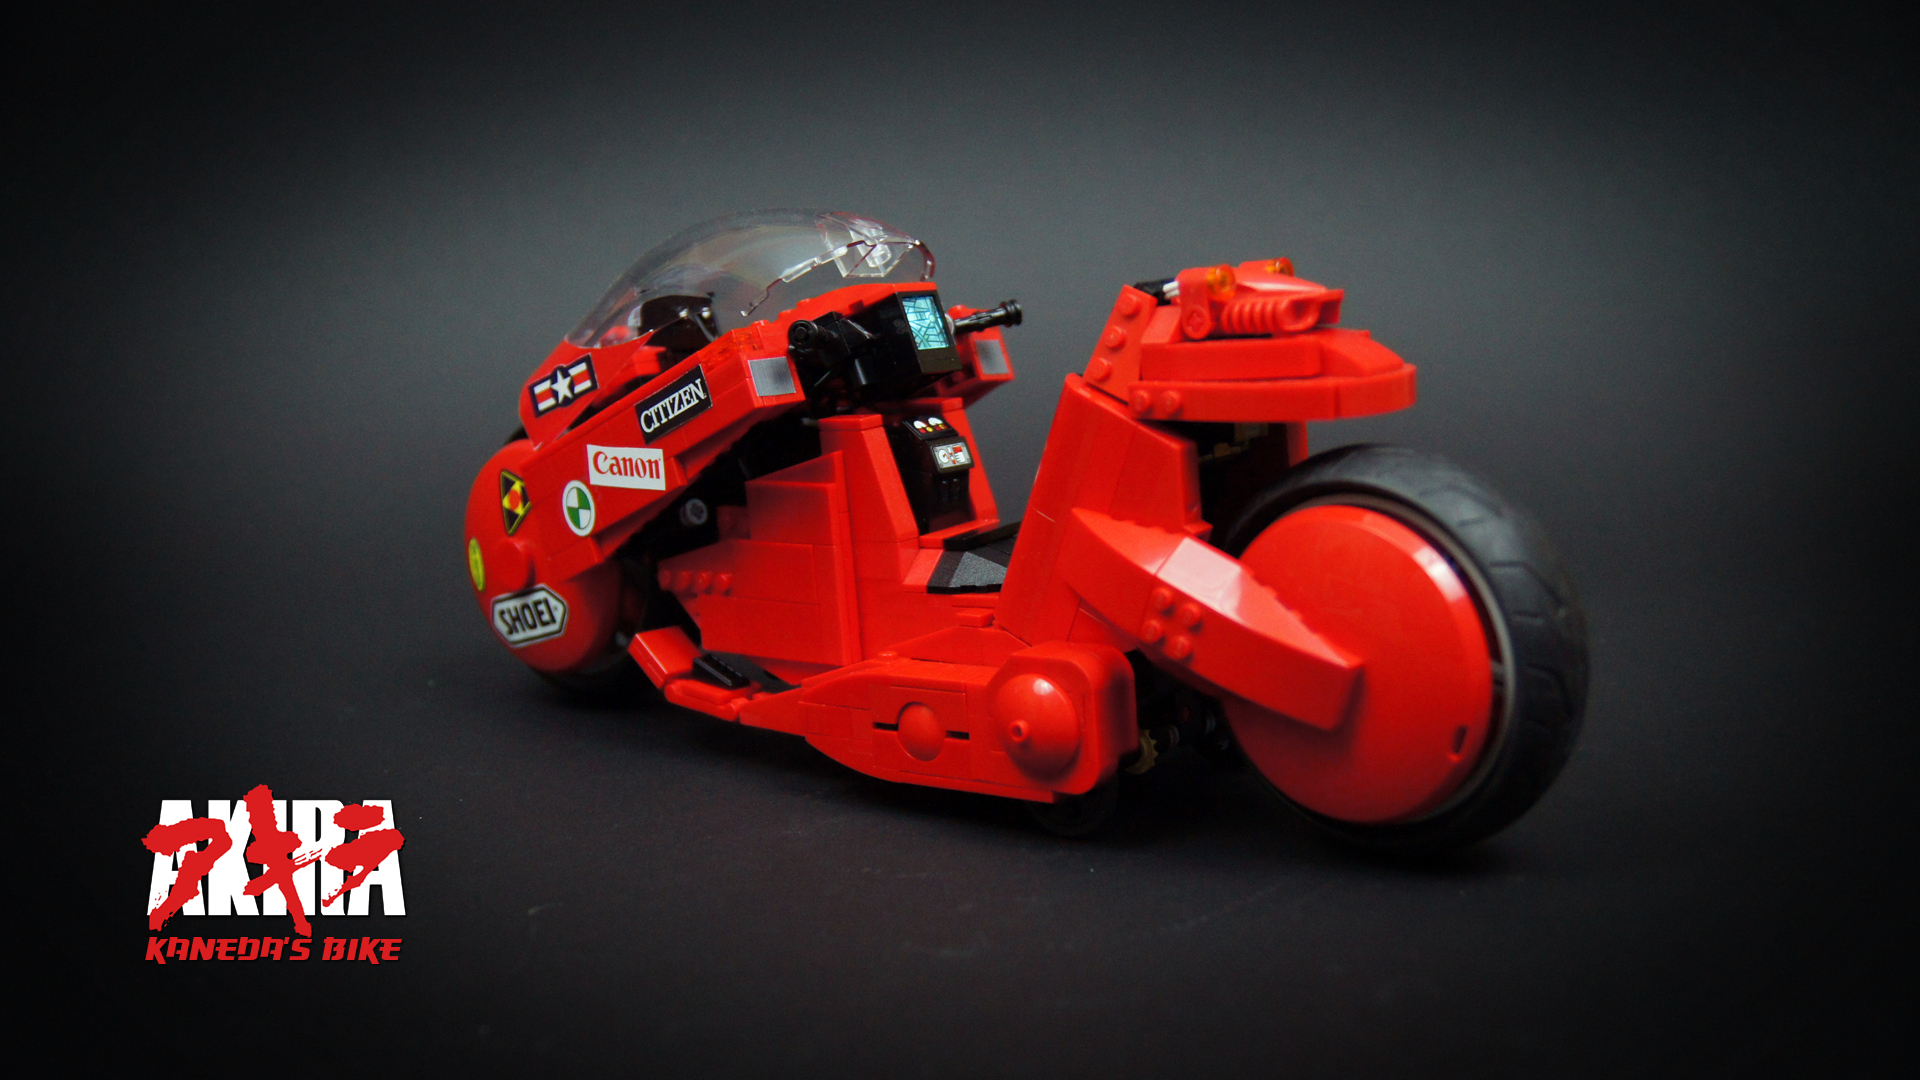
The finished model has taken an enormous amount of time and effort, especially for something this small. My work was greatly helped by Arvo brothers’ permission to use the stickers they created – I was able to scale and print their designs the way I wanted, which saved me a lot of time. These were complemented by a few of my stickers and some Lego stickers / printed pieces, too. The model was quite sticker-heavy, with large red stickers used to mask part of the windshield (which, ironically, is exactly what Lego did with this windshield in the 75060 set using similar stickers) and smaller stickers on top of them. I’ve spent a while working on the dashboard screen, which I wanted to display a map and be illuminated. In order to make it look like I wanted I had to print a sticker on a semi-transparent foil, put it on a Lego glass pane, put a piece of paper behind the pane, and then put a pair of Lifelites LEDs behind the paper. Two sets of Lifelites LEDs were used in total: one for the dashboard and headlamp, another for front and rear turn signals, this one with blinking effect.
Except for stickers and LEDs, the model was 100% pure Lego, but it still required combining some pieces in very unusual ways. A number of elements: front side fairings, rear mudguard, the parts low on the sides – were built using bricks facing in three different directions. The windshield, which had to be held from the underside, was mounted using pneumatic T-pieces inserted into pins on one side and into plates with clips on the other.
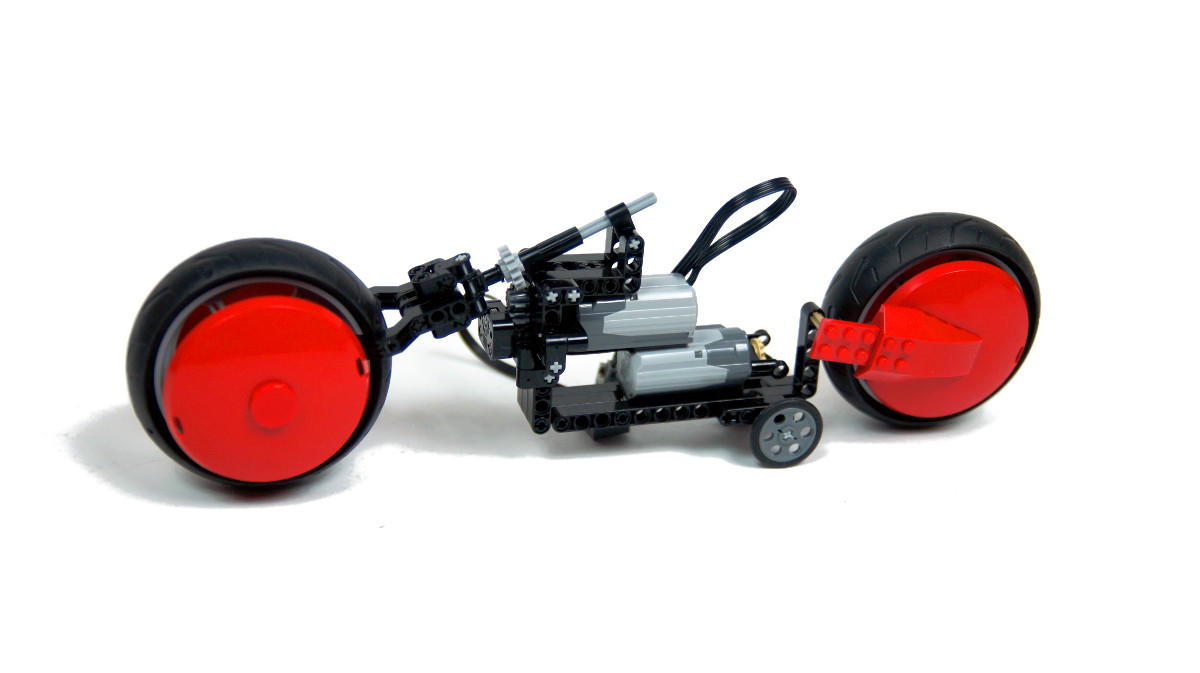
On the technical side, the model was dead simple, the main challenge being the limited size. The propulsion system was simply a PF M motor driving a pair of small wheels on the underside, without a differential. The wheels were covered up by side fairings, located right in front of the rear wheel and spaced apart to keep the model stable. The rear wheel was simply an idler dragged behind the chassis. The steering system took a lot of work until I’ve managed to set the handlebars at accurate angle using a small Technic turntable. A number of gears and one worm gear was used to let the other PF M motor steer – I’ve tried to use a small linear actuator for it, but even this proved too big. Unfortunately, this solution required exposing two gears on the bike’s right side. The steering worked as intended, but it wasn’t very effective due to bike’s absolutely extreme caster angle which also put enormous stress on the head tube. The drive worked fine too, and the model proved stable beyond my expectations, although it would get knocked over if I pulled on the cables. The steering was done in the simplest was possible: I have simply used a regular PF IR remote, connected a PF IR receiver and battery to it, then added two long cables that connected to the model. It was easy to connect and disconnect and it felt almost like a regular wireless remote control.
I was glad to see this model finished. It was perhaps an overly ambitious project, and thus it took lots and lots of time and work to see it completed – time and work that could be just as well put into something larger and more impressive.
Work in progress photos:

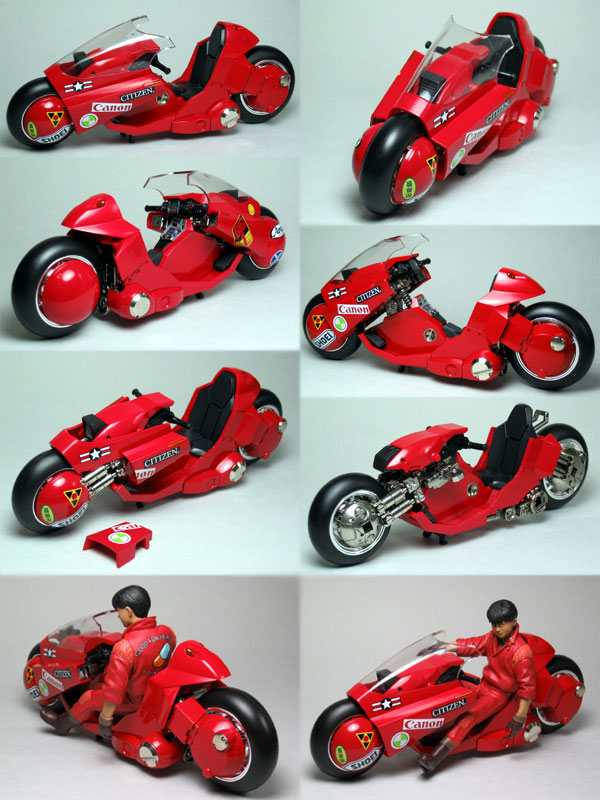
Photos:


Video:
Media coverage:
Anime News Network, BrickNerd, Culture Lab (Japanese), MikeShouts, Nerdist, RocketNews24, Seek Drive (Japanese), Technabob, The Brick Fan, The Brothers Brick, The Lego Car Blog

This is the most effective and simple design i have ever seen on anything you have ever built.
@Grayson
A pair of these: http://www.bricklink.com/catalogItem.asp?P=32079
What are the pieces you used to attach the front wheel under the disks?
@Spiller
Thanks. The problem with the rear wheel is that in the original vehicle it’s connected to the chassis by only one small flimsy arm on the left side and nothing on the right side. This would require a ton of reinforcements in Lego version, and even if it worked, I would still need something to keep the bike stable.
Didn’t expect to see this being motorized, good job of cramming it in such a small space. The propulsion does feel a little cheating, but considering the size it is reasonable. Maybe it could have been possible to drive the back wheel by connecting it through a small wheel behind the seat?
I have always been impressed how well you make your models visually look while also mechanizing it, this is another great example. While I feel like I have a good grip on the technical side, I have never really been able to make my models look like anything decent. Your models are always inspiring and makes me want to pick up my Lego again.